Page 85 of 717
Child Restraints
Everyone in your vehicle needs to be buckled up at all
times, including babies and children.
Every state in the United States, and every Canadian
province, requires that small children ride in proper
restraint systems. This is the law, and you can be pros-
ecuted for ignoring it.
Children 12 years or younger should ride properly
buckled up in a rear seat, if available. According to crash
statistics, children are safer when properly restrained in
the rear seats rather than in the front.
WARNING!
In a collision, an unrestrained child can become a
projectile inside the vehicle. The force required to
hold even an infant on your lap could become so
great that you could not hold the child, no matter
how strong you are. The child and others could be
badly injured. Any child riding in your vehicle
should be in a proper restraint for the child’s size.
2
THINGS TO KNOW BEFORE STARTING YOUR VEHICLE 83
Page 90 of 717

WARNING!(Continued)
•When your child restraint is not in use, secure it in
the vehicle with the seat belt or LATCH anchor-
ages, or remove it from the vehicle. Do not leave it
loose in the vehicle. In a sudden stop or accident, it
could strike the occupants or seatbacks and cause
serious personal injury.
Children Too Large For Booster Seats
Children who are large enough to wear the shoulder belt
comfortably, and whose legs are long enough to bend
over the front of the seat when their back is against the
seatback, should use the seat belt in a rear seat. Use this
simple 5-step test to decide whether the child can use the
vehicle’s seat belt alone:
1. Can the child sit all the way back against the back of
the vehicle seat?
2. Do the child’s knees bend comfortably over the front
of the vehicle seat – while they are still sitting all the
way back?
3. Does the shoulder belt cross the child’s shoulder
between their neck and arm?
4. Is the lap part of the seat belt as low as possible,
touching the child’s thighs and not their stomach?
5. Can the child stay seated like this for the whole trip?
88 THINGS TO KNOW BEFORE STARTING YOUR VEHICLE
Page 99 of 717
Center Arm Rest Tether
For rear-facing child restraints secured in the center seat
position with the vehicle seat belts, the rear center seat
position has an armrest tether that secures the arm rest in
the upward position.
1. To access the center seat arm rest tether, first lower the
arm rest. The tether is located behind the armrest and
hooked onto the plastic seat backing.
2. Pull down on the tether to unhook it from the plastic
seat backing.
Center Seat Position Arm Rest Tether
2
THINGS TO KNOW BEFORE STARTING YOUR VEHICLE 97
Page 101 of 717
move it to its rear-most position to make room for the
child seat. You may also move the front seat forward
to allow more room for the child seat.
4. Attach the lower hooks or connectors of the child
restraint to the lower anchorages in the selected seat-
ing position.
5. If the child restraint has a tether strap, connect it to the
top tether anchorage. See the section “Installing Child
Restraints Using the Top Tether Anchorage” for direc-
tions to attach a tether anchor.
6. Tighten all of the straps as you push the child restraint
rearward and downward into the seat. Remove slack
in the straps according to the child restraint manufac-
turer ’s instructions.
7. Test that the child restraint is installed tightly by
pulling back and forth on the child seat at the belt
path. It should not move more than 1 inch (25.4 mm)
in any direction.
How To Stow An Unused ALR Seatbelt:
When using the LATCH attaching system to install a
child restraint, stow all ALR seat belts that are not being
used by other occupants or being used to secure child
restraints. An unused belt could injure a child if they play
with it and accidentally lock the seatbelt retractor. Before
installing a child restraint using the LATCH system,
buckle the seat belt behind the child restraint and out of
the child’s reach. If the buckled seat belt interferes with
the child restraint installation, instead of buckling it
behind the child restraint, route the seat belt through the
child restraint belt path and then buckle it. Do not lock
the seatbelt. Remind all children in the vehicle that the
seat belts are not toys and that they should not play with
them.
2
THINGS TO KNOW BEFORE STARTING YOUR VEHICLE 99
Page 109 of 717
WARNING!
•The top tether anchorages are not visible until the
gap panel is folded down. Do not use the visible
cargo tie down hooks, located on the floor behind
the seats, to attach a child restraint tether anchor.
•An incorrectly anchored tether strap could lead to
increased head motion and possible injury to the
child. Use only the anchorage position directly
behind the child seat to secure a child restraint top
tether strap.
•If your vehicle is equipped with a split rear seat,
make sure the tether strap does not slip into the
opening between the seatbacks as you remove
slack in the strap.
Transporting Pets
Air Bags deploying in the front seat could harm your pet.
An unrestrained pet will be thrown about and possibly
injured, or injure a passenger during panic braking or in
a collision.
Pets should be restrained in the rear seat in pet harnesses
or pet carriers that are secured by seat belts.
ENGINE BREAK-IN RECOMMENDATIONS
A long break-in period is not required for the engine and
drivetrain (transmission and axle) in your vehicle.
Drive moderately during the first 300 miles (500 km).
After the initial 60 miles (100 km), speeds up to 50 or
55 mph (80 or 90 km/h) are desirable.
2
THINGS TO KNOW BEFORE STARTING YOUR VEHICLE 107
Page 113 of 717
not lit during starting, see your authorized dealer. If the
light stays on, flickers, or comes on while driving, have
the system checked by an authorized dealer.
Defroster
Check operation by selecting the defrost mode and place
the blower control on high speed. You should be able to
feel the air directed against the windshield. See your
authorized dealer for service if your defroster is inoper-
able.
Floor Mat Safety Information
Always use floor mats designed to fit the footwell of your
vehicle. Use only floor mats that leave the pedal area
unobstructed and that are firmly secured so that they
cannot slip out of position and interfere with the pedals
or impair safe operation of your vehicle in other ways.
WARNING!
Pedals that cannot move freely can cause loss of
vehicle control and increase the risk of serious per-
sonal injury.
•Always make sure that floor mats are properly
attached to the floor mat fasteners.
•Never place or install floor mats or other floor
coverings in the vehicle that cannot be properly
secured to prevent them from moving and interfer-
ing with the pedals or the ability to control the
vehicle.
•Never put floor mats or other floor coverings on top
of already installed floor mats. Additional floor
mats and other coverings will reduce the size of the
pedal area and interfere with the pedals.
(Continued)
2
THINGS TO KNOW BEFORE STARTING YOUR VEHICLE 111
Page 114 of 717
WARNING!(Continued)
•Check mounting of mats on a regular basis. Always
properly reinstall and secure floor mats that have
been removed for cleaning.
•Always make sure that objects cannot fall into the
driver footwell while the vehicle is moving. Ob-
jects can become trapped under the brake pedal
and accelerator pedal causing a loss of vehicle
control.
•If required, mounting posts must be properly in-
stalled, if not equipped from the factory.
Failure to properly follow floor mat installation or
mounting can cause interference with the brake
pedal and accelerator pedal operation causing loss of
control of the vehicle.
Periodic Safety Checks You Should Make Outside
The Vehicle
Tires
Examine tires for excessive tread wear and uneven wear
patterns. Check for stones, nails, glass, or other objects
lodged in the tread or sidewall. Inspect the tread for cuts
and cracks. Inspect sidewalls for cuts, cracks and bulges.
Check the wheel nuts for tightness. Check the tires
(including spare) for proper cold inflation pressure.
Lights
Have someone observe the operation of brake lights and
exterior lights while you work the controls. Check turn
signal and high beam indicator lights on the instrument
panel.
11 2 T H I N G S TO K N O W B E F O R E S TA R T I N G Y O U R V E H I C L E
Page 122 of 717
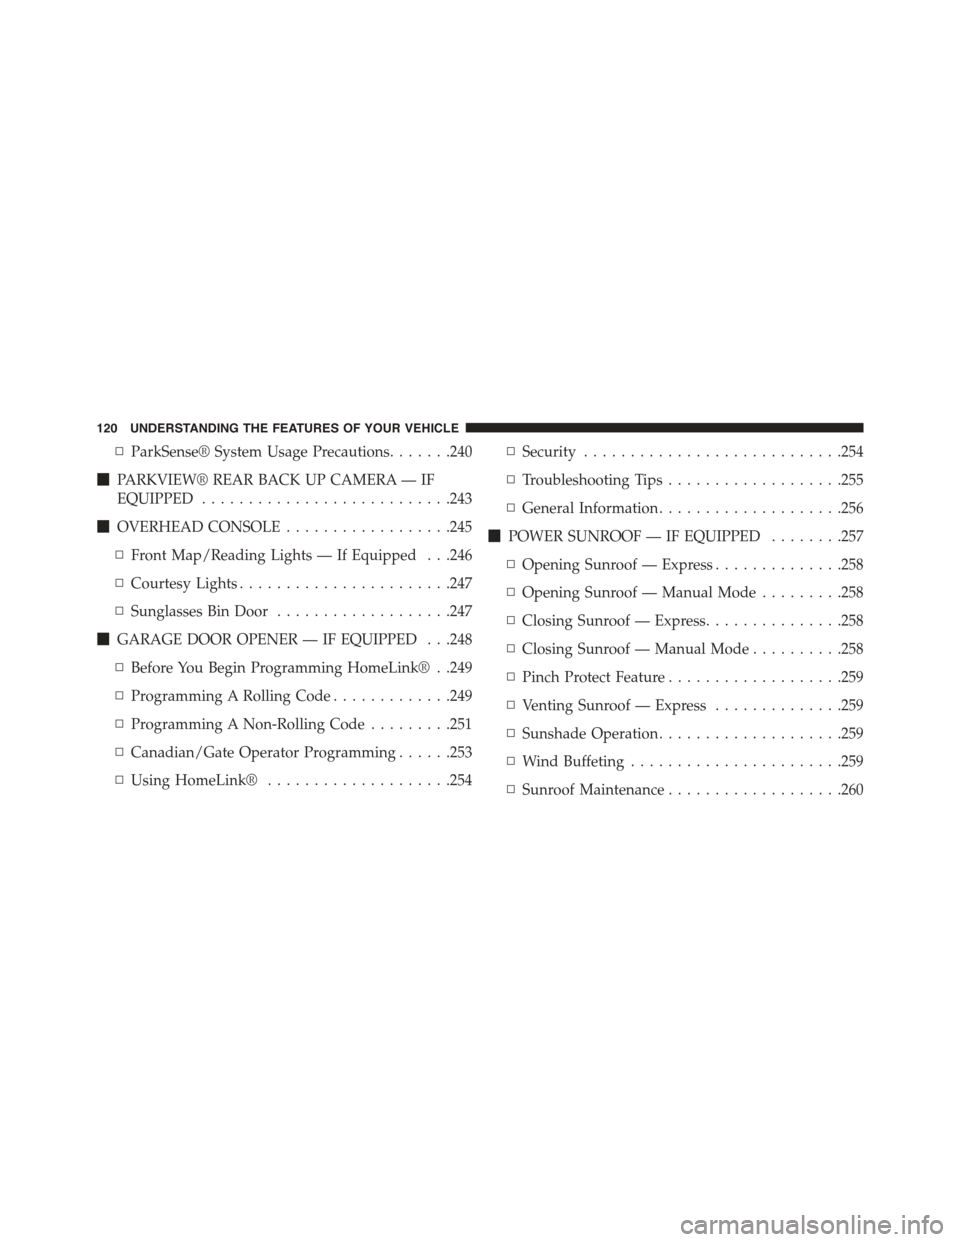
▫ParkSense® System Usage Precautions.......240
!PARKVIEW® REAR BACK UP CAMERA — IF
EQUIPPED...........................243
!OVERHEAD CONSOLE..................245
▫Front Map/Reading Lights — If Equipped . . .246
▫Courtesy Lights.......................247
▫Sunglasses Bin Door...................247
!GARAGE DOOR OPENER — IF EQUIPPED . . .248
▫Before You Begin Programming HomeLink® . .249
▫Programming A Rolling Code.............249
▫Programming A Non-Rolling Code.........251
▫Canadian/Gate Operator Programming......253
▫Using HomeLink®....................254
▫Security............................254
▫Troubleshooting Tips...................255
▫General Information....................256
!POWER SUNROOF — IF EQUIPPED........257
▫Opening Sunroof — Express..............258
▫Opening Sunroof — Manual Mode.........258
▫Closing Sunroof — Express...............258
▫Closing Sunroof — Manual Mode..........258
▫Pinch Protect Feature...................259
▫Venting Sunroof — Express..............259
▫Sunshade Operation....................259
▫Wind Buffeting.......................259
▫Sunroof Maintenance...................260
120 UNDERSTANDING THE FEATURES OF YOUR VEHICLE