2015 JEEP GRAND CHEROKEE wipers
[x] Cancel search: wipersPage 329 of 717
8 mph (12 km/h), the transmission is shifted into PARK
or the ignition is switched to the OFF position. To set the
ParkView® Backup Camera Delay push the MORE but-
ton on the faceplate, the “settings” button on the touch-
screen, then the “Safety & Driving Assistance” button on
the touchscreen. Press the “Parkview Backup camera
Delay” button on the touchscreen to turn the ParkView®
Delay ON or OFF.
•Rain Sensing Auto Wipers
When this feature is selected, the system will automati-
cally activate the windshield wipers if it senses moisture
on the windshield. To make your selection, press the
“Rain Sensing” button on the touchscreen and make your
selection. Press the back arrow button on the touchscreen
to return to the previous menu.
•Hill Start Assist — If Equipped
When this feature is selected, the Hill Start Assist (HSA)
system is active. Refer to “Electronic Brake Control
System” in “Starting And Operating” for system function
and operating information. To make your selection, press
the “Hill Start Assist” button on the touchscreen and
make your selection. Press the back arrow button on the
touchscreen to return to the previous menu.
Lights
After pressing the “Lights” button on the touchscreen the
following settings will be available.
•Headlights Off Delay
When this feature is selected, it allows the adjustment of
the amount of time the headlights remain on after the
engine is shut off. To change the Headlights Off Delay
setting, press the “Headlight Off Delay” button on the
touchscreen, and choose either 0 sec, 30 sec, 60 sec or 90
seconds. Press the back arrow button on the touchscreen
to return to the previous menu.
4
UNDERSTANDING YOUR INSTRUMENT PANEL 327
Page 330 of 717
•Headlight Illumination On Approach
When this feature is selected, it allows the adjustment of
the amount of time the headlights remain on after the
doors are unlocked with the Remote Keyless Entry (RKE)
transmitter. To change the Illuminated Approach status,
press the “Illuminated Approach” button and choose
either 0 sec, 30 sec, 60 sec or 90 seconds. Press the back
arrow button on the touchscreen to return to the previous
menu.
•Headlights With Wipers — If Equipped
When this feature is selected, and the headlight switch is
in the AUTO position, the headlights will turn on ap-
proximately 10 seconds after the wipers are turned on.
The headlights will also turn off when the wipers are
turned off if they were turned on by this feature. To make
your selection, press the “Lights w/Wipers” button on
the touchscreen and make your selection. Press the back
arrow button on the touchscreen to return to the previous
menu.
•Auto High Beams — If Equipped
When this feature is selected, the high beam headlights
will activate/deactivate automatically under certain con-
ditions. To make your selection, press the “Auto High
Beams” button on the touchscreen and make your selec-
tion. Press the back arrow button on the touchscreen to
return to the previous menu. Refer to “Lights/Auto High
Beams — If Equipped” in “Understanding The Features
Of Your Vehicle” for further information.
•Daytime Running Lights — If Equipped
When this feature is selected, the headlights will turn on
whenever the engine is running. To make your selection,
328 UNDERSTANDING YOUR INSTRUMENT PANEL
Page 349 of 717
•ParkView® Backup Camera Active Guidelines
Your vehicle may be equipped with the ParkView® Rear
Back Up Camera Active Guidelines that allows you to see
active guidelines over the ParkView Back up camera
display whenever the shift lever is put into REVERSE.
The image will be displayed on the radio touchscreen
display along with a caution note to “check entire sur-
roundings” across the top of the screen. After five sec-
onds, this note will disappear. To change the mode status,
press the “ParkView Backup Camera Active Guidelines”
button on the touchscreen, until a check-mark appears
next to setting, indicating that the setting had been
selected. Press the back arrow button on the touchscreen
to return to the previous menu.
•ParkView® Backup Camera Delay
When the vehicle is shifted out of REVERSE (with camera
delay turned OFF), the rear camera mode is exited and
the navigation or audio screen appears again. When the
vehicle is shifted out of REVERSE (with camera delay
turned ON), the rear view image with dynamic grid lines
will be displayed for up to 10 seconds after shifting out of
“REVERSE” unless the forward vehicle speed exceeds
8 mph (12 km/h), the transmission is shifted into
“PARK” or the ignition is switched to the OFF position.
To set the ParkView® Backup Camera Delay press the
“Controls” button on the touchscreen, the “settings”
button on the touchscreen, then the “Safety & Driving
Assistance” button on the touchscreen. Press the
“Parkview Backup camera Delay” button on the touch-
screen to turn the ParkView® Delay ON or OFF.
•Rain Sensing Auto Wipers
When this feature is selected, the system will automati-
cally activate the windshield wipers if it senses moisture
on the windshield. To make your selection, press the
“Rain Sensing” button on the touchscreen, until a check-
mark appears next to setting, indicating that the setting
4
UNDERSTANDING YOUR INSTRUMENT PANEL 347
Page 351 of 717
•Headlights With Wipers — If Equipped
When this feature is selected, and the headlight switch is
in the AUTO position, the headlights will turn on ap-
proximately 10 seconds after the wipers are turned on.
The headlights will also turn off when the wipers are
turned off if they were turned on by this feature. To make
your selection, press the Headlights With Wipers button
on the touchscreen, until a check-mark appears next to
setting, showing that setting has been selected. Press the
back arrow button on the touchscreen to return to the
previous menu, or push the back button on the faceplate.
•Auto Dim High Beams — If Equipped
When this feature is selected, the high beam headlights
will deactivate automatically under certain conditions. To
make your selection, press the “Auto High Beams”
button on the touchscreen, until a check-mark appears
next to setting, showing that setting has been selected.
Press the back arrow button on the touchscreen to return
to the previous menu, or push the back button on the
faceplate. Refer to “Lights/Automatic High Beam — If
Equipped” in “Understanding The Features Of Your
Vehicle” for further information.
•Daytime Running Lights — If Equipped
When this feature is selected, the headlights will turn on
whenever the vehicle is set in motion. To make your
selection, press the “Daytime Running Lights” button on
the touchscreen, until a check-mark appears next to
setting, showing that setting has been selected. Press the
back arrow button on the touchscreen to return to the
previous menu, or push the back button on the faceplate.
•Flash Lights With Lock
When this feature is selected, the exterior lights will flash
when the doors are locked or unlocked with the Remote
Keyless Entry (RKE) transmitter. This feature may be
selected with or without the sound horn on lock feature
selected. To make your selection, press the “Flash Lights
4
UNDERSTANDING YOUR INSTRUMENT PANEL 349
Page 485 of 717
WARNING!(Continued)
•HSA is not a parking brake. If you stop the vehicle
on a hill without putting the transmission in PARK
and using the parking brake, it will roll down the
hill and could cause a collision with another ve-
hicle or object. Always remember to use the park-
ing brake while parking on a hill, and that the
driver is responsible for braking the vehicle.
HSA Off
If you wish to turn off the HSA system, it can be done
using the Uconnect® Access Settings. Refer to
“Uconnect® Access Settings” in “Understanding Your
Instrument Panel” for further information.
Ready Alert Braking — If Equipped
Ready Alert Braking may reduce the time required to
reach full braking during emergency braking situations.
It anticipates when an emergency braking situation may
occur by monitoring how fast the throttle is released by
the driver. When the throttle is released very quickly,
Ready Alert Braking applies a small amount of brake
pressure. This brake pressure will not be noticed by the
driver. The brake system uses this brake pressure to allow
a fast brake response if the driver applies the brakes.
Rain Brake Support — If Equipped
Rain Brake Support may improve braking performance
in wet conditions. It will periodically apply a small
amount of brake pressure to remove any water buildup
on the front brake rotors. It only functions when the
windshield wipers are in the LO or HI mode, it does not
function in the intermittent mode. When Rain Brake
Support is active, there is no notification to the driver and
no driver interaction is required.
5
STARTING AND OPERATING 483
Page 596 of 717
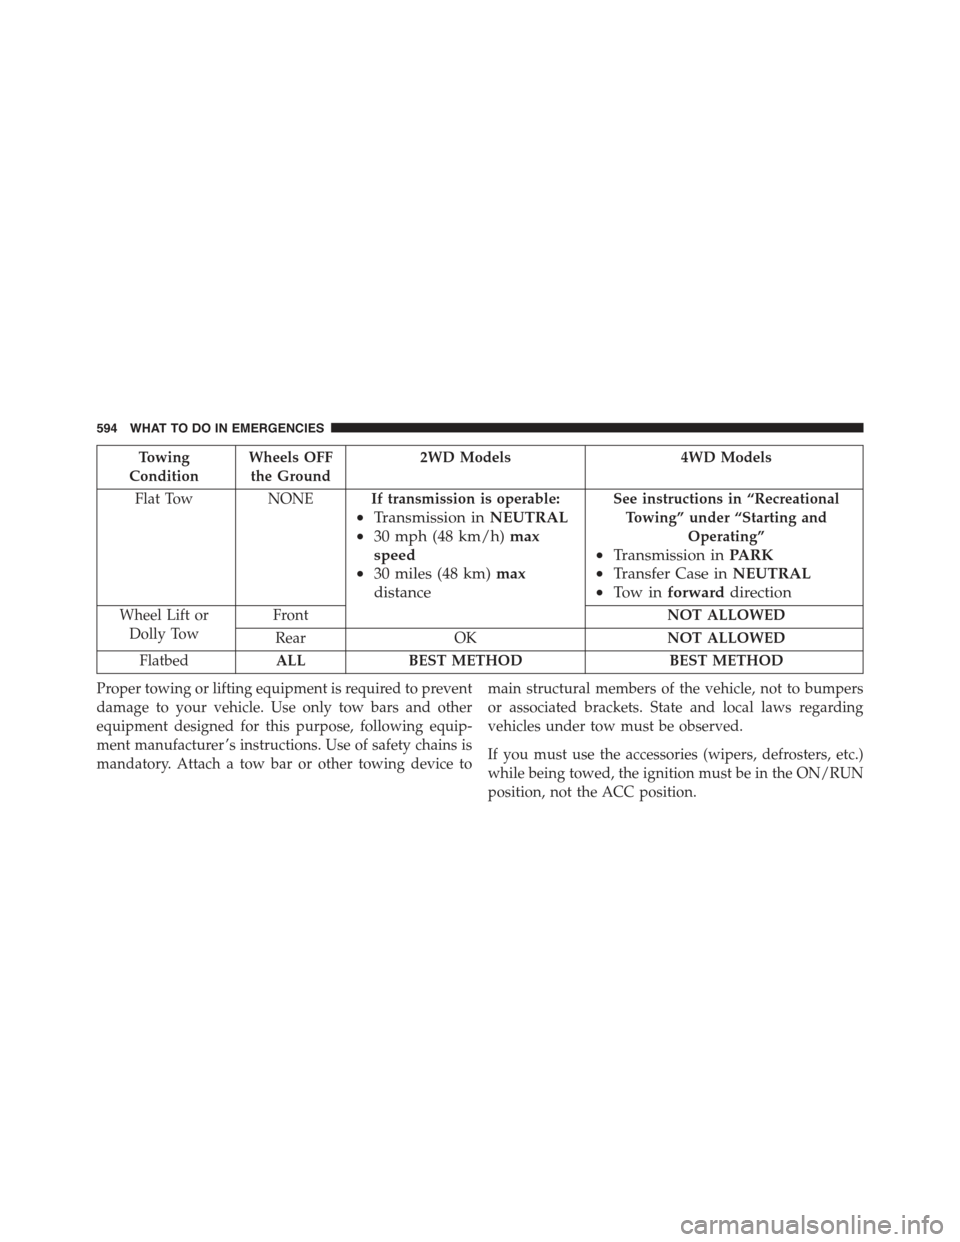
Towing
Condition
Wheels OFF
the Ground
2WD Models 4WD Models
Flat Tow NONEIf transmission is operable:
•Transmission inNEUTRAL
•30 mph (48 km/h)max
speed
•30 miles (48 km)max
distance
See instructions in “Recreational
Towing” under “Starting and
Operating”
•Transmission inPARK
•Transfer Case inNEUTRAL
•To w i nforwarddirection
Wheel Lift or
Dolly Tow
FrontNOT ALLOWED
RearOKNOT ALLOWED
FlatbedALLBEST METHODBEST METHOD
Proper towing or lifting equipment is required to prevent
damage to your vehicle. Use only tow bars and other
equipment designed for this purpose, following equip-
ment manufacturer ’s instructions. Use of safety chains is
mandatory. Attach a tow bar or other towing device to
main structural members of the vehicle, not to bumpers
or associated brackets. State and local laws regarding
vehicles under tow must be observed.
If you must use the accessories (wipers, defrosters, etc.)
while being towed, the ignition must be in the ON/RUN
position, not the ACC position.
594 WHAT TO DO IN EMERGENCIES
Page 624 of 717
The external lock cylinders should be lubricated twice a
year, preferably in the Fall and Spring. Apply a small
amount of a high quality lubricant, such as MOPAR®
Lock Cylinder Lubricant directly into the lock cylinder.
Windshield Wiper Blades
Clean the rubber edges of the wiper blades and the
windshield periodically with a sponge or soft cloth and a
mild nonabrasive cleaner. This will remove accumula-
tions of salt or road film.
Operation of the wipers on dry glass for long periods
may cause deterioration of the wiper blades. Always use
washer fluid when using the wipers to remove salt or dirt
from a dry windshield.
Avoid using the wiper blades to remove frost or ice from
the windshield. Keep the blade rubber out of contact with
petroleum products such as engine oil, gasoline, etc.
NOTE:Life expectancy of wiper blades varies depend-
ing on geographical area and frequency of use. Poor
performance of blades may be present with chattering,
marks, water lines or wet spots. If any of these conditions
are present, clean the wiper blades or replace as neces-
sary.
The wiper blades and wiper arms should be inspected
periodically, not just when wiper performance problems
are experienced. This inspection should include the fol-
lowing points:
•Wear Or Uneven Edges
•Foreign Material
•Hardening Or Cracking
•Deformation Or Fatigue
If a wiper blade or wiper arm is damaged, replace the
affected wiper arm or blade with a new unit. Do not
attempt to repair a wiper arm or blade that is damaged.
622 MAINTAINING YOUR VEHICLE
Page 628 of 717
4. Gently lower the wiper arm onto the glass.
Installing The Front Wipers
1. Lift the wiper arm off of the glass, until the wiper arm
is in the full up position.
2. Position the wiper blade near the hook on the tip of the
wiper arm with the wiper release tab open and the
blade side of the wiper facing up and away from the
windshield.
3. Insert the hook on the tip of the arm through the
opening in the wiper blade under the release tab.
4. Slide the wiper blade up into the hook on the wiper
arm and rotate the wiper blade until it is flush against
the wiper arm. Fold down the latch release tab and
snap it into its locked position. Latch engagement will
be accompanied by an audible click.
5. Gently lower the wiper blade onto the glass.
Rear Wiper Blade Removal/Installation
1. Lift the rear wiper arm pivot cap away from the glass
to allow the rear wiper blade to be raised off of the
glass.
NOTE:The rear wiper arm cannot be fully raised off the
glass unless the wiper arm pivot cap is unsnapped first.
Attempting to fully raise the rear wiper arm without
unsnapping the wiper arm pivot cap may damage the
vehicle.
626 MAINTAINING YOUR VEHICLE