Page 10 of 653
This vehicle is equipped with an
event data recorder (EDR). Themain purpose of an EDR is to
record, in certain crash or near
crash-like situations, such as an
air bag deployment or hitting a
road obstacle, data that will assist
in understanding how a vehicle's
systems performed. The EDR is
designed to record data related to
vehicle dynamics and safety sys-
tems for a short period of time,
typically 30 seconds or less. The
EDR in this vehicle is designed to
record such data as:
vehicle were operating;
passenger safety belts were
buckled/ fastened;
depressing the accelerator
and/or brake pedal; and,
ing. These data can help provide a bet-
ter understanding of the circum-
stances in which crashes and
injuries occur. NOTE: EDR data
are recorded by your vehicle onlyif a non-trivial crash situation
occurs; no data are recorded bythe EDR under normal driving
conditions and no personal data
(e.g., name, gender, age, and
crash location) are recorded.
However, other parties, such as
law enforcement, could combinethe EDR data with the type of per-
sonally identifying data routinely
acquired during a crash investiga-tion.
To read data recorded by an EDR,
special equipment is required, and
access to the vehicle or the EDR is
needed. In addition to the vehicle
manufacturer, other parties, such
as law enforcement, that have the
special equipment, can read the
information if they have access to
the vehicle or the EDR.
VV
EEHH IICC LLEE DD AA TTAA CC OO LLLLEE CCTT IIOO NN AA NN DD EE VV EENN TT DD AA TTAA RR EECCOO RRDD EERR SS
F10
Introduction
Page 20 of 653
2-3
Safety system of your vehicle
NEVER let the use of a mobiledevice distract you from driving. You
have a responsibility to your passen-gers and others on the road to
always drive safely, with your hands
on the wheel as well as your eyesand attention on the road.
Control your speed
Excessive speed is a major factor in
crash injuries and deaths. Generally,
the higher the speed, the greater the
risk, but serious injuries can also
occur at lower speeds. Never drive
faster than is safe for current condi-
tions, regardless of the maximumspeed posted.
Keep your vehicle in safe condi- tion
Having a tire blowout or a mechanical
failure can be extremely hazardous. Toreduce the possibility of such prob-
lems, check your tire pressures and
condition frequently, and perform all
regularly scheduled maintenance.
2
Page 90 of 653
3-4
Convenient features of your vehicle
✽✽NOTICE
If you press the Door Unlock but- ton again within four seconds,
then all the doors will unlock.
After unlocking the doors, the doors will lock automatically after
30 seconds unless a door is opened.
You can change the system to the central door unlock mode (unlock
all the doors when you press the
unlock button one time). If you want
this feature, perform the following:
Unlock mode conversion (two
stage unlock mode ↔
↔
central door
unlock mode)
The unlock mode changes alter-
nately by pressing the lock button
and unlock button on the remote
key at the same time for 4 seconds
or more. The hazard warning
lights will blink four times to indi-
cate that the mode conversion is
completed.
Panic button
Press the Panic button (4) for more
than one second. The horn sounds
and hazard warning lights flash for
about 30 seconds.
To cancel the panic mode, press any
button on the remote key.
Start-up
For detailed information refer to the
“Key Ignition Switch” in chapter 5.
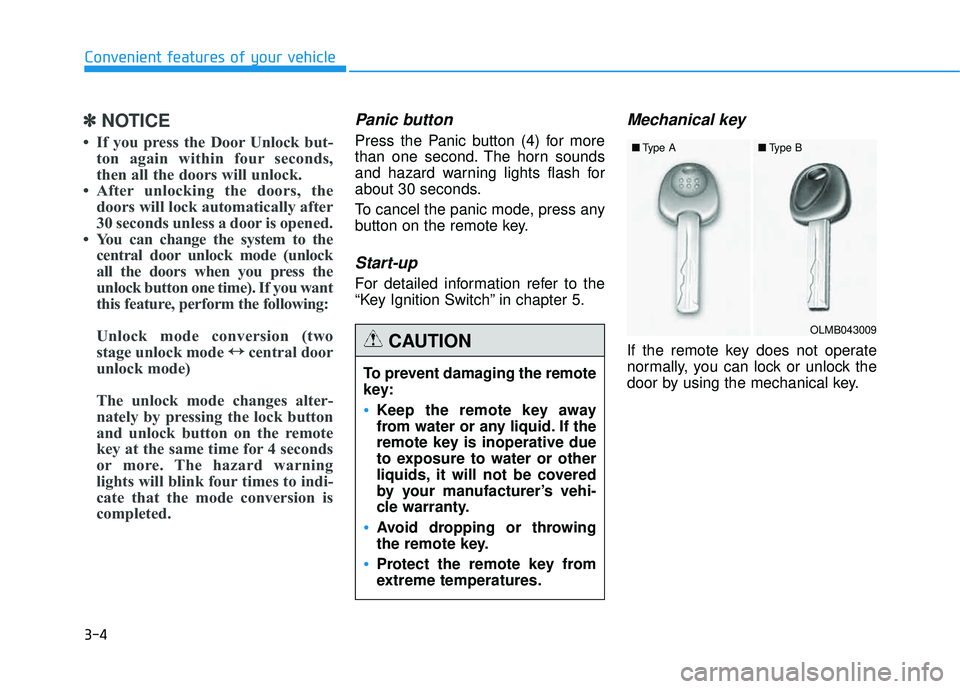
Mechanical key
If the remote key does not operate
normally, you can lock or unlock the
door by using the mechanical key.
To prevent damaging the remote
key:
•Keep the remote key away
from water or any liquid. If the
remote key is inoperative due
to exposure to water or other
liquids, it will not be covered
by your manufacturer’s vehi-
cle warranty.
Avoid dropping or throwing
the remote key.
Protect the remote key from
extreme temperatures.
CAUTIONOLMB043009
■
Type A ■Type B
Page 94 of 653
3-8
Convenient features of your vehicle
✽✽NOTICE
The door handle button will only operate when the smart key is
within 28~40 in. (0.7~1 m) from the
outside door handle. Other people
can also open the doors without the
smart key in possession.
If you press the Door Unlock but- ton again within four seconds,
then all the doors will unlock.
After unlocking the doors, the doors will lock automatically after
30 seconds unless a door is opened.
You can change the system to the central door unlock mode (unlock
all the doors when you press the
unlock button one time). If you want
this feature, perform the following:
Unlock mode conversion (two
stage unlock mode ↔
↔
central door
unlock mode)
The unlock mode changes alter-
nately by pressing the lock button
and unlock button on the smart key
at the same time for 4 seconds or
more. The hazard warning lights
will blink four times to indicate that
the mode conversion is completed.
Tailgate unlocking
To unlock:
1. Carry the smart key.
2. Either press the tailgate handle button or press the Tailgate Unlock
button (3) on the smart key formore than one second.
3. The hazard warning lights will blink two times.
Once the tailgate is opened and then
closed, the tailgate will lock automat-
ically.
✽✽ NOTICE
After unlocking the tailgate, the tail-
gate will lock automatically after 30
seconds unless the tailgate is opened.
Panic button
Press the Panic button (4) for more
than one second. The horn sounds
and hazard warning lights flash for
about 30 seconds.
To cancel the panic mode, press any
button on the smart key.
Page 112 of 653
3-26
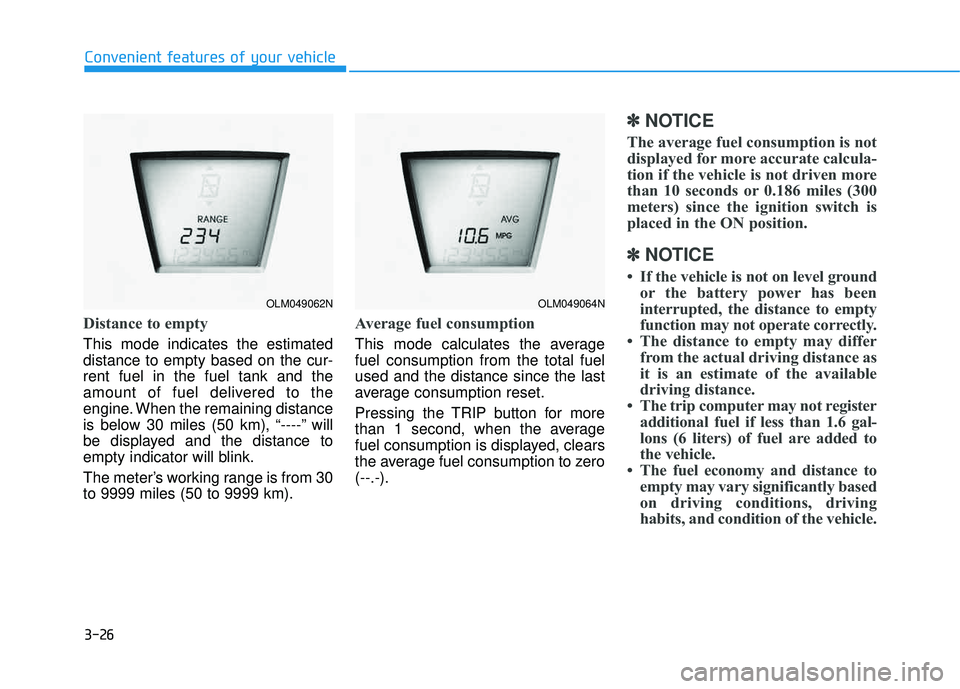
Distance to empty
This mode indicates the estimated distance to empty based on the cur-rent fuel in the fuel tank and the
amount of fuel delivered to the
engine. When the remaining distance
is below 30 miles (50 km), “----” will
be displayed and the distance to
empty indicator will blink.
The meter’s working range is from 30 to 9999 miles (50 to 9999 km).
Average fuel consumption
This mode calculates the average fuel consumption from the total fuelused and the distance since the last
average consumption reset.
Pressing the TRIP button for more
than 1 second, when the average
fuel consumption is displayed, clears
the average fuel consumption to zero(--.-).
✽✽NOTICE
The average fuel consumption is not
displayed for more accurate calcula-
tion if the vehicle is not driven more
than 10 seconds or 0.186 miles (300
meters) since the ignition switch is
placed in the ON position.
✽
✽ NOTICE
If the vehicle is not on level ground or the battery power has been
interrupted, the distance to empty
function may not operate correctly.
The distance to empty may differ from the actual driving distance as
it is an estimate of the available
driving distance.
The trip computer may not register additional fuel if less than 1.6 gal-
lons (6 liters) of fuel are added to
the vehicle.
The fuel economy and distance to empty may vary significantly based
on driving conditions, driving
habits, and condition of the vehicle.
Convenient features of your vehicle
OLM049062NOLM049064N
Page 113 of 653
3-27
Convenient features of your vehicle
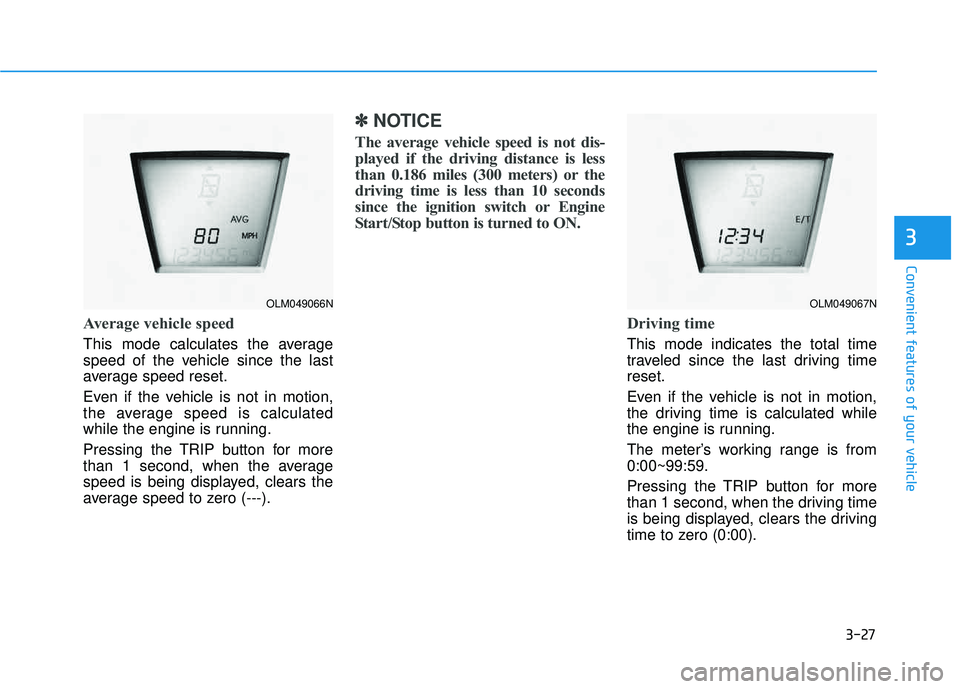
Average vehicle speed
This mode calculates the average
speed of the vehicle since the last
average speed reset.
Even if the vehicle is not in motion,
the average speed is calculated
while the engine is running.
Pressing the TRIP button for more
than 1 second, when the average
speed is being displayed, clears the
average speed to zero (---).
✽✽NOTICE
The average vehicle speed is not dis-
played if the driving distance is less
than 0.186 miles (300 meters) or the
driving time is less than 10 seconds
since the ignition switch or Engine
Start/Stop button is turned to ON.
Driving time
This mode indicates the total time
traveled since the last driving timereset.
Even if the vehicle is not in motion,
the driving time is calculated while
the engine is running.
The meter’s working range is from 0:00~99:59.
Pressing the TRIP button for more
than 1 second, when the driving time
is being displayed, clears the driving
time to zero (0:00).
3
OLM049066NOLM049067N
Page 117 of 653
3-31
Convenient features of your vehicle
3
Seat belt warning
As a reminder to the driver, the seat
belt warning light will blink for
approximately 6 seconds each time
you turn the ignition switch ON,
regardless of belt fastening.
For details, refer to the seat belt on chapter 2.
Turn signal indicator
The left or right turn signal blinks
when you signal a lane change or
turn. If the arrow comes on but does
not blink, blinks more rapidly than
normal, or does not illuminate at all,
a malfunction in the turn signal sys-
tem is indicated. Your dealer should
be consulted for repairs.
This indicator also blinks when the
hazard warning flasher button ispressed.
Driving the vehicle with a warn-
ing light on is dangerous. If thebrake warning light remains on,
have the brakes checked and
repaired immediately by an
authorized HYUNDAI dealer.
WARNING
Page 132 of 653
3-46
Convenient features of your vehicle
Blue Link®
center (if equipped)
For details, refer to the Blue Link ®
Owner’s Guide, Navigation Manual
or Audio Manual. The Audio Manualis in the chapter 4.
Electric chromic mirror (ECM) with compass and HomeLink ®
system (if equipped)
Your vehicle may be equipped with a
Gentex Automatic-Dimming Mirror
with a Z-Nav™ Electronic Compass
Display and an Integrated HomeLink ®
Wireless Control System.
During nighttime driving, this feature will automatically detect and reduce
rearview mirror glare while the com-
pass indicates the direction the vehi-
cle is pointed. The HomeLink ®
Universal Transceiver allows you to
activate your garage door(s), electric
gate, home lighting, etc. (1) Channel 1 button
(2) Channel 2 button (3) Status indicator LED
(4) Channel 3 button (5) Rear light sensor
(6) Dimming ON/OFF button
(7) Compass control button
(8) Compass display
OLMB043462
OLMB043463
■
Type A
■ Type B
OLMB043464