2015 Hyundai Sonata brake light
[x] Cancel search: brake lightPage 194 of 603

3-99
Convenient features of your vehicle
3
Low Tire PressureWarning Light
This warning light illuminates:
Once you set the ignition switch or
the Engine Start/Stop button to the
ON position.
- It illuminates for approximately 3seconds and then goes off.
When one or more of your tires are significantly underinflated (The
location of the underinflated tires
are displayed on the LCD display).
For more information, refer to
"Tire Pressure Monitoring System
(TPMS)" in chapter 6.
This warning light remains on after
blinking for approximately 60 sec-
onds or repeats blinking and off at
the intervals of approximately 3
seconds:
When there is a malfunction with the
TPMS.
In this case, have your vehicle inspect-
ed by an authorized HYUNDAI dealer.
For more information, refer to
"Tire Pressure Monitoring System
(TPMS)" in chapter 6.
Safe Stopping
The TPMS cannot alert you to
severe and sudden tire damage
caused by external factors.
If you notice any vehicle insta-
bility, immediately take your
foot off the accelerator pedal,
apply the brakes gradually with
light force, and slowly move to
a safe position off the road.
WARNING
Page 195 of 603
3-100
Convenient features of your vehicle
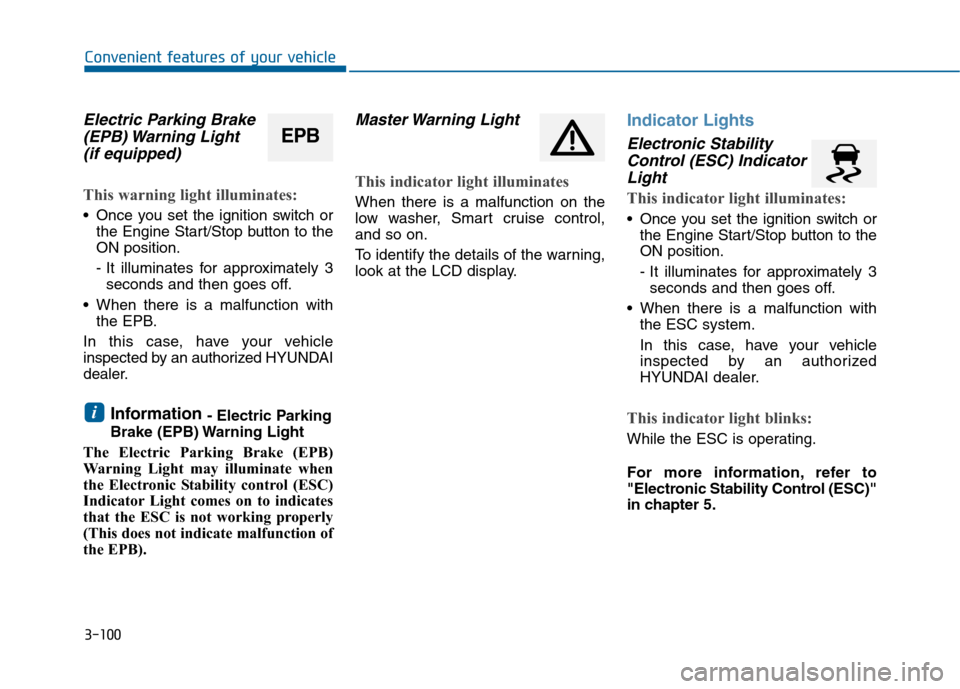
Electric Parking Brake(EPB) Warning Light (if equipped)
This warning light illuminates:
Once you set the ignition switch or
the Engine Start/Stop button to the
ON position.
- It illuminates for approximately 3seconds and then goes off.
When there is a malfunction with the EPB.
In this case, have your vehicle
inspected by an authorized HYUNDAI
dealer.
Information - Electric Parking
Brake (EPB) Warning Light
The Electric Parking Brake (EPB)
Warning Light may illuminate when
the Electronic Stability control (ESC)
Indicator Light comes on to indicates
that the ESC is not working properly
(This does not indicate malfunction of
the EPB).
Master Warning Light
This indicator light illuminates
When there is a malfunction on the
low washer, Smart cruise control,
and so on.
To identify the details of the warning,
look at the LCD display.
Indicator Lights
Electronic Stability Control (ESC) IndicatorLight
This indicator light illuminates:
Once you set the ignition switch or
the Engine Start/Stop button to the
ON position.
- It illuminates for approximately 3seconds and then goes off.
When there is a malfunction with the ESC system.
In this case, have your vehicle
inspected by an authorized
HYUNDAI dealer.
This indicator light blinks:
While the ESC is operating.
For more information, refer to
"Electronic Stability Control (ESC)"
in chapter 5.
i
EPB
Page 198 of 603
3-103
Convenient features of your vehicle
3
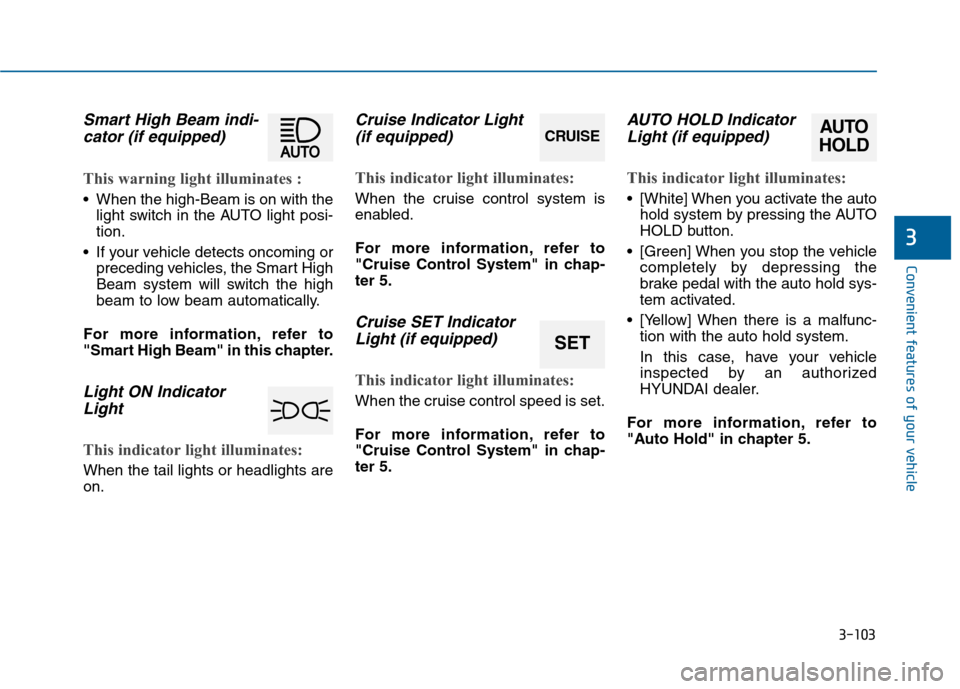
Smart High Beam indi-cator (if equipped)
This warning light illuminates :
When the high-Beam is on with the
light switch in the AUTO light posi-
tion.
If your vehicle detects oncoming or preceding vehicles, the Smart High
Beam system will switch the high
beam to low beam automatically.
For more information, refer to
"Smart High Beam" in this chapter.
Light ON Indicator Light
This indicator light illuminates:
When the tail lights or headlights are
on.
Cruise Indicator Light(if equipped)
This indicator light illuminates:
When the cruise control system is
enabled.
For more information, refer to
"Cruise Control System" in chap-
ter 5.
Cruise SET IndicatorLight (if equipped)
This indicator light illuminates:
When the cruise control speed is set.
For more information, refer to
"Cruise Control System" in chap-
ter 5.
AUTO HOLD IndicatorLight (if equipped)
This indicator light illuminates:
[White] When you activate the auto
hold system by pressing the AUTO
HOLD button.
[Green] When you stop the vehicle completely by depressing the
brake pedal with the auto hold sys-
tem activated.
[Yellow] When there is a malfunc- tion with the auto hold system.
In this case, have your vehicle
inspected by an authorized
HYUNDAI dealer.
For more information, refer to
"Auto Hold" in chapter 5.
CRUISE
SET
AUTO
HOLD
Page 207 of 603
3-112
Convenient features of your vehicle
Daytime running light (DRL) (if equipped)
The Daytime Running Lights (DRL)
can make it easier for others to see
the front of your vehicle during the
day, especially after dawn and before
sunset.
for U.S.A
The DRL will turn off when:
1. The light switch is not in the AUTO
position.
2. The parking brake is applied.
3. The engine is turned off.
1. The light switch is not in DRL posi- tion.
2. The parking brake is applied.
3. The engine is turned off.
for Canada
The DRL will turn off when:
1. The light switch is in the headlamp position, including the operation
that the headlamp is turned on
automatically in the AUTO light
position.
2. The parking brake is applied.
3. The engine is turned off.
Page 359 of 603

Driving your vehicle
5
Before Driving ........................................................5-4
Before Entering the Vehicle ...........................................5-4
Before Starting ..................................................................5-4
Ignition Switch ........................................................5-6
Key Ignition Switch ...........................................................5-6
Engine Start/Stop Button................................................5-9
Transmission .........................................................5-14
Automatic Transmission .................................................5-14
Dual Clutch Transmission ..............................................5-18
Paddle Shifter .................................................................5-24
Shift-Lock System .........................................................5-25
Shift-Lock Override .......................................................5-25
Parking ........................................................................\
.......5-26
Good Driving Practices .................................................5-26
Braking System ....................................................5-28
Power Brakes ...................................................................5-28
Disc Brakes Wear Indicator ..........................................5-29
Foot Parking Brake.........................................................5-29
Electric Parking Brake (EPB) ......................................5-31
AUTO HOLD .....................................................................5-3\
7
Anti-lock Brake System (ABS) ....................................5-40
Electronic Stability Control (ESC)................................5-43
Hill-Start Assist Control (HAC) ................................5-46
Good Braking Practices ................................................5-47
Drive Mode Integrated Control System ............5-48
Cruise Control .......................................................5-50
Cruise Control Operation...............................................5-50
Smart Cruise Control system ............................5-54
To Adjust the Sensitivity of Smart Cruise Control ...5-55
To Convert to Cruise Control Mode............................5-55
Smart Cruise Control Speed .........................................5-56
Smart Cruise Control Vehicle-to-Vehicle Distance...5-60
Radar to Detect Distance to the Vehicle Ahead .....5-63
Limitations of the System .............................................5-64
Lane Departure Warning System (LDWS) ......5-69
LDWS Operation ..............................................................5-70
Warning Light and Message.........................................5-71
Foward Collision Warning System (FCWS) ......5-73
FCWS Operation ..............................................................5-73
Limitations of the System .............................................5-74
Blind Spot Detection System (BSD) ..................5-76
BSD (Blind Spot Detection) /
LCA (Lane Change Assist) .............................................5-77
RCTA (Rear Cross Traffic Alert) ..................................5-80
Page 369 of 603
5-11
Driving your vehicle
5
Button PositionAction Notice
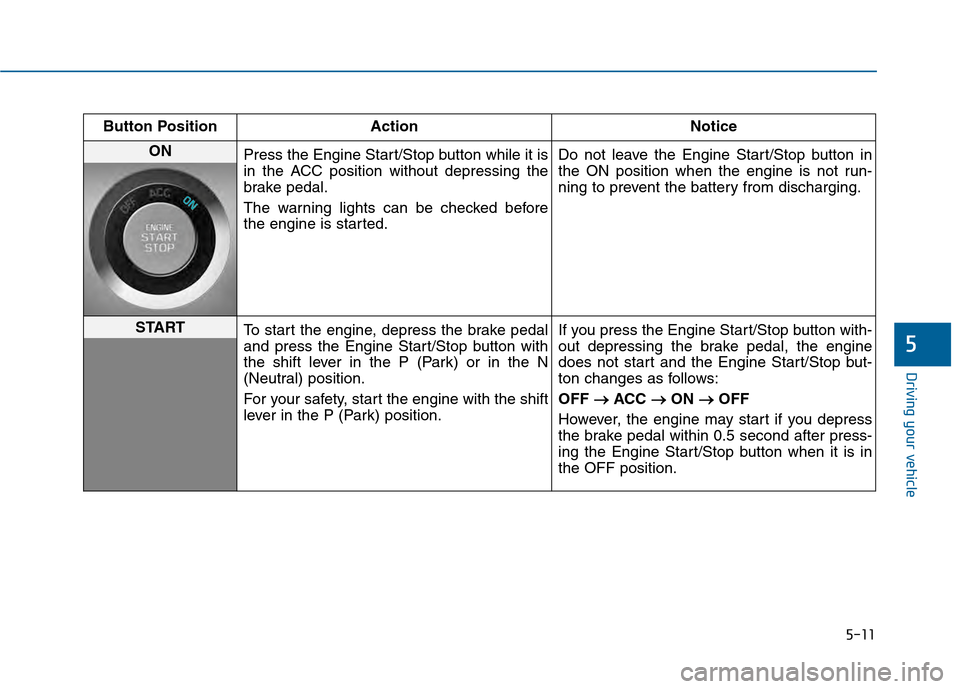
ON
Press the Engine Start/Stop button while it is
in the ACC position without depressing the
brake pedal.
The warning lights can be checked before
the engine is started. Do not leave the Engine Start/Stop button in
the ON position when the engine is not run-
ning to prevent the battery from discharging.
START
To start the engine, depress the brake pedal
and press the Engine Start/Stop button with
the shift lever in the P (Park) or in the N
(Neutral) position.
For your safety, start the engine with the shift
lever in the P (Park) position. If you press the Engine Start/Stop button with-
out depressing the brake pedal, the engine
does not start and the Engine Start/Stop but-
ton changes as follows:
OFF
→ →
ACC →
→
ON →
→
OFF
However, the engine may start if you depress
the brake pedal within 0.5 second after press-
ing the Engine Start/Stop button when it is in
the OFF position.
Page 384 of 603
5-26
Driving your vehicle
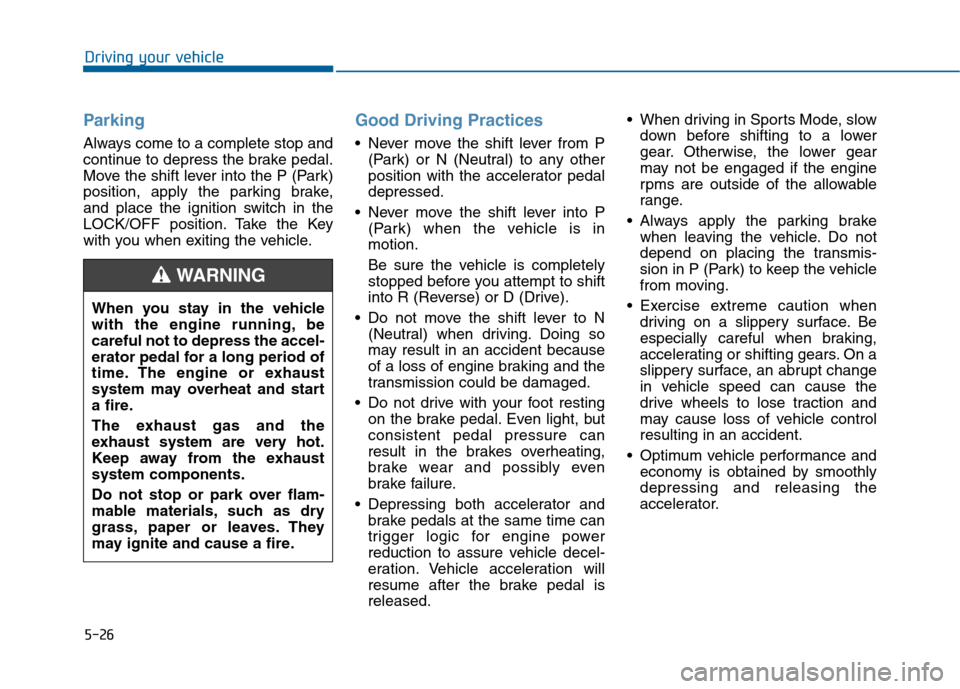
Parking
Always come to a complete stop and
continue to depress the brake pedal.
Move the shift lever into the P (Park)
position, apply the parking brake,
and place the ignition switch in the
LOCK/OFF position. Take the Key
with you when exiting the vehicle.
Good Driving Practices
Never move the shift lever from P(Park) or N (Neutral) to any other
position with the accelerator pedal
depressed.
Never move the shift lever into P (Park) when the vehicle is in
motion.
Be sure the vehicle is completely
stopped before you attempt to shift
into R (Reverse) or D (Drive).
Do not move the shift lever to N (Neutral) when driving. Doing so
may result in an accident because
of a loss of engine braking and the
transmission could be damaged.
Do not drive with your foot resting on the brake pedal. Even light, but
consistent pedal pressure can
result in the brakes overheating,
brake wear and possibly even
brake failure.
Depressing both accelerator and brake pedals at the same time can
trigger logic for engine power
reduction to assure vehicle decel-
eration. Vehicle acceleration will
resume after the brake pedal is
released. When driving in Sports Mode, slow
down before shifting to a lower
gear. Otherwise, the lower gear
may not be engaged if the engine
rpms are outside of the allowable
range.
Always apply the parking brake when leaving the vehicle. Do not
depend on placing the transmis-
sion in P (Park) to keep the vehicle
from moving.
Exercise extreme caution when driving on a slippery surface. Be
especially careful when braking,
accelerating or shifting gears. On a
slippery surface, an abrupt change
in vehicle speed can cause the
drive wheels to lose traction and
may cause loss of vehicle control
resulting in an accident.
Optimum vehicle performance and economy is obtained by smoothly
depressing and releasing the
accelerator.
When you stay in the vehicle
with the engine running, be
careful not to depress the accel-
erator pedal for a long period of
time. The engine or exhaust
system may overheat and start
a fire.
The exhaust gas and the
exhaust system are very hot.
Keep away from the exhaust
system components.
Do not stop or park over flam-
mable materials, such as dry
grass, paper or leaves. They
may ignite and cause a fire.
WARNING
Page 386 of 603
5-28
Driving your vehicle
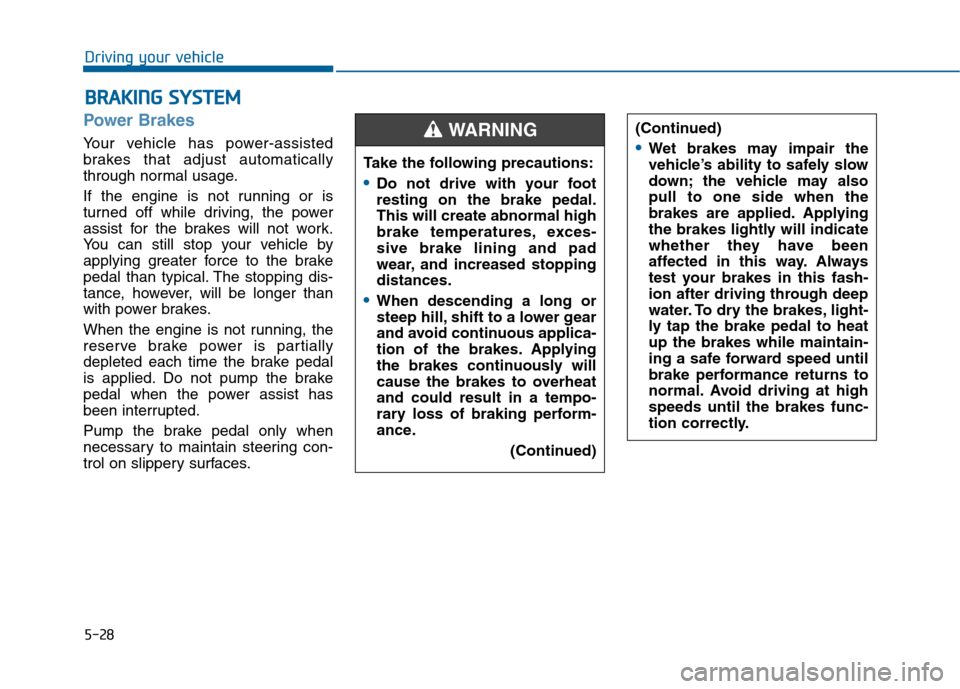
Power Brakes
Your vehicle has power-assisted
brakes that adjust automatically
through normal usage.
If the engine is not running or is
turned off while driving, the power
assist for the brakes will not work.
You can still stop your vehicle by
applying greater force to the brake
pedal than typical. The stopping dis-
tance, however, will be longer than
with power brakes.
When the engine is not running, the
reserve brake power is partially
depleted each time the brake pedal
is applied. Do not pump the brake
pedal when the power assist has
been interrupted.
Pump the brake pedal only when
necessary to maintain steering con-
trol on slippery surfaces.
B BR
RA
A K
KI
IN
N G
G
S
S Y
Y S
ST
T E
EM
M
Take the following precautions:
Do not drive with your foot
resting on the brake pedal.
This will create abnormal high
brake temperatures, exces-
sive brake lining and pad
wear, and increased stopping
distances.
When descending a long or
steep hill, shift to a lower gear
and avoid continuous applica-
tion of the brakes. Applying
the brakes continuously will
cause the brakes to overheat
and could result in a tempo-
rary loss of braking perform-
ance.
(Continued)
(Continued)
Wet brakes may impair the
vehicle’s ability to safely slow
down; the vehicle may also
pull to one side when the
brakes are applied. Applying
the brakes lightly will indicate
whether they have been
affected in this way. Always
test your brakes in this fash-
ion after driving through deep
water. To dry the brakes, light-
ly tap the brake pedal to heat
up the brakes while maintain-
ing a safe forward speed until
brake performance returns to
normal. Avoid driving at high
speeds until the brakes func-
tion correctly.
WARNING