2015 Hyundai Elantra traction control
[x] Cancel search: traction controlPage 323 of 498
519
Driving your vehicle
Good driving practices
• Never take the vehicle out of gear
and coast down a hill. This is
extremely dangerous.
• Don't "travel" the brakes. This can
cause the brakes and related parts
to overheat and malfunction.
When you are driving down a long
hill, slow down and shift to a lower
gear. Engine braking will help slow
down the vehicle.
• Slow down before shifting to a
lower gear. This will help avoid
over-revving the engine, which can
cause damage.
• Slow down when you encounter
cross winds. This gives you much
better control of your vehicle.
• Be sure the vehicle is completely
stopped before you shift into R
(Reverse) to prevent damage to
the transaxle.• Exercise extreme caution when
driving on a slippery surface. Be
especially careful when braking,
accelerating or shifting gears. On a
slippery surface, an abrupt change
in vehicle speed can cause the
drive wheels to lose traction and
may cause loss of vehicle control
resulting in an accident.CAUTION
To prevent damage to the
engine, clutch and transaxle:
• When downshifting from 5th
gear to 4th gear, be careful not
to inadvertently push the shift
lever sideways engaging the
2nd gear. A drastic downshift
may cause the engine speed
to increase to the point the
tachometer will enter the red-
zone.
• Do not downshift more than
two gear at a time or down-
shift the gear when the engine
is running at high speed
(5,000 RPM or higher). Such a
downshifting may damage the
engine, clutch and the
transaxle.
WARNING
Do not use the engine brake
(shifting from a higher gear to
lower gear) rapidly on slippery
roads. The vehicle may slip
causing an accident.
Page 331 of 498
527
Driving your vehicle
Parking
Always come to a complete stop and
continue to press the brake pedal.
Move the shift lever into the P (Park)
position, apply the parking brake,
and place the ignition switch in the
LOCK/OFF position. Take the key
with you when exiting the vehicle.
Good driving practices
• Never move the shift lever from P
(Park) or N (Neutral) to any other
position with the accelerator pedal
depressed.
• Never move the shift lever into P
(Park) when the vehicle is in
motion.
Be sure the vehicle is completely
stopped before you attempt to shift
into R (Reverse) or D (Drive).
• Do not move the shift lever to N
(Neutral) when driving. Doing so
may result in an accident because
of a loss of engine braking and the
transaxle could be damaged.
• Do not drive with your foot resting
on the brake pedal. Even light, but
consistent pedal pressure can
result in the brakes overheating,
brake wear and possibly even
brake failure.
• When driving in sports mode, slow
down before shifting to a lower
gear. Otherwise, the lower gear
may not be engaged if the engine
rpms are outside of the allowable
range.• Always apply the parking brake
when leaving the vehicle. Do not
depend on placing the transmis-
sion in P (Park) to keep the vehicle
from moving.
• Exercise extreme caution when
driving on a slippery surface. Be
especially careful when braking,
accelerating or shifting gears. On a
slippery surface, an abrupt change
in vehicle speed can cause the
drive wheels to lose traction and
may cause loss of vehicle control
resulting in an accident
• Optimum vehicle performance and
economy is obtained by smoothly
pressing and releasing the acceler-
ator.
WARNING
When you stay in the vehicle
with the engine running, be
careful not to press the acceler-
ator pedal for a long period of
time. The engine or exhaust
system may overheat and start
a fire.
The exhaust petrol and the
exhaust system are very hot.
Keep away from the exhaust
system components.
Do not stop or park over flam-
mable materials, such as dry
grass, paper or leaves. They
may ignite and cause a fire.
Page 340 of 498
Driving your vehicle
36 5
ESC operation
ESC ON condition
When the ignition switch is in the ON
position, the ESC and the ESC OFF
indicator lights illuminate for approxi-
mately three seconds and goes off,
then the ESC is turned on.
If this light stays on, your vehicle may
have a malfunction with the ESC
system. We recommend that the
vehicle be checked by an authorised
HYUNDAI dealer as soon as possi-
ble.When operating
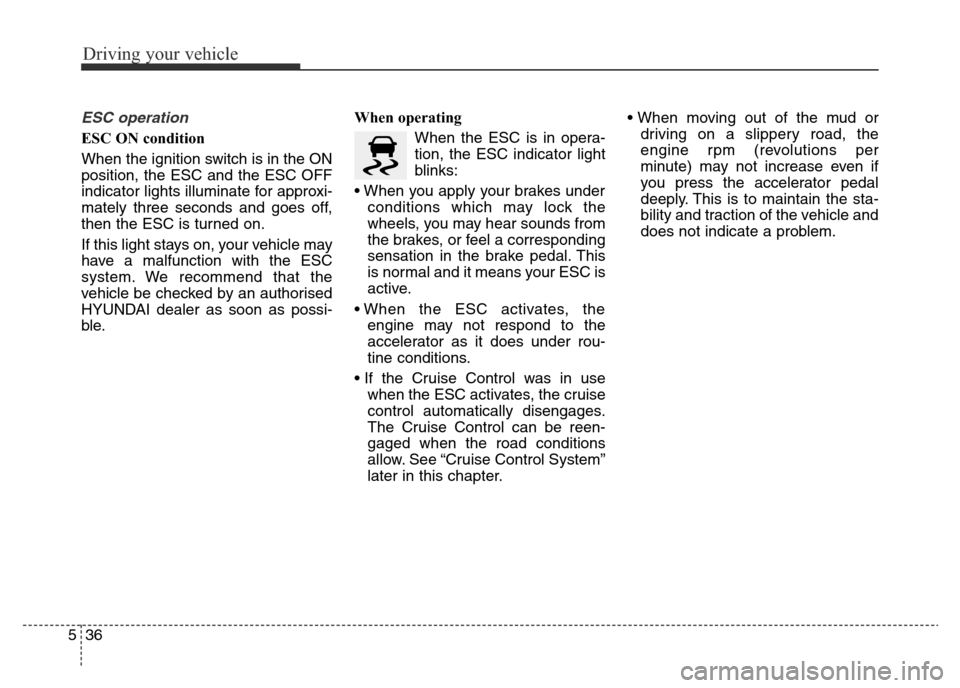
When the ESC is in opera-
tion, the ESC indicator light
blinks:
• When you apply your brakes under
conditions which may lock the
wheels, you may hear sounds from
the brakes, or feel a corresponding
sensation in the brake pedal. This
is normal and it means your ESC is
active.
• When the ESC activates, the
engine may not respond to the
accelerator as it does under rou-
tine conditions.
• If the Cruise Control was in use
when the ESC activates, the cruise
control automatically disengages.
The Cruise Control can be reen-
gaged when the road conditions
allow. See “Cruise Control System”
later in this chapter.• When moving out of the mud or
driving on a slippery road, the
engine rpm (revolutions per
minute) may not increase even if
you press the accelerator pedal
deeply. This is to maintain the sta-
bility and traction of the vehicle and
does not indicate a problem.
Page 341 of 498
537
Driving your vehicle
ESC OFF condition
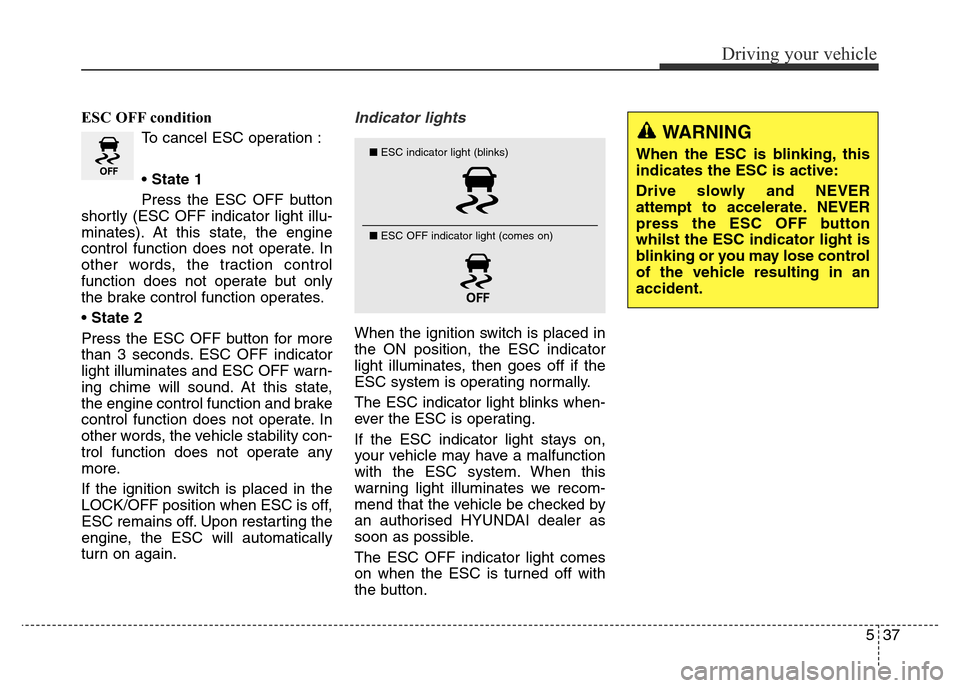
To cancel ESC operation :
• State 1
Press the ESC OFF button
shortly (ESC OFF indicator light illu-
minates). At this state, the engine
control function does not operate. In
other words, the traction control
function does not operate but only
the brake control function operates.
•State 2
Press the ESC OFF button for more
than 3 seconds. ESC OFF indicator
light illuminates and ESC OFF warn-
ing chime will sound. At this state,
the engine control function and brake
control function does not operate. In
other words, the vehicle stability con-
trol function does not operate any
more.
If the ignition switch is placed in the
LOCK/OFF position when ESC is off,
ESC remains off. Upon restarting the
engine, the ESC will automatically
turn on again.Indicator lights
When the ignition switch is placed in
the ON position, the ESC indicator
light illuminates, then goes off if the
ESC system is operating normally.
The ESC indicator light blinks when-
ever the ESC is operating.
If the ESC indicator light stays on,
your vehicle may have a malfunction
with the ESC system. When this
warning light illuminates we recom-
mend that the vehicle be checked by
an authorised HYUNDAI dealer as
soon as possible.
The ESC OFF indicator light comes
on when the ESC is turned off with
the button.
■ESC indicator light (blinks)
■ ESC OFF indicator light (comes on)
WARNING
When the ESC is blinking, this
indicates the ESC is active:
Drive slowly and NEVER
attempt to accelerate. NEVER
press the ESC OFF button
whilst the ESC indicator light is
blinking or you may lose control
of the vehicle resulting in an
accident.
Page 343 of 498
539
Driving your vehicle
Vehicle Stability Management
(if equipped)
Vehicle Stability Management (VSM)
helps ensure the vehicle stays stable
when accelerating or braking sud-
denly on wet, slippery and rough
roads where traction over the four
tyres can suddenly become uneven.
VSM operation
VSM ON condition
The VSM operates when:
• The Electronic Stability Control
(ESC) is on.
• Vehicle speed is approximately
above 15 km/h on winding roads.
• Vehicle speed is approximately
above 20 km/h when the vehicle is
braking on rough roads.
When operating
When you apply your brakes under
conditions which may activate the
ESC, you may hear sounds from the
brakes, or feel a corresponding sen-
sation in the brake pedal. This is nor-
mal and it means your VSM is active.
✽NOTICE
The VSM does not operate when:
• Driving on a gradient or incline
• Driving rearward.
• ESC OFF indicator light is on.
• EPS (Electric Power Steering)
warning light ( ) is on.
WARNING
Take the following precautions
when using the Vehicle Stability
Management (VSM):
• ALWAYS check the speed and
the distance to the vehicle
ahead. The VSM is not a sub-
stitute for safe driving prac-
tices.
• Never drive too fast for the
road conditions. The VSM sys-
tem will not prevent acci-
dents. Excessive speed in bad
weather, slippery and uneven
roads can result in severe
accidents.
Page 396 of 498
Maintenance
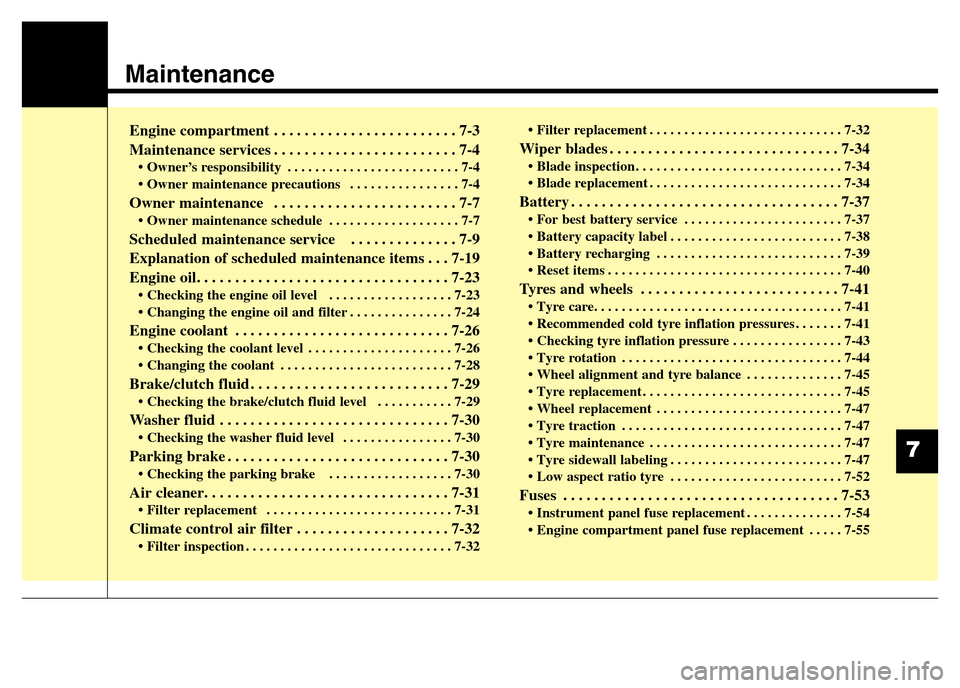
Engine compartment . . . . . . . . . . . . . . . . . . . . . . . . 7-3
Maintenance services . . . . . . . . . . . . . . . . . . . . . . . . 7-4
• Owner’s responsibility . . . . . . . . . . . . . . . . . . . . . . . . . 7-4
• Owner maintenance precautions . . . . . . . . . . . . . . . . 7-4
Owner maintenance . . . . . . . . . . . . . . . . . . . . . . . . 7-7
• Owner maintenance schedule . . . . . . . . . . . . . . . . . . . 7-7
Scheduled maintenance service . . . . . . . . . . . . . . 7-9
Explanation of scheduled maintenance items . . . 7-19
Engine oil. . . . . . . . . . . . . . . . . . . . . . . . . . . . . . . . . 7-23
• Checking the engine oil level . . . . . . . . . . . . . . . . . . 7-23
• Changing the engine oil and filter . . . . . . . . . . . . . . . 7-24
Engine coolant . . . . . . . . . . . . . . . . . . . . . . . . . . . . 7-26
• Checking the coolant level . . . . . . . . . . . . . . . . . . . . . 7-26
• Changing the coolant . . . . . . . . . . . . . . . . . . . . . . . . . 7-28
Brake/clutch fluid . . . . . . . . . . . . . . . . . . . . . . . . . . 7-29
• Checking the brake/clutch fluid level . . . . . . . . . . . 7-29
Washer fluid . . . . . . . . . . . . . . . . . . . . . . . . . . . . . . 7-30
• Checking the washer fluid level . . . . . . . . . . . . . . . . 7-30
Parking brake . . . . . . . . . . . . . . . . . . . . . . . . . . . . . 7-30
• Checking the parking brake . . . . . . . . . . . . . . . . . . 7-30
Air cleaner. . . . . . . . . . . . . . . . . . . . . . . . . . . . . . . . 7-31
• Filter replacement . . . . . . . . . . . . . . . . . . . . . . . . . . . 7-31
Climate control air filter . . . . . . . . . . . . . . . . . . . . 7-32
• Filter inspection . . . . . . . . . . . . . . . . . . . . . . . . . . . . . . 7-32• Filter replacement . . . . . . . . . . . . . . . . . . . . . . . . . . . . 7-32
Wiper blades . . . . . . . . . . . . . . . . . . . . . . . . . . . . . . 7-34
• Blade inspection . . . . . . . . . . . . . . . . . . . . . . . . . . . . . . 7-34
• Blade replacement . . . . . . . . . . . . . . . . . . . . . . . . . . . . 7-34
Battery . . . . . . . . . . . . . . . . . . . . . . . . . . . . . . . . . . . 7-37
• For best battery service . . . . . . . . . . . . . . . . . . . . . . . 7-37
• Battery capacity label . . . . . . . . . . . . . . . . . . . . . . . . . 7-38
• Battery recharging . . . . . . . . . . . . . . . . . . . . . . . . . . . 7-39
• Reset items . . . . . . . . . . . . . . . . . . . . . . . . . . . . . . . . . . 7-40
Tyres and wheels . . . . . . . . . . . . . . . . . . . . . . . . . . 7-41
• Tyre care. . . . . . . . . . . . . . . . . . . . . . . . . . . . . . . . . . . . 7-41
• Recommended cold tyre inflation pressures . . . . . . . 7-41
• Checking tyre inflation pressure . . . . . . . . . . . . . . . . 7-43
• Tyre rotation . . . . . . . . . . . . . . . . . . . . . . . . . . . . . . . . 7-44
• Wheel alignment and tyre balance . . . . . . . . . . . . . . 7-45
• Tyre replacement . . . . . . . . . . . . . . . . . . . . . . . . . . . . . 7-45
• Wheel replacement . . . . . . . . . . . . . . . . . . . . . . . . . . . 7-47
• Tyre traction . . . . . . . . . . . . . . . . . . . . . . . . . . . . . . . . 7-47
• Tyre maintenance . . . . . . . . . . . . . . . . . . . . . . . . . . . . 7-47
• Tyre sidewall labeling . . . . . . . . . . . . . . . . . . . . . . . . . 7-47
• Low aspect ratio tyre . . . . . . . . . . . . . . . . . . . . . . . . . 7-52
Fuses . . . . . . . . . . . . . . . . . . . . . . . . . . . . . . . . . . . . 7-53
• Instrument panel fuse replacement . . . . . . . . . . . . . . 7-54
• Engine compartment panel fuse replacement . . . . . 7-55
7
Page 441 of 498
Maintenance
46 7
Compact spare tyre replacement
(if equipped)
A compact spare tyre has a shorter
tread life than a regular size tyre.
Replace it when you can see the
tread wear indicator bars on the tyre.
The replaced compact spare tyre
should be the same size and design
tyre as the one provided with your
new vehicle and should be mounted
on the same compact spare tyre
wheel. The compact spare tyre is not
designed to be mounted on a regular
size wheel or tyre.
(Continued)
• Using tyres and wheels other
than the recommended sizes
could cause unusual handling
characteristics and poor vehi-
cle control, resulting in a seri-
ous accident.
• Wheels that do not meet
HYUNDAI’s specifications
may fit poorly and result in
damage to the vehicle or
unusual handling and poor
vehicle control.
• The ABS works by comparing
the speed of the wheels. Tyre
size can affect wheel speed.
When replacing tyres, all 4
tyres must use the same size
originally supplied with the
vehicle. Using tyres of a dif-
ferent size can cause the ABS
(Anti-lock Brake System) and
ESC (Electronic Stability
Control) (if equipped) to work
irregularly.WARNING - Replacing
tyres
To reduce the chance or a seri-
ous or fatal injuries from an
accident caused by tyre failure
or loss of vehicle control:
• Replace tyres that are worn,
show uneven wear, or are
damaged. Worn tyres can
cause loss of braking effec-
tiveness, steering control, and
traction.
• Do not drive your vehicle with
too little or too much pressure
in your tyres. This can lead to
uneven wear and tyre failure.
• When replacing tyres, never
mix radial and bias-ply tyres
on the same car. You must
replace all tyres (including the
spare) if moving from radial to
bias-ply tyres.
(Continued)
Page 445 of 498
Maintenance
50 7
4. Tyre ply composition and mate-
rial
The number of layers or plies of rub-
ber-coated fabric are in the tyre. Tyre
manufacturers also must indicate the
materials in the tyre, which include
steel, nylon, polyester, and others.
The letter "R" means radial ply con-
struction; the letter "D" means diago-
nal or bias ply construction; and the
letter "B" means restrained-bias ply
construction.
5. Maximum permissible inflation
pressure
This number is the greatest amount of
air pressure that should be put in the
tyre. Do not exceed the maximum per-
missible inflation pressure. Refer to
the Tyre and Loading Information
label for recommended inflation pres-
sure.
6. Maximum load rating
This number indicates the maximum
load in kilograms and pounds that can
be carried by the tyre. When replacing
the tyres on the vehicle, always use a
tyre that has the same load rating as
the factory installed tyre.
7. Uniform tyre quality grading
Quality grades can be found where
applicable on the tyre sidewall
between tread shoulder and maxi-
mum section width.
For example:
TREAD wear 200
TRACTION AA
TEMPERATURE ATread wear
The tread wear grade is a compara-
tive rating based on the wear rate of
the tyre when tested under controlled
conditions on a specified govern-
ment test course. For example, a tyre
graded 150 would wear one-and-a-
half times (1½) as well on the gov-
ernment course as a tyre graded
100.
The relative performance of tyres
depends upon the actual conditions
of their use, however, and may
depart significantly from the norm
due to variations in driving habits,
service practices and differences in
road characteristics and climate.
These grades are molded on the
side-walls of passenger vehicle
tyres. The tyres available as standard
or optional equipment on your vehi-
cle may vary with respect to grade.