Page 424 of 498

729
Maintenance
BRAKE/CLUTCH FLUID (IF EQUIPPED)
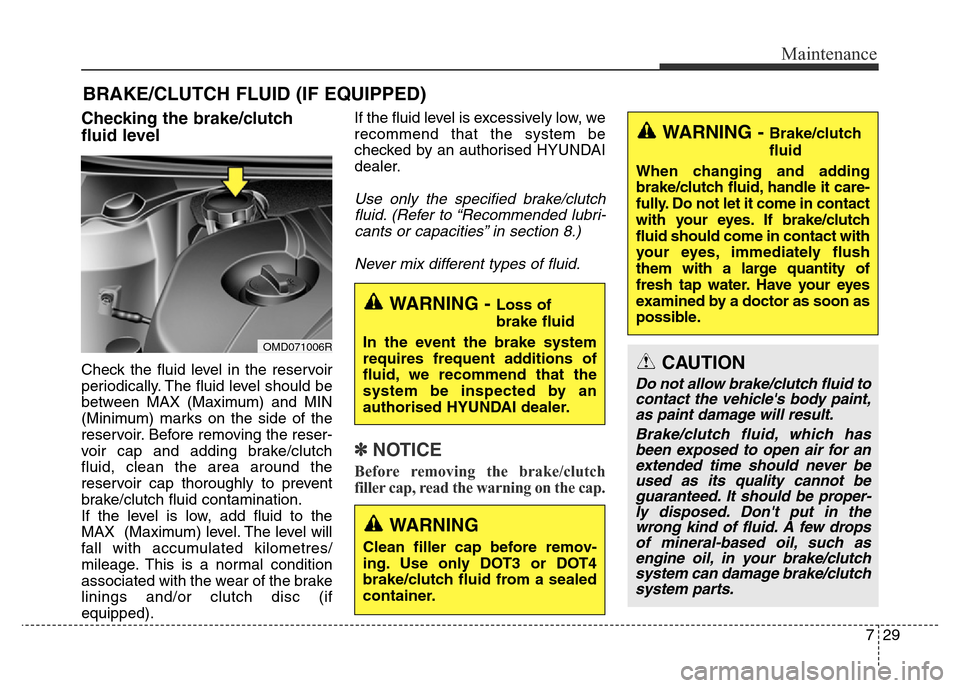
Checking the brake/clutch
fluid level
Check the fluid level in the reservoir
periodically. The fluid level should be
between MAX (Maximum) and MIN
(Minimum) marks on the side of the
reservoir. Before removing the reser-
voir cap and adding brake/clutch
fluid, clean the area around the
reservoir cap thoroughly to prevent
brake/clutch fluid contamination.
If the level is low, add fluid to the
MAX (Maximum) level. The level will
fall with accumulated kilometres/
mileage. This is a normal condition
associated with the wear of the brake
linings and/or clutch disc (if
equipped).If the fluid level is excessively low, we
recommend that the system be
checked by an authorised HYUNDAI
dealer.
Use only the specified brake/clutch
fluid. (Refer to “Recommended lubri-
cants or capacities” in section 8.)
Never mix different types of fluid.
✽NOTICE
Before removing the brake/clutch
filler cap, read the warning on the cap.
WARNING - Loss of
brake fluid
In the event the brake system
requires frequent additions of
fluid, we recommend that the
system be inspected by an
authorised HYUNDAI dealer.
WARNING - Brake/clutch
fluid
When changing and adding
brake/clutch fluid, handle it care-
fully. Do not let it come in contact
with your eyes. If brake/clutch
fluid should come in contact with
your eyes, immediately flush
them with a large quantity of
fresh tap water. Have your eyes
examined by a doctor as soon as
possible.
CAUTION
Do not allow brake/clutch fluid to
contact the vehicle's body paint,
as paint damage will result.
Brake/clutch fluid, which has
been exposed to open air for an
extended time should never be
used as its quality cannot be
guaranteed. It should be proper-
ly disposed. Don't put in the
wrong kind of fluid. A few drops
of mineral-based oil, such as
engine oil, in your brake/clutch
system can damage brake/clutch
system parts.
OMD071006R
WARNING
Clean filler cap before remov-
ing. Use only DOT3 or DOT4
brake/clutch fluid from a sealed
container.
Page 425 of 498

Maintenance
30 7
WASHER FLUID
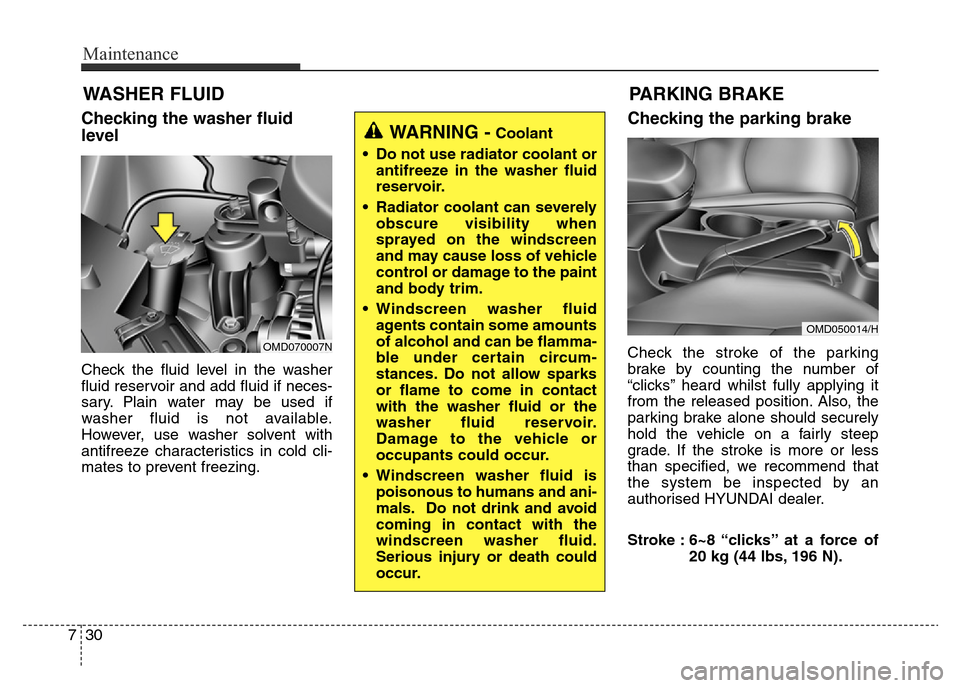
Checking the washer fluid
level
Check the fluid level in the washer
fluid reservoir and add fluid if neces-
sary. Plain water may be used if
washer fluid is not available.
However, use washer solvent with
antifreeze characteristics in cold cli-
mates to prevent freezing.
Checking the parking brake
Check the stroke of the parking
brake by counting the number of
“clicks’’ heard whilst fully applying it
from the released position. Also, the
parking brake alone should securely
hold the vehicle on a fairly steep
grade. If the stroke is more or less
than specified, we recommend that
the system be inspected by an
authorised HYUNDAI dealer.
Stroke : 6~8 “clicks’’ at a force of
20 kg (44 lbs, 196 N).
PARKING BRAKE
WARNING -Coolant
• Do not use radiator coolant or
antifreeze in the washer fluid
reservoir.
• Radiator coolant can severely
obscure visibility when
sprayed on the windscreen
and may cause loss of vehicle
control or damage to the paint
and body trim.
• Windscreen washer fluid
agents contain some amounts
of alcohol and can be flamma-
ble under certain circum-
stances. Do not allow sparks
or flame to come in contact
with the washer fluid or the
washer fluid reservoir.
Damage to the vehicle or
occupants could occur.
• Windscreen washer fluid is
poisonous to humans and ani-
mals. Do not drink and avoid
coming in contact with the
windscreen washer fluid.
Serious injury or death could
occur.
OMD070007N
OMD050014/H
Page 426 of 498
731
Maintenance
AIR CLEANER
Filter replacement
You can clean the filter when inspect-
ing the air cleaner element.
Clean the filter by using compressed
air.
1. Loosen the air cleaner cover
attaching clips and open the cover.2. Wipe the inside of the air cleaner.
3. Replace the air cleaner filter.
4. Lock the cover with the cover
attaching clips.Replace the filter according to the
Maintenance Schedule.
If the vehicle is operated in extreme-
ly dusty or sandy areas, replace the
element more often than the usual
recommended intervals. (Refer to
“Maintenance under severe usage
conditions” in this section.)
CAUTION
• Do not drive with the air clean-
er removed; this will result in
excessive engine wear.
• When removing the air cleaner
filter, be careful that dust or
dirt does not enter the air
intake, or damage may result.
• We recommend that you use
parts for replacement from an
authorised HYUNDAI dealer.
OMD070011
OMD070012
Page 427 of 498
Maintenance
32 7
CLIMATE CONTROL AIR FILTER (IF EQUIPPED)
Filter inspection
If the vehicle is operated in severely
air-polluted cities or on dusty rough
roads for a long period, it should be
inspected more frequently and
replaced earlier. When you, the
owner, replace the climate control air
filter, replace it performing the follow-
ing procedure, and be careful to
avoid damaging other components.
Replace the filter according to the
maintenance schedule.
Filter replacement
1. Open the glove box.2. Remove the stoppers by turning
them anticlockwise on both sides.
OMD070013/H
OMD040129/H
Page 428 of 498
733
Maintenance
3. Remove the climate control air fil-
ter cover whilst pressing the lock
on both sides of the cover.4. Replace the climate control air filter.
5. Reassemble in the reverse order
of disassembly.
✽NOTICE
Install a new climate control air fil-
ter in the correct direction with the
arrow symbol (
↓) facing downwards.
Otherwise, the climate control
effects may decrease, possibly with a
noise.
OMD071015ROHG075041
Page 429 of 498

Maintenance
34 7
WIPER BLADES
Blade inspection
✽NOTICE
Commercial hot waxes applied by
automatic car washes have been
known to make the windscreen diffi-
cult to clean.
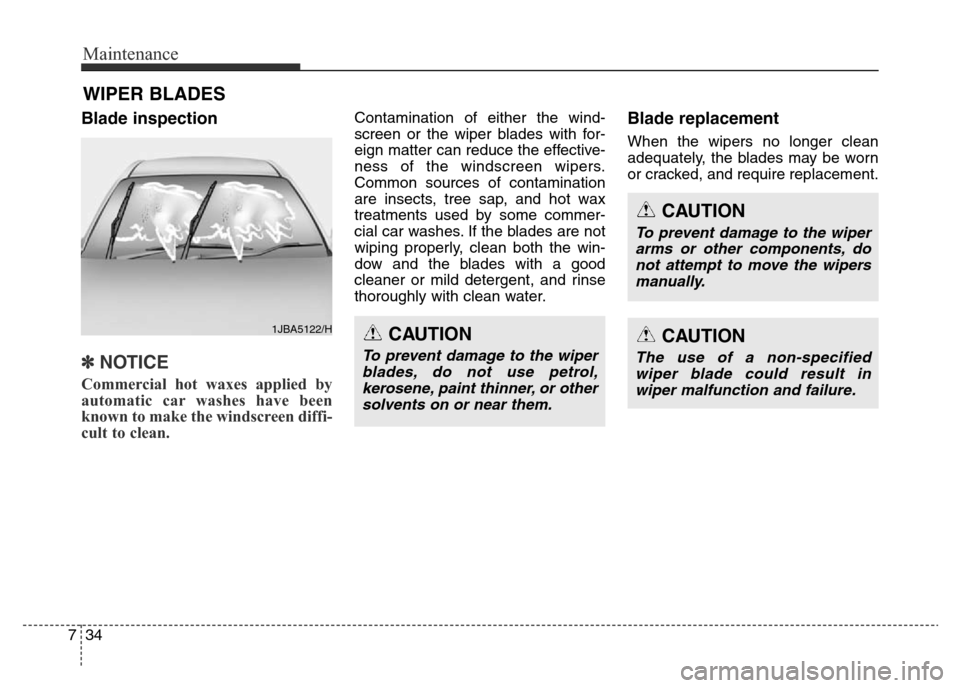
Contamination of either the wind-
screen or the wiper blades with for-
eign matter can reduce the effective-
ness of the windscreen wipers.
Common sources of contamination
are insects, tree sap, and hot wax
treatments used by some commer-
cial car washes. If the blades are not
wiping properly, clean both the win-
dow and the blades with a good
cleaner or mild detergent, and rinse
thoroughly with clean water.Blade replacement
When the wipers no longer clean
adequately, the blades may be worn
or cracked, and require replacement.
1JBA5122/H
CAUTION
To prevent damage to the wiper
arms or other components, do
not attempt to move the wipers
manually.
CAUTION
The use of a non-specified
wiper blade could result in
wiper malfunction and failure.
CAUTION
To prevent damage to the wiper
blades, do not use petrol,
kerosene, paint thinner, or other
solvents on or near them.
Page 430 of 498
735
Maintenance
Front windscreen wiper blade
Ty p e A
1. Raise the wiper arm and turn the
wiper blade assembly to expose
the plastic locking clip.
2. Compress the clip and slide the
blade assembly downward.
3. Lift it off the arm.
4. Install the blade assembly in the
reverse order of removal.Ty p e B
1. Raise the wiper arm.
1LDA5023/H
CAUTION
Do not allow the wiper arm to
fall against the windscreen, as it
may chip or crack the wind-
screen.
1JBA7037/H
1JBA7038/H
OHM078059/H
CAUTION
Do not allow the wiper arm to
fall against the windscreen, as it
may chip or crack the wind-
screen.
Page 431 of 498
Maintenance
36 7
2. Lift up the wiper blade clip, then
pull down the blade assembly and
remove it.3. Install the new blade assembly in
the reverse order of removal.
OYF079061ROHM078061/H