2015 Hyundai Elantra air condition
[x] Cancel search: air conditionPage 382 of 498
✽NOTICE
An inappropriately disposed
battery can be harmful to
the environment and human
health. Dispose of the bat-
tery according to your local
law(s) or regulation.
Jump starting procedure
1.Position the vehicles close enough
that the jumper cables will reach,
but do not allow the vehicles to
touch.
2.Avoid fans or any moving parts in
the engine compartment at all
times, even when the vehicles are
turned off.
3.Turn off all electrical devices such
as radios, lights, air conditioning,
etc. Put the vehicles in P (Park, for
automatic transaxle vehicle) or
neutral (for manual transaxle vehi-
cle), and set the parking brakes.
Turn both vehicles OFF.
What to do in an emergency
6 6
(Continued)
• NEVER attempt to recharge
the battery when the vehicle’s
battery cables are connected
to the battery.
• The electrical ignition system
works with high voltage.
NEVER touch these compo-
nents with the engine running
or when the ignition switch is
in the ON position.
• Do not allow the (+) and (-)
jumper cables to touch. It may
cause sparks.
• The battery may rupture or
explode when you jump start
with a low or frozen battery.
Pb
CAUTION
To prevent damage to your vehi-
cle:
• Only use a 12-volt power sup-
ply (battery or jumper system)
to jump start your vehicle.
• Do not attempt to jump start
your vehicle by push-starting.
Page 384 of 498
If your temperature gauge indicates
overheating, you experience a loss
of power, or hear loud pinging or
knocking, the engine may be over-
heating. If this happens, you should:
1.Pull off the road and stop as soon
as it is safe to do so.
2.Place the shift lever in P (Park, for
automatic transaxle vehicle) or
neutral (for manual transaxle vehi-
cle) and set the parking brake. If
the air conditioning is ON, turn it
OFF.
3.If engine coolant is running out
under the vehicle or steam is com-
ing out from the bonnet, stop the
engine. Do not open the bonnet
until the coolant has stopped run-
ning or the steaming has stopped.
If there is no visible loss of engine
coolant and no steam, leave the
engine running and check to be
sure the engine cooling fan is oper-
ating. If the fan is not running, turn
the engine off.4.Check for coolant leaking from the
radiator, hoses or under the vehi-
cle. (If the air conditioning had
been in use, it is normal for cold
water to be draining from it when
you stop.)
5.If engine coolant is leaking out,
stop the engine immediately and
we recommend that you call an
authorised HYUNDAI dealer for
assistance.
IF THE ENGINE OVERHEATS
What to do in an emergency
8 6
WARNING
Whilst the engine is
running, keep hands,
clothing and tools
away from the moving
parts such as the
cooling fan and drive
belt to prevent seri-
ous injury.
WARNING
NEVER remove the
radiator cap or the
drain plug whilst the
engine and radiator
are hot. Hot coolant
and steam may blow out under
pressure, causing serious
injury.
Turn the engine off and wait
until the engine cools down.
Use extreme care when remov-
ing the radiator cap. Wrap a
thick towel around it, and turn it
anticlockwise slowly to the first
stop. Step back whilst the pres-
sure is released from the cool-
ing system. When you are sure
all the pressure has been
released, press down on the
cap, using a thick towel, and
continue turning anticlockwise
to remove it.
Page 390 of 498
What to do in an emergency
14 6
If you have a tyre gauge, check the
tyre pressure (see “Tyres and
Wheels” in chapter 8 for tyre pres-
sure instructions.). If the pressure is
lower or higher than recommended,
drive slowly to the nearest service
station and adjust it to the recom-
mended pressure. Always reinstall
the valve cap after checking or
adjusting tyre pressure. If the cap is
not replaced, air may leak from the
tyre. If you lose a valve cap, buy
another and install it as soon as pos-
sible. After changing tyres, secure
the flat tyre and return the jack and
tools to their correct storage loca-
tions.
✽NOTICE
Check the tyre pressure as soon as
possible after installing a spare tyre.
Adjust it to the recommended pres-
sure.
If any of the equipment such as the
jack, wheel nuts, studs, or other
equipment is damaged or in poor
condition, do not attempt to change
the tyre and call for assistance.
Use of compact spare tyres
(if equipped)
Compact spare tyres are designed
for emergency use only. Drive care-
fully on the compact spare tyre and
always follow the safety precautions.
CAUTION
Your vehicle has metric threads
on the studs and wheel nuts.
Make certain during tyre chang-
ing that the same nuts that were
removed are reinstalled. If you
have to replace your wheel nuts
make sure they have metric
threads to avoid damaging the
studs and ensure the wheel is
properly secured to the hub. We
recommend that you consult an
authorised HYUNDAI dealer for
assistance.
WARNING
To prevent compact spare tyre
failure and loss of control pos-
sibly resulting in an accident:
• Use the compact spare tyre
only in an emergency.
• NEVER operate your vehicle
over 80 km/h.
• Do not exceed the vehicle’s
maximum load rating or the
load carrying capacity shown
on the sidewall of the com-
pact spare tyre.
• Do not use the compact spare
tyre continuously. Repair or
replace the original tyre as
soon as possible to avoid fail-
ure of the compact spare tyre.
Page 391 of 498
615
What to do in an emergency
When driving with the compact spare
tyre mounted to your vehicle:
• Check the tyre pressure after
installing the compact spare tyre.
The compact spare tyre should be
inflated to 420 kPa (60 psi).
• Do not take this vehicle through an
automatic car wash whilst the com-
pact spare tyre is installed.
• Do not use the compact spare tyre
on any other vehicle because this
tyre has been designed especially
for your vehicle.
• The compact spare tyre’s tread life
is shorter than a regular tyre.
Inspect your compact spare tyre
regularly and replace worn com-
pact spare tyres with the same size
and design, mounted on the same
wheel.
• Do not use more than one compact
spare tyre at a time.
• Do not tow a trailer whilst the com-
pact spare tyre is installed.✽NOTICE
When the original tyre and wheel
are repaired and reinstalled on the
vehicle, the wheel nut torque must
be set correctly to prevent wheel
vibration. The correct wheel nut
tightening torque is 9-11 kg.m (65-79
lb.ft).CAUTION
To prevent damaging the com-
pact spare tyre and your vehi-
cle:
• Drive slowly enough for the
road conditions to avoid all
hazards, such as a potholes or
debris.
• Avoid driving over obstacles.
The compact spare tyre diam-
eter is smaller than the diame-
ter of a conventional tyre and
reduces the ground clearance
approximately 25 mm.
• Do not use tyre chains on the
compact spare tyre. Because
of the smaller size, a tyre
chain will not fit properly.
• Do not use the compact spare
tyre on any other wheels, nor
should standard tyres, snow
tyres, wheel covers or trim
rings be used with the com-
pact spare wheel.
Page 402 of 498
77
Maintenance
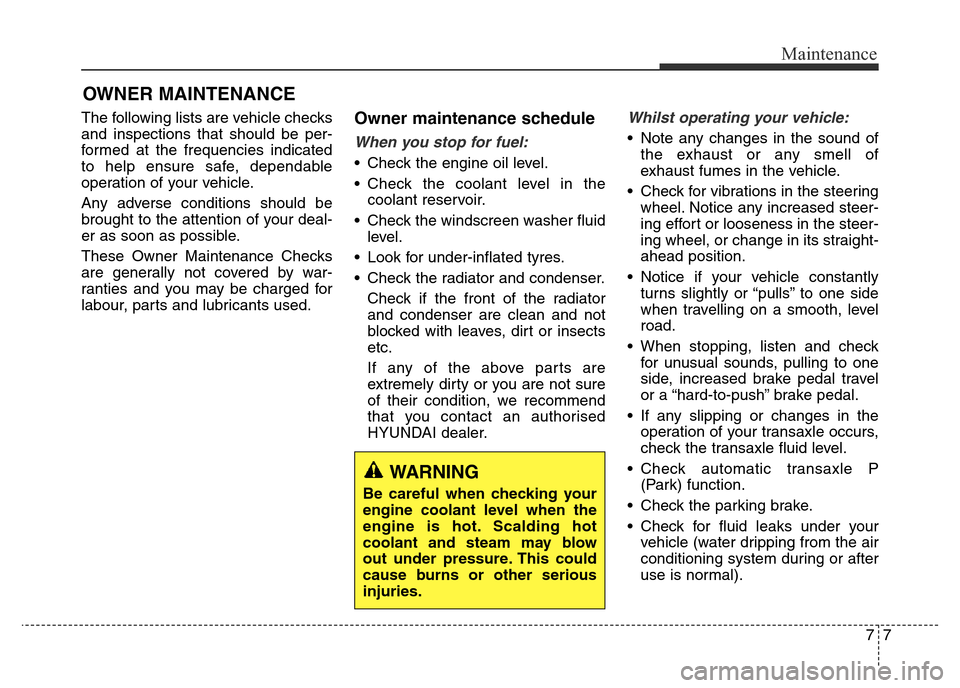
OWNER MAINTENANCE
The following lists are vehicle checks
and inspections that should be per-
formed at the frequencies indicated
to help ensure safe, dependable
operation of your vehicle.
Any adverse conditions should be
brought to the attention of your deal-
er as soon as possible.
These Owner Maintenance Checks
are generally not covered by war-
ranties and you may be charged for
labour, parts and lubricants used.Owner maintenance schedule
When you stop for fuel:
• Check the engine oil level.
• Check the coolant level in the
coolant reservoir.
• Check the windscreen washer fluid
level.
• Look for under-inflated tyres.
• Check the radiator and condenser.
Check if the front of the radiator
and condenser are clean and not
blocked with leaves, dirt or insects
etc.
If any of the above parts are
extremely dirty or you are not sure
of their condition, we recommend
that you contact an authorised
HYUNDAI dealer.
Whilst operating your vehicle:
• Note any changes in the sound of
the exhaust or any smell of
exhaust fumes in the vehicle.
• Check for vibrations in the steering
wheel. Notice any increased steer-
ing effort or looseness in the steer-
ing wheel, or change in its straight-
ahead position.
• Notice if your vehicle constantly
turns slightly or “pulls” to one side
when travelling on a smooth, level
road.
• When stopping, listen and check
for unusual sounds, pulling to one
side, increased brake pedal travel
or a “hard-to-push” brake pedal.
• If any slipping or changes in the
operation of your transaxle occurs,
check the transaxle fluid level.
• Check automatic transaxle P
(Park) function.
• Check the parking brake.
• Check for fluid leaks under your
vehicle (water dripping from the air
conditioning system during or after
use is normal).
WARNING
Be careful when checking your
engine coolant level when the
engine is hot. Scalding hot
coolant and steam may blow
out under pressure. This could
cause burns or other serious
injuries.
Page 403 of 498
Maintenance
8 7
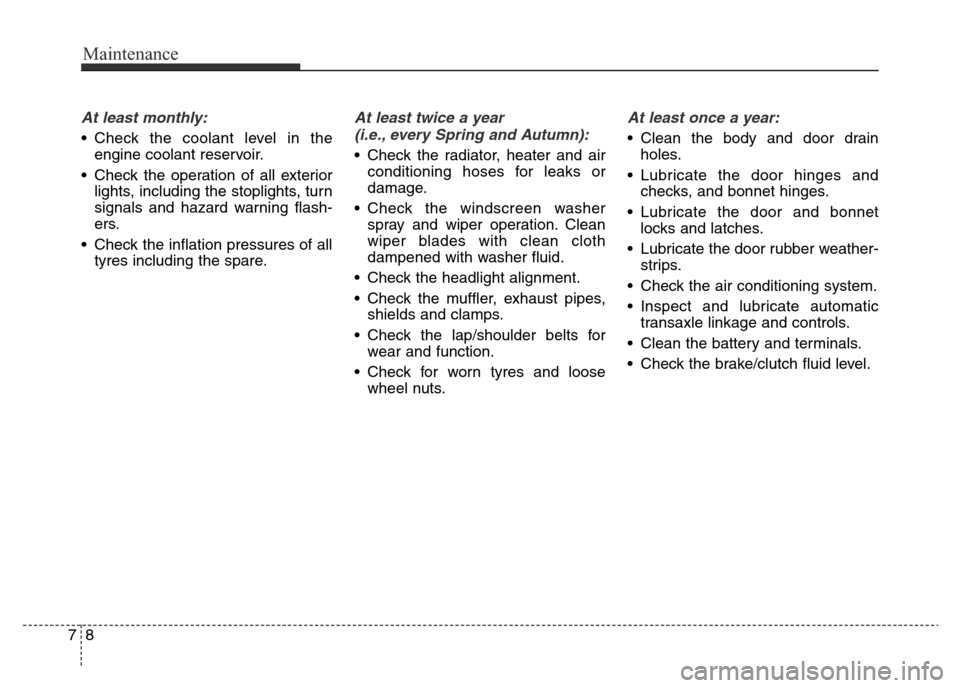
At least monthly:
• Check the coolant level in the
engine coolant reservoir.
• Check the operation of all exterior
lights, including the stoplights, turn
signals and hazard warning flash-
ers.
• Check the inflation pressures of all
tyres including the spare.
At least twice a year
(i.e., every Spring and Autumn):
• Check the radiator, heater and air
conditioning hoses for leaks or
damage.
• Check the windscreen washer
spray and wiper operation. Clean
wiper blades with clean cloth
dampened with washer fluid.
• Check the headlight alignment.
• Check the muffler, exhaust pipes,
shields and clamps.
• Check the lap/shoulder belts for
wear and function.
• Check for worn tyres and loose
wheel nuts.
At least once a year:
• Clean the body and door drain
holes.
• Lubricate the door hinges and
checks, and bonnet hinges.
• Lubricate the door and bonnet
locks and latches.
• Lubricate the door rubber weather-
strips.
• Check the air conditioning system.
• Inspect and lubricate automatic
transaxle linkage and controls.
• Clean the battery and terminals.
• Check the brake/clutch fluid level.
Page 405 of 498
Maintenance
10 7
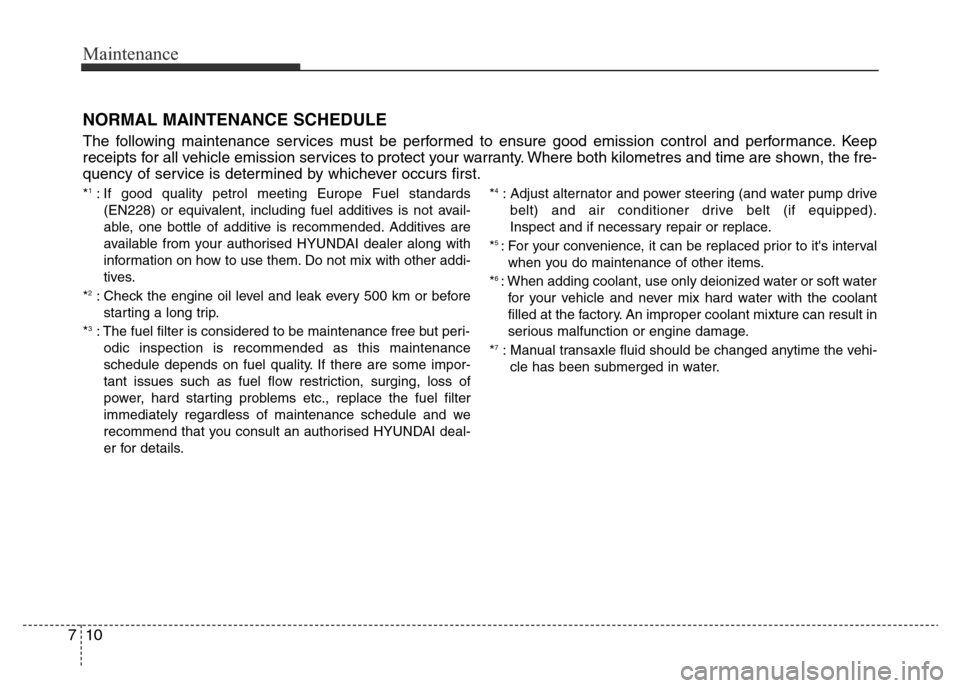
NORMAL MAINTENANCE SCHEDULE
The following maintenance services must be performed to ensure good emission control and performance. Keep
receipts for all vehicle emission services to protect your warranty. Where both kilometres and time are shown, the fre-
quency of service is determined by whichever occurs first.
*1: If good quality petrol meeting Europe Fuel standards
(EN228) or equivalent, including fuel additives is not avail-
able, one bottle of additive is recommended. Additives are
available from your authorised HYUNDAI dealer along with
information on how to use them. Do not mix with other addi-
tives.
*
2: Check the engine oil level and leak every 500 km or before
starting a long trip.
*
3: The fuel filter is considered to be maintenance free but peri-
odic inspection is recommended as this maintenance
schedule depends on fuel quality. If there are some impor-
tant issues such as fuel flow restriction, surging, loss of
power, hard starting problems etc., replace the fuel filter
immediately regardless of maintenance schedule and we
recommend that you consult an authorised HYUNDAI deal-
er for details.*
4: Adjust alternator and power steering (and water pump drive
belt) and air conditioner drive belt (if equipped).
Inspect and if necessary repair or replace.
*
5 : For your convenience, it can be replaced prior to it's interval
when you do maintenance of other items.
*
6 : When adding coolant, use only deionized water or soft water
for your vehicle and never mix hard water with the coolant
filled at the factory. An improper coolant mixture can result in
serious malfunction or engine damage.
*
7: Manual transaxle fluid should be changed anytime the vehi-
cle has been submerged in water.
Page 406 of 498
711
Maintenance
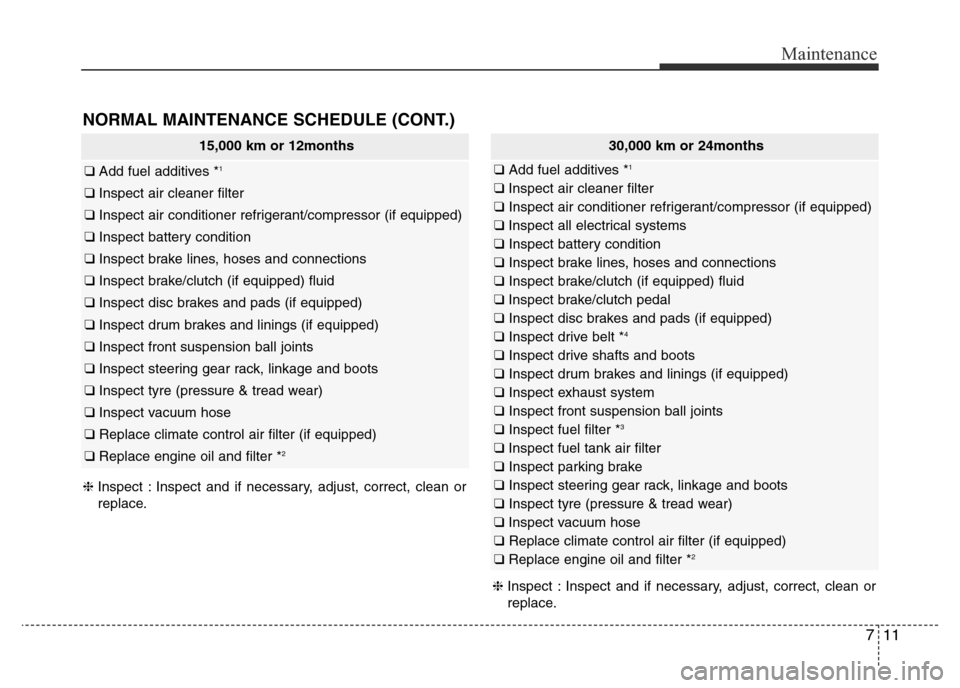
NORMAL MAINTENANCE SCHEDULE (CONT.)
15,000 km or 12months
❑ Add fuel additives *1
❑ Inspect air cleaner filter
❑ Inspect air conditioner refrigerant/compressor (if equipped)
❑ Inspect battery condition
❑ Inspect brake lines, hoses and connections
❑ Inspect brake/clutch (if equipped) fluid
❑ Inspect disc brakes and pads (if equipped)
❑ Inspect drum brakes and linings (if equipped)
❑ Inspect front suspension ball joints
❑ Inspect steering gear rack, linkage and boots
❑ Inspect tyre (pressure & tread wear)
❑ Inspect vacuum hose
❑ Replace climate control air filter (if equipped)
❑ Replace engine oil and filter *2
❈Inspect : Inspect and if necessary, adjust, correct, clean or
replace.
❈Inspect : Inspect and if necessary, adjust, correct, clean or
replace.
30,000 km or 24months
❑ Add fuel additives *1
❑ Inspect air cleaner filter
❑ Inspect air conditioner refrigerant/compressor (if equipped)
❑ Inspect all electrical systems
❑ Inspect battery condition
❑ Inspect brake lines, hoses and connections
❑ Inspect brake/clutch (if equipped) fluid
❑ Inspect brake/clutch pedal
❑ Inspect disc brakes and pads (if equipped)
❑ Inspect drive belt *
4
❑ Inspect drive shafts and boots
❑ Inspect drum brakes and linings (if equipped)
❑ Inspect exhaust system
❑ Inspect front suspension ball joints
❑ Inspect fuel filter *
3
❑ Inspect fuel tank air filter
❑ Inspect parking brake
❑ Inspect steering gear rack, linkage and boots
❑ Inspect tyre (pressure & tread wear)
❑ Inspect vacuum hose
❑ Replace climate control air filter (if equipped)
❑ Replace engine oil and filter *
2