Page 126 of 425

Features of your vehicle
56 4
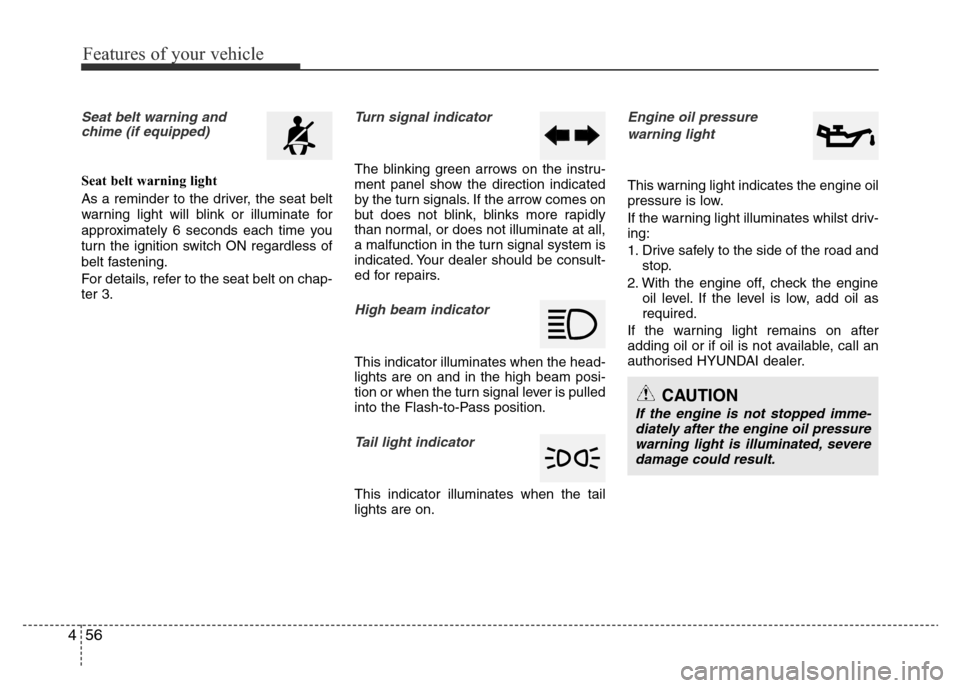
Seat belt warning and
chime (if equipped)
Seat belt warning light
As a reminder to the driver, the seat belt
warning light will blink or illuminate for
approximately 6 seconds each time you
turn the ignition switch ON regardless of
belt fastening.
For details, refer to the seat belt on chap-
ter 3.
Turn signal indicator
The blinking green arrows on the instru-
ment panel show the direction indicated
by the turn signals. If the arrow comes on
but does not blink, blinks more rapidly
than normal, or does not illuminate at all,
a malfunction in the turn signal system is
indicated. Your dealer should be consult-
ed for repairs.
High beam indicator
This indicator illuminates when the head-
lights are on and in the high beam posi-
tion or when the turn signal lever is pulled
into the Flash-to-Pass position.
Tail light indicator
This indicator illuminates when the tail
lights are on.
Engine oil pressure
warning light
This warning light indicates the engine oil
pressure is low.
If the warning light illuminates whilst driv-
ing:
1. Drive safely to the side of the road and
stop.
2. With the engine off, check the engine
oil level. If the level is low, add oil as
required.
If the warning light remains on after
adding oil or if oil is not available, call an
authorised HYUNDAI dealer.
CAUTION
If the engine is not stopped imme-
diately after the engine oil pressure
warning light is illuminated, severe
damage could result.
Page 146 of 425
Features of your vehicle
76 4
Auto light position (if equipped)
When the light switch is in the AUTO light
position, the taillights and headlights will
turn ON or OFF automatically depending
on the amount of light outside the vehi-
cle.
High beam operation
To turn on the high beam headlights,
push the lever away from you. Pull it back
for low beams.
The high beam indicator will light when
the headlight high beams are switched
on.
To prevent the battery from being dis-
charged, do not leave the lights on for a
prolonged time whilst the engine is not
running.
CAUTION
• Never place anything over sensor
(1) located on the instrument
panel. This will ensure better
auto-light system control.
• Don’t clean the sensor using a
window cleaner. The cleaner may
leave a light film which could
interfere with sensor operation.
• If your vehicle has window tint or
other types of metallic coating on
the front windscreen, the Auto
light system may not work prop-
erly.
ORBI041049ORB043361R
Page 147 of 425
477
Features of your vehicle
Flashing headlights
To flash the headlights, pull the lever
towards you. It will return to the normal
(low beam) position when released. The
headlight switch does not need to be on
to use this flashing feature.
Turn signals and lane change sig-
nals
The ignition switch must be on for the
turn signals to function. To turn on the
turn signals, move the lever up or down
(A). Green arrow indicators on the instru-
ment panel indicate which turn signal is
operating. They will self-cancel after a
turn is completed.
If the indicator continues to flash after a
turn, manually return the lever to the OFF
position.
To signal a lane change, move the turn
signal lever slightly and hold it in position
(B). The lever will return to the OFF posi-
tion when released.
ORBI041050
WARNING
Do not use high beam when there
are other vehicles. Using high
beam could obstruct the other dri-
ver's vision.
ORBI041051
Page 149 of 425

479
Features of your vehicle
Daytime running light
(if equipped)
The Daytime Running Lights (DRL) can
make it easier for others to see the front
of your vehicle during the day. DRL can
be helpful in many different driving condi-
tions, and it is especially helpful after
dawn and before sunset.
The daytime running lights turn off when:
Type A
1. The parking light switch is ON.
2. The engine stops.
3. The parking brake is engaged.
Type B
1. The headlight switch is ON.
2. The front fog light switch is ON.
3. The engine stops.
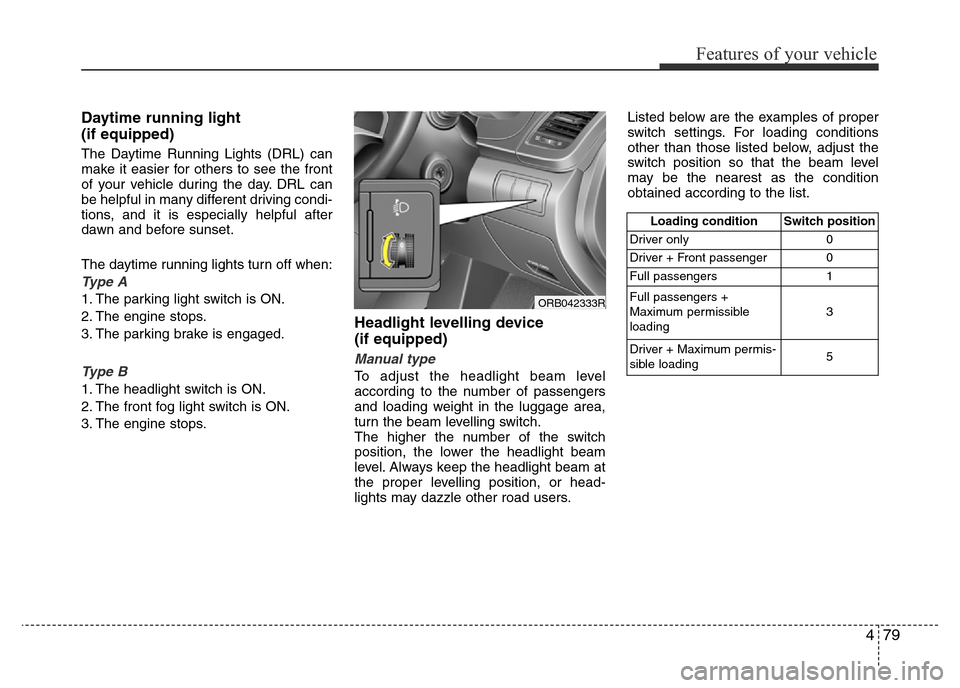
Headlight levelling device
(if equipped)
Manual type
To adjust the headlight beam level
according to the number of passengers
and loading weight in the luggage area,
turn the beam levelling switch.
The higher the number of the switch
position, the lower the headlight beam
level. Always keep the headlight beam at
the proper levelling position, or head-
lights may dazzle other road users.Listed below are the examples of proper
switch settings. For loading conditions
other than those listed below, adjust the
switch position so that the beam level
may be the nearest as the condition
obtained according to the list.
Loading condition Switch position
Driver only 0
Driver + Front passenger 0
Full passengers 1
Full passengers +
Maximum permissible
loading3
Driver + Maximum permis-
sible loading 5
ORB042333R
Page 396 of 425

Maintenance
68 7
4. Unsnap the headlight bulb retaining
wire by depressing the end and push-
ing it upward.
5. Remove the bulb from the headlight
assembly.
6. Install a new headlight bulb and snap
the headlight bulb retaining wire into
position by aligning the wire with the
groove on the bulb.
7. Connect the headlight bulb socket-
connector.
8. Install the headlight bulb cover by turn-
ing it clockwise.
✽NOTICE
We recommend that the headlight aim-
ing be adjusted after an accident or
after the headlight assembly is rein-
stalled at an authorised HYUNDAI
dealer.
✽NOTICE - Bi-Function
Projection Headlamp
This headlamp is bi-function type that
switches the low beam to high or the
high beam to low using solenoid system.
So, the moving sound may be heard
when the headlamp switches the low
beam to high or the high beam to low
and it does not indicate malfunction of
the headlamp.
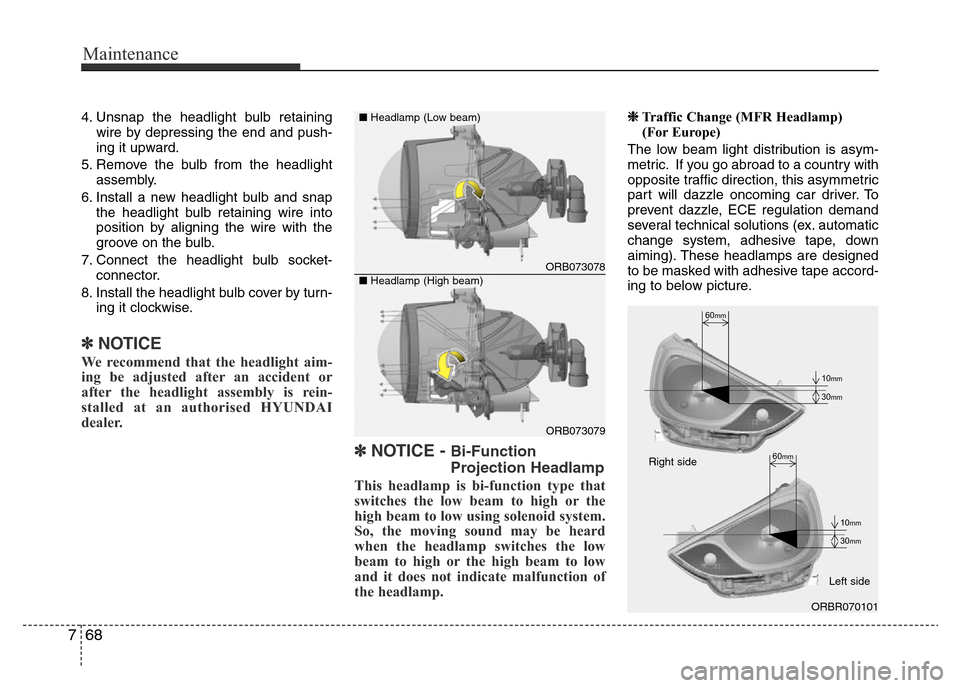
❈Traffic Change (MFR Headlamp)
(For Europe)
The low beam light distribution is asym-
metric. If you go abroad to a country with
opposite traffic direction, this asymmetric
part will dazzle oncoming car driver. To
prevent dazzle, ECE regulation demand
several technical solutions (ex. automatic
change system, adhesive tape, down
aiming). These headlamps are designed
to be masked with adhesive tape accord-
ing to below picture.
60mm
30mm
10mm
30mm
10mm
60mm
ORBR070101 Right side
Left side
ORB073078
ORB073079 ■Headlamp (Low beam)
■Headlamp (High beam)