Page 115 of 569

114Controls
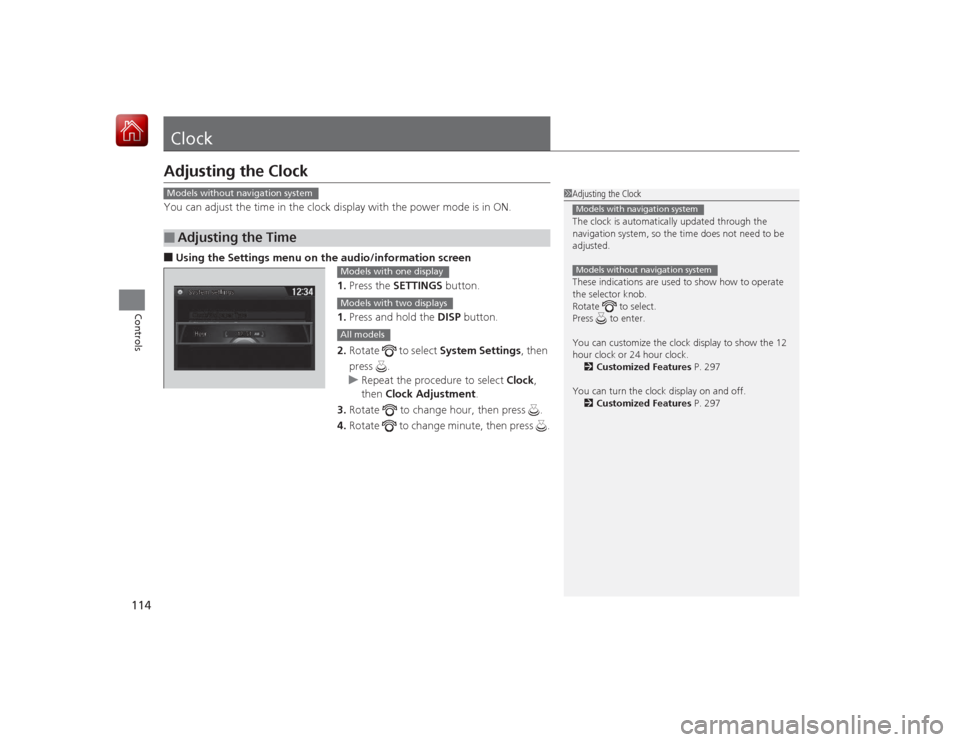
ClockAdjusting the ClockYou can adjust the time in the clock display with the power mode is in ON.■Using the Settings menu on the audio /information screen
1. Press the SETTINGS button.
1. Press and hold the DISP button.
2. Rotate to select System Settings, then
press .
u Repeat the procedure to select Clock,
then Clock Adjustment .
3. Rotate to change hour, then press .
4. Rotate to change minute, then press .■
Adjusting the Time
1Adjusting the Clock
The clock is automatically updated through the
navigation system, so the time does not need to be
adjusted.
These indications are used to show how to operate
the selector knob.
Rotate to select.
Press to enter.
You can customize the clock display to show the 12
hour clock or 24 hour clock.
2 Customized Features P. 297
You can turn the clock display on and off. 2 Customized Features P. 297Models with navigation systemModels without navigation system
Models without navigation system
Models with one displayModels with two displaysAll models
Page 172 of 569
171
uuClimate Control System uSynchronized Mode
Controls
Synchronized ModeYou can set the temperature synchronously for the driver side and the passenger
side in synchronized mode.
1. Press the SYNC button.
u The system will switch to the synchronized mode.
2. Adjust the temperature using driver’s side temperature control buttons.
Press the SYNC button to return to dual mode.
1Synchronized Mode
When you press the button, the system changes
to synchronized mode.
When the system is in dual mode, the driver side
temperature and the passenge r side temperature can
be set separately.
The system adjusts each temperature based on the
information of the sunlight sensor and the sun
position updated by the navigation system’s GPS.Models with navigation system
Page 174 of 569

173
Features
This chapter describes how to operate technology features.
Audio SystemUSB Port .......................................... 175
Auxiliary Input Jack .......................... 176
Audio System Theft Protection
*....... 177
Audio Remote Controls .................... 178
Audio System Basic Operation ........ 179
Audio/Information Screen ................ 180
Display Setup ................................... 185
Playing AM/FM Radio ....................... 186
Playing a CD .................................... 188
Playing an iPod ................................ 191
Playing Internet Radio ...................... 194
Playing a USB Flash Drive ................. 196
Playing Bluetooth ® Audio ................. 199
Models with one display
Audio System Basic Operation ........ 201
Audio with Touch Screen ................. 202
Audio/Information Screen ................ 205
Display Setup ................................... 211
Playing AM/FM Radio ....................... 212
Playing SiriusXM ® Radio
*................. 216
Playing a CD .................................... 219
Playing an iPod ................................ 222
Playing Internet Radio ...................... 226
Playing a USB Flash Drive ................. 229
Playing Bluetooth® Audio................. 232
Audio System Basic Operation ........ 234
Audio with Touch Screen ................. 235
Audio/Information Screen ................ 237
Models with two displaysModels with navigation system
Display Setup ................................... 242
Voice Control Operation .................. 243
Playing AM/FM Radio....................... 251
Playing SiriusXM ® Radio ................... 255
Playing a CD .................................... 258Playing Hard Disk Drive (HDD) Audio .... 261Playing an iPod ................................ 271
Playing Internet Radio ...................... 279
Playing a USB Flash Drive ................. 282
Playing Bluetooth ® Audio ................ 285
Audio Error Messages ...................... 287General Information on the Audio System
.....293
Customized Features........................ 297
HomeLink ® Universal Transceiver
*... 335
Bluetooth® HandsFreeLink ®..... 337 , 374
* Not available on all models
Page 175 of 569

174Features
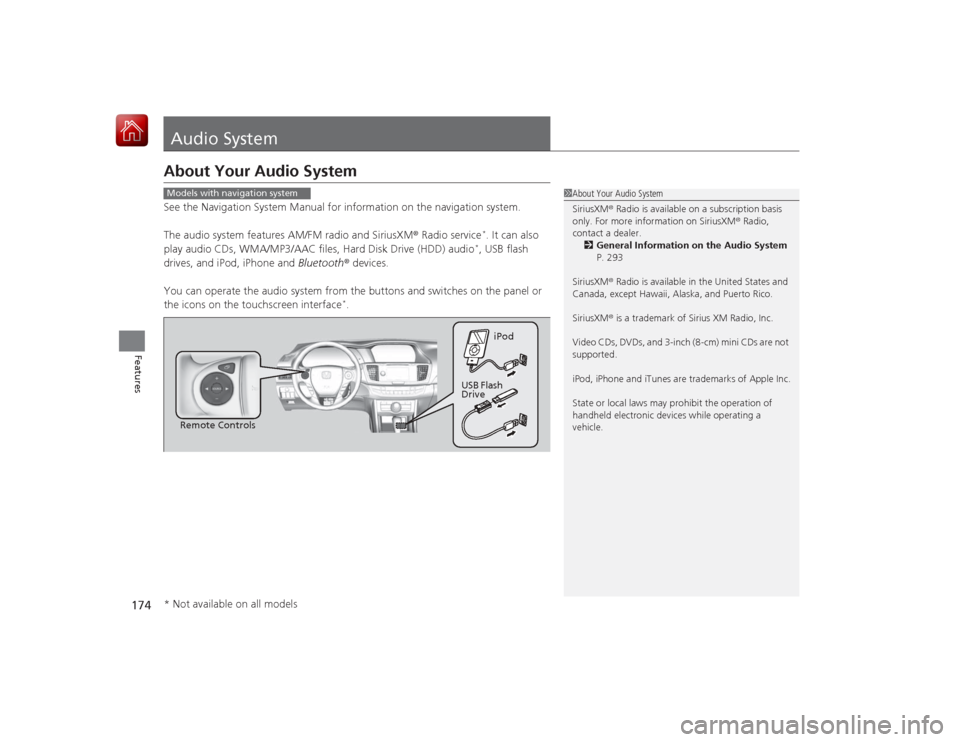
Audio SystemAbout Your Audio SystemSee the Navigation System Manual for information on the navigation system.
The audio system features AM/FM radio and SiriusXM® Radio service
*. It can also
play audio CDs, WMA/MP3/AAC files, Hard Disk Drive (HDD) audio*, USB flash
drives, and iPod, iPhone and Bluetooth® devices.
You can operate the audio system from the buttons and switches on the panel or
the icons on the touchscreen interface
*.
1 About Your Audio System
SiriusXM ® Radio is available on a subscription basis
only. For more information on SiriusXM ® Radio,
contact a dealer.
2 General Information on the Audio System
P. 293
SiriusXM ® Radio is available in the United States and
Canada, except Hawaii, Alaska, and Puerto Rico.
SiriusXM ® is a trademark of Sirius XM Radio, Inc.
Video CDs, DVDs, and 3-inch (8-cm) mini CDs are not
supported.
iPod, iPhone and iTunes are trademarks of Apple Inc.
State or local laws may prohibit the operation of
handheld electronic devices while operating a
vehicle.
Models with navigation system
Remote Controls iPod
USB Flash
Drive
* Not available on all models
Page 177 of 569
176
uuAudio System uAuxiliary Input Jack
Features
Auxiliary Input JackUse the jack to connect standard audio devices.
1.Open the AUX cover.
2. Connect a standard audio device to the
input jack using a 1/8 inch (3.5 mm) stereo
miniplug.
u The audio system automatically switches
to the AUX mode.
1Auxiliary Input Jack
You can return to AUX mode by pressing the AUX
button.
You can return to AUX mode by selecting Change
Source on the Audio menu screen or Source on the
touchscreen.
Replacement of the audio system with other than a
genuine Honda system may make the auxiliary jack
inoperable.Models with one displayModels with two displaysModels with navigation system
Models with one displayModels with two
displaysModels with
navigation system
Page 235 of 569

234Features
Audio System Basic OperationTo use the audio system function, the power mode must be in ACCESSORY or ON.Use the interface dial or MENU button to
access some audio functions.
Press to switch between the normal and
extended display for some functions.
Interface dial: Rotate left or right to scroll
through the available choices. Press to set
your selection. Move right, left, up or down to
select secondary menu.
MENU button: Press to select any mode. The
available mode includes Sound, Change
Source , Refresh Station List , Save Preset ,
Radio Text, Music Search , and play modes.
Play modes can be also selected from Scan,
Random/Repeat , and so on.
BACK button: Press to go back to the
previous display. button: Press to change the audio/
information screen brightness.
Press once and make an adjustment. u Each time you press , the mode
switches between the daytime mode,
nighttime mode and off mode.Models with navigation system
1Audio System Basic Operation
Voice Control System
The audio system is voice operable. See the
navigation system manual for details.
These indications are used to show how to operate
the interface dial.
Rotate to select.
Press to enter.
Move , , or to select secondary menu.
Audio Menu Items
2 Sound P. 241
2 Refresh Station List P. 253
2 Save Preset P. 252, 257
2 Radio text P. 254
2 Music Search P. 259, 263, 273, 283
2 Scan P. 254, 260, 264, 284
2 Random/Repeat P. 260, 264, 274, 284
Interface DialMENU Button
BACK Button
Button
Page 238 of 569
237
uuAudio System Basic Operation uAudio/Information Screen
Continued
Features
Audio/Information ScreenDisplays the audio status and wallpaper. From this screen, you can go to various
setup options.
Press the (display) button to change the display.■
Switching the Display
1Switching the Display
You can also use the AUDIO, NAV, PHONE and
INFO buttons to go to the corresponding display.
(Display) Button
Audio
Info
Audio/Information Screen
Navigation
Phone
AUDIO Button
NAV ButtonPHONE Button
INFO Button
Page 239 of 569

238
uuAudio System Basic Operation uAudio/Information Screen
Features
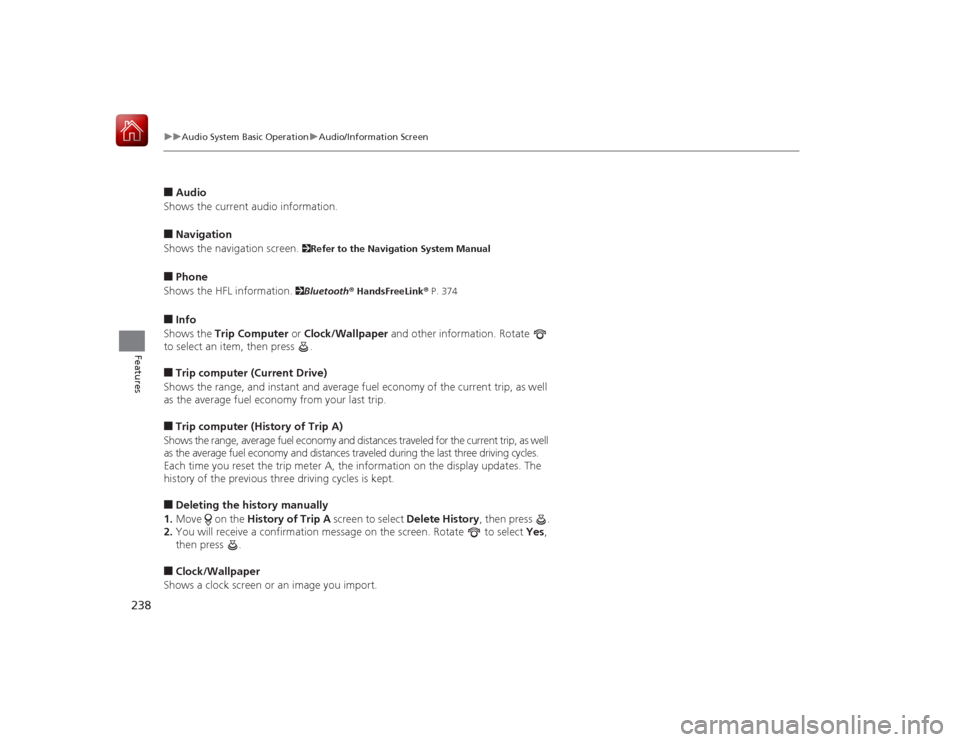
■Audio
Shows the current audio information.■Navigation
Shows the navigation screen.
2 Refer to the Navigation System Manual
■Phone
Shows the HFL information.
2 Bluetooth® HandsFreeLink ® P. 374
■Info
Shows the Trip Computer or Clock/Wallpaper and other information. Rotate
to select an item, then press .■Trip computer (Current Drive)
Shows the range, and instant and average fuel economy of the current trip, as well
as the average fuel economy from your last trip.■Trip computer (History of Trip A)
Shows the range, average fuel economy and distances traveled for the current trip, as well
as the average fuel economy and distances traveled during the last three driving cycles.
Each time you reset the trip meter A, the information on the display updates. The
history of the previous three driving cycles is kept.■Deleting the history manually
1. Move on the History of Trip A screen to select Delete History, then press .
2. You will receive a confirmation message on the screen. Rotate to select Yes,
then press .■Clock/Wallpaper
Shows a clock screen or an image you import.