2015 FORD TAURUS door lock
[x] Cancel search: door lockPage 157 of 558

HOMELINK® WIRELESS CONTROL SYSTEM (IF EQUIPPED)
WARNING:Make sure that the garage door and security device
are free from obstruction when you are programming. Do not
program the system with the vehicle in the garage.
WARNING: Do not use the system with any garage door opener
that does not have the safety stop and reverse feature as
required by U.S. Federal Safety Standards (this includes any garage
door opener manufactured before April 1, 1982).
Note: Make sure you keep the original remote control transmitter for
use in other vehicles as well as for future system programming.
Note: We recommend that upon the sale or lease termination of your
vehicle, you erase the programmed function buttons for security reasons.
See Erasing the function button codes later in this section.
Note: You can program a maximum of three devices. To change or
replace any of the three devices after it has been initially programmed,
you must first erase the current settings. See Erasing the function
button codes later in this section.
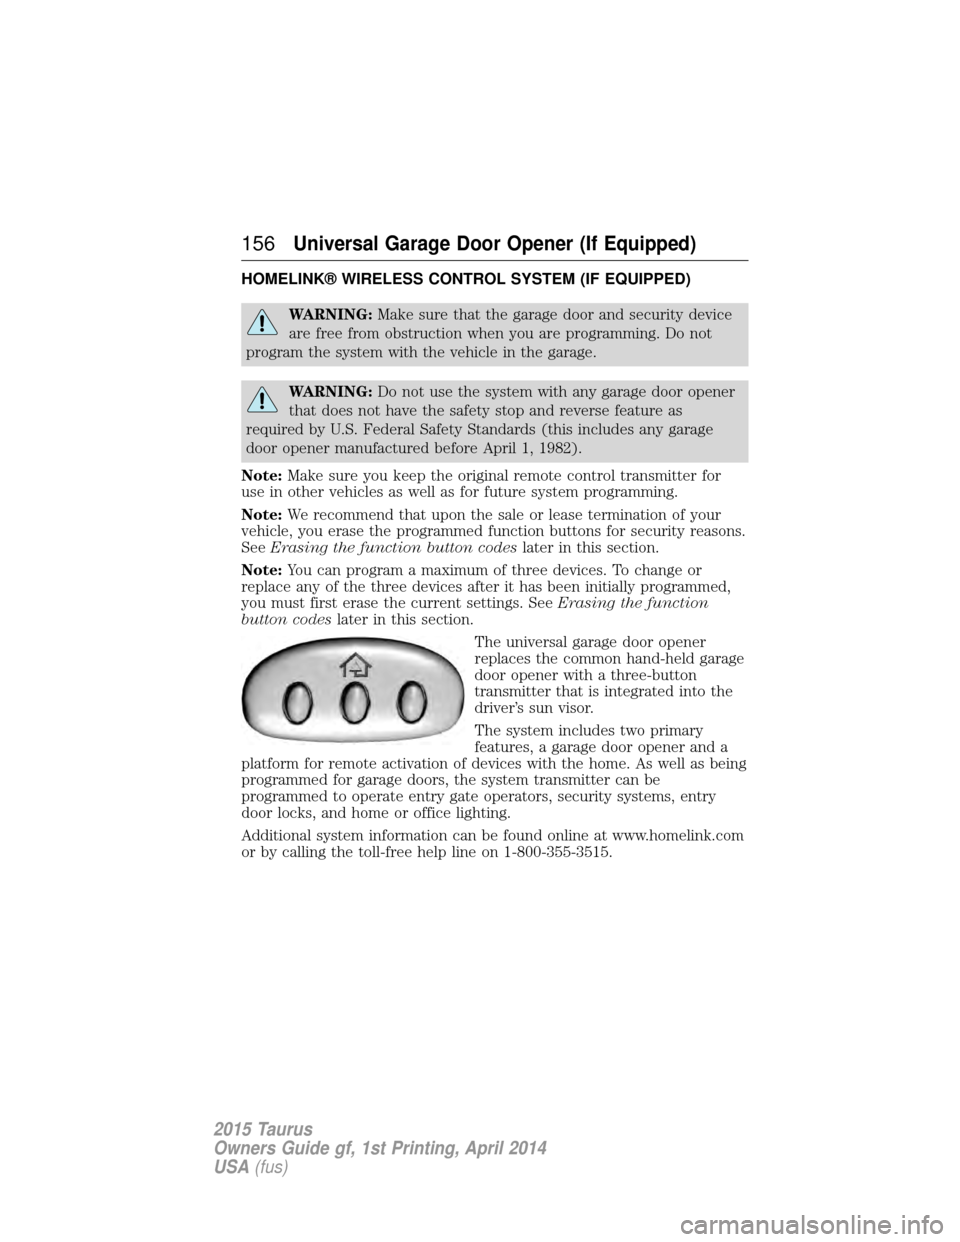
The universal garage door opener
replaces the common hand-held garage
door opener with a three-button
transmitter that is integrated into the
driver’s sun visor.
The system includes two primary
features, a garage door opener and a
platform for remote activation of devices with the home. As well as being
programmed for garage doors, the system transmitter can be
programmed to operate entry gate operators, security systems, entry
door locks, and home or office lighting.
Additional system information can be found online at www.homelink.com
or by calling the toll-free help line on 1-800-355-3515.
156Universal Garage Door Opener (If Equipped)
2015 Taurus
Owners Guide gf, 1st Printing, April 2014
USA (fus)
Page 171 of 558

Guarding Against Exhaust Fumes
WARNING:If you smell exhaust fumes inside your vehicle, have
this checked immediately. Do not drive your vehicle if you smell
exhaust fumes. Carbon monoxide is present in exhaust fumes. Take
precautions to avoid its dangerous effects.
Important Ventilating Information
If you stop your vehicle and leave the engine idling for long periods, we
recommend that you do one of the following:
• Open the windows at least 1 inch (2.5 centimeters).
• Set your climate control to outside air.
ENGINE BLOCK HEATER (IF EQUIPPED)
WARNING: Failure to follow engine block heater instructions
could result in property damage or personal injury.
WARNING: Do not use your heater with ungrounded electrical
systems or two-pronged (cheater) adapters. There is a risk of
electrical shock.
Note: The heater is most effective when outdoor temperatures are below
0°F (-18°C).
The heater acts as a starting aid by warming the engine coolant. This
allows the climate control system to respond quickly. The equipment
includes a heater element (installed in the engine block) and a wire
harness. You can connect the system to a grounded 120–volt A/C
electrical source.
We recommend that you do the following for safe and correct operation:
• Use a 16-gauge outdoor extension cord that is product certified by
Underwriter’s Laboratory or Canadian Standards Association. This
extension cord must be suitable for use outdoors, in cold
temperatures, and be clearly marked Suitable for Use with Outdoor
Appliances. Never use an indoor extension cord outdoors; it could
result in an electric shock or become a fire hazard.
• Use as short an extension cord as possible.
• Do not use multiple extension cords.
170 Starting and Stopping the Engine
2015 Taurus
Owners Guide gf, 1st Printing, April 2014
USA(fus)
Page 207 of 558

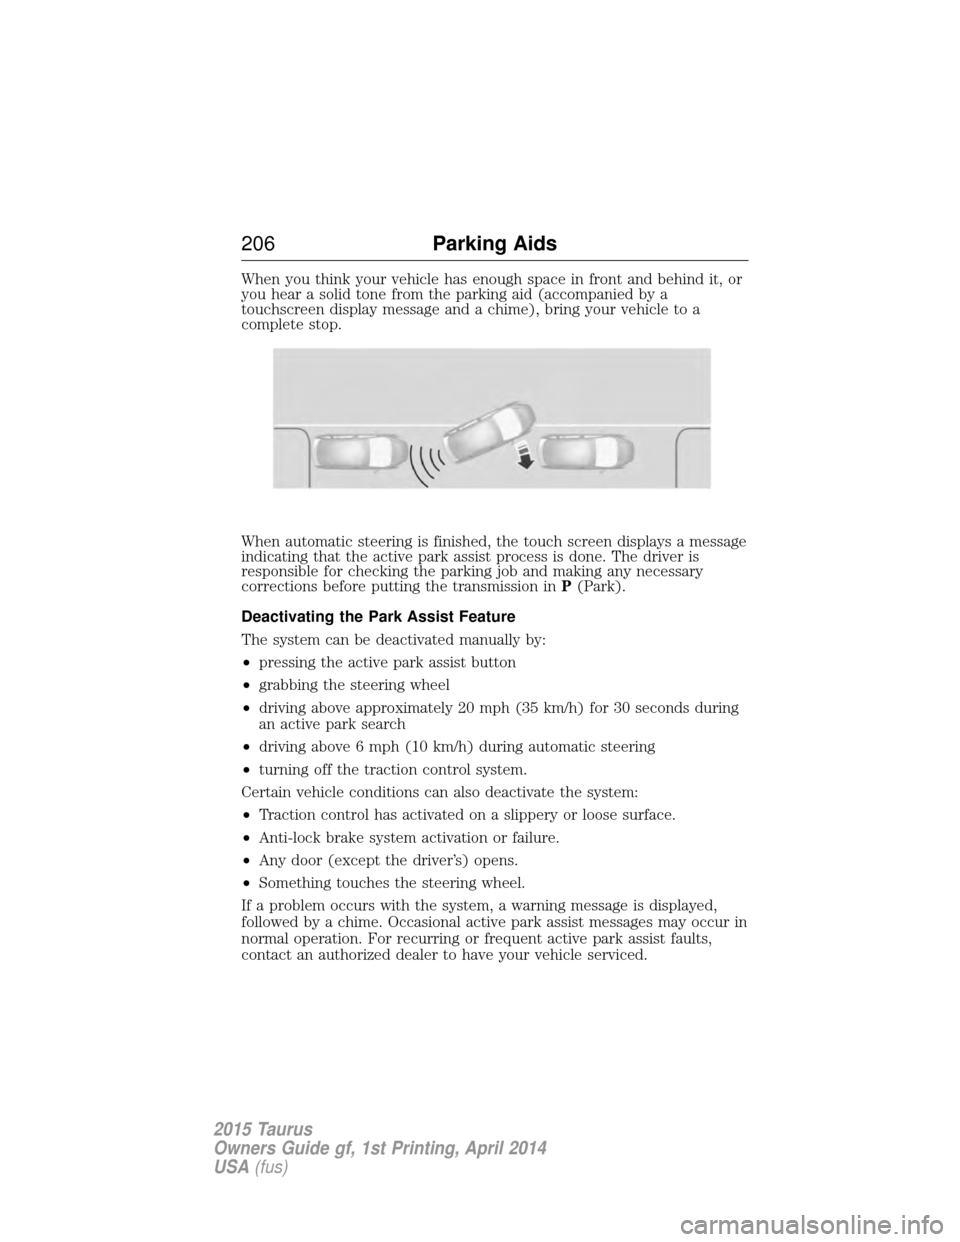
When you think your vehicle has enough space in front and behind it, or
you hear a solid tone from the parking aid (accompanied by a
touchscreen display message and a chime), bring your vehicle to a
complete stop.
When automatic steering is finished, the touch screen displays a message
indicating that the active park assist process is done. The driver is
responsible for checking the parking job and making any necessary
corrections before putting the transmission inP(Park).
Deactivating the Park Assist Feature
The system can be deactivated manually by:
• pressing the active park assist button
• grabbing the steering wheel
• driving above approximately 20 mph (35 km/h) for 30 seconds during
an active park search
• driving above 6 mph (10 km/h) during automatic steering
• turning off the traction control system.
Certain vehicle conditions can also deactivate the system:
• Traction control has activated on a slippery or loose surface.
• Anti-lock brake system activation or failure.
• Any door (except the driver’s) opens.
• Something touches the steering wheel.
If a problem occurs with the system, a warning message is displayed,
followed by a chime. Occasional active park assist messages may occur in
normal operation. For recurring or frequent active park assist faults,
contact an authorized dealer to have your vehicle serviced.
206 Parking Aids
2015 Taurus
Owners Guide gf, 1st Printing, April 2014
USA(fus)
Page 312 of 558

WAXING
Regular waxing is necessary to protect the paint on your car from the
elements. We recommend that you wash and wax the painted surface
once or twice a year.
When washing and waxing, park your vehicle in a shaded area out of
direct sunlight. Always wash your vehicle before applying wax.
•Use a quality wax that does not contain abrasives.
• Follow the manufacturer’s instructions to apply and remove the wax.
• Apply a small amount of wax in a back-and-forth motion, not in
circles.
• Do not allow wax to come in contact with any non-body (low-gloss
black) colored trim. The wax discolors or stains the parts over time,
such as:
• Bumpers
• Grained door handles
• Side mouldings
• Mirror housings
• Windshield cowl area.
• Do not apply wax to glass areas.
• After waxing, your car’s paint should feel smooth, and be free of
streaks and smudges.
REPAIRING MINOR PAINT DAMAGE
Your authorized dealer has touch-up paint to match your vehicle’s color.
Take your color code (printed on a sticker in the driver’s door jamb) to
an authorized dealer to make sure you get the correct color.
• Before repairing minor paint damage, use a cleaner such as Motorcraft
Bug and Tar Remover to remove particles such as bird droppings, tree
sap, insect deposits, tar spots, road salt and industrial fallout before
repairing paint chips.
• Always read the instructions before using the products.
CLEANING THE ENGINE
Engines are more efficient when they are clean because grease and dirt
buildup keep the engine warmer than normal.
When washing:
• Take care when using a power washer to clean the engine. The
high-pressure fluid could penetrate the sealed parts and cause
damage.
• Do not spray a hot engine with cold water to avoid cracking the
engine block or other engine components.
Vehicle Care 311
2015 Taurus
Owners Guide gf, 1st Printing, April 2014
USA(fus)
Page 349 of 558

Do not remove any foreign object that has pierced the tire. If a puncture
is located in the tire sidewall, stop and call roadside assistance.
1. Remove the valve cap from the tire valve.
2. Unwrap the clear tube from the compressor housing.
3. Remove the tube cap and fasten the metal connector of the tube to
the tire valve, turning clockwise. Make sure the connection is tightly
fastened.4. Plug the power cable into the
12-volt power point in the vehicle.
5. Remove the warning sticker found on the inflator kit and place it on
the top of the instrument panel or the center of the dash.
6. Note: Start the engine only if the vehicle is outdoors or in a
well-ventilated area.
7. Push and turn dial (A) toward
the sealant symbol location. Turn on
the kit by pressing button (B).
A
B
348Wheels and Tires
2015 Taurus
Owners Guide gf, 1st Printing, April 2014
USA(fus)
Page 350 of 558

8. Inflate the tire to the pressure
listed on the Tire Label located on
the driver’s door or the door jamb
area.
Note: When the sealing compound is first added into the tire, the air
pressure gauge reading on the compressor unit may indicate a higher
value; this is normal and should be no reason for concern. The pressure
will drop after about 30 seconds of operation. The tire pressure has to be
checked with the compressor in the OFF position to get the correct tire
pressure reading.
9. When the recommended tire pressure is reached, turn off the kit by
pressing the on and off button, then disconnect the kit from the tire
valve and the power point. Re-install the valve cap on the tire valve,
place the tube cap on the metal connector, and return the kit to the
stowage area.
10. Note: Immediately and cautiously, drive the vehicle 5 miles
(8 kilometers) to distribute the sealant evenly inside the tire. Do not
exceed 50 mph (80 km/h).
Note: If you experience any unusual vibration, ride disturbance or
noise while driving, reduce your speed until you can safely pull off to
the side of the road to call for roadside assistance. Note:Do not
proceed to the second stage of this operation.
11. After 5 miles (8 kilometers), stop and check the tire pressure. See
Second Stage: Checking Tire Pressure.
Second Stage: Checking Tire Pressure
WARNING: The power plug may get hot after use and should be
handled carefully while unplugging.
Check the air pressure of your tires as follows:
1. Remove the valve cap from the tire valve.
2. Unhook the black hose from the side of the compressor and fasten
firmly on the valve stem by turning clockwise.
Wheels and Tires 349
2015 Taurus
Owners Guide gf, 1st Printing, April 2014
USA(fus)
Page 351 of 558

WARNING:If you are proceeding from the First stage:
Reinflating the tire with sealing compound and air section
and have injected sealant in the tire and the pressure is below 20 psi
(1.4 bar), stop and call roadside assistance. If tire pressure is above
20 psi (1.4 bar), continue to the next step.
3. Turn the dial clockwise to the air position. Turn on the kit by pressing
the on/off button. 4. Adjust the tire to the
recommended inflation pressure
from the tire label located on the
driver’s door or door jamb area.
Pressing the deflation button near
the sealant canister removes air
from the tire.
Note:The tire pressure has to be
checked with the compressor in the
off position to get the correct tire
pressure reading.
5. Turn the compressor off by pressing the on/off button.
6. Unplug the hoses, re-install the valve cap on the tire and return the
kit to the stowage area.
What to do after the Tire has been Sealed
After using the temporary mobility kit to seal your tire, replace the
sealant canister and clear tube (hose). Sealing compound and spare
parts can be obtained and replaced at an authorized Ford Motor
Company dealership or tire dealer. Empty sealant bottles may be
disposed of at home. However, liquid residue from the sealing compound
should be disposed by your local Ford Motor Company dealership or tire
dealer, or in accordance with local waste disposal regulations.
Note: After the sealing compound has been used, the maximum vehicle
speed is 50 mph (80 km/h) and the maximum driving distance is
120 miles (200 km). Inspect the sealed tire immediately.
Note: After sealant use, the TPMS sensor and valve stem on the wheel
must be replaced by an authorized Ford dealer.
You can check the tire pressure any time within the 120 miles (200 km)
by performing the procedure from Second stage: Checking tire
pressure listed previously.
PSI
BAR
350 Wheels and Tires
2015 Taurus
Owners Guide gf, 1st Printing, April 2014
USA(fus)
Page 359 of 558

TECHNICAL SPECIFICATIONS
ItemsCapacityFord part name or
equivalent Ford part number / Ford
specification
Brake fluid
1
Between MAX and MIN on reservoir Motorcraft DOT 4 Low
Viscosity High Performance Motor Vehicle Brake Fluid PM-20 / WSS-M6C65-A2
Door latch, hood latch, auxiliary hood latch,
seat tracks, trunk and liftgate latches —
Multi-Purpose Grease
(Lithium grease) XL-5 (aerosol) (U.S.);
CRCSL3151 (Canada) / ESB-M1C93-B
Lock cylinders — Motorcraft Penetrating and
Lock Lubricant XL-1 /
None
Automatic transmission fluid
2,3
10.9 quarts(10.3L)(6F50)
Motorcraft
MERCON LV
2
XT-10-QLVC (U.S.);
CXT-10-LV12 (Canada) / MERCON LV
11.6 quarts
(11.0L)(6F55)
9.0 quarts (8.5L)
(6F35)
Rear differential (All Wheel Drive) fluid 2.4 pints (1.15L)Motorcraft SAE 80W-90
Premium Rear Axle Lubricant XY-80W90-QL /
WSP-M2C197-A
358 Capacities and Specifications
2015 Taurus
Owners Guide gf, 1st Printing, April 2014
USA(fus)