2015 FORD TAURUS turn signal
[x] Cancel search: turn signalPage 227 of 558

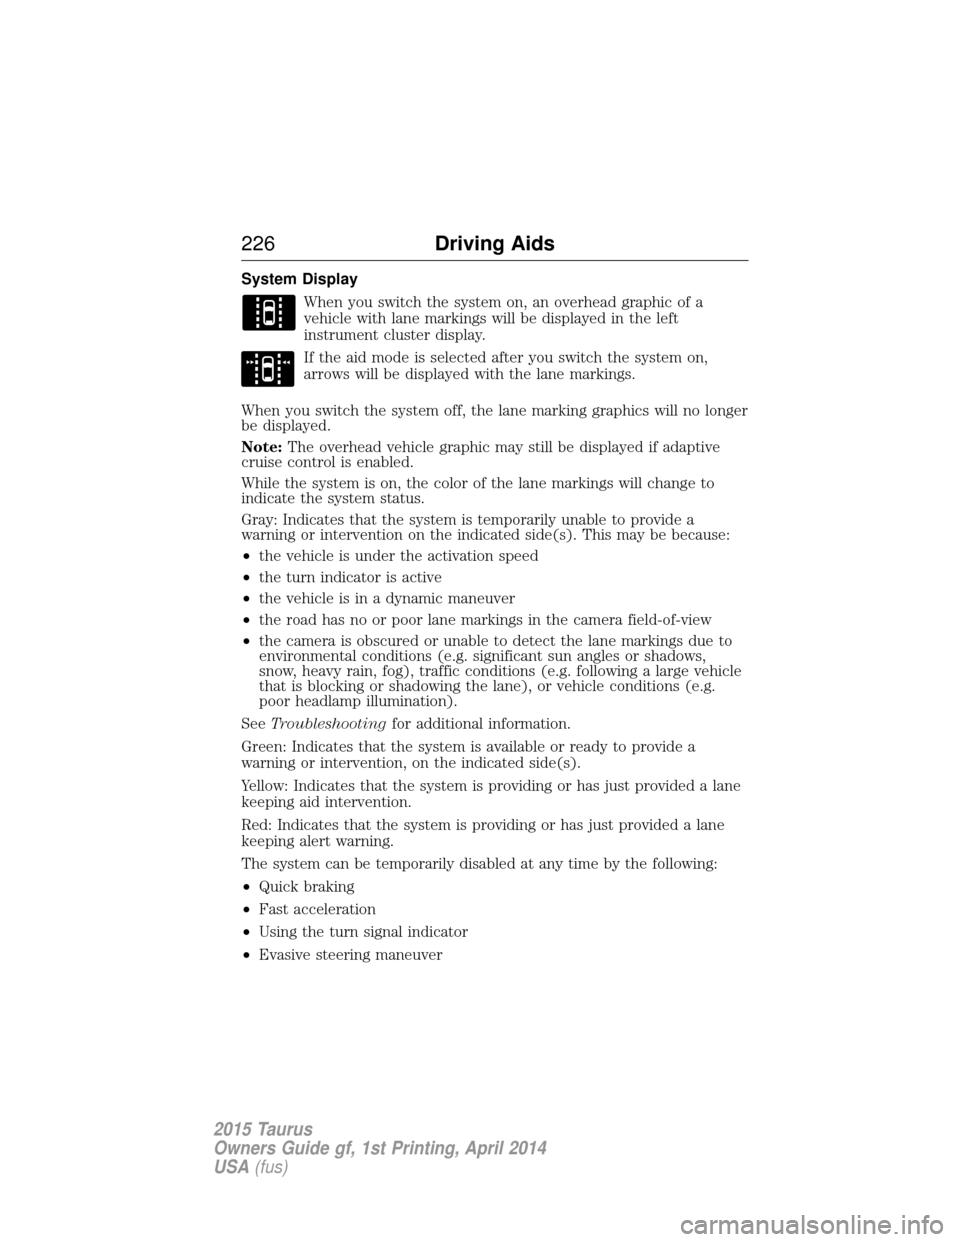
System DisplayWhen you switch the system on, an overhead graphic of a
vehicle with lane markings will be displayed in the left
instrument cluster display.
If the aid mode is selected after you switch the system on,
arrows will be displayed with the lane markings.
When you switch the system off, the lane marking graphics will no longer
be displayed.
Note: The overhead vehicle graphic may still be displayed if adaptive
cruise control is enabled.
While the system is on, the color of the lane markings will change to
indicate the system status.
Gray: Indicates that the system is temporarily unable to provide a
warning or intervention on the indicated side(s). This may be because:
• the vehicle is under the activation speed
• the turn indicator is active
• the vehicle is in a dynamic maneuver
• the road has no or poor lane markings in the camera field-of-view
• the camera is obscured or unable to detect the lane markings due to
environmental conditions (e.g. significant sun angles or shadows,
snow, heavy rain, fog), traffic conditions (e.g. following a large vehicle
that is blocking or shadowing the lane), or vehicle conditions (e.g.
poor headlamp illumination).
See Troubleshooting for additional information.
Green: Indicates that the system is available or ready to provide a
warning or intervention, on the indicated side(s).
Yellow: Indicates that the system is providing or has just provided a lane
keeping aid intervention.
Red: Indicates that the system is providing or has just provided a lane
keeping alert warning.
The system can be temporarily disabled at any time by the following:
• Quick braking
• Fast acceleration
• Using the turn signal indicator
• Evasive steering maneuver
226 Driving Aids
2015 Taurus
Owners Guide gf, 1st Printing, April 2014
USA(fus)
Page 230 of 558

Using the Systems
BLIS® turns on when the engine is started and the vehicle is driven
forward above 3 mph (5 km/h); it remains on while the transmission is in
D (Drive) or N (Neutral). If shifted out of D (Drive) or N (Neutral), the
system enters CTA mode. Once shifted back into D (Drive), BLIS® turns
back on when the vehicle is driven above 3 mph (5 km/h).
Note:BLIS® does not function in R (Reverse) or P (Park) or provide
any additional warning when a turn signal is on.
CTA detects approaching vehicles from up to 45 feet (14 meters) away
though coverage decreases when the sensors are blocked. Reversing
slowly helps increase the coverage area and effectiveness.
WARNING: To help avoid personal injury, NEVER use the CTA
system as a replacement for using the interior and exterior
mirrors and looking over your shoulder before backing out of a parking
space. CTA is not a replacement for careful driving.
In this first example, the left sensor is only partially obstructed; zone
coverage is nearly maximized.
Driving Aids 229
2015 Taurus
Owners Guide gf, 1st Printing, April 2014
USA(fus)
Page 233 of 558

Reasons for messages being displayed
Heavy rainfall/snowfall
interferes with the
radar signals No action required. The system automatically
resets to an unblocked state once the
rainfall/snowfall rate decreases or stops. Do
not use BLIS® and/or CTA in these conditions.
System Limitations
The BLIS® and CTA systems do have their limitations; situations such as
severe weather conditions or debris build-up on the sensor area may
limit vehicle detection.
The following are other situations that may limit the BLIS®:
• Certain maneuvering of vehicles entering and exiting the blind zone.
• Vehicles passing through the blind zone at very fast rates.
• When several vehicles forming a convoy pass through the blind zone.
The following are other situations that may limit the CTA system:
• Adjacently parked vehicles or objects obstructing the sensors.
• Approaching vehicles passing at speeds greater than 15 mph
(24 km/h).
• Driving in reverse faster than 3 mph (5 km/h).
• Backing out of an angled parking spot.
False Alerts
Note: If you connected a trailer to your vehicle the BLIS® system may
detect the trailer causing a false alert. To avoid false alerts you may want
to turn the BLIS off manually.
There may be certain instances when either the BLIS® or CTA systems
illuminate the alert indicator with no vehicle in the coverage zone; this is
known as a false alert. Some amount of false alerts are normal; they are
temporary and self-correct.
System Errors
If either system senses a problem with the left or right sensor, the
BLIS® indicator in the information display will illuminate and remain on.
Also, BLIND SPOT SYSTEM FAULT orCROSS TRAFFIC SYSTEM
FAULT message will appear. When problems that may cause the left or
right indicator not to illuminate, only the information display message
faults appear.
232 Driving Aids
2015 Taurus
Owners Guide gf, 1st Printing, April 2014
USA(fus)
Page 250 of 558

Hitches
Do not use a hitch that either clamps onto the bumper or attaches to the
axle.
Distribute the trailer load so 10-15% of the total trailer weight is on the
tongue.
Safety Chains
Note:Never attach safety chains to the bumper.
Always connect the safety chains to the hook retainers of your vehicle hitch.
To connect the safety chains, cross them under the trailer tongue and
allow enough slack for turning tight corners. Do not allow the chains to
drag on the ground.
Trailer Brakes
WARNING: Do not connect a trailer’s hydraulic brake system
directly to your vehicle’s brake system. Your vehicle may not have
enough braking power and your chances of having a collision greatly
increase.
Electric brakes and manual, automatic or surge-type trailer brakes are
safe if you install them properly and adjust them to the manufacturer’s
specifications. The trailer brakes must meet local and federal regulations.
The rating for the tow vehicle’s braking system operation is at the
gross vehicle weight rating, not the gross combined weight rating.
Trailer Lamps
WARNING: Never connect any trailer lamp wiring to the
vehicle’s tail lamp wiring; this may damage the electrical system
resulting in a fire. Contact an authorized dealer as soon as possible for
assistance in proper trailer tow wiring installation. Additional electrical
equipment may be required.
Trailer lamps are required on most towed vehicles. Make sure all running
lights, brake lights, turn signals and hazard lights are working.
Before Towing a Trailer
Practice turning, stopping and backing up to get the feel of your
vehicle-trailer combination before starting on a trip. When turning, make
wider turns so the trailer wheels clear curbs and other obstacles.
Towing 249
2015 Taurus
Owners Guide gf, 1st Printing, April 2014
USA(fus)
Page 259 of 558

Vehicles Sold in the United States: Using Roadside Assistance
Complete the roadside assistance identification card and place it in your
wallet for quick reference. This card is found in the owner’s manual
portfolio in the glove compartment.
U.S. Ford vehicle customers who require Roadside Assistance, call
1-800-241-3673.
If you need to arrange roadside assistance for yourself, Ford Motor
Company will reimburse a reasonable amount for towing to the nearest
dealership within 35 miles (56.3 kilometers). To obtain reimbursement
information, U.S. Ford vehicle customers call 1-800-241-3673. Customers
will be asked to submit their original receipts.
Vehicles Sold in Canada: Getting Roadside Assistance
Canadian clients who require roadside assistance, call 1-800-665-2006.
Vehicles Sold in Canada: Using Roadside Assistance
For your convenience, you may complete the roadside assistance
identification card found in the centerfold of this warranty guide and
retain for future reference.
Canadian roadside coverage and benefits may differ from the U.S.
coverage. If you require more information, please refer to the coverage
section of your warranty guide, call us in Canada at 1-800-665-2006 or
visit our website at www.ford.ca.
HAZARD WARNING FLASHERSThe hazard flasher control is located on the instrument panel
by the radio. Use it when your vehicle is disabled and is
creating a safety hazard for other motorists.
• Press the flasher control and all front and rear direction signals will
flash.
• Press the flasher control again to turn them off.
Note: With extended use, the flashers may run down your 12–volt
battery.
258 Roadside Emergencies
2015 Taurus
Owners Guide gf, 1st Printing, April 2014
USA(fus)
Page 306 of 558

These are examples of unacceptable moisture (usually caused by a lamp
water leak):
•Water puddle inside the lamp.
• Large water droplets, drip marks or streaks present on the interior of
the lens.
Take your vehicle to a dealer for service if any of the above conditions of
unacceptable moisture are present.
Replacing headlamp bulbs
WARNING: Handle a halogen headlamp bulb carefully and keep
out of children’s reach. Grasp the bulb only by its plastic base
and do not touch the glass. The oil from your hand could cause the
bulb to break the next time the headlamps are operated.
Note: If the bulb is accidentally touched, it should be cleaned with
rubbing alcohol before being used.
Headlamp:
A. Front parking lamp/turn signal
bulb
B. Low/High beam headlamp bulb
C. Sidemarker bulb
Low/High beam bulbs:
1. Make sure the headlamp switch is
in the off position, then open the
hood.
2. Reach in behind the headlamp
assembly to access the bulbs and
connectors.
3. Remove service cap.
4. Remove bulb from the headlamp assembly by turning it
counterclockwise, then pull it straight out.
ABC
Maintenance 305
2015 Taurus
Owners Guide gf, 1st Printing, April 2014
USA(fus)
Page 307 of 558

Front parking lamp/turn
signal/sidemarker bulbs:
1. Make sure headlamp switch is in
the off position, then open the
hood.
2. Reach in behind the headlamp
assembly to access the bulb sockets
and connectors.
3. Rotate the bulb socket counterclockwise and remove from the lamp
assembly.
4. Carefully pull the bulb out of the socket and push in the new bulb.
Install the new bulbs in reverse order from the steps above.
Replacing HID headlamp bulbs (if equipped)
The headlamps on your vehicle use a “high intensity discharge” source.
These lamps operate at a high voltage. When the bulb is burned out, the
bulb and starter capsule assembly must be replaced by your authorized
dealer.
Replacing stop/tail/turn and sidemarker lamp bulbs
Your vehicle is equipped with a tail lamp assembly containing integral
multiple light emitting diodes (LED) for the stop/tail/turn and sidemarker
functions. If replacement is required, see your authorized dealer.
Replacing backup lamp bulbs
1. Make sure the headlamp switch is in the off position. 2. Remove the deck lid trim panel press pins
and carefully pull the panel away to expose
the backside of the backup lamp assembly.
306Maintenance
2015 Taurus
Owners Guide gf, 1st Printing, April 2014
USA(fus)
Page 382 of 558

When HD Radio broadcasts are active, you can access the following
functions:
When you select:You can:
Scan Hear a brief sampling of all available stations.
This feature still works when HD Radio
reception is on, although it does not scan for
HD2-HD7 channels. You may see the HD logo
appear if the station has a digital broadcast.
To save a multicast
station as a preset When the channel is active on-screen, press
and hold a memory preset slot until the sound
returns. There is a brief mute while the radio
saves the station. Sound returns when
finished. When recalling a HD2 or HD3
memory preset, there is a mute before the
digital audio plays, as the system must once
again acquire the digital signal.
As with any saved radio station, you cannot
access the saved station if your vehicle is
outside the station’s reception area.
HD Radio Reception and Station Troubleshooting
Potential reception issues
Reception area If you are listening to a multicast station and
you are on the fringe of the reception area,
the station may mute due to weak signal
strength.
If you are listening to HD1, the system
switches back to the analog broadcast until
the digital broadcast is available again.
However, if you are listening to any of the
possible HD2 through HD7 multicast
channels, the station mutes and stays muted
unless it is able to connect to the digital
signal again.
Audio System 381
2015 Taurus
Owners Guide gf, 1st Printing, April 2014
USA(fus)