2015 FORD SUPER DUTY check engine
[x] Cancel search: check enginePage 137 of 470
Do not crank the engine for more than 10seconds at a time as starter damage mayoccur. If the engine fails to start, turn thekey to off and wait 30 seconds beforetrying again.
Do not use starting fluid such as ether inthe air intake system. Such fluid couldcause immediate explosive damage to theengine and possible personal injury.
If you should experience cold weatherstarting problems on E85 ethanol, andneither an alternative brand of E85 ethanolnor an engine block heater is available, theaddition of unleaded gasoline to your tankimproves cold starting performance. Yourvehicle is designed to operate on E85ethanol alone, unleaded gasoline alone, orany mixture of the two.
If the Engine Fails to Start Using thePreceding Instructions (Flexible FuelVehicles Only)
1.Press and hold down the acceleratorone-third to one-half the way to thefloor, then crank the engine.
2.When the engine starts, release thekey, then gradually release theaccelerator pedal as the engine speedsup. If the engine still fails to start,repeat Step 1.
Guarding Against Exhaust Fumes
WARNING
If you smell exhaust fumes insideyour vehicle, have your vehiclechecked by your authorized dealerimmediately. Do not drive your vehicle ifyou smell exhaust fumes. Carbonmonoxide is present in exhaust fumes.Take precautions to avoid its dangerouseffects.
Important Ventilating Information
If you stop your vehicle and the leave theengine idling for long periods of time, werecommend that you do one of thefollowing:
•Open the windows at least 1 inch (2.5centimeters)
•Set your climate control to outside air.
ENGINE BLOCK HEATER (IF
EQUIPPED)
WARNINGS
Failure to follow engine block heaterinstructions could result in propertydamage or serious personal injury.
Do not use your heater withungrounded electrical systems ortwo-pronged adapters. There is a riskof electrical shock.
Note:The heater is most effective whenoutdoor temperatures are below 0°F(-18°C).
The heater acts as a starting aid bywarming the engine coolant. This allowsthe climate control system to respondquickly. The equipment includes a heaterelement (installed in the engine block) anda wire harness. You can connect thesystem to a grounded 120-volt ACelectrical source.
We recommend that you do the followingfor a safe and correct operation:
•Use a 16-gauge outdoor extension cordthat is product certified byUnderwriter’s Laboratory (UL) orCanadian Standards Association(CSA). This extension cord must besuitable for use outdoors, in cold
134Super Duty (), enUSAStarting and Stopping the Engine
Page 138 of 470
temperatures, and be clearly markedSuitable for Use with OutdoorAppliances. Do not use an indoorextension cord outdoors. This couldresult in an electric shock or become afire hazard.
•Use as short an extension cord aspossible.
•Do not use multiple extension cords.
•Make sure that when in operation, theextension cord plug and heater cordplug connections are free and clear ofwater. This could cause an electricshock or fire.
•Make sure your vehicle is parked in aclean area, clear of combustibles.
•Make sure the heater, heater cord andextension cord are firmly connected.
•Check for heat anywhere in theelectrical hookup once the system hasbeen operating for approximately 30minutes.
•Make sure the system is unplugged andproperly stowed before driving yourvehicle. Make sure the protective coverseals the prongs of the block heatercord plug when not in use.
•Make sure the heater system ischecked for proper operation beforewinter.
Using the Engine Block Heater
Make sure the receptacle terminals areclean and dry prior to use. Clean them witha dry cloth if necessary.
The heater uses 0.4 to 1.0 kilowatt-hoursof energy per hour of use. The system doesnot have a thermostat. It achievesmaximum temperature afterapproximately three hours of operation.Using the heater longer than three hoursdoes not improve system performance andunnecessarily uses electricity.
135Super Duty (), enUSAStarting and Stopping the Engine
Page 142 of 470
WARNINGS
Keep sparks, flames and smokingmaterials away from fuel.
Stay outside your vehicle and do notleave the fuel pump unattendedwhen refueling your vehicle. This isagainst the law in some places.
Keep children away from the fuelpump; never let children pump fuel.
Do not use personal electronicdevices while refueling.
Use the following guidelines to avoidelectrostatic charge build-up when fillingan ungrounded fuel container:
•Place approved fuel container on theground.
•Do not fill a fuel container while it is inthe vehicle (including the cargo area).
•Keep the fuel pump nozzle in contactwith the fuel container while filling.
•Do not use a device that would holdthe fuel pump handle in the fill position.
Fuel Filler Cap
WARNINGS
The fuel system may be underpressure. If you hear a hissing soundnear the fuel filler door, do not refueluntil the sound stops. Otherwise, fuel mayspray out, which could cause seriouspersonal injury.
If you do not use the proper fuel fillercap, excessive pressure or vacuumin the fuel tank may damage the fuelsystem or cause the fuel cap to disengagein a collision, which may result in possiblepersonal injury.
Note:If you must replace the fuel filler cap,replace it with a fuel filler cap that isdesigned for your vehicle. The customerwarranty may be void for any damage to thefuel tank or fuel system if the correctgenuine Ford, Motorcraft® or other certifiedfuel filler cap is not used.
Your fuel tank filler cap has an indexeddesign with a 1/4th turn on and off feature.When fueling your vehicle:
1.Put the vehicle in P (Park).
2.Turn the engine off.
3.Carefully turn the filler capcounterclockwise until it spins off.
4.Pull to remove the cap from the fuelfiller pipe.
5.To install the cap, align the tabs on thecap with the notches on the filler pipe.
6.Turn the filler cap clockwise 1/4 of aturn clockwise until it clicks at leastonce.
If the Check Fuel Cap light or a Check FuelCap message appears in the instrumentcluster and stays on after you start theengine, the fuel filler cap may not beproperly installed.
If the fuel cap light remains on, at the nextopportunity, safely pull off of the road,remove the fuel filler cap, align the capproperly and reinstall it. The check fuel caplight or Check fuel cap message may notreset immediately; it may take severaldriving cycles for the indicators to turn off.A driving cycle consists of an enginestart-up (after four or more hours with theengine off) followed by normal city andhighway driving.
139Super Duty (), enUSAFuel and Refueling
Page 145 of 470
On-Board Diagnostics (OBD-II)
Your vehicle is equipped with an on-boarddiagnostics system (OBD-II) that monitorsthe engine’s emission control system. Thissystem protects the environment byensuring that your vehicle continues tomeet government emission standards. TheOBD-II system also assists your authorizeddealer in properly servicing your vehicle.
When the service engine soonindicator illuminates, the OBD-IIsystem has detected amalfunction. Temporary malfunctions maycause the service engine soon indicator toilluminate.
Examples of temporary malfunctions are:
•the vehicle has run out of fuel—theengine may misfire or run poorly
•poor fuel quality or water in thefuel—the engine may misfire or runpoorly
•the fuel fill inlet may not have beenproperly closed See Refueling (page138).
•driving through deep water—theelectrical system may be wet.
You can correct these temporarymalfunctions by filling the fuel tank withgood quality fuel, properly closing the fuelfill inlet or letting the electrical system dryout. After three driving cycles without theseor any other temporary malfunctionspresent, the service engine soon indicatorshould stay off the next time you start theengine. A driving cycle consists of a coldengine startup followed by mixedcity/highway driving. No additional vehicleservice is required.
If the service engine soon indicator remainson, have your vehicle serviced at the firstavailable opportunity. Although somemalfunctions detected by the OBD-II maynot have symptoms that are apparent,continued driving with the service enginesoon indicator on can result in increasedemissions, lower fuel economy, reducedengine and transmission smoothness, andlead to more costly repairs.
Readiness forInspection/Maintenance (I/M)Testing
Some state/provincial and localgovernments may haveInspection/Maintenance (I/M) programsto inspect the emission control equipmenton your vehicle. Failure to pass thisinspection could prevent you from gettinga vehicle registration.
If the service engine soonindicator is on or the bulb doesnot work, you may need to havethe vehicle serviced. See On-BoardDiagnostics (OBD-II).
Your vehicle may not pass the I/M test ifthe service engine soon indicator is on ornot working properly (bulb is burned out),or if the OBD-II system has determinedthat some of the emission control systemshave not been properly checked. In thiscase, your vehicle is not ready for I/Mtesting.
If the vehicle’s engine or transmission hasjust been serviced, or the battery hasrecently run down or been replaced, theOBD-II system may indicate that thevehicle is not ready for I/M testing. Todetermine if the vehicle is ready for I/Mtesting, turn the ignition key to the onposition for 15 seconds without cranking
142Super Duty (), enUSAFuel and Refueling
Page 146 of 470
the engine. If the service engine soonindicator blinks eight times, it means thatthe vehicle is not ready for I/M testing; ifthe service engine soon indicator stays onsolid, it means that the vehicle is ready forI/M testing.
The OBD-II system monitors the emissioncontrol system during normal driving. Acomplete check may take several days. Ifthe vehicle is not ready for I/M testing, youmay need to perform the following drivingcycle consisting of mixed city and highwaydriving:
Drive on an expressway or highway for asteady 15 minutes, followed by 20 minutesof stop-and-go driving with at least four30-second idle periods.
Allow the vehicle to sit for at least eighthours without starting the engine. Then,start the engine and complete the abovedriving cycle. The engine must warm up toits normal operating temperature. Oncestarted, do not turn off the engine until theabove driving cycle is complete. If thevehicle is still not ready for I/M testing, youwill have to repeat the above driving cycle.
143Super Duty (), enUSAFuel and Refueling
Page 160 of 470
Mud and Water
Mud
Be cautious of sudden changes in vehiclespeed or direction when you are driving inmud. Even four-wheel drive vehicles canlose traction in slick mud. If your vehicledoes slide, steer in the direction of the slideuntil you regain control of your vehicle.
After driving through mud, clean off residuestuck to rotating driveshafts and tires.Excess mud stuck on tires and rotatingdriveshafts can cause an imbalance thatcould damage drive components.
Water
If you must drive through high water, driveslowly. Traction or brake capability maybe limited.
When driving through water, determine thedepth and avoid water higher than thebottom of the hubs. If the ignition systemgets wet, your vehicle may stall.
Once through water, always try the brakes.Wet brakes do not stop your vehicle aseffectively as dry brakes. Drying can beimproved by applying light pressure to thebrake pedal while moving slowly.
Note:Driving through deep water maydamage the transmission. If the front or rearaxle is submerged in water, the axlelubricant and power transfer unit lubricantshould be checked and changed ifnecessary.
Driving on Hilly or Sloping Terrain
Although natural obstacles may make itnecessary to travel diagonally up or downa hill or steep incline, you should alwaystry to drive straight up or straight down.
Note:Avoid turning on steep slopes or hills.A danger lies in losing traction, slippingsideways and possible vehicle roll over.Whenever driving on a hill, determinebeforehand the route you will use. Do notdrive over the crest of a hill without seeingwhat conditions are on the other side. Donot drive in reverse over a hill without theaid of an observer.
When climbing a steep slope or hill, startin a lower gear rather than downshifting toa lower gear from a higher gear once theascent has started. This reduces strain onthe engine and the possibility of stalling.
If your vehicle stalls, do not try to turnaround because this could cause vehicleroll over. It is better to reverse back to asafe location.
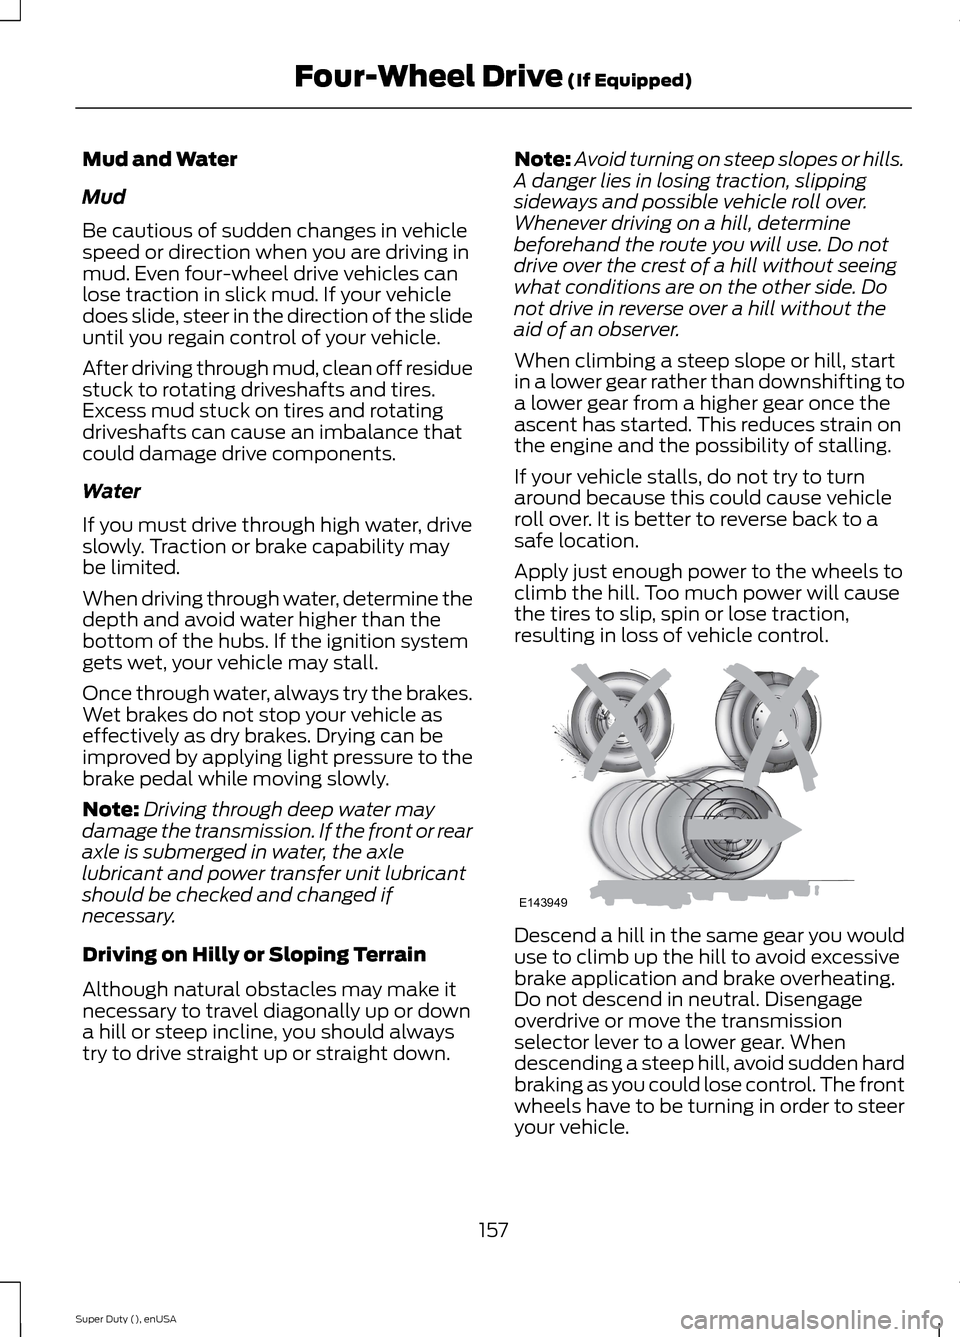
Apply just enough power to the wheels toclimb the hill. Too much power will causethe tires to slip, spin or lose traction,resulting in loss of vehicle control.
Descend a hill in the same gear you woulduse to climb up the hill to avoid excessivebrake application and brake overheating.Do not descend in neutral. Disengageoverdrive or move the transmissionselector lever to a lower gear. Whendescending a steep hill, avoid sudden hardbraking as you could lose control. The frontwheels have to be turning in order to steeryour vehicle.
157Super Duty (), enUSAFour-Wheel Drive (If Equipped)E143949
Page 165 of 470
GENERAL INFORMATION
Note:Occasional brake noise is normal. Ifa metal-to-metal, continuous grinding orcontinuous squeal sound is present, thebrake linings may be worn-out. Have thesystem checked by an authorized dealer. Ifyour vehicle has continuous vibration orshudder in the steering wheel while braking,have it checked by an authorized dealer.
Note:Brake dust may accumulate on thewheels, even under normal drivingconditions. Some dust is inevitable as thebrakes wear and does not contribute tobrake noise. See Cleaning the AlloyWheels (page 261).
See Warning Lamps andIndicators (page 77).
Wet brakes result in reduced brakingefficiency. Gently press the brake pedal afew times when driving from a car wash orstanding water to dry the brakes.
Brake Over Accelerator
In the event the accelerator pedalbecomes stuck or entrapped, apply steadyand firm pressure to the brake pedal toslow the vehicle and reduce engine power.If you experience this condition, apply thebrakes and bring your vehicle to a safestop. Move the transmission selector leverto position P, switch the engine off andapply the parking brake. Inspect theaccelerator pedal for any interference. Ifnone are found and the condition persists,have your vehicle towed to the nearestauthorized dealer.
Brake Assist
Brake assist detects when you brakerapidly by measuring the rate at which youpress the brake pedal. It providesmaximum braking efficiency as long as youpress the pedal, and can reduce stoppingdistances in critical situations.
Anti-lock Brake System
This system helps you maintain steeringcontrol during emergency stops by keepingthe brakes from locking.
This lamp momentarilyilluminates when you turn theignition on. If the light does notilluminate during start up, remains on orflashes, the system may be disabled. Havethe system checked by an authorizeddealer.
If the system is disabled, normalbraking is still effective. If thebrake warning lamp illuminateswhen you release the parking brake, havethe system checked by an authorizeddealer.
HINTS ON DRIVING WITH
ANTI-LOCK BRAKES
Note:When the system is operating, thebrake pedal will pulse and may travelfurther. Maintain pressure on the brakepedal. You may also hear a noise from thesystem. This is normal.
The anti-lock braking system will noteliminate the risks when:
•you drive too closely to the vehicle infront of you
•your vehicle is hydroplaning
•you take corners too fast
•the road surface is poor.
162Super Duty (), enUSABrakesE144522 E144522
Page 171 of 470
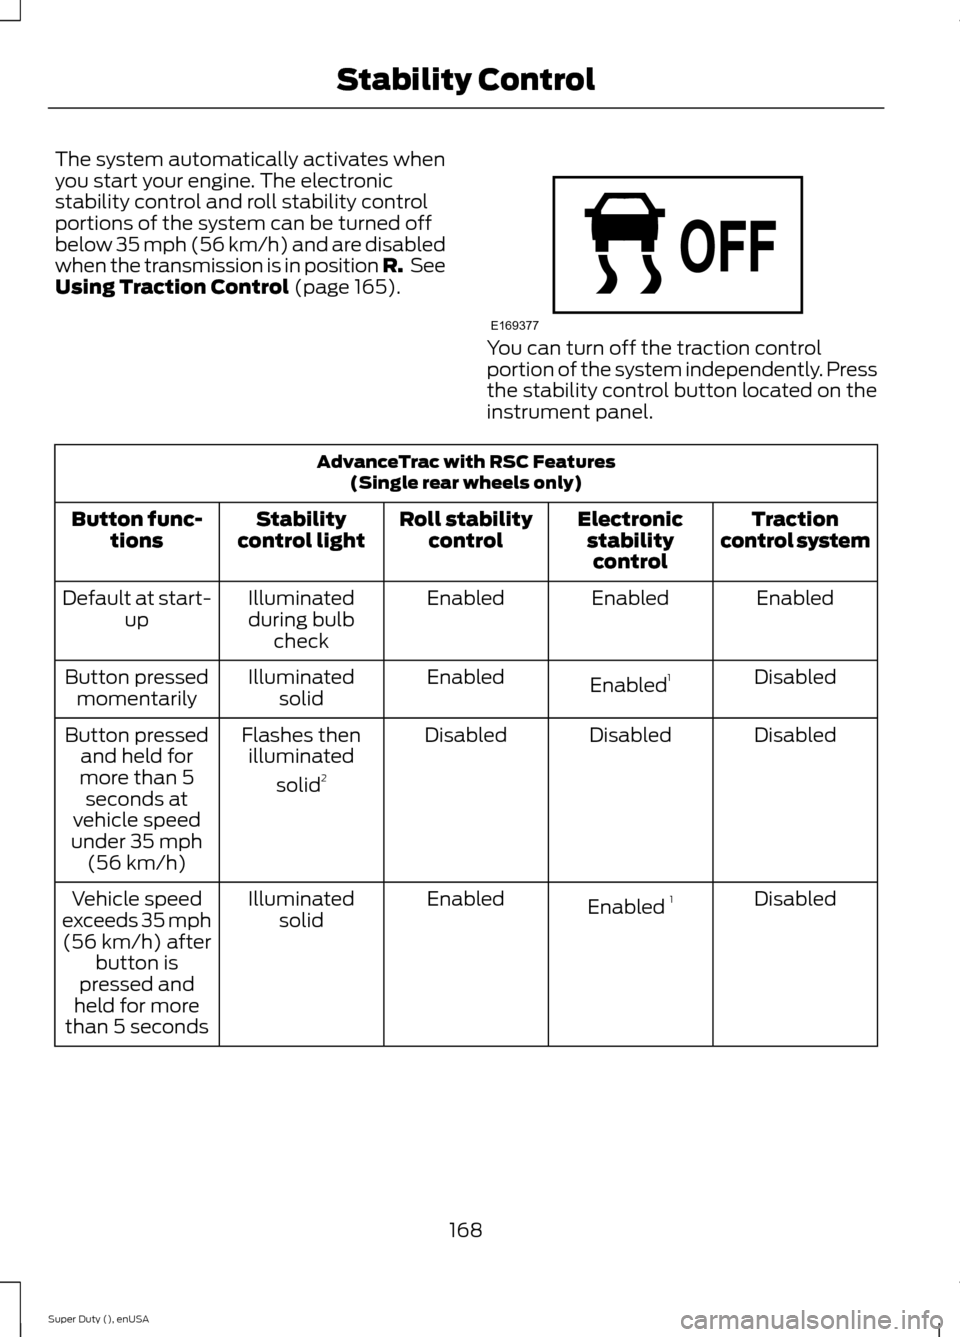
The system automatically activates whenyou start your engine. The electronicstability control and roll stability controlportions of the system can be turned offbelow 35 mph (56 km/h) and are disabledwhen the transmission is in position R. SeeUsing Traction Control (page 165).
You can turn off the traction controlportion of the system independently. Pressthe stability control button located on theinstrument panel.
AdvanceTrac with RSC Features(Single rear wheels only)
Tractioncontrol systemElectronicstabilitycontrol
Roll stabilitycontrolStabilitycontrol lightButton func-tions
EnabledEnabledEnabledIlluminatedduring bulbcheck
Default at start-up
DisabledEnabled1EnabledIlluminatedsolidButton pressedmomentarily
DisabledDisabledDisabledFlashes thenilluminated
solid2
Button pressedand held formore than 5seconds atvehicle speedunder 35 mph(56 km/h)
DisabledEnabled 1EnabledIlluminatedsolidVehicle speedexceeds 35 mph(56 km/h) afterbutton ispressed andheld for morethan 5 seconds
168Super Duty (), enUSAStability ControlE169377