Page 7 of 401

Vehicle Care 248
Cleaning products.....................................248
Cleaning the exterior..................................248
Waxing.............................................250
Repairing minor paint damage............................250
Cleaning the engine...................................250
Cleaning the windows and wiper blades.....................251
Cleaning the interior...................................252
Cleaning the instrument panel and instrument cluster lens.......252
Cleaning leather seats..................................253
Cleaning the alloy wheels...............................254
Vehicle storage.......................................255
Wheels and Tires 258
Tirecare ...........................................260
Tire Pressure Monitoring System (TPMS)...................278
Changing a road wheel.................................284
Technical specifications.................................293
Wheel lug nut torque..................................293
Capacities and Specifications 294
Part numbers........................................302
Vehicle identification number............................303
Vehicle certification label...............................304
Transmission code designation............................304
Extended Service Plan 305
Audio System 308
MyFord™ system.....................................310
Auxiliary input jack...................................317
USB port...........................................318
6Table of Contents
2015 Police(pol)
Owners Guide gf, 2nd Printing, April 2015
USA(fus)
Page 138 of 401

AUTOMATIC TRANSMISSION
WARNING:Always set the parking brake fully and make sure
the gearshift is latched in P (Park). Turn the ignition to the off
position and remove the key whenever you leave your vehicle.
Your vehicle has been designed to improve fuel economy by reducing
fuel usage while coasting or decelerating. When you take your foot off
the accelerator pedal and the vehicle begins to slow down, the torque
converter clutch locks up and aggressively shuts off fuel flow to the
engine while decelerating. This fuel economy benefit may be perceived
as a light to medium braking sensation when removing your foot from
the accelerator pedal.
P (Park)
This position locks the transmission and prevents the front wheels from
turning.
To put your vehicle in gear:
•Press the brake pedal
•Move the gearshift lever into the desired gear
To put your vehicle in P (Park):
•Come to a complete stop
•Move the gearshift lever and securely latch it in P (Park)
R (Reverse)
With the gearshift lever in R (Reverse), the vehicle will move backward.
Always come to a complete stop before shifting into and out of R
(Reverse).
N (Neutral)
With the gearshift lever in N (Neutral), the vehicle can be started and is
free to roll. Hold the brake pedal down while in this position.
D (Drive)
The normal driving position for the best fuel economy. Transmission
operates in gears one through six.
Transmission137
2015 Police(pol)
Owners Guide gf, 2nd Printing, April 2015
USA(fus)
Page 168 of 401

Adjusting the Crossbars (If Equipped)
Note:Wind noise can be minimized by either removing or repositioning
the crossbars when they are not is use. Position the rear crossbar fully
rearward and the front crossbar 10 inches (25 centimeters) from the
front end-cap.
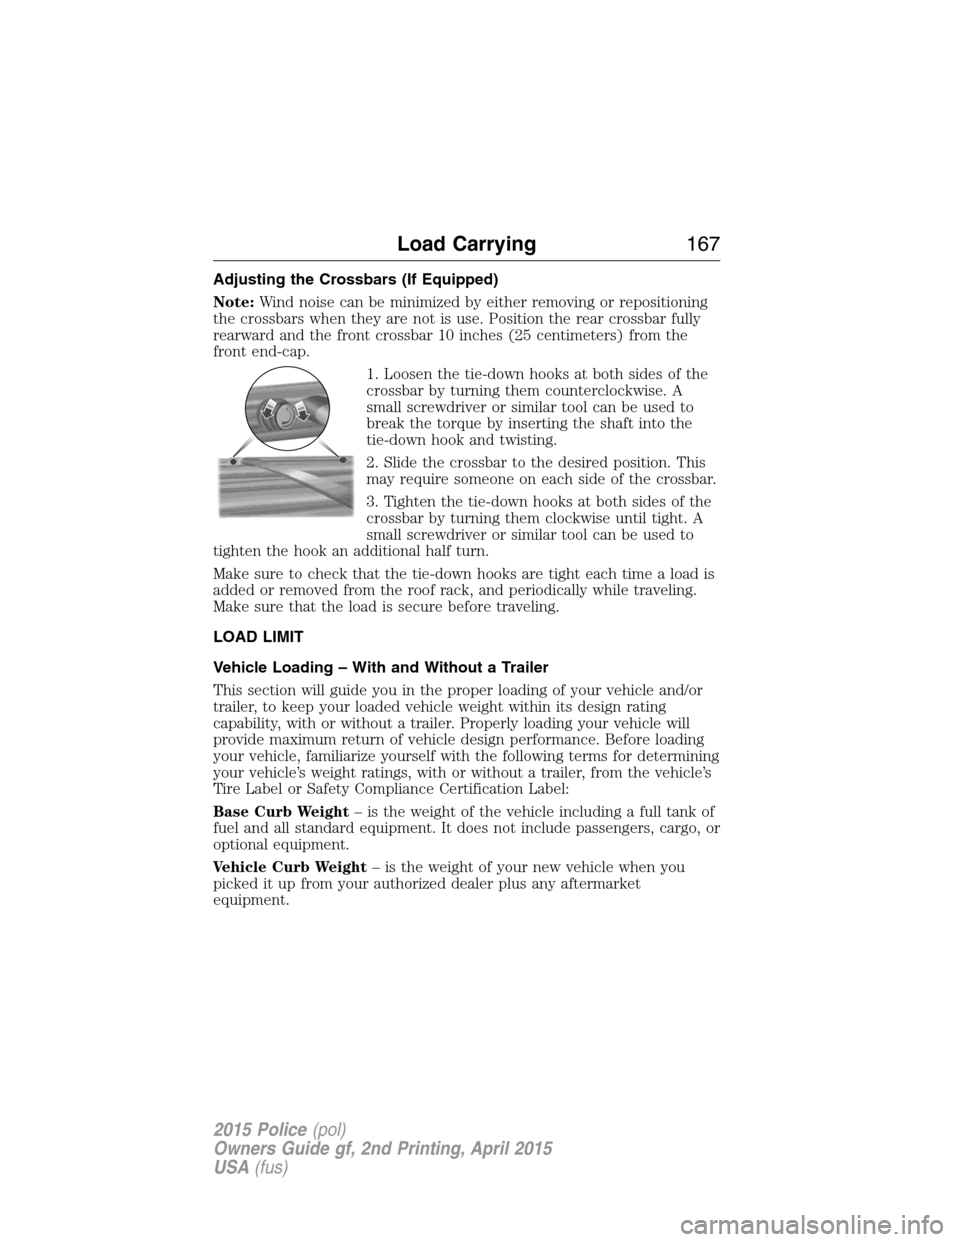
1. Loosen the tie-down hooks at both sides of the
crossbar by turning them counterclockwise. A
small screwdriver or similar tool can be used to
break the torque by inserting the shaft into the
tie-down hook and twisting.
2. Slide the crossbar to the desired position. This
may require someone on each side of the crossbar.
3. Tighten the tie-down hooks at both sides of the
crossbar by turning them clockwise until tight. A
small screwdriver or similar tool can be used to
tighten the hook an additional half turn.
Make sure to check that the tie-down hooks are tight each time a load is
added or removed from the roof rack, and periodically while traveling.
Make sure that the load is secure before traveling.
LOAD LIMIT
Vehicle Loading – With and Without a Trailer
This section will guide you in the proper loading of your vehicle and/or
trailer, to keep your loaded vehicle weight within its design rating
capability, with or without a trailer. Properly loading your vehicle will
provide maximum return of vehicle design performance. Before loading
your vehicle, familiarize yourself with the following terms for determining
your vehicle’s weight ratings, with or without a trailer, from the vehicle’s
Tire Label or Safety Compliance Certification Label:
Base Curb Weight– is the weight of the vehicle including a full tank of
fuel and all standard equipment. It does not include passengers, cargo, or
optional equipment.
Vehicle Curb Weight– is the weight of your new vehicle when you
picked it up from your authorized dealer plus any aftermarket
equipment.
Load Carrying167
2015 Police(pol)
Owners Guide gf, 2nd Printing, April 2015
USA(fus)
Page 290 of 401
4. Small arrow-shaped marks on the sills show the location of the jacking
points.
5. Remove the lug nuts with the lug wrench.
6. Replace the flat tire with the spare tire, making sure the valve stem is
facing outward. Reinstall the lug nuts until the wheel is snug against the
hub. Do not fully tighten the lug nuts until the wheel has been lowered.
7. Lower the wheel by turning the jack handle counterclockwise.
8. Remove the jack and fully tighten the lug
nuts in the order shown. SeeWheel Lug
Nut Torque Specifications.
Wheels and Tires289
2015 Police(pol)
Owners Guide gf, 2nd Printing, April 2015
USA(fus)
Page 294 of 401

TECHNICAL SPECIFICATIONS
Wheel Lug Nut Torque Specifications
WARNING:When a wheel is installed, always remove any
corrosion, dirt or foreign materials present on the mounting
surfaces of the wheel or the surface of the wheel hub, brake drum or
brake disc that contacts the wheel. Make sure that any fasteners that
attach the rotor to the hub are secured so they do not interfere with
the mounting surfaces of the wheel. Installing wheels without correct
metal-to-metal contact at the wheel mounting surfaces can cause the
wheel nuts to loosen and the wheel to come off while your vehicle is in
motion, resulting in loss of control.
Retighten the lug nuts to the specified torque at 100 miles
(160 kilometers), and again at 500 miles (800 kilometers) of new vehicle
operation and after any wheel disturbance (such as tire rotation,
changing a flat tire, wheel removal).
Lug nut socket
size/bolt sizeWheel lug nut torque*
ft-lb N•m
1�2x 20 110 149
* Torque specifications are for nut and bolt threads free of dirt and
rust. Use only Ford recommended replacement fasteners.
Note:Inspect the wheel pilot hole
and mounting surface prior to
installation. Remove any visible
corrosion or loose particles.
Wheels and Tires293
2015 Police(pol)
Owners Guide gf, 2nd Printing, April 2015
USA(fus)