2015 FORD F250 SUPER DUTY child lock
[x] Cancel search: child lockPage 33 of 470
Fastening the Cinch Tongue
WARNING
The lap belt should fit snugly and aslow as possible around the hips, notacross the waist.
1.Pull the lap and shoulder belt from theretractor so that the shoulder beltportion of the safety belt crosses yourshoulder and chest.
2. Be sure the belt is not twisted. If thebelt is twisted, remove the twist.
3. Insert the belt tongue into the properbuckle for your seating position untilyou hear a snap and feel it latch.
4. Make sure the tongue is securelyfastened to the buckle by pulling onthe tongue.
While you are fastened in the safety belt,the lap and shoulder belt with a cinchtongue adjusts to your movement.However, if you brake hard, turn hard, or ifyour vehicle receives an impact of 5 mph(8 km/h) or more, the safety belt willbecome locked and help reduce yourforward movement.
Using Safety Belts DuringPregnancy
WARNING
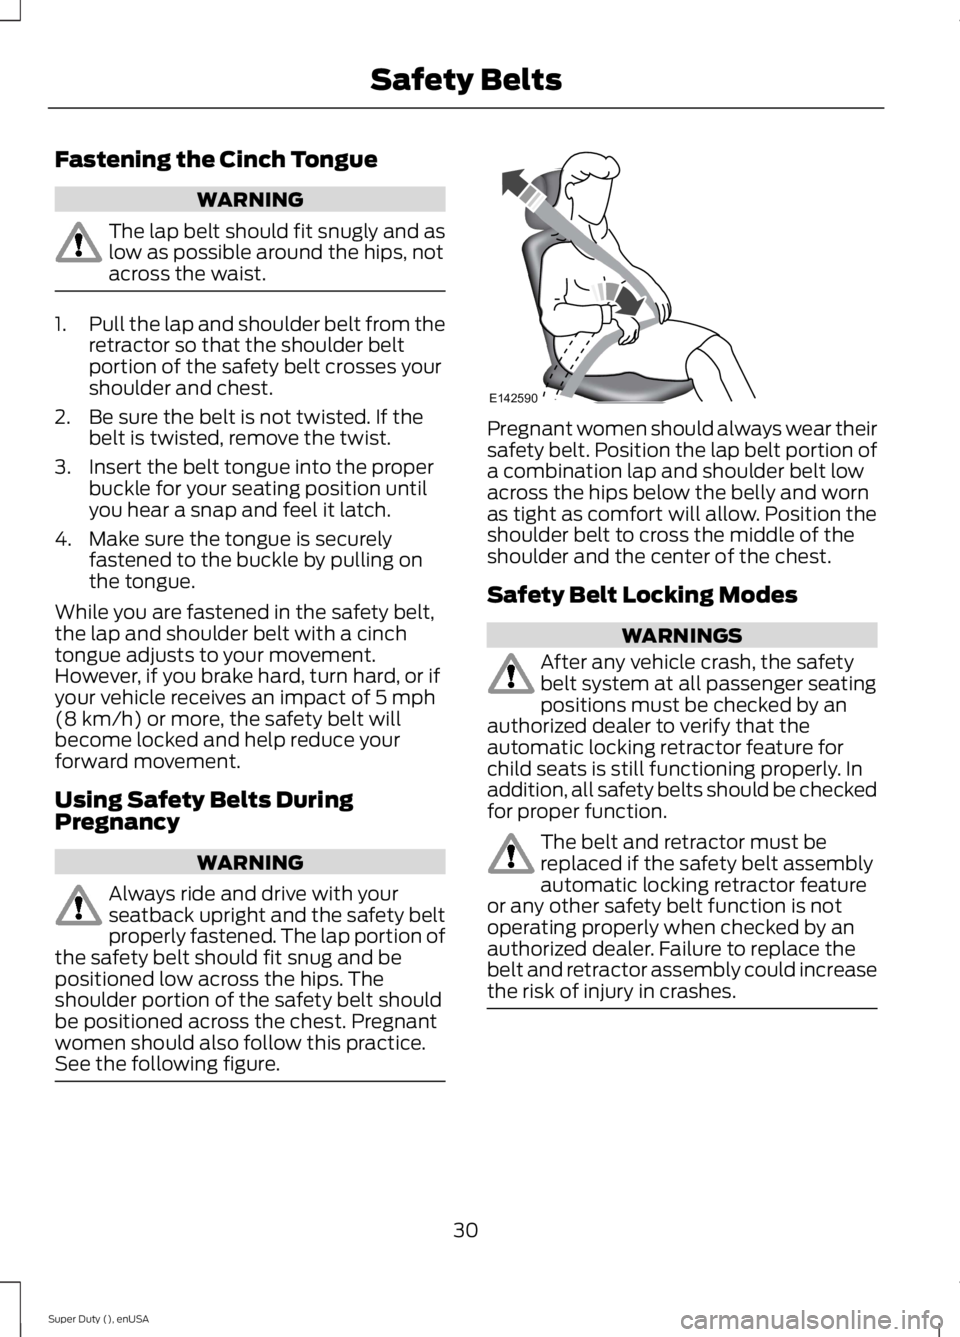
Always ride and drive with yourseatback upright and the safety beltproperly fastened. The lap portion ofthe safety belt should fit snug and bepositioned low across the hips. Theshoulder portion of the safety belt shouldbe positioned across the chest. Pregnantwomen should also follow this practice.See the following figure.
Pregnant women should always wear theirsafety belt. Position the lap belt portion ofa combination lap and shoulder belt lowacross the hips below the belly and wornas tight as comfort will allow. Position theshoulder belt to cross the middle of theshoulder and the center of the chest.
Safety Belt Locking Modes
WARNINGS
After any vehicle crash, the safetybelt system at all passenger seatingpositions must be checked by anauthorized dealer to verify that theautomatic locking retractor feature forchild seats is still functioning properly. Inaddition, all safety belts should be checkedfor proper function.
The belt and retractor must bereplaced if the safety belt assemblyautomatic locking retractor featureor any other safety belt function is notoperating properly when checked by anauthorized dealer. Failure to replace thebelt and retractor assembly could increasethe risk of injury in crashes.
30
Super Duty (), enUSA
Safety BeltsE142590
Page 34 of 470
All safety restraints in the vehicle arecombination lap and shoulder belts. Thedriver safety belt has the first type oflocking mode. The front outboardpassenger and rear outboard seat safetybelts have both types of locking modesdescribed as follows:
Vehicle Sensitive Mode
This is the normal retractor mode, whichallows free shoulder belt lengthadjustment to your movements andlocking in response to vehicle movement.For example, if the driver brakes suddenlyor turns a corner sharply, or the vehiclereceives an impact of about 5 mph(8 km/h) or more, the combination safetybelts will lock to help reduce forwardmovement of the driver and passengers.
In addition, the retractor is designed to lockif the webbing is pulled out too quickly. Ifthis occurs, let the belt retract slightly andpull webbing out again in a slow andcontrolled manner.
Automatic Locking Mode
In this mode, the shoulder belt isautomatically pre-locked. The belt will stillretract to remove any slack in the shoulderbelt. The automatic locking mode is notavailable on the driver safety belt.
When to Use the Automatic LockingMode
Use this mode any time a child safety seat,except a booster, is installed in passengerfront or rear seating positions. You shouldproperly restrain children 12 years old andunder in a rear seating position wheneverpossible. See Child Safety (page 15).
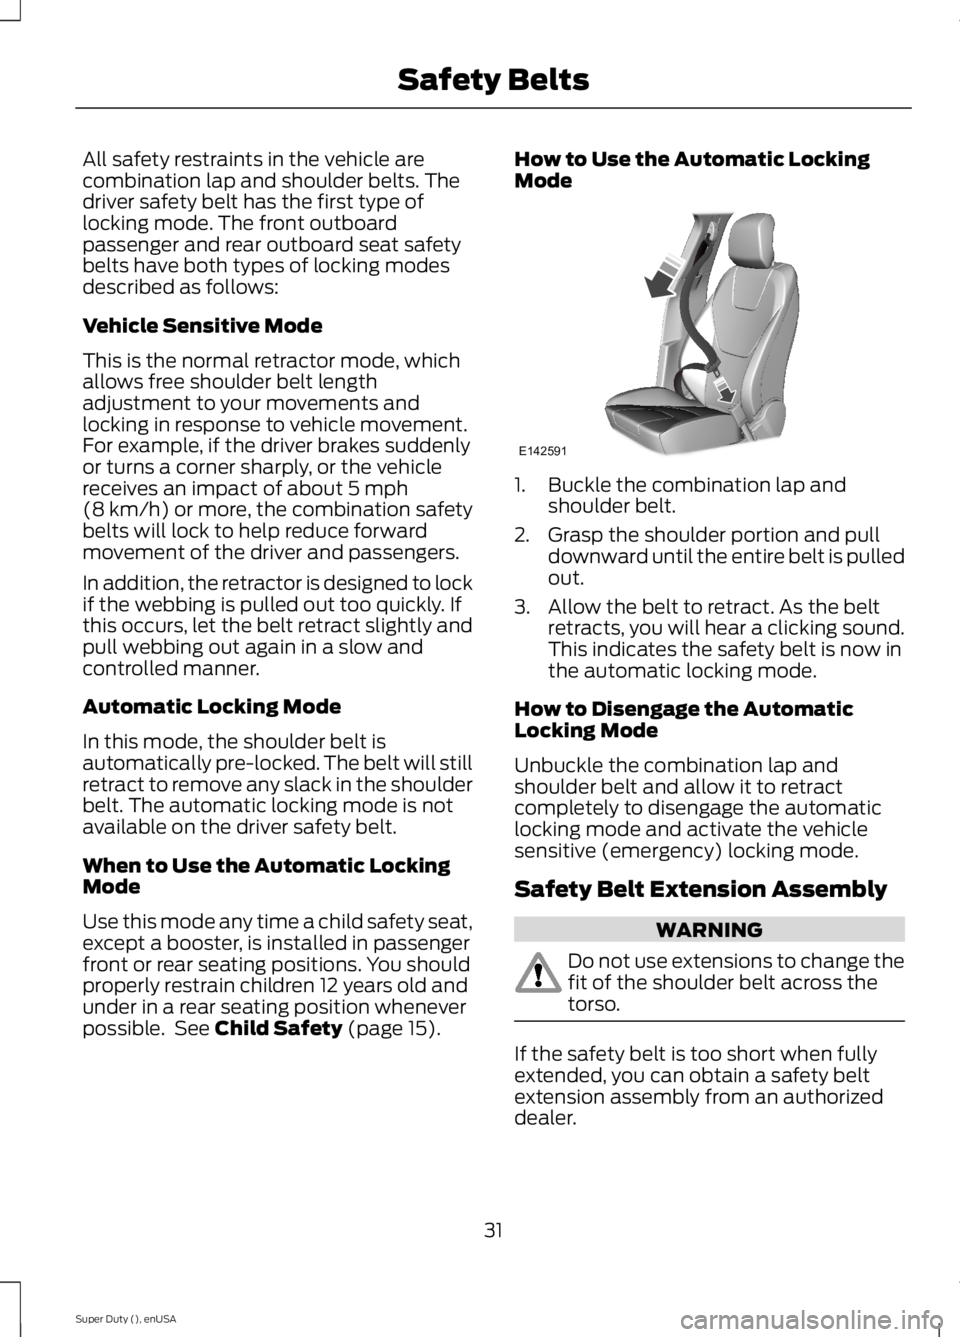
How to Use the Automatic LockingMode
1. Buckle the combination lap andshoulder belt.
2. Grasp the shoulder portion and pulldownward until the entire belt is pulledout.
3. Allow the belt to retract. As the beltretracts, you will hear a clicking sound.This indicates the safety belt is now inthe automatic locking mode.
How to Disengage the AutomaticLocking Mode
Unbuckle the combination lap andshoulder belt and allow it to retractcompletely to disengage the automaticlocking mode and activate the vehiclesensitive (emergency) locking mode.
Safety Belt Extension Assembly
WARNING
Do not use extensions to change thefit of the shoulder belt across thetorso.
If the safety belt is too short when fullyextended, you can obtain a safety beltextension assembly from an authorizeddealer.
31
Super Duty (), enUSA
Safety BeltsE142591
Page 73 of 470

Window Lock (If Equipped)
UnlockA
LockB
Press the control to lock or unlock the rearwindow controls.
Power Sliding Back Window (If
Equipped)
WARNINGS
When operating the power slidingback window, you must make sureall rear seat occupants and cargo arenot in the proximity of the back window.
Do not leave children unattended inyour vehicle and do not let them playwith the power sliding back window.They may seriously injure themselves.
The control is on the overhead console.
Press and hold the control to open thewindow. Pull and hold the control to closethe window.
Accessory Delay (If Equipped)
You can use the window switches forseveral minutes after you switch theignition off or until you open either frontdoor.
GLOBAL OPENING (IF EQUIPPED)
You can use the remote control to operatethe windows with the ignition off.
Note:To operate this feature, accessorydelay must not be active.
Opening the Windows
You can only open the windows for a shorttime after you unlock your vehicle with theremote control. After you unlock yourvehicle, press and hold the remote controlunlock button to open the windows.Release the button once movement starts.Press the lock or unlock button to stopmovement.
EXTERIOR MIRRORS
Power Exterior Mirrors (If Equipped)
WARNING
Do not adjust the mirrors when yourvehicle is moving.
70
Super Duty (), enUSA
Windows and MirrorsE163057AB E163058
Page 142 of 470
WARNINGS
Keep sparks, flames and smokingmaterials away from fuel.
Stay outside your vehicle and do notleave the fuel pump unattendedwhen refueling your vehicle. This isagainst the law in some places.
Keep children away from the fuelpump; never let children pump fuel.
Do not use personal electronicdevices while refueling.
Use the following guidelines to avoidelectrostatic charge build-up when fillingan ungrounded fuel container:
•Place approved fuel container on theground.
•Do not fill a fuel container while it is inthe vehicle (including the cargo area).
•Keep the fuel pump nozzle in contactwith the fuel container while filling.
•Do not use a device that would holdthe fuel pump handle in the fill position.
Fuel Filler Cap
WARNINGS
The fuel system may be underpressure. If you hear a hissing soundnear the fuel filler door, do not refueluntil the sound stops. Otherwise, fuel mayspray out, which could cause seriouspersonal injury.
If you do not use the proper fuel fillercap, excessive pressure or vacuumin the fuel tank may damage the fuelsystem or cause the fuel cap to disengagein a collision, which may result in possiblepersonal injury.
Note:If you must replace the fuel filler cap,replace it with a fuel filler cap that isdesigned for your vehicle. The customerwarranty may be void for any damage to thefuel tank or fuel system if the correctgenuine Ford, Motorcraft® or other certifiedfuel filler cap is not used.
Your fuel tank filler cap has an indexeddesign with a 1/4th turn on and off feature.When fueling your vehicle:
1. Put the vehicle in P (Park).
2. Turn the engine off.
3. Carefully turn the filler capcounterclockwise until it spins off.
4. Pull to remove the cap from the fuelfiller pipe.
5.To install the cap, align the tabs on thecap with the notches on the filler pipe.
6. Turn the filler cap clockwise 1/4 of aturn clockwise until it clicks at leastonce.
If the Check Fuel Cap light or a Check FuelCap message appears in the instrumentcluster and stays on after you start theengine, the fuel filler cap may not beproperly installed.
If the fuel cap light remains on, at the nextopportunity, safely pull off of the road,remove the fuel filler cap, align the capproperly and reinstall it. The check fuel caplight or Check fuel cap message may notreset immediately; it may take severaldriving cycles for the indicators to turn off.A driving cycle consists of an enginestart-up (after four or more hours with theengine off) followed by normal city andhighway driving.
139
Super Duty (), enUSA
Fuel and Refueling
Page 251 of 470
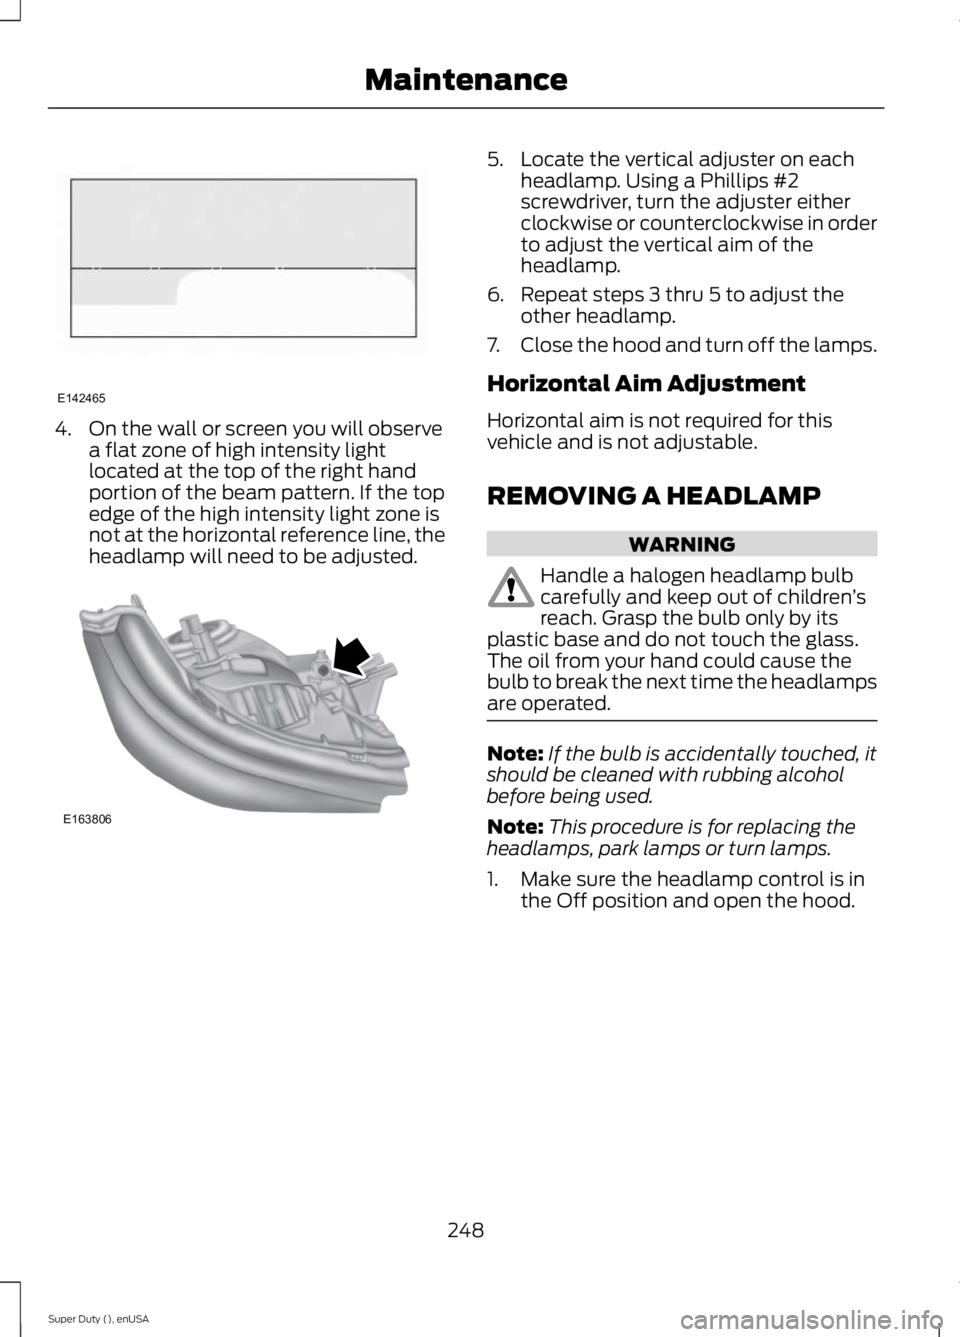
4. On the wall or screen you will observea flat zone of high intensity lightlocated at the top of the right handportion of the beam pattern. If the topedge of the high intensity light zone isnot at the horizontal reference line, theheadlamp will need to be adjusted.
5. Locate the vertical adjuster on eachheadlamp. Using a Phillips #2screwdriver, turn the adjuster eitherclockwise or counterclockwise in orderto adjust the vertical aim of theheadlamp.
6. Repeat steps 3 thru 5 to adjust theother headlamp.
7.Close the hood and turn off the lamps.
Horizontal Aim Adjustment
Horizontal aim is not required for thisvehicle and is not adjustable.
REMOVING A HEADLAMP
WARNING
Handle a halogen headlamp bulbcarefully and keep out of children’sreach. Grasp the bulb only by itsplastic base and do not touch the glass.The oil from your hand could cause thebulb to break the next time the headlampsare operated.
Note:If the bulb is accidentally touched, itshould be cleaned with rubbing alcoholbefore being used.
Note:This procedure is for replacing theheadlamps, park lamps or turn lamps.
1. Make sure the headlamp control is inthe Off position and open the hood.
248
Super Duty (), enUSA
MaintenanceE142465 E163806
Page 461 of 470
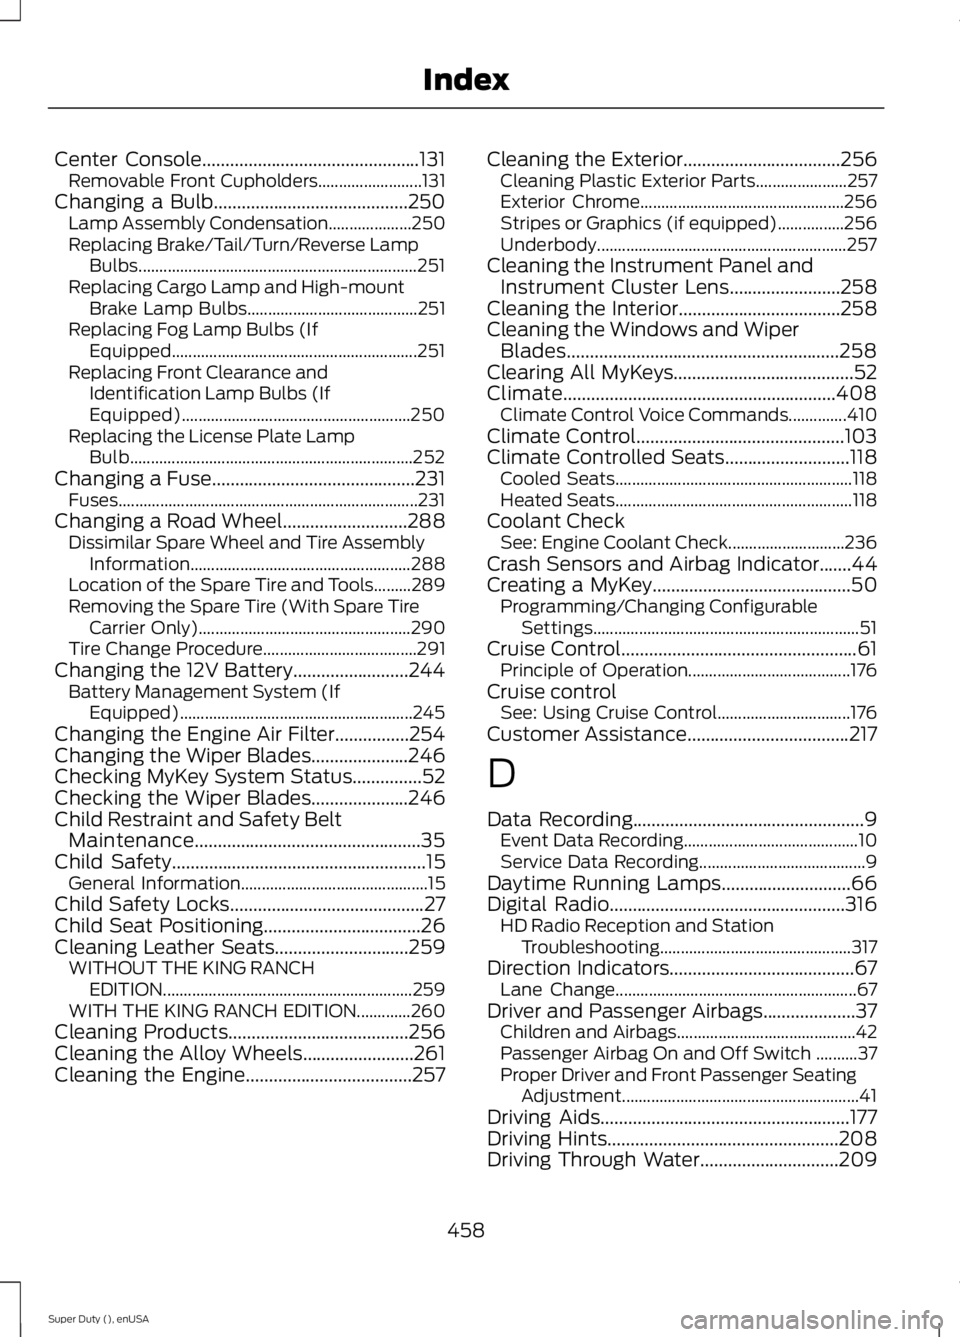
Center Console...............................................131Removable Front Cupholders.........................131Changing a Bulb..........................................250Lamp Assembly Condensation....................250Replacing Brake/Tail/Turn/Reverse LampBulbs...................................................................251Replacing Cargo Lamp and High-mountBrake Lamp Bulbs.........................................251Replacing Fog Lamp Bulbs (IfEquipped...........................................................251Replacing Front Clearance andIdentification Lamp Bulbs (IfEquipped).......................................................250Replacing the License Plate LampBulb....................................................................252Changing a Fuse............................................231Fuses........................................................................231Changing a Road Wheel...........................288Dissimilar Spare Wheel and Tire AssemblyInformation.....................................................288Location of the Spare Tire and Tools.........289Removing the Spare Tire (With Spare TireCarrier Only)...................................................290Tire Change Procedure.....................................291Changing the 12V Battery.........................244Battery Management System (IfEquipped)........................................................245Changing the Engine Air Filter................254Changing the Wiper Blades.....................246Checking MyKey System Status...............52Checking the Wiper Blades.....................246Child Restraint and Safety BeltMaintenance.................................................35Child Safety.......................................................15General Information.............................................15Child Safety Locks..........................................27Child Seat Positioning..................................26Cleaning Leather Seats.............................259WITHOUT THE KING RANCHEDITION............................................................259WITH THE KING RANCH EDITION.............260Cleaning Products.......................................256Cleaning the Alloy Wheels........................261Cleaning the Engine....................................257
Cleaning the Exterior..................................256Cleaning Plastic Exterior Parts......................257Exterior Chrome.................................................256Stripes or Graphics (if equipped)................256Underbody............................................................257Cleaning the Instrument Panel andInstrument Cluster Lens........................258Cleaning the Interior...................................258Cleaning the Windows and WiperBlades...........................................................258Clearing All MyKeys.......................................52Climate...........................................................408Climate Control Voice Commands..............410Climate Control.............................................103Climate Controlled Seats...........................118Cooled Seats.........................................................118Heated Seats.........................................................118Coolant CheckSee: Engine Coolant Check............................236Crash Sensors and Airbag Indicator.......44Creating a MyKey...........................................50Programming/Changing ConfigurableSettings................................................................51Cruise Control...................................................61Principle of Operation.......................................176Cruise controlSee: Using Cruise Control................................176Customer Assistance...................................217
D
Data Recording..................................................9Event Data Recording..........................................10Service Data Recording........................................9Daytime Running Lamps............................66Digital Radio...................................................316HD Radio Reception and StationTroubleshooting..............................................317Direction Indicators........................................67Lane Change..........................................................67Driver and Passenger Airbags....................37Children and Airbags...........................................42Passenger Airbag On and Off Switch ..........37Proper Driver and Front Passenger SeatingAdjustment.........................................................41Driving Aids......................................................177Driving Hints..................................................208Driving Through Water..............................209
458
Super Duty (), enUSA
Index
Page 464 of 470
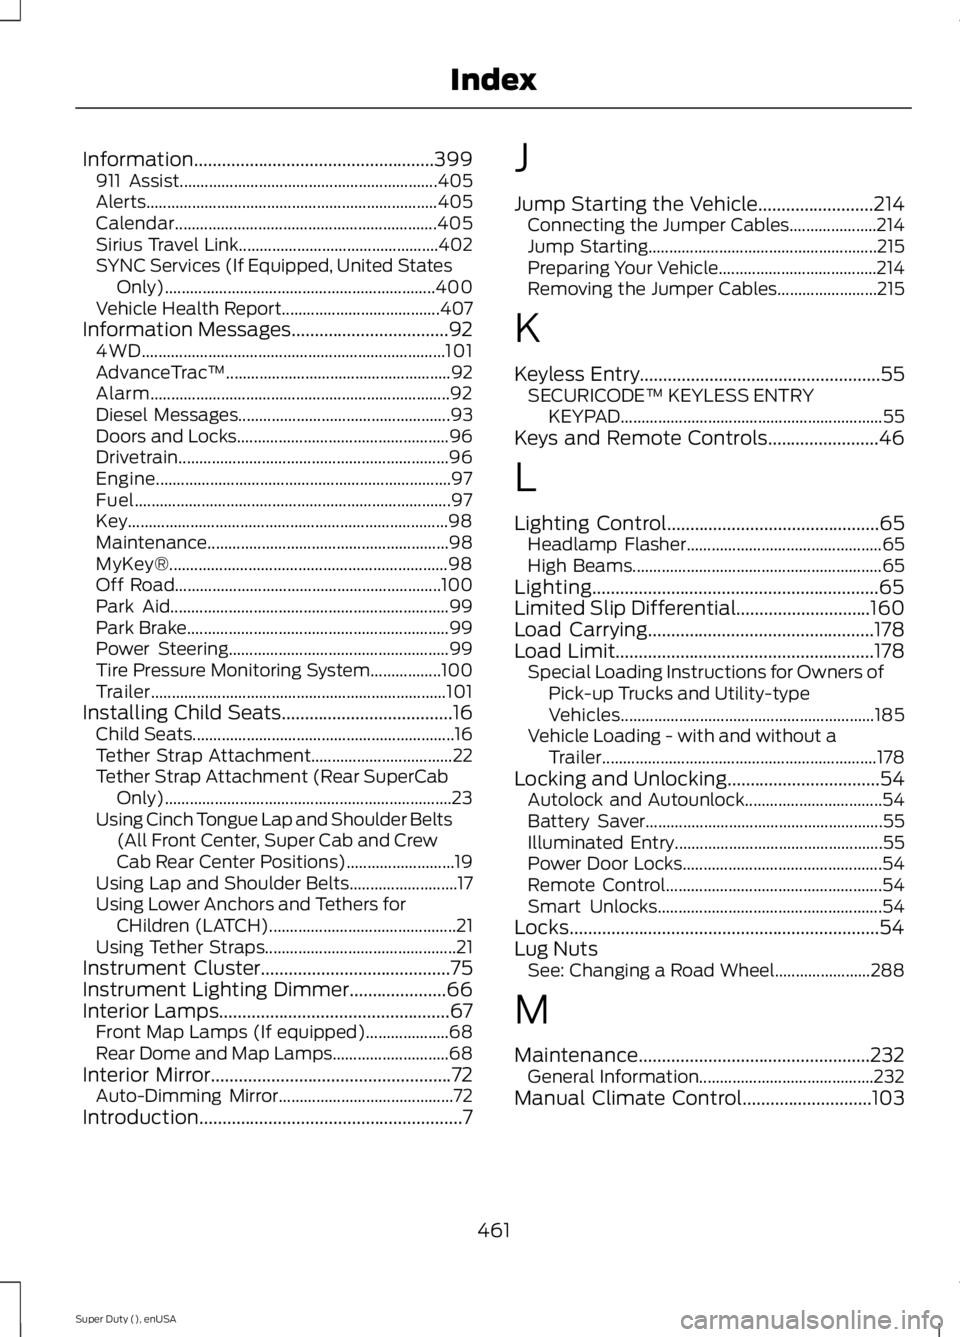
Information....................................................399911 Assist..............................................................405Alerts......................................................................405Calendar...............................................................405Sirius Travel Link................................................402SYNC Services (If Equipped, United StatesOnly).................................................................400Vehicle Health Report......................................407Information Messages..................................924WD.........................................................................101AdvanceTrac™......................................................92Alarm........................................................................92Diesel Messages...................................................93Doors and Locks...................................................96Drivetrain.................................................................96Engine.......................................................................97Fuel............................................................................97Key.............................................................................98Maintenance..........................................................98MyKey®...................................................................98Off Road................................................................100Park Aid...................................................................99Park Brake...............................................................99Power Steering.....................................................99Tire Pressure Monitoring System.................100Trailer.......................................................................101Installing Child Seats.....................................16Child Seats...............................................................16Tether Strap Attachment..................................22Tether Strap Attachment (Rear SuperCabOnly).....................................................................23Using Cinch Tongue Lap and Shoulder Belts(All Front Center, Super Cab and CrewCab Rear Center Positions)..........................19Using Lap and Shoulder Belts..........................17Using Lower Anchors and Tethers forCHildren (LATCH).............................................21Using Tether Straps..............................................21Instrument Cluster.........................................75Instrument Lighting Dimmer.....................66Interior Lamps..................................................67Front Map Lamps (If equipped)....................68Rear Dome and Map Lamps............................68Interior Mirror....................................................72Auto-Dimming Mirror..........................................72Introduction.........................................................7
J
Jump Starting the Vehicle.........................214Connecting the Jumper Cables.....................214Jump Starting.......................................................215Preparing Your Vehicle......................................214Removing the Jumper Cables........................215
K
Keyless Entry....................................................55SECURICODE™ KEYLESS ENTRYKEYPAD...............................................................55Keys and Remote Controls........................46
L
Lighting Control..............................................65Headlamp Flasher...............................................65High Beams............................................................65Lighting..............................................................65Limited Slip Differential.............................160Load Carrying.................................................178Load Limit........................................................178Special Loading Instructions for Owners ofPick-up Trucks and Utility-typeVehicles.............................................................185Vehicle Loading - with and without aTrailer..................................................................178Locking and Unlocking.................................54Autolock and Autounlock.................................54Battery Saver.........................................................55Illuminated Entry..................................................55Power Door Locks................................................54Remote Control....................................................54Smart Unlocks......................................................54Locks...................................................................54Lug NutsSee: Changing a Road Wheel.......................288
M
Maintenance..................................................232General Information..........................................232Manual Climate Control............................103
461
Super Duty (), enUSA
Index