2015 FORD EXPLORER trailer
[x] Cancel search: trailerPage 229 of 596
SENSING SYSTEM (IF EQUIPPED)
WARNING:To help avoid personal injury, please read and
understand the limitations of the system as contained in this
section. Sensing is only an aid for some (generally large and fixed)
objects when moving in reverse on a flat surface at parking speeds.
Traffic control systems, inclement weather, air brakes, and external
motors and fans may also affect the function of the sensing system; this
may include reduced performance or a false activation.
WARNING:To help avoid personal injury, always use caution
when in R (Reverse) and when using the sensing system.
WARNING:This system is not designed to prevent contact with
small or moving objects. The system is designed to provide a
warning to assist the driver in detecting large stationary objects to
avoid damaging the vehicle. The system may not detect smaller objects,
particularly those close to the ground.
WARNING:Certain add-on devices such as large trailer hitches,
bike or surfboard racks and any device that may block the normal
detection zone of the system, may create false beeps.
Note:Keep the sensors (located on the bumper/fascia) free from snow,
ice and large accumulations of dirt. If the sensors are covered, the
system’s accuracy can be affected. Do not clean the sensors with sharp
objects.
Note:If your vehicle sustains damage to the bumper/fascia, leaving it
misaligned or bent, the sensing zone may be altered causing inaccurate
measurement of obstacles or false alarms.
The sensing system warns the driver of obstacles within a certain range
of the bumper area. The system turns on automatically whenever the
ignition is switched on.
When receiving a detection warning, the radio volume is reduced to a
predetermined level. After the warning goes away, the radio volume
returns to the previous level.
The system can be turned off using the information display control.
Refer to theInformation Displaychapter.
228Parking Aids
2015 Explorer(exp)
Owners Guide gf, 2nd Printing, September 2014
USA(fus)
Page 231 of 596
ACTIVE PARK ASSIST (IF EQUIPPED)
WARNING:This system is designed to be a supplementary park
aid. It may not work in all conditions and is not intended to
replace the driver’s attention and judgment. The driver is responsible
for avoiding hazards and maintaining a safe distance and speed, even
when the system is in use.
Note:The driver is always responsible for controlling the vehicle,
supervising the system and intervening if required.
The system detects an available parallel parking space and automatically
steers the vehicle into the space (hands-free) while you control the
accelerator, gearshift and brakes. The system visually and/or audibly
instructs the driver to park the vehicle.
The system may not function correctly if something passes between the
front bumper and the parking space (i.e. a pedestrian or cyclist) or if the
edge of the neighboring parked vehicle is high from the ground (i.e. a
bus, tow truck or flatbed truck).
Note:The sensors may not detect objects in heavy rain or other
conditions that cause disruptive reflections.
Note:The sensors may not detect objects with surfaces that absorb
ultrasonic waves.
Note:After a tire change the system will go through a relearning
procedure. During this time the system performance may deteriorate.
The system should not be used if:
•a foreign object (i.e. bike rack or trailer) is attached to the front or
rear of the vehicle or at another location close to the sensors.
•an overhanging object (i.e. surfboard) is attached to the roof.
•the front bumper or side sensors are damaged (i.e. in a collision) or
obstructed by a foreign object (i.e. front bumper cover).
•a mini-spare tire is in use.
230Parking Aids
2015 Explorer(exp)
Owners Guide gf, 2nd Printing, September 2014
USA(fus)
Page 236 of 596
WARNING:Use caution when using the rear video camera and
the liftgate is ajar. If the liftgate is ajar, the camera will be out of
position and the video image may be incorrect. All guidelines have been
removed when the liftgate is ajar.
WARNING:Use caution when turning camera features on or off
while in R (Reverse). Make sure the vehicle is not moving.
The rear view camera system provides a video image of the area behind
the vehicle.
During operation, lines appear in the display which represent your
vehicle’s path and proximity to objects behind the vehicle.
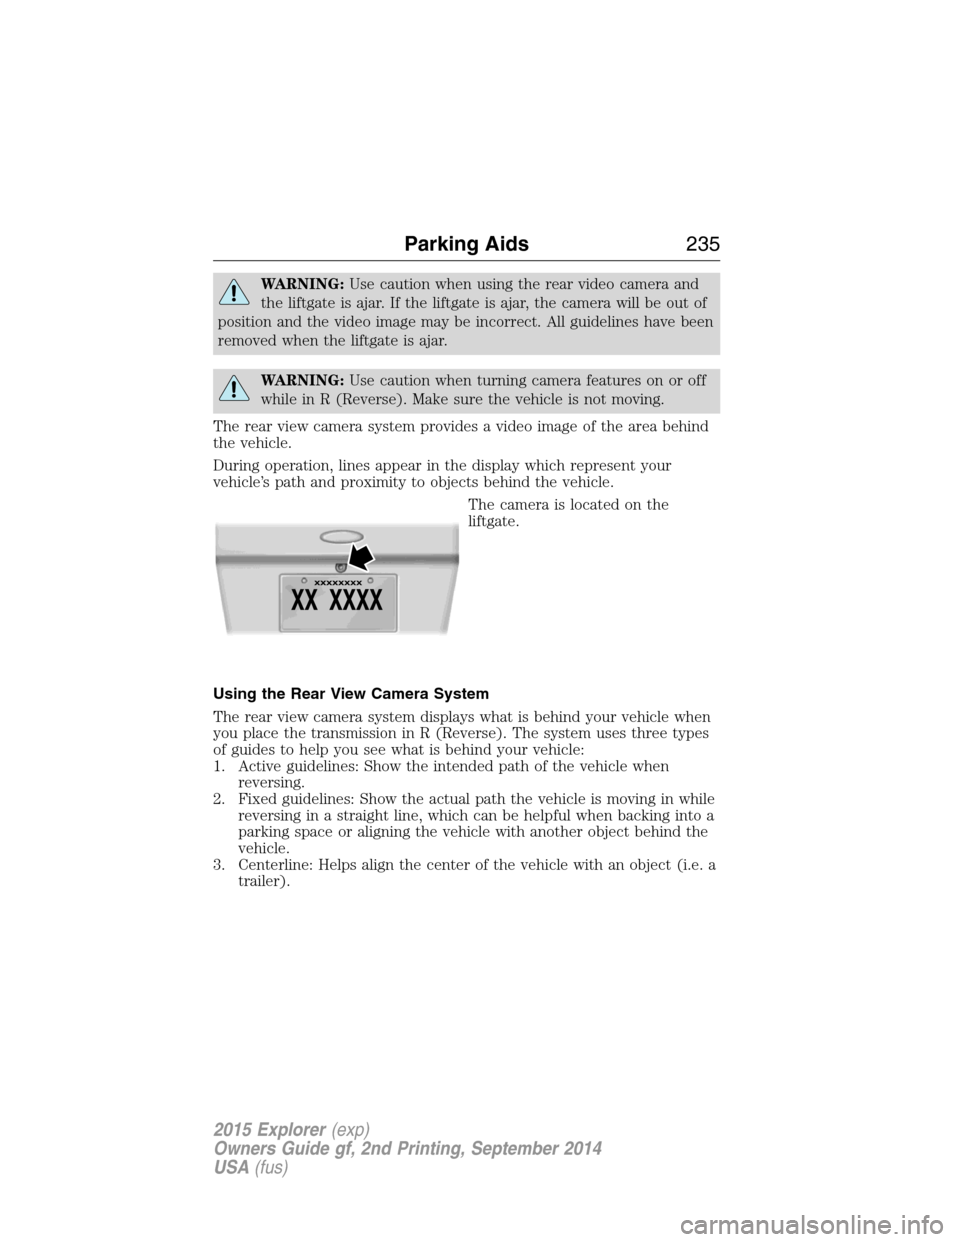
The camera is located on the
liftgate.
Using the Rear View Camera System
The rear view camera system displays what is behind your vehicle when
you place the transmission in R (Reverse). The system uses three types
of guides to help you see what is behind your vehicle:
1. Active guidelines: Show the intended path of the vehicle when
reversing.
2. Fixed guidelines: Show the actual path the vehicle is moving in while
reversing in a straight line, which can be helpful when backing into a
parking space or aligning the vehicle with another object behind the
vehicle.
3. Centerline: Helps align the center of the vehicle with an object (i.e. a
trailer).
Parking Aids235
2015 Explorer(exp)
Owners Guide gf, 2nd Printing, September 2014
USA(fus)
Page 237 of 596
Note:If the transmission is in R (Reverse) and the trunk/liftgate is ajar,
no rear view camera features are displayed.
Note:If the image comes on while the transmission is not in R
(Reverse), have the system inspected by your authorized dealer.
Note:When towing, the camera only sees what is being towed behind
the vehicle. This might not provide adequate coverage as it usually
provides in normal operation and some objects might not be seen. In
some vehicles, the guidelines may disappear once the trailer tow
connector is engaged.
Note:The camera may not operate correctly under the following
conditions:
•Nighttime or dark areas if one or both reverse lamps are not
operating. Do not use the rear view camera display when lighting is
low until both reverse lamps are functional.
•The camera’s view is obstructed by mud, water or debris. Clean the
lens with a soft, lint-free cloth and non-abrasive cleaner.
•The rear of the vehicle is hit or damaged, causing the camera to
become misaligned. Check with your authorized dealer to have the
rear view camera system checked for proper coverage and operation.
Adjusting the Rear View Camera Settings (If Equipped)
To access any of the rear view camera system settings, make the
following selections in the touch screen when the transmission is not in
R (Reverse):
1. Menu
2. Vehicle
3. Rear View Camera
After changing a system setting, the touch screen shows a preview of the
feature(s) selected.
236Parking Aids
2015 Explorer(exp)
Owners Guide gf, 2nd Printing, September 2014
USA(fus)
Page 247 of 596
Adaptive Cruise Control Not Available
Several conditions exist which can cause the system to deactivate or
prevent the system from activating when requested. These conditions
include:
•a blocked sensor
•high brake temperature
•a failure in the system or a related system.
Blocked Sensor
WARNING:Do not use ACC when towing a trailer with brake
controls. Aftermarket trailer brakes will not function properly
when ACC is activated because the brakes are electronically controlled.
Failing to do so may result in loss of vehicle control, which could result
in serious injury.
WARNING:Do not use tires sizes other than those
recommended because this can affect the normal operation of
ACC. Failing to do so may result in a loss of vehicle control, which
could result in serious injury.
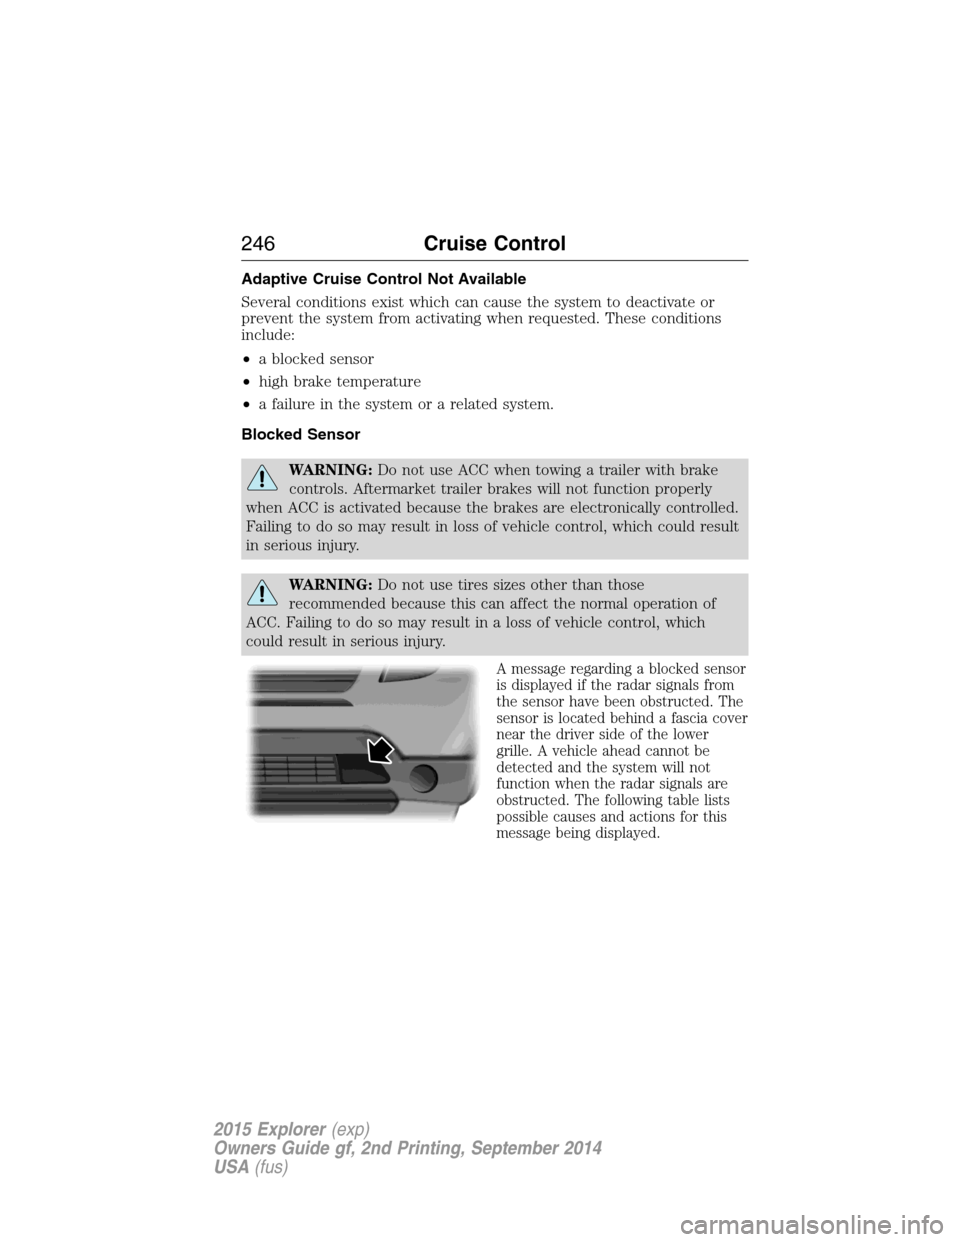
A message regarding a blocked sensor
is displayed if the radar signals from
the sensor have been obstructed. The
sensor is located behind a fascia cover
near the driver side of the lower
grille. A vehicle ahead cannot be
detected and the system will not
function when the radar signals are
obstructed. The following table lists
possible causes and actions for this
message being displayed.
246Cruise Control
2015 Explorer(exp)
Owners Guide gf, 2nd Printing, September 2014
USA(fus)
Page 259 of 596
Reasons for messages being displayed
Heavy rainfall/snowfall
interferes with the
radar signalsNo action required. The system automatically
resets to an unblocked state once the
rainfall/snowfall rate decreases or stops. Do
not use BLIS® and/or CTA in these conditions.
System Limitations
The BLIS® and CTA systems do have their limitations; situations such as
severe weather conditions or debris build-up on the sensor area may
limit vehicle detection.
The following are other situations that may limit the BLIS®:
•Certain maneuvering of vehicles entering and exiting the blind zone.
•Vehicles passing through the blind zone at very fast rates.
•When several vehicles forming a convoy pass through the blind zone.
The following are other situations that may limit the CTA system:
•Adjacently parked vehicles or objects obstructing the sensors.
•Approaching vehicles passing at speeds greater than 15 mph
(24 km/h).
•Driving in reverse faster than 3 mph (5 km/h).
•Backing out of an angled parking spot.
False Alerts
Note:If you connected a trailer to your vehicle the BLIS® system may
detect the trailer causing a false alert. To avoid false alerts you may want
to turn the BLIS off manually.
There may be certain instances when either the BLIS® or CTA systems
illuminate the alert indicator with no vehicle in the coverage zone; this is
known as a false alert. Some amount of false alerts are normal; they are
temporary and self-correct.
System Errors
If either system senses a problem with the left or right sensor, the
BLIS® indicator in the information display will illuminate and remain on.
Also,BLIND SPOT SYSTEM FAULTorCROSS TRAFFIC SYSTEM
FAULTmessage will appear. When problems that may cause the left or
right indicator not to illuminate, only the information display message
faults appear.
258Driving Aids
2015 Explorer(exp)
Owners Guide gf, 2nd Printing, September 2014
USA(fus)
Page 266 of 596

For correct roof rack system function, you must place loads directly on
crossbars affixed to the roof rack side rails. We recommend you use Ford
Genuine Accessory crossbars designed specifically for your vehicle.
Make sure that you securely fasten the load. Check the tightness of the
load before driving and at each fuel stop.
Adjusting the Crossbars (If Equipped)
Note:Wind noise can be minimized by either removing or repositioning
the crossbars when they are not is use. Position the rear crossbar fully
rearward and the front crossbar 10 inches (25 centimeters) from the
front end-cap.
1. Loosen the tie-down hooks at both sides of the
crossbar by turning them counterclockwise. A
small screwdriver or similar tool can be used to
break the torque by inserting the shaft into the
tie-down hook and twisting.
2. Slide the crossbar to the desired position. This
may require someone on each side of the crossbar.
3. Tighten the tie-down hooks at both sides of the
crossbar by turning them clockwise until tight. A
small screwdriver or similar tool can be used to
tighten the hook an additional half turn.
Make sure to check that the tie-down hooks are tight each time a load is
added or removed from the roof rack, and periodically while traveling.
Make sure that the load is secure before traveling.
LOAD LIMIT
Vehicle Loading – With and Without a Trailer
This section will guide you in the proper loading of your vehicle and/or
trailer, to keep your loaded vehicle weight within its design rating
capability, with or without a trailer. Properly loading your vehicle will
provide maximum return of vehicle design performance. Before loading
your vehicle, familiarize yourself with the following terms for determining
your vehicle’s weight ratings, with or without a trailer, from the vehicle’s
Tire Label or Safety Compliance Certification Label:
Base Curb Weight– is the weight of the vehicle including a full tank of
fuel and all standard equipment. It does not include passengers, cargo, or
optional equipment.
Load Carrying265
2015 Explorer(exp)
Owners Guide gf, 2nd Printing, September 2014
USA(fus)
Page 268 of 596
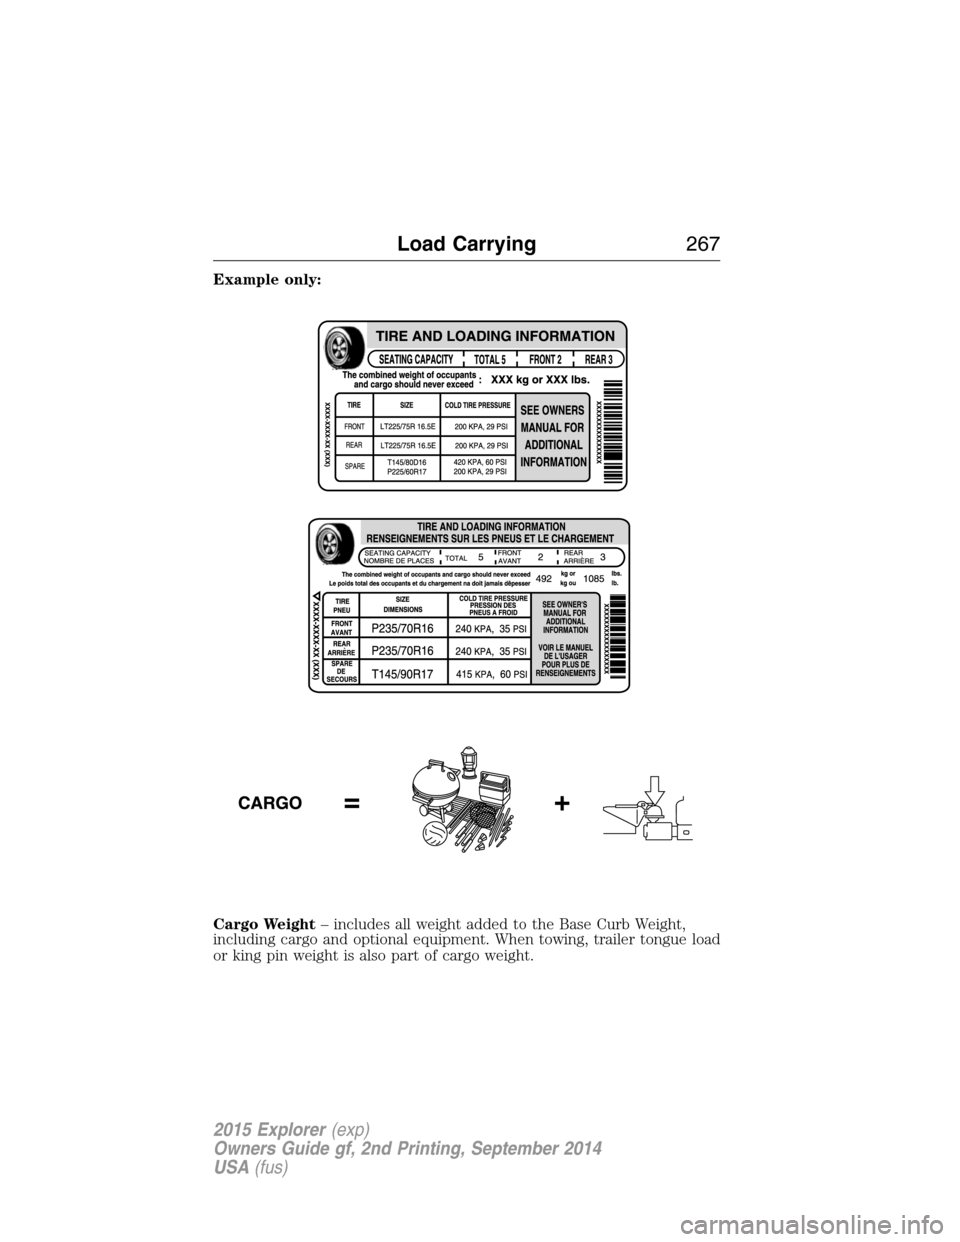
Example only:
Cargo Weight– includes all weight added to the Base Curb Weight,
including cargo and optional equipment. When towing, trailer tongue load
or king pin weight is also part of cargo weight.
Load Carrying267
2015 Explorer(exp)
Owners Guide gf, 2nd Printing, September 2014
USA(fus)