2015 FORD EXPLORER Parking lamps
[x] Cancel search: Parking lampsPage 123 of 596
AUDIBLE WARNINGS AND INDICATORS
Key In Ignition Warning Chime
Sounds when the key is left in the ignition in the off or accessory
position and the driver’s door is opened.
Keyless Warning Alert (If Equipped)
Sounds the horn twice when you exit your vehicle with the intelligent
access key, after the last door is closed and your keyless vehicle is in
RUN, indicating your vehicle is still on.
Headlamps On Warning Chime
Sounds when the headlamps or parking lamps are on, the ignition is off
(the key is not in the ignition) and the driver’s door is opened.
Parking Brake On Warning Chime
Sounds when you have left the parking brake on and drive your vehicle.
If the warning chime remains on after you have released the parking
brake, have the system checked by your authorized dealer immediately.
122Instrument Cluster
2015 Explorer(exp)
Owners Guide gf, 2nd Printing, September 2014
USA(fus)
Page 191 of 596
Before starting the engine check the following:
•Make sure all occupants have fastened their safety belts.
•Make sure the headlamps and electrical accessories are off.
•Make sure the parking brake is on.
•Make sure the gearshift is in positionP.
•Turn the ignition key to the on position. If your vehicle is equipped
with a keyless ignition, see the following instructions.
Vehicles with an Ignition Key
Note:Do not touch the accelerator pedal.
1. Fully press the brake pedal.
2. Turn the key to the start position. Release the key when the engine
starts.
Note:The engine may continue cranking for up to 15 seconds or until it
starts.
Note:If you cannot start the engine on the first try, wait for a short
period and try again.
Vehicles with Keyless Start
Note:Do not touch the accelerator pedal.
1. Fully press the brake pedal.
2. Press the button.
The system does not function if:
•The key frequencies are jammed.
•The key battery has no charge.
If you are unable to start your vehicle, do the following:
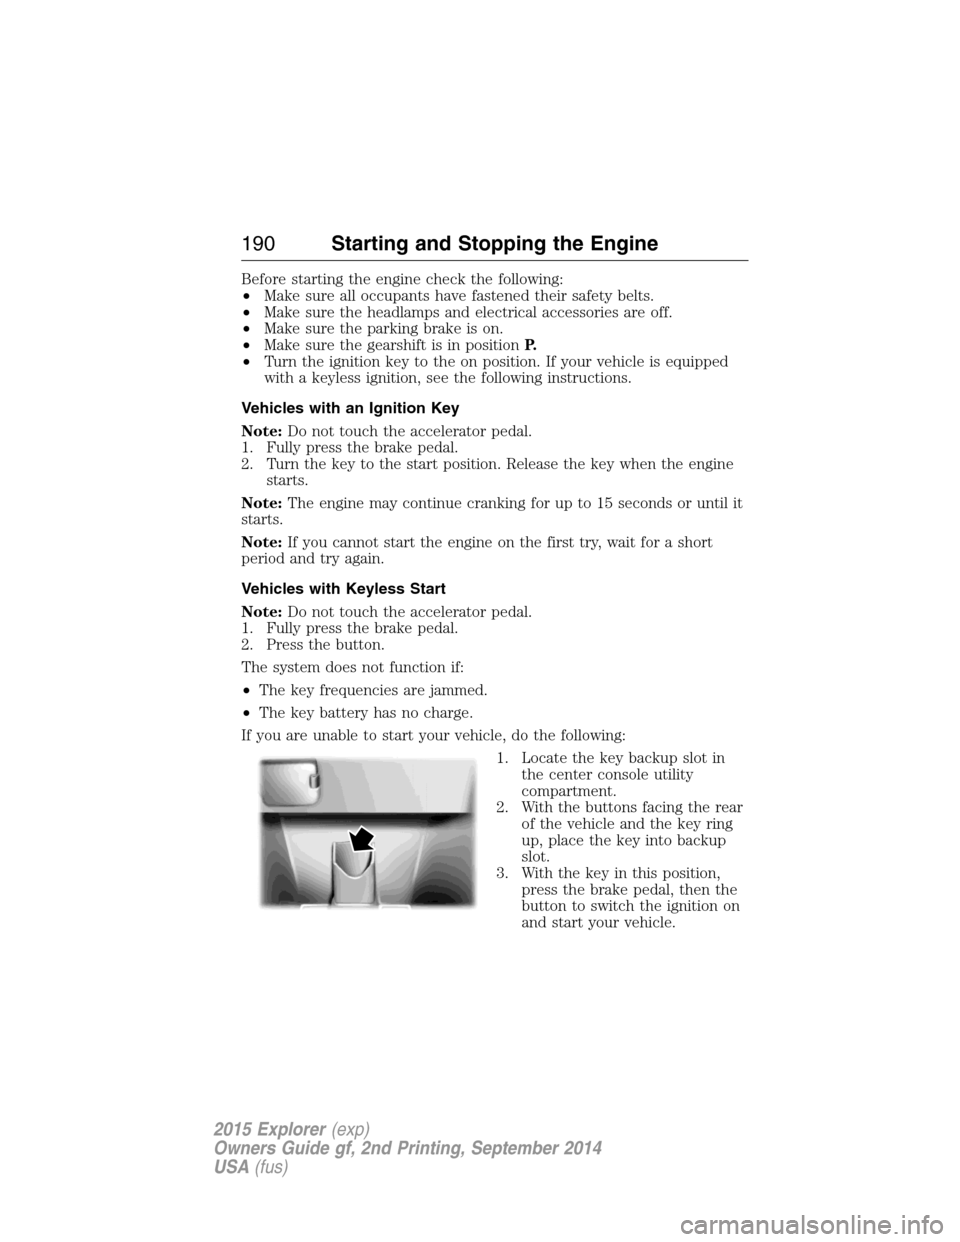
1. Locate the key backup slot in
the center console utility
compartment.
2. With the buttons facing the rear
of the vehicle and the key ring
up, place the key into backup
slot.
3. With the key in this position,
press the brake pedal, then the
button to switch the ignition on
and start your vehicle.
190Starting and Stopping the Engine
2015 Explorer(exp)
Owners Guide gf, 2nd Printing, September 2014
USA(fus)
Page 192 of 596
Fast Restart (Vehicles with Keyless Start)
The fast restart feature allows you to restart the engine within
20 seconds of switching it off, even if a valid key is not present.
Within 20 seconds of switching the engine off, press the brake pedal and
press the button. After 20 seconds have expired, you can no longer start
the engine without the key present inside your vehicle.
Once the engine has started, it remains running until you press the
button, even if the system does not detect a valid key. If you open and
close a door while the engine is running, the system searches for a valid
key. You cannot start the engine if the system does not detect a valid key
within 20 seconds.
Failure to Start
If you cannot start the engine after three attempts, wait 10 seconds and
follow this procedure:
1. Fully press the brake pedal.
2. Fully press the accelerator pedal and hold it there.
3. Start the engine.
Stopping the Engine When Your Vehicle is Stationary
1. Move the transmission selector lever to positionP.
2. If your vehicle has an ignition key, turn the key to the off position. If
your vehicle has a keyless start system, press the button once.
3. Apply the parking brake.
Note:This switches off the ignition, all electrical circuits, warning lamps
and indicators.
Stopping the Engine When Your Vehicle is Moving
WARNING:Switching off the engine when the vehicle is still
moving will result in a loss of brake and steering assistance. The
steering will not lock, but higher effort will be required. When the
ignition is switched off, some electrical circuits, including air bags,
warning lamps and indicators may also be off. If the ignition was turned
off accidentally, you can shift into Neutral and restart the engine.
1.If your vehicle has an ignition key,move the transmission
selector lever to positionNand use the brakes to bring your vehicle
to a safe stop. When your vehicle has stopped, move the transmission
selector lever to positionPand turn the key to the off position.
Starting and Stopping the Engine191
2015 Explorer(exp)
Owners Guide gf, 2nd Printing, September 2014
USA(fus)
Page 210 of 596
Upshift to the recommended shift speeds according to the following
chart.
Upshifts when accelerating (recommended for best fuel economy)
Shift from:
1 - 2 15 mph (24 km/h)
2 - 3 25 mph (40 km/h)
3 - 4 40 mph (64 km/h)
4 - 5 45 mph (72 km/h)
5 - 6 50 mph (80 km/h)
The information display in the instrument cluster will show the current
selected gear you are in.
In order to prevent the engine from running at too low an RPM, which
may cause it to stall, SelectShift will automatically make some downshifts
even if it has determined that you have not downshifted in time.
Although the SelectShift will make some downshifts for you, it will still
allow you to downshift at any time as long as the SelectShift determines
that the engine will not be damaged from over-revving.
Note:Engine damage may occur if excessive engine revving is held
without shifting.
Brake-shift interlock
WARNING:Do not drive your vehicle until you verify that the
brakelamps are working.
WARNING:When doing this procedure, you will be taking the
vehicle out of park which means the vehicle can roll freely. To
avoid unwanted vehicle movement, always fully set the parking brake
prior to doing this procedure. Use wheel chocks if appropriate.
WARNING:If the parking brake is fully released, but the brake
warning lamp remains illuminated, the brakes may not be
working properly. See your authorized dealer.
Use the BSI lever to move the gearshift lever from the park position in the
event of an electrical malfunction or if your vehicle has a dead battery.
Transmission209
2015 Explorer(exp)
Owners Guide gf, 2nd Printing, September 2014
USA(fus)
Page 237 of 596
Note:If the transmission is in R (Reverse) and the trunk/liftgate is ajar,
no rear view camera features are displayed.
Note:If the image comes on while the transmission is not in R
(Reverse), have the system inspected by your authorized dealer.
Note:When towing, the camera only sees what is being towed behind
the vehicle. This might not provide adequate coverage as it usually
provides in normal operation and some objects might not be seen. In
some vehicles, the guidelines may disappear once the trailer tow
connector is engaged.
Note:The camera may not operate correctly under the following
conditions:
•Nighttime or dark areas if one or both reverse lamps are not
operating. Do not use the rear view camera display when lighting is
low until both reverse lamps are functional.
•The camera’s view is obstructed by mud, water or debris. Clean the
lens with a soft, lint-free cloth and non-abrasive cleaner.
•The rear of the vehicle is hit or damaged, causing the camera to
become misaligned. Check with your authorized dealer to have the
rear view camera system checked for proper coverage and operation.
Adjusting the Rear View Camera Settings (If Equipped)
To access any of the rear view camera system settings, make the
following selections in the touch screen when the transmission is not in
R (Reverse):
1. Menu
2. Vehicle
3. Rear View Camera
After changing a system setting, the touch screen shows a preview of the
feature(s) selected.
236Parking Aids
2015 Explorer(exp)
Owners Guide gf, 2nd Printing, September 2014
USA(fus)
Page 574 of 596
Oils, Fluids and Flushing
In many cases, fluid discoloration is a normal operating characteristic
and, by itself, does not necessarily indicate a concern or that the fluid
needs to be changed. However, discolored fluids that also show signs of
overheating and foreign material contamination should be inspected
immediately by a qualified expert, such as the factory-trained technicians
at your dealership. Your vehicle’s oils and fluids should be changed at the
specified intervals or in conjunction with a repair. Flushing is a viable
way to change fluid for many vehicle sub-systems during scheduled
maintenance. It is critical that systems are flushed only with new fluid
that is the same as that required to fill and operate the system, or using
a Ford-approved flushing chemical.
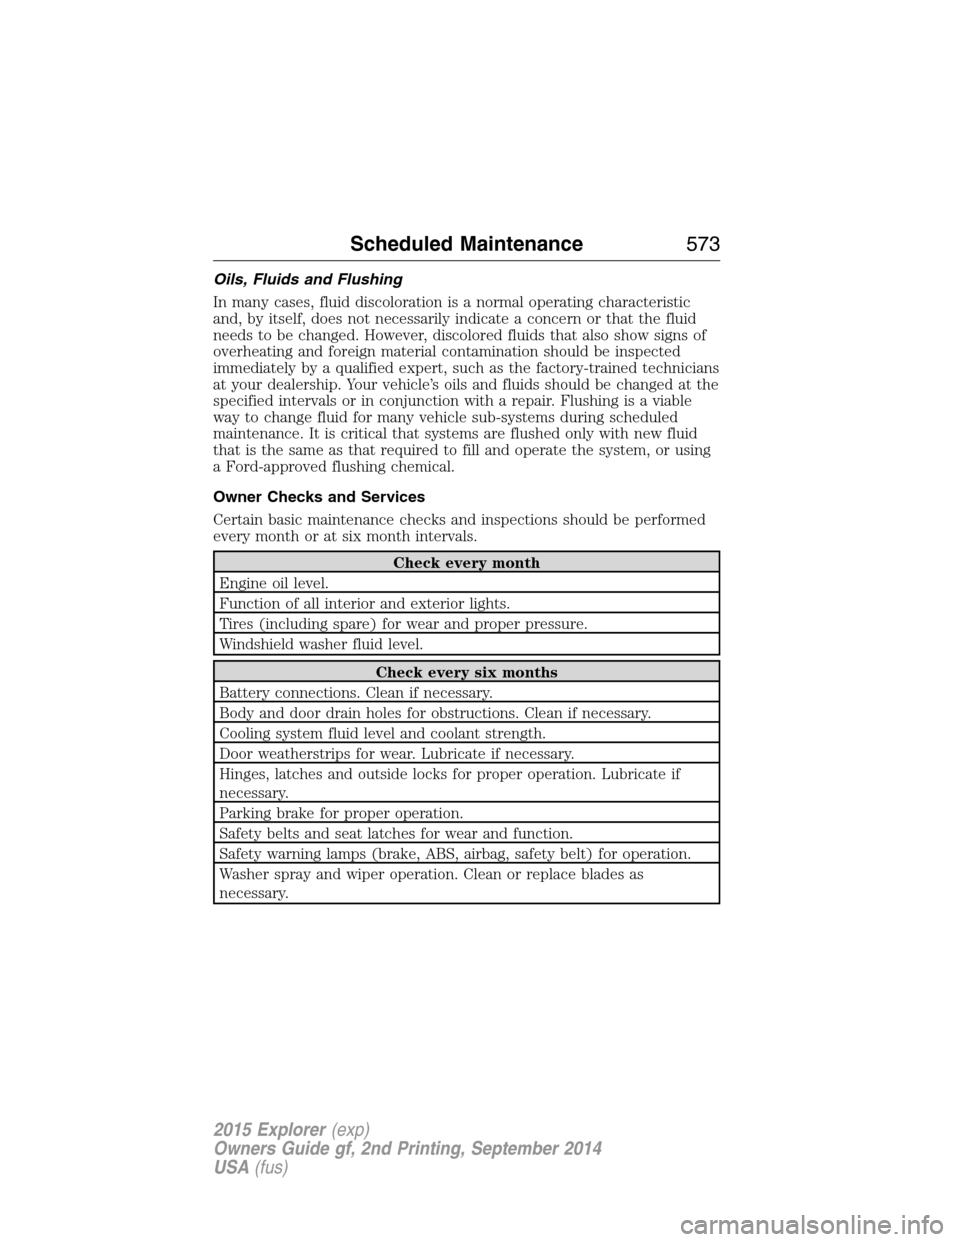
Owner Checks and Services
Certain basic maintenance checks and inspections should be performed
every month or at six month intervals.
Check every month
Engine oil level.
Function of all interior and exterior lights.
Tires (including spare) for wear and proper pressure.
Windshield washer fluid level.
Check every six months
Battery connections. Clean if necessary.
Body and door drain holes for obstructions. Clean if necessary.
Cooling system fluid level and coolant strength.
Door weatherstrips for wear. Lubricate if necessary.
Hinges, latches and outside locks for proper operation. Lubricate if
necessary.
Parking brake for proper operation.
Safety belts and seat latches for wear and function.
Safety warning lamps (brake, ABS, airbag, safety belt) for operation.
Washer spray and wiper operation. Clean or replace blades as
necessary.
Scheduled Maintenance573
2015 Explorer(exp)
Owners Guide gf, 2nd Printing, September 2014
USA(fus)