2015 FORD EXPEDITION wheel
[x] Cancel search: wheelPage 264 of 564
7. Leave the transmission in positionN.
•If your vehicle has an ignition key, turn the ignition as far as it
goes toward the off position (it does not turn fully off when the
transmission is in positionN.)You must leave the key in the
ignition while towing. To lock and unlock your vehicle, use the
keyless entry keypad or extra set of keys.
•If your vehicle has intelligent access, turn the ignition off by
pressing the engine START/STOP button once without pressing on
the brake pedal. You do not need to leave your keys in the
vehicle. You can lock and unlock your vehicle as you normally do.
WARNING:Do not disconnect the battery during recreational
towing. Doing so will prevent the transfer case from shifting
properly and may cause the vehicle to roll even if the transmission is in
P (Park).
WARNING:Shifting the transfer case to its neutral position for
recreational towing may cause the vehicle to be able to roll even
if the transmission is in P (Park). The driver or others could be injured.
Make sure the foot brake is depressed and the vehicle is in a secure
and safe position while the transfer case is being shifted to its neutral
position.
WARNING:Failing to put the transfer case in its neutral position
will damage vehicle components.
Note:You can check four-wheel-down towing status at any time by
opening the driver’s door or turning the ignition to the accessory or on
position and verifying theNEUTRAL TOW ENABLED LEAVE
TRANSMISSION IN NEUTRALmessage displays in the cluster.
Exiting four-wheel-down towing
To exit four-wheel-down towing and return the transfer case to its 2H
position:
1. With your vehicle still properly secured to the tow vehicle, put the
ignition in the on position:
•If your vehicle has an ignition key, turn the key to on. Do not
start the engine.
•If your vehicle has intelligent access, press the engine
START/STOP button twice without pressing the brake pedal. Do
not start the engine.
Towing263
2015 Expedition(exd)
Owners Guide gf, 1st Printing, July 2014
USA(fus)
Page 267 of 564
•Add particular accessories to your vehicle (e.g.; bug deflectors,
rollbars or light bars, running boards, ski racks).
•Drive with the wheels out of alignment.
DRIVING THROUGH WATER
WARNING:Do not drive through flowing or deep water as you
may lose control of your vehicle.
Note:Driving through standing water can cause vehicle damage.
Note:Engine damage can occur if water enters the air filter.
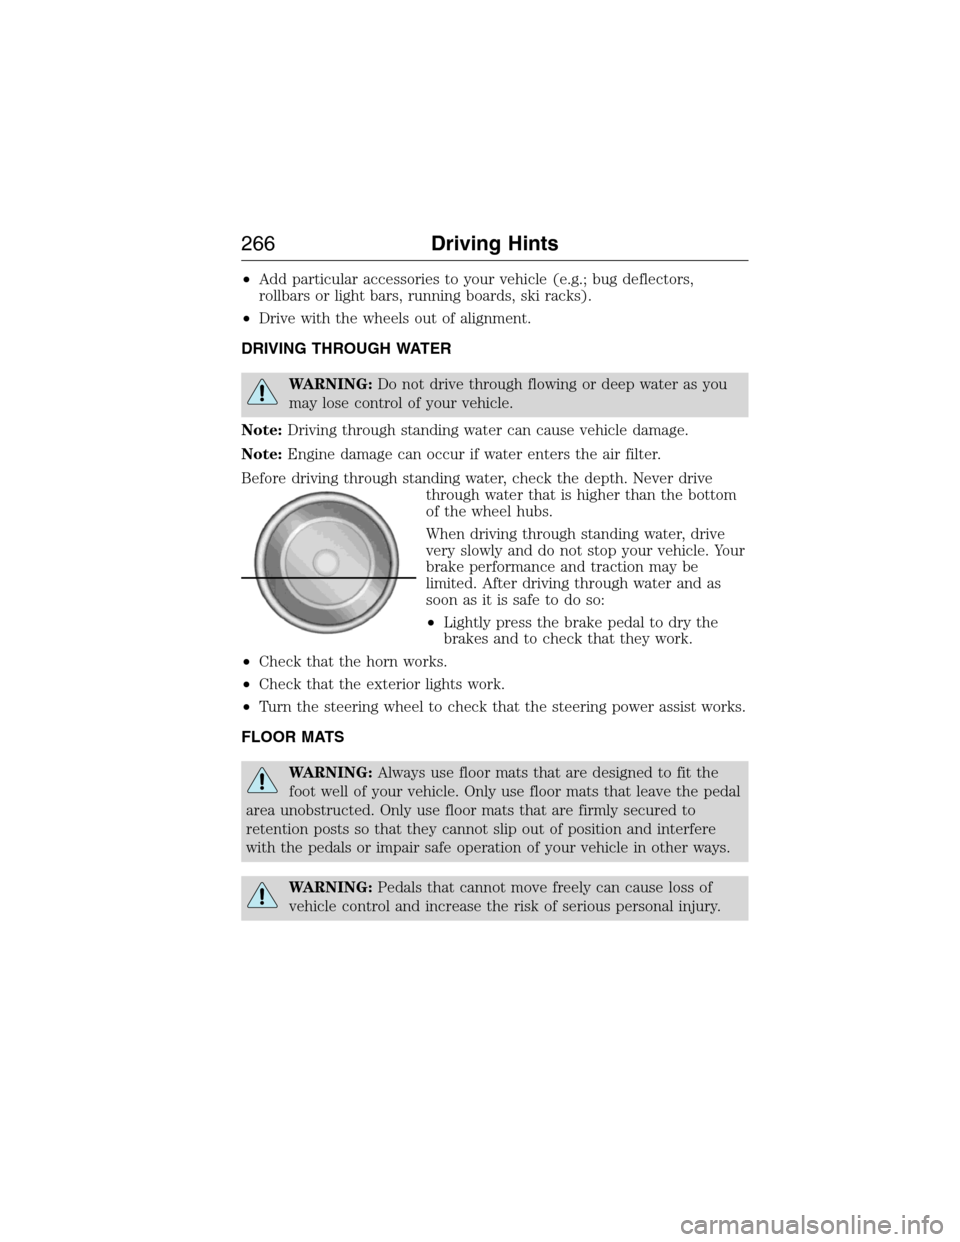
Before driving through standing water, check the depth. Never drive
through water that is higher than the bottom
of the wheel hubs.
When driving through standing water, drive
very slowly and do not stop your vehicle. Your
brake performance and traction may be
limited. After driving through water and as
soon as it is safe to do so:
•Lightly press the brake pedal to dry the
brakes and to check that they work.
•Check that the horn works.
•Check that the exterior lights work.
•Turn the steering wheel to check that the steering power assist works.
FLOOR MATS
WARNING:Always use floor mats that are designed to fit the
foot well of your vehicle. Only use floor mats that leave the pedal
area unobstructed. Only use floor mats that are firmly secured to
retention posts so that they cannot slip out of position and interfere
with the pedals or impair safe operation of your vehicle in other ways.
WARNING:Pedals that cannot move freely can cause loss of
vehicle control and increase the risk of serious personal injury.
266Driving Hints
2015 Expedition(exd)
Owners Guide gf, 1st Printing, July 2014
USA(fus)
Page 285 of 564

Fuse or relay
locationFuse amp rating Protected circuits
18 30A** Trailer brake
19 20A** Power point (console)
20 20A** 4x4 module relay
21 30A** Trailer tow module
22 30A** Passenger power seat
23 — Air conditioner clutch relay
24 — Trailer tow park lamp relay
25 — Not used
26 10A* ALT sensor
27 20A* 4x4 all wheel drive module
28 25A* Trailer tow park lamp relay
29 10A* Integrated wheel end solenoid
30 10A* Air conditioner clutch relay
31 15A* Trailer tow back up lamp
32 40A** Blower motor relay
33 40A** 110–volt AC power point
34 30A** Auxiliary blower motor
35 50A** Powertrain control module relay
36 30A** Power liftgate
37 — Not used
38 — Not used
39 — Trailer tow backup lamps relay
40 — Electronic fan 2 relay
41 10A* Powertrain control module
keep-alive power
42 5A* Run/start relay
43 10A* Brake on/off switch
44 20A* Fuel pump relay
45 10A* Not used (spare)
46 15A* Front/rear washer pump
47 30A** Rear wiper motor
284Fuses
2015 Expedition(exd)
Owners Guide gf, 1st Printing, July 2014
USA(fus)
Page 292 of 564
Working with the Engine Off
1. Set the parking brake and shift toP(Park).
2. Turn off the engine and remove the key (if equipped).
3. Block the wheels.
Working with the Engine On
WARNING:To reduce the risk of vehicle damage or personal
burn injuries, do not start your engine with the air cleaner
removed and do not remove it while the engine is running.
1. Set the parking brake and shift to positionP(Park) .
2. Block the wheels.
OPENING AND CLOSING THE HOOD
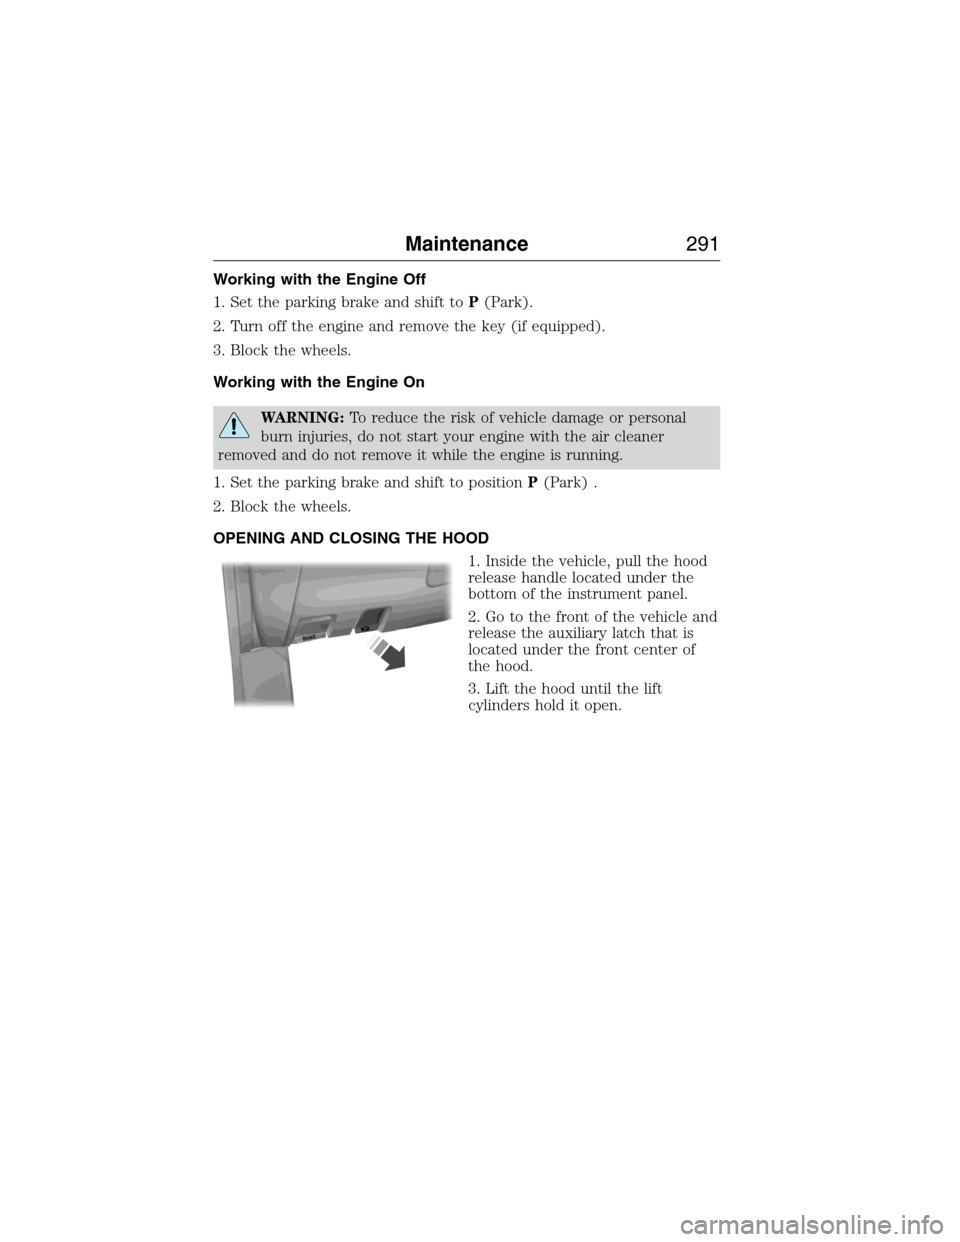
1. Inside the vehicle, pull the hood
release handle located under the
bottom of the instrument panel.
2. Go to the front of the vehicle and
release the auxiliary latch that is
located under the front center of
the hood.
3. Lift the hood until the lift
cylinders hold it open.
B
R
A
K
E
Maintenance291
2015 Expedition(exd)
Owners Guide gf, 1st Printing, July 2014
USA(fus)
Page 314 of 564
GENERAL INFORMATION
Your Ford or Lincoln authorized dealer has many quality products
available to clean your vehicle and protect its finishes.
CLEANING PRODUCTS
For best results, use the following products or products of equivalent quality:
Motorcraft Bug and Tar Remover (ZC-42)
Motorcraft Custom Bright Metal Cleaner (ZC-15)
Motorcraft Detail Wash (ZC-3-A)
Motorcraft Dusting Cloth (ZC-24)
Motorcraft Engine Shampoo and Degreaser (United States only) (ZC-20)
Motorcraft Engine Shampoo (Canada only) (CXC-66-A)
Motorcraft Multi-Purpose Cleaner (Canada only) (CXC-101)
Motorcraft Premium Glass Cleaner (Canada only) (CXC-100)
Motorcraft Premium Quality Windshield Washer Fluid (Canada only)
[CXC-37-(A, B, D or F)]
Motorcraft Premium Windshield Wash Concentrate with Bitterant (United
States only) (ZC-32-B2)
Motorcraft Professional Strength Carpet & Upholstery Cleaner (ZC-54)
Motorcraft Premium Leather and Vinyl Cleaner (ZC-56)
Motorcraft Spot and Stain Remover (United States only) (ZC-14)
Motorcraft Ultra-Clear Spray Glass Cleaner (ZC-23)
Motorcraft Wheel and Tire Cleaner (ZC-37-A)
CLEANING THE EXTERIOR
Wash your vehicle regularly with cool or lukewarm water and a neutral
pH shampoo, such as Motorcraft® Detail Wash.
•Never use strong household detergents or soap, such as dish washing
or laundry liquid. These products can discolor and spot painted
surfaces.
•Never wash a vehicle that is hot to the touch or during exposure to
strong, direct sunlight.
•Dry the vehicle with a chamois or soft terry cloth towel in order to
eliminate water spotting.
Vehicle Care313
2015 Expedition(exd)
Owners Guide gf, 1st Printing, July 2014
USA(fus)
Page 315 of 564
•Immediately remove items such as gasoline, diesel fuel, bird droppings
and insect deposits because they can cause damage to the vehicle’s
paintwork and trim over time. Use Motorcraft Bug and Tar Remover.
•Note:Suntan lotions and insect repellents can damage any painted
surface; if these substances come in contact with your vehicle, wash it
off as soon as possible.
•Remove any exterior accessories before entering a car wash.
Stripes or Graphics (if equipped)
Do not use a commercial or high-pressure wand on the surface or edge
of stripes and graphics. This can cause damage to the film and cause the
edge of the film to peel away from the vehicle surface.
Exterior Chrome
Note:Never use abrasive materials such as steel wool or plastic pads as
they can scratch the chrome surface.
Note:Do not use chrome cleaner, metal cleaner or polish on wheels and
wheel covers.
•Wash the vehicle first, using cool or lukewarm water and a neutral pH
shampoo, such as Motorcraft Detail Wash.
•
Use Motorcraft Custom Bright Metal Cleaner. Apply the product as you
would a wax to clean bumpers and other chrome parts; allow the cleaner
to dry for a few minutes, then wipe off the haze with a clean, dry rag.
•Do not apply cleaning product to hot surfaces and do not leave
cleaning product on chrome surfaces for a period of time exceeding
that which is recommended.
•Note:Using other non-recommended cleaners can result in severe
and permanent cosmetic damage.
Underbody
Flush the complete underside of your vehicle frequently. Keep body and
door drain holes free from packed dirt.
Cleaning Plastic Exterior Parts
Use only approved products to clean plastic parts.
•For routine cleaning, use Motorcraft Detail Wash.
•
If tar or grease spots are present, use Motorcraft Bug and Tar Remover.
314Vehicle Care
2015 Expedition(exd)
Owners Guide gf, 1st Printing, July 2014
USA(fus)
Page 319 of 564
CLEANING THE INSTRUMENT PANEL AND INSTRUMENT
CLUSTER LENS
WARNING:Do not use chemical solvents or strong detergents
when cleaning the steering wheel or instrument panel to avoid
contamination of the airbag system.
Note:Follow the same procedure as cleaning leather seats for cleaning
leather instrument panels and leather interior trim surfaces. See
Cleaning Leather Seatsin this chapter.
Clean the instrument panel and cluster lens with a clean, damp, white,
cotton cloth, then use a clean and dry, white, cotton cloth to dry these areas.
•Avoid cleaners or polishes that increase the gloss of the upper portion
of the instrument panel. The dull finish in this area helps protect the
driver from undesirable windshield reflection.
•
Be certain to wash or wipe your hands clean if you have been in contact
with certain products, such as insect repellent and suntan lotion, in
order to avoid possible damage to the interior painted surfaces.
•Do not use household or glass cleaners as these may damage the
finish of the instrument panel, interior trim and cluster lens.
•Do not allow air fresheners and hand sanitizers to spill on interior
surfaces. If a spill occurs, wipe off immediately. Damage may not be
covered by your warranty.
If a staining liquid like coffee or juice has been spilled on the instrument
panel or on interior trim surfaces, clean as follows:
1. Wipe up spilled liquid using a clean, white, cotton cloth.
2. Use Motorcraft Premium Leather and Vinyl Cleaner or a commercially
available leather cleaning product for automotive interiors. Test any
cleaner or stain remover on an inconspicuous area.
3. Alternatively, wipe the surface with a damp, clean, white, cotton cloth
and a mild soap and water solution. Dry the area with a clean, soft cloth.
4. If necessary, apply more soap and water solution or cleaning product
to a clean, white, cotton cloth and press the cloth onto the soiled area.
Allow this to set at room temperature for 30 minutes.
5. Remove the soaked cloth, then with a clean, damp cloth, use a rubbing
motion for 60 seconds on the soiled area.
6. Following this, wipe area dry with a clean, white, cotton cloth.
318Vehicle Care
2015 Expedition(exd)
Owners Guide gf, 1st Printing, July 2014
USA(fus)
Page 321 of 564
Scratches
Natural Markings - Because the leather in the seat comes from genuine
steer hides, there will be evidence of naturally occurring markings, such
as small scars. These markings give character to the seating covers and
should be considered as proof of a genuine leather product.
In order to lessen the appearance of certain scratches and other wear
marks, apply conditioner on the affected area following the same
instructions as in theConditioningsection.
Conditioning
Bottles of King Ranch® Leather Conditioner are available at the King
Ranch® Saddle Shop. Visit the website atwww.krsaddleshop.com,or
telephone (in the United States) 1–800–282–KING (5464). If you are
unable to obtain King Ranch® Leather Conditioner, use another premium
leather conditioner.
•Clean the surfaces using the steps outlined in theCleaningsection.
•Ensure the leather is dry then apply a nickel-sized amount of
conditioner to a clean, dry cloth.
•Rub the conditioner into leather until it disappears. Allow the
conditioner to dry and repeat the process for the entire interior. If a
film appears, wipe off film with a dry, clean cloth.
CLEANING THE ALLOY WHEELS
Note:Do not use chrome cleaner, metal cleaner or polish on wheels and
wheel covers.
A clearcoat paint finish coats aluminum wheels and wheel covers. In
order to maintain their condition:
•Clean weekly with Motorcraft Wheel and Tire Cleaner. Use a sponge to
remove heavy deposits of dirt and brake dust accumulation. Rinse
thoroughly with a strong stream of water when you have completed
the cleaning process.
•To remove tar and grease, use Motorcraft Bug and Tar Remover.
•Never apply any cleaning chemical to hot or warm wheel rims or
covers.
•Some automatic car washes may cause damage to the finish on your
wheel rims or covers.
320Vehicle Care
2015 Expedition(exd)
Owners Guide gf, 1st Printing, July 2014
USA(fus)