2015 FIAT 500L oil level
[x] Cancel search: oil levelPage 174 of 438
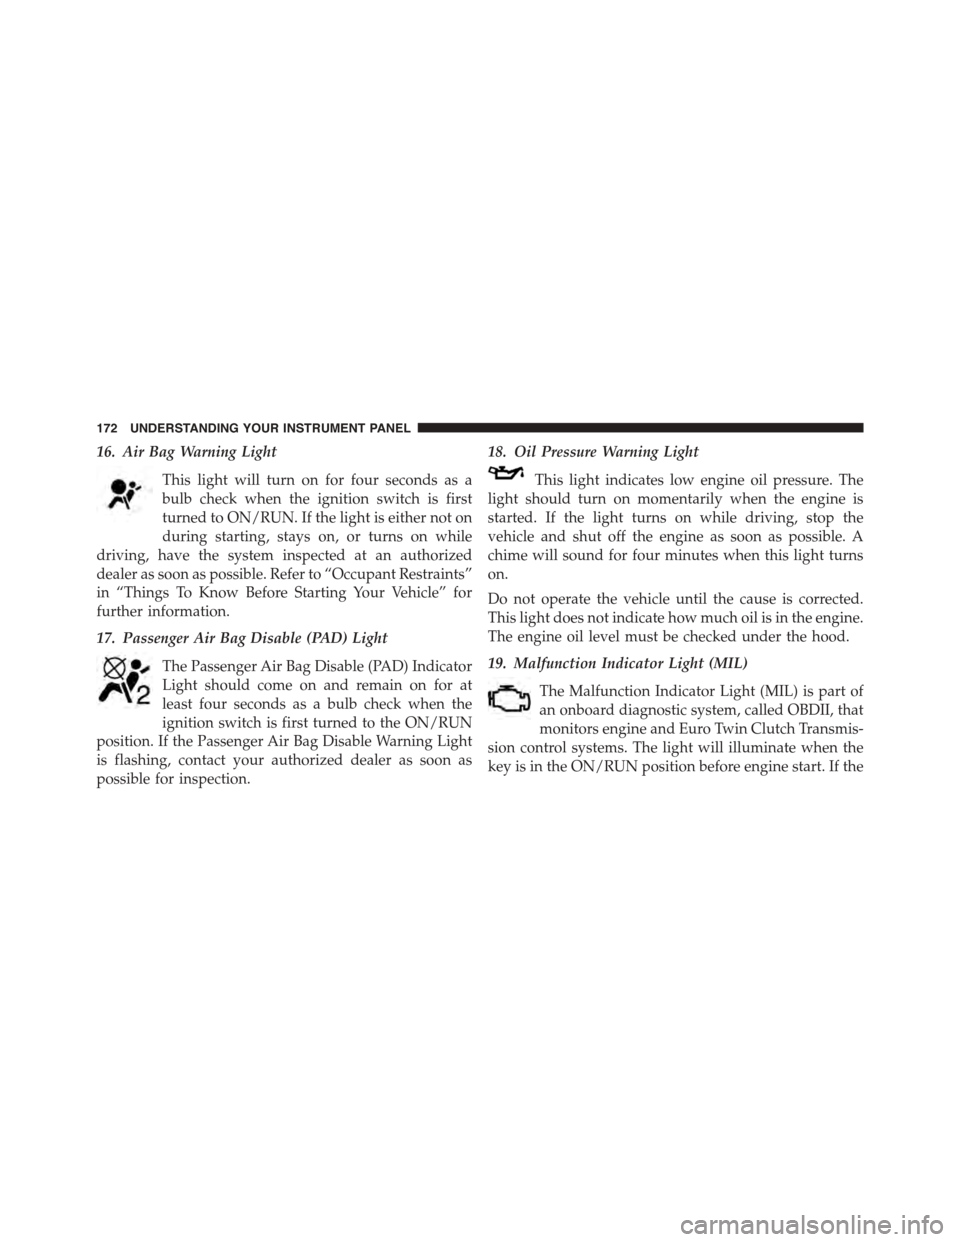
16. Air Bag Warning Light
This light will turn on for four seconds as a
bulb check when the ignition switch is first
turned to ON/RUN. If the light is either not on
during starting, stays on, or turns on while
driving, have the system inspected at an authorized
dealer as soon as possible. Refer to “Occupant Restraints”
in “Things To Know Before Starting Your Vehicle” for
further information.
17. Passenger Air Bag Disable (PAD) Light
The Passenger Air Bag Disable (PAD) Indicator
Light should come on and remain on for at
least four seconds as a bulb check when the
ignition switch is first turned to the ON/RUN
position. If the Passenger Air Bag Disable Warning Light
is flashing, contact your authorized dealer as soon as
possible for inspection.
18. Oil Pressure Warning Light
This light indicates low engine oil pressure. The
light should turn on momentarily when the engine is
started. If the light turns on while driving, stop the
vehicle and shut off the engine as soon as possible. A
chime will sound for four minutes when this light turns
on.
Do not operate the vehicle until the cause is corrected.
This light does not indicate how much oil is in the engine.
The engine oil level must be checked under the hood.
19. Malfunction Indicator Light (MIL)
The Malfunction Indicator Light (MIL) is part of
an onboard diagnostic system, called OBDII, that
monitors engine and Euro Twin Clutch Transmis-
sion control systems. The light will illuminate when the
key is in the ON/RUN position before engine start. If the
172 UNDERSTANDING YOUR INSTRUMENT PANEL
Page 240 of 438

•At low speeds you may hear mechanical noises similar
to a manual transmission as the transmission changes
gears. These noises are normal and will not damage
the transmission.
•Very aggressive driving may result in some clutch
odor similar to a manual transmission. An active
warning message will display in the Instrument Clus-
ter if cool down actions are needed.
•When stopped on an incline, always use the brakes to
hold the vehicle in place. On steep inclines, Hill Start
Assist (HSA) will temporarily hold the car in position
when the brake pedal is released. If the accelerator
pedal is not applied after a short time, the car will roll
back. Either reapply the brake (to hold the vehicle) or
press the accelerator to climb the hill.
•Before and after the engine is started, you may hear a
hydraulic pump for a short period of time. This noise
is normal and will not damage the transmission.
•When frequent transmission shifting occurs (such as
when operating the vehicle under heavy loading con-
ditions, in hilly terrain, or traveling into strong head
winds), use the AutoStick shift control (refer to
“AutoStick” in this section for further information) to
select a lower gear. Under these conditions, using a
lower gear will improve performance and extend
transmission life by reducing excessive shifting and
heat buildup.
•During extremely cold temperatures, the transmission
will not operate if the oil temperature is -22° F (-30° C)
or below. Allow the engine to idle briefly with the
transmission in PARK in order to warm the fluid.
Normal operation will resume once the transmission
temperature has risen to a suitable level.
238 STARTING AND OPERATING
Page 352 of 438
CAUTION!(Continued)
•Your vehicle has been built with improved fluids
that protect the performance and durability of your
vehicle and also allow extended maintenance inter-
vals. Do not use chemical flushes in these compo-
nents as the chemicals can damage your engine,
transmission, or air conditioning. Such damage is
not covered by the New Vehicle Limited Warranty.
If a flush is needed because of component malfunc-
tion, use only the specified fluid for the flushing
procedure.
Engine Oil
Checking Oil Level
To assure proper engine lubrication, the engine oil must
be maintained at the correct level. Check the oil level at
regular intervals, such as every fuel stop. The best time to
check the engine oil level is about five minutes after a
fully warmed engine is shut off. Do not check oil level
before starting the engine after it has sat overnight.
Checking engine oil level when the engine is cold will
give you an incorrect reading.
Checking the oil while the vehicle is on level ground, and
about five minutes after a fully warmed engine is shut
off, will improve the accuracy of the oil level readings.
Maintain the oil level between the range markings on the
dipstick. The safe range is indicated by a crosshatch zone.
Adding 1 quart (0.9 Liters) of oil when the reading is at
the low end of the indicated range will result in the oil
level at the full end of the indicator range.
CAUTION!
Do not overfill the engine with oil. Overfilling the
engine with oil will cause oil aeration, which can
lead to loss of oil pressure and an increase in oil
(Continued)
350 MAINTAINING YOUR VEHICLE
Page 364 of 438
Adding Washer Fluid
The windshield washer fluid reservoir is located in the
engine compartment, and the fluid level should be
checked at regular intervals. Fill the reservoir with wind-
shield washer solvent (not engine coolant/ antifreeze).
Refer to “Engine Compartment” in “Maintaining Your
Vehicle” for further information.
WARNING!
Commercially available windshield washer solvents
are flammable. They could ignite and burn you. Care
must be exercised when filling or working around
the washer solution.
Exhaust System
The best protection against carbon monoxide entry into
the vehicle body is a properly maintained engine exhaust
system.
If you notice a change in the sound of the exhaust system;
or if the exhaust fumes can be detected inside the vehicle;
or when the underside or rear of the vehicle is damaged;
have an authorized technician inspect the complete ex-
haust system and adjacent body areas for broken, dam-
aged, deteriorated, or mispositioned parts. Open seams
or loose connections could permit exhaust fumes to seep
into the passenger compartment. In addition, have the
exhaust system inspected each time the vehicle is raised
for lubrication or oil change. Replace as required.
362 MAINTAINING YOUR VEHICLE
Page 404 of 438

MAINTENANCE SCHEDULE
Your vehicle is equipped with an automatic oil change
indicator system. The oil change indicator system will
remind you that it is time to take your vehicle in for
scheduled maintenance.
Based on engine operation conditions, the oil change
indicator message will illuminate in the instrument clus-
ter. This means that service is required for your vehicle.
Operating conditions such as frequent short-trips, trailer
tow and extremely hot or cold ambient temperatures will
influence when the “Change Oil” or “Oil Change Re-
quired” message is displayed. Severe Operating Condi-
tions can cause the change oil message to illuminate as
early as 3,500 miles (5,600 km) since last reset. Have your
vehicle serviced as soon as possible, within the next 500
miles (805 km).
Your authorized dealer will reset the oil change indicator
message after completing the scheduled oil change. If a
scheduled oil change is performed by someone other
than your authorized dealer, the message can be reset by
referring to the steps described under “Electronic Vehicle
Information Center (EVIC)” in “Understanding Your
Instrument Panel” for further information.
NOTE:Under no circumstances should oil change inter-
vals exceed 10,000 miles (16,000 km) or twelve months,
whichever comes first.
Severe Duty All Models
Change Engine Oil at 4000 miles (6,500 km) if the vehicle
is operated in a dusty and off road environment. This
type of vehicle use is considered Severe Duty
Once A Month Or Before A Long Trip:
•Check engine oil level.
•Check windshield washer fluid level.
402 MAINTENANCE SCHEDULES
Page 405 of 438
•Check the tire inflation pressures and look for unusual
wear or damage.
•Check the fluid levels of the coolant reservoir, and
brake master cylinder reservoir, and fill as needed.
•Check function of all interior and exterior lights.
Required Maintenance Intervals.
Refer to the maintenance schedules on the following
page for the required maintenance intervals.
At Every Oil Change Interval As Indicated By Oil
Change Indicator System:
•Change oil and filter.
•Rotate the tires.Rotate at the first sign of irregu-
lar wear, even if it occurs before the oil indicator
system turns on.
At Every Oil Change Interval As Indicated By Oil
Change Indicator System:
•Inspect battery and clean and tighten terminals as
required.
•Inspect brake pads, shoes, rotors, drums, and
hoses.
•Inspect engine cooling system protection and
hoses.
•Check and adjust hand brake.
•Inspect exhaust system.
•Inspect engine air cleaner if using in dusty or
off-road conditions.8
MAINTENANCE SCHEDULES 403
Page 423 of 438
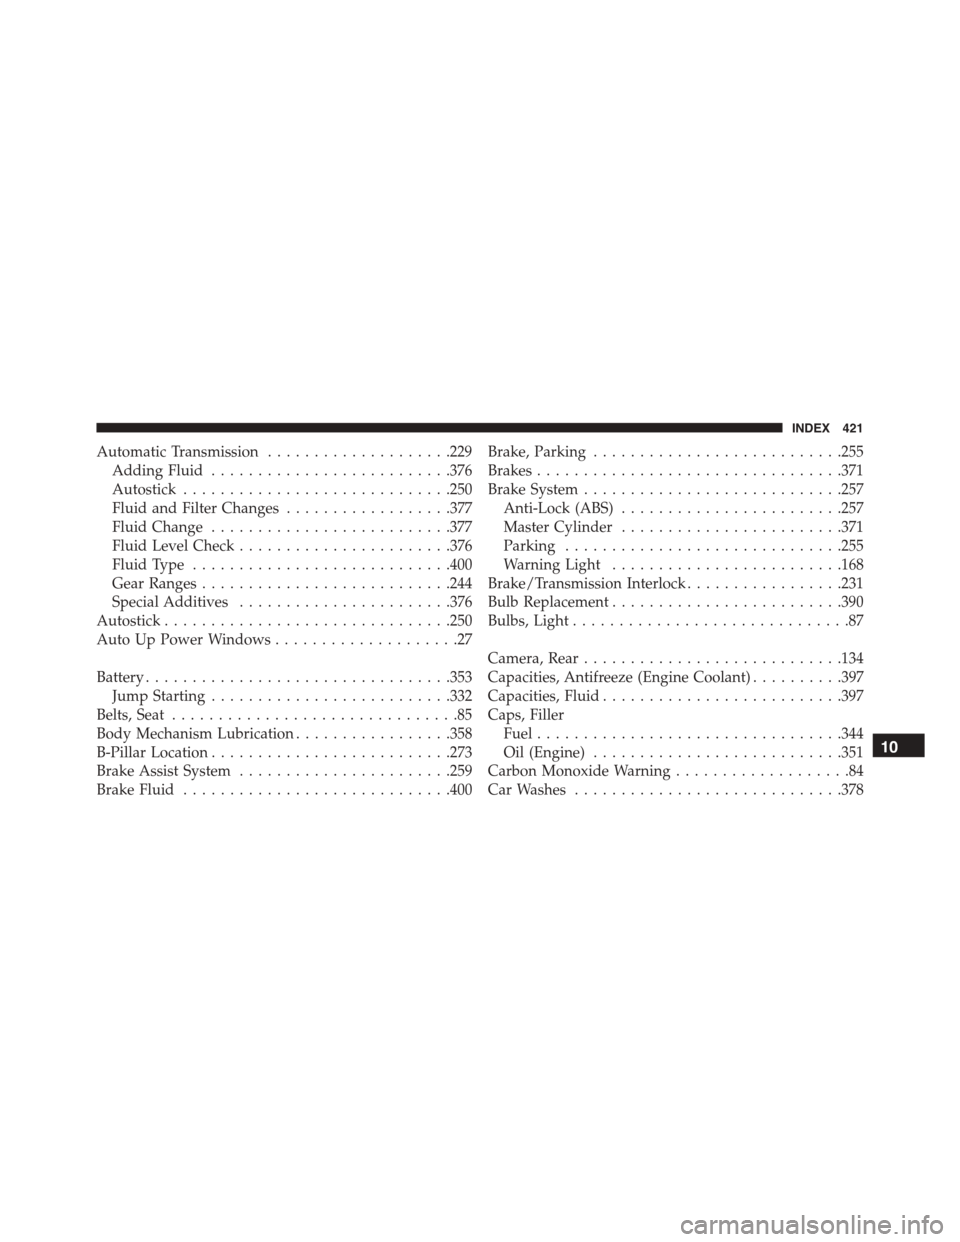
Automatic Transmission....................229
Adding Fluid..........................376
Autostick.............................250
Fluid and Filter Changes..................377
Fluid Change..........................377
Fluid Level Check.......................376
Fluid Type............................400
Gear Ranges...........................244
Special Additives.......................376
Autostick...............................250
Auto Up Power Windows....................27
Battery.................................353
Jump Starting..........................332
Belts, Seat...............................85
Body Mechanism Lubrication.................358
B-Pillar Location..........................273
Brake Assist System.......................259
Brake Fluid.............................400
Brake, Parking...........................255
Brakes.................................371
Brake System............................257
Anti-Lock (ABS)........................257
Master Cylinder........................371
Parking..............................255
Warning Light.........................168
Brake/Transmission Interlock.................231
Bulb Replacement.........................390
Bulbs, Light..............................87
Camera, Rear............................134
Capacities, Antifreeze (Engine Coolant)..........397
Capacities, Fluid..........................397
Caps, Filler
Fuel.................................344
Oil (Engine)...........................351
Carbon Monoxide Warning...................84
Car Washes.............................378
10
INDEX 421
Page 426 of 438

Electronic Stability Control (ESC)..............262
Electronic Vehicle Information Center (EVIC)......134
Exit Trip..............................182
Start Of Trip Procedure...................182
Emergency Deck Lid Release..................30
Emergency, In Case of
Hazard Warning Flasher..................311
Jacking...............................324
Jump Starting..........................332
Towing..............................340
Emergency Trunk Release....................30
Engine
Air Cleaner...........................352
Break-In Recommendations.................82
Checking Oil Level......................350
Compartment..........................347
Cooling..............................365
Exhaust Gas Caution.....................84
Fails to Start...........................226
Flooded, Starting.......................226
Fuel Requirements......................299
Oil . . . . . . . . . . . . . . . . . . . . . . . . . . . . . . . . ..350
Oil Filler Cap..........................351
Oil Selection...........................351
Overheating...........................311
Starting..............................224
Temperature Gauge......................169
Enhanced Accident Response Feature............55
Euro Twin Clutch Transmission...............229
Fluid Type............................374
Gear Ranges...........................233
Event Data Recorder........................60
Exhaust Gas Caution........................84
Exhaust System...........................84
Exterior Lights............................87
Filler Location Fuel........................169
424 INDEX