Page 321 of 438
WARNING!(Continued)
•Tire Service Kit Sealant solution contains latex. In
case of an allergic reaction or rash, consult a phy-
sician immediately. Keep Tire Service Kit out of
reach of children. If swallowed, rinse mouth imme-
diately with plenty of water and drink plenty of
water. Do not induce vomiting! Consult a physician
immediately.
Sealing A Tire With Tire Service Kit
(A) Whenever You Stop To Use Tire Service Kit:
1. Pull over to a safe location and turn on the vehicle’s
Hazard Warning flashers.
2. Verify that the valve stem (on the wheel with the
deflated tire) is in a position that is near to the ground.
This will allow the Tire Service Kit Hoses (6) and (7) to
reach the valve stem and keep the Tire Service Kit flat
on the ground. This will provide the best positioning
of the kit when injecting the sealant into the deflated
tire and running the air pump. Move the vehicle as
necessary to place the valve stem in this position
before proceeding.
3. Place the transmission in PARK (auto transmission) or
in Gear (manual transmission) and place the ignition
in the OFF position.
4. Set the parking brake.
(B) Setting Up To Use Tire Service Kit:
1. Push in the Mode Select Knob (5) and turn to the
Sealant Mode position.
2. Uncoil the Sealant Hose (6) and then remove the cap
from the fitting at the end of the hose.
3. Place the Tire Service Kit flat on the ground next to the
deflated tire.
6
WHAT TO DO IN EMERGENCIES 319
Page 322 of 438
4. Remove the cap from the valve stem and then screw
the fitting at the end of the Sealant Hose (6) onto the
valve stem.
5. Uncoil the Power Plug (8) and insert the plug into the
vehicle’s 12 Volt power outlet.
NOTE:Do not remove foreign objects (e.g., screws or
nails) from the tire.
(C) Injecting Tire Service Kit Sealant Into The
Deflated Tire:
•Always start the engine before turning ON the Tire
Service Kit.
NOTE:Manual transmission vehicles must have the
parking brake engaged and the shift lever in NEUTRAL.
•After pressing the Power Button (4), the sealant (white
fluid) will flow from the Sealant Bottle (1) through the
Sealant Hose (6) and into the tire.
NOTE:Sealant may leak out through the puncture in the
tire.
If the sealant (white fluid) does not flow within0–10
seconds through the Sealant Hose (6):
1. Press the Power Button (4) to turn Off the Tire Service
Kit. Disconnect the Sealant Hose (6) from the valve
stem. Make sure the valve stem is free of debris.
Reconnect the Sealant Hose (6) to the valve stem.
Check that the Mode Select Knob (5) is in the Sealant
Mode position and not Air Mode. Press the Power
Button (4) to turn On the Tire Service Kit.
2. Connect the Power Plug (8) to a different 12 Volt
power outlet in your vehicle or another vehicle, if
available. Make sure the engine is running before
turning ON the Tire Service Kit.
3. The Sealant Bottle (1) may be empty due to previous
use. Call for assistance.
320 WHAT TO DO IN EMERGENCIES
Page 329 of 438
Preparations For Jacking
1. Park the vehicle on a firm level surface, avoiding ice or
slippery areas.
WARNING!
Do not attempt to change a tire on the side of the
vehicle close to moving traffic, pull far enough off
the road to avoid the danger of being hit when
operating the jack or changing the wheel.
2. Turn on the Hazard Warning flashers.
3. Set the parking brake.
4. Place the shift lever in PARK (Euro Twin Clutch
Transmission) or REVERSE (manual transmission).
5. Turn Off the ignition.
6. Block both the front and rear of the wheel diagonally
opposite of the jacking position. For
example, if changing the right front
tire, block the left rear wheel.
NOTE:Passengers should not remain in the vehicle
while the vehicle is being jacked.
6
WHAT TO DO IN EMERGENCIES 327
Page 330 of 438
Jacking Instructions
WARNING!
Carefully follow these tire changing warnings to
help prevent personal injury or damage to your
vehicle:
•Always park on a firm, level surface as far from the
edge of the roadway as possible before raising the
vehicle.
•Turn on the Hazard Warning flasher.
•Block the wheel diagonally opposite the wheel to
be raised.
•Set the parking brake firmly and set an Euro Twin
Clutch Transmission in PARK; a manual transmis-
sion in REVERSE.
•Never start or run the engine with the vehicle on a
jack.
(Continued)
WARNING!(Continued)
•Do not let anyone sit in the vehicle when it is on a
jack.
•Do not get under the vehicle when it is on a jack. If
you need to get under a raised vehicle, take it to a
service center where it can be raised on a lift.
•Only use the jack in the positions indicated and for
lifting this vehicle during a tire change.
•If working on or near a roadway, be extremely
careful of motor traffic.
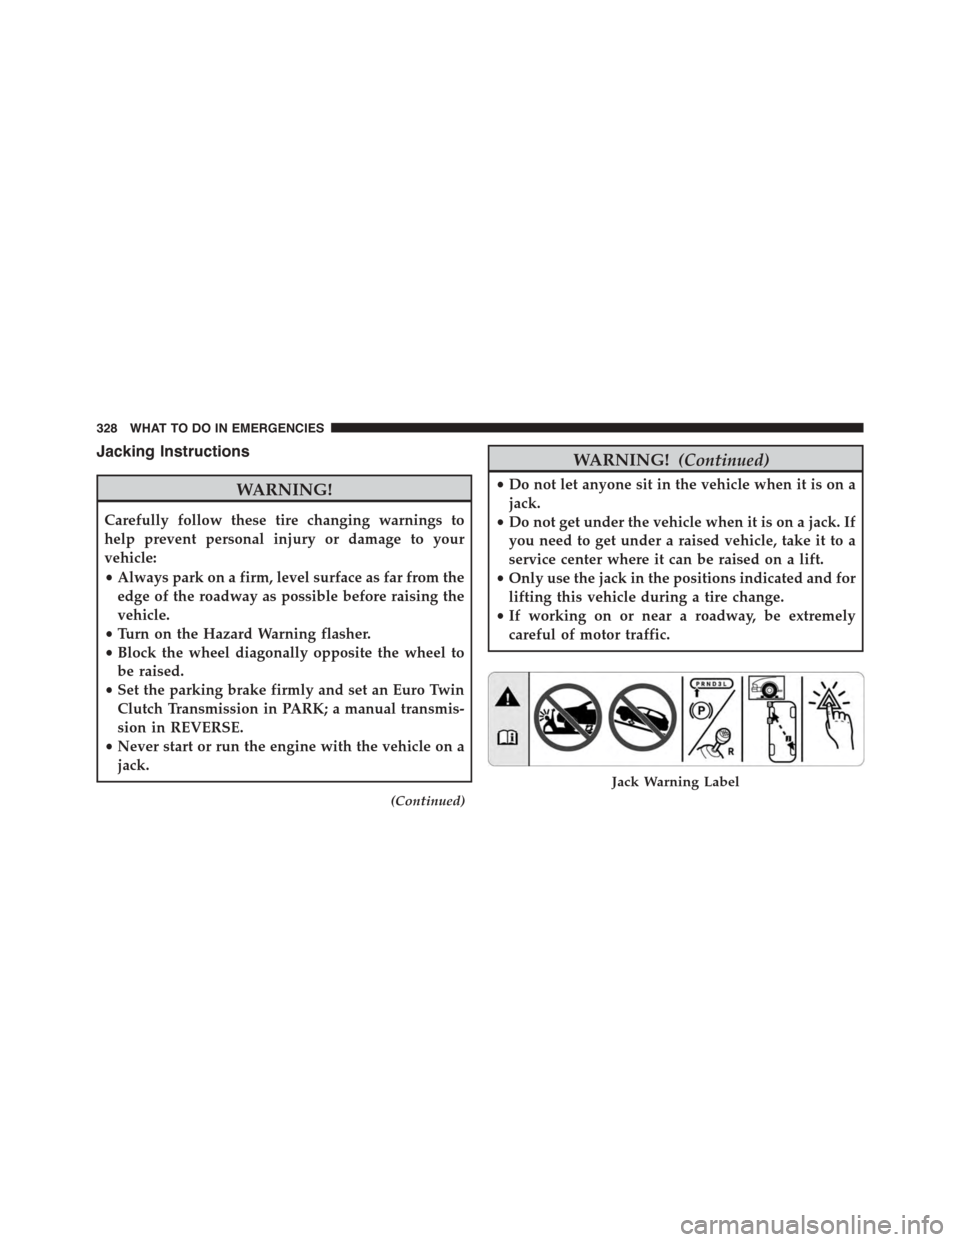
Jack Warning Label
328 WHAT TO DO IN EMERGENCIES
Page 336 of 438

WARNING!
•Take care to avoid the radiator cooling fan when-
ever the hood is raised. It can start anytime the
ignition switch is ON. You can be injured by
moving fan blades.
•Remove any metal jewelry such as rings, watch
bands and bracelets that could make an inadvertent
electrical contact. You could be seriously injured.
•Batteries contain sulfuric acid that can burn your
skin or eyes and generate hydrogen gas which is
flammable and explosive. Keep open flames or
sparks away from the battery.
1. Set the parking brake, shift the Euro Twin Clutch
Transmission into PARK and turn the ignition to OFF.
2. Turn off the heater, radio, and all unnecessary electri-
cal accessories.
3. Remove the protective cover over the remote positive
(+)battery post. To remove the cover, pull upward on
the cover.
4. If using another vehicle to jump-start the battery, park
the vehicle within the jumper cables reach, set the
parking brake and make sure the ignition is OFF.
WARNING!
Do not allow vehicles to touch each other as this
could establish a ground connection and personal
injury could result.
334 WHAT TO DO IN EMERGENCIES
Page 341 of 438
WARNING!(Continued)
explode and injure someone. Do not spin your vehi-
cle’s wheels faster than 30 mph (48 km/h) or for
longer than 30 seconds continuously without stop-
ping when you are stuck and do not let anyone near
a spinning wheel, no matter what the speed.
SHIFT LEVER OVERRIDE
If a malfunction occurs and the shift lever cannot be
moved out of the PARK position, you can use the
following procedure to temporarily move the shift lever:
1. Turn the engine OFF.
2. Firmly apply the parking brake.
3. Using a screwdriver or similar tool, carefully separate
the shift lever bezel and boot assembly from the center
console.
4. Press and maintain firm pressure on the brake pedal.
5. Insert a small screwdriver or similar tool into the shift
lever override access hole (at the right rear corner of
the shift lever assembly) and push and hold the
override release lever down.
6. Move the shift lever to the NEUTRAL position.
7. The vehicle may then be started in NEUTRAL.
8. Reinstall the shift lever boot.6
WHAT TO DO IN EMERGENCIES 339
Page 344 of 438

Automatic Transmission
•Vehicle can be towed with the front wheels elevated.
•Vehicle can be towed on a flatbed truck (all wheels off
the ground).
If the ignition key is unavailable, or the battery is
discharged, refer to “Shift Lever Override” in this section
for instructions on shifting the transmission out of PARK
in order to move the vehicle.
CAUTION!
•DO NOT flat tow any vehicle equipped with a
conventional automatic transmission. Damage to
the drivetrain will result. If these vehicles require
towing, make sure all drive wheels are OFF the
ground.
(Continued)
CAUTION!(Continued)
•Towing this vehicle in violation of the above re-
quirements can cause severe transmission damage.
Damage from improper towing is not covered un-
der the New Vehicle Limited Warranty.
IGNITION KEY REMOVAL OVERRIDE
This vehicle is equipped with a Key Ignition Park Inter-
lock which requires the transmission to be in PARK
before the ignition switch can be turned to the LOCK/
OFF (key removal) position. To remove the key manually,
proceed as follows:
1. Firmly apply the parking brake
2. Remove the Allen Key located in the rear cargo area, in
the tool bag (if equipped) or on the left side in the
cargo box.
342 WHAT TO DO IN EMERGENCIES
Page 423 of 438
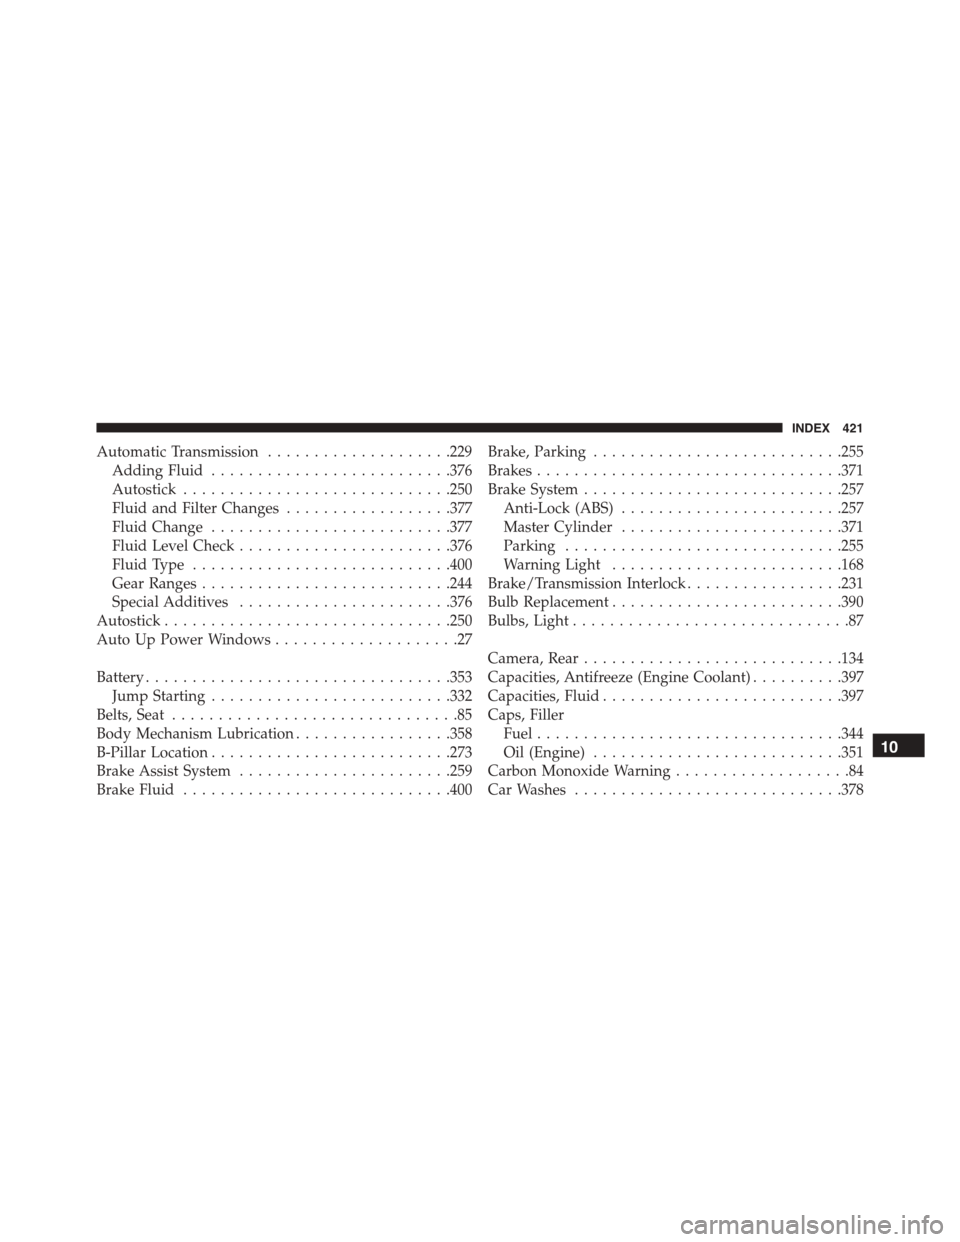
Automatic Transmission....................229
Adding Fluid..........................376
Autostick.............................250
Fluid and Filter Changes..................377
Fluid Change..........................377
Fluid Level Check.......................376
Fluid Type............................400
Gear Ranges...........................244
Special Additives.......................376
Autostick...............................250
Auto Up Power Windows....................27
Battery.................................353
Jump Starting..........................332
Belts, Seat...............................85
Body Mechanism Lubrication.................358
B-Pillar Location..........................273
Brake Assist System.......................259
Brake Fluid.............................400
Brake, Parking...........................255
Brakes.................................371
Brake System............................257
Anti-Lock (ABS)........................257
Master Cylinder........................371
Parking..............................255
Warning Light.........................168
Brake/Transmission Interlock.................231
Bulb Replacement.........................390
Bulbs, Light..............................87
Camera, Rear............................134
Capacities, Antifreeze (Engine Coolant)..........397
Capacities, Fluid..........................397
Caps, Filler
Fuel.................................344
Oil (Engine)...........................351
Carbon Monoxide Warning...................84
Car Washes.............................378
10
INDEX 421