Page 312 of 438
!FREEING A STUCK VEHICLE.............337
!SHIFT LEVER OVERRIDE................339
!TOWING A DISABLED VEHICLE...........340
▫Manual Transmission...................341
▫Euro Twin Clutch Transmission............341
▫Automatic Transmission.................342
!IGNITION KEY REMOVAL OVERRIDE.......342
!CAP-LESS FUEL FILL FUNNEL............344
310 WHAT TO DO IN EMERGENCIES
Page 321 of 438
WARNING!(Continued)
•Tire Service Kit Sealant solution contains latex. In
case of an allergic reaction or rash, consult a phy-
sician immediately. Keep Tire Service Kit out of
reach of children. If swallowed, rinse mouth imme-
diately with plenty of water and drink plenty of
water. Do not induce vomiting! Consult a physician
immediately.
Sealing A Tire With Tire Service Kit
(A) Whenever You Stop To Use Tire Service Kit:
1. Pull over to a safe location and turn on the vehicle’s
Hazard Warning flashers.
2. Verify that the valve stem (on the wheel with the
deflated tire) is in a position that is near to the ground.
This will allow the Tire Service Kit Hoses (6) and (7) to
reach the valve stem and keep the Tire Service Kit flat
on the ground. This will provide the best positioning
of the kit when injecting the sealant into the deflated
tire and running the air pump. Move the vehicle as
necessary to place the valve stem in this position
before proceeding.
3. Place the transmission in PARK (auto transmission) or
in Gear (manual transmission) and place the ignition
in the OFF position.
4. Set the parking brake.
(B) Setting Up To Use Tire Service Kit:
1. Push in the Mode Select Knob (5) and turn to the
Sealant Mode position.
2. Uncoil the Sealant Hose (6) and then remove the cap
from the fitting at the end of the hose.
3. Place the Tire Service Kit flat on the ground next to the
deflated tire.
6
WHAT TO DO IN EMERGENCIES 319
Page 322 of 438
4. Remove the cap from the valve stem and then screw
the fitting at the end of the Sealant Hose (6) onto the
valve stem.
5. Uncoil the Power Plug (8) and insert the plug into the
vehicle’s 12 Volt power outlet.
NOTE:Do not remove foreign objects (e.g., screws or
nails) from the tire.
(C) Injecting Tire Service Kit Sealant Into The
Deflated Tire:
•Always start the engine before turning ON the Tire
Service Kit.
NOTE:Manual transmission vehicles must have the
parking brake engaged and the shift lever in NEUTRAL.
•After pressing the Power Button (4), the sealant (white
fluid) will flow from the Sealant Bottle (1) through the
Sealant Hose (6) and into the tire.
NOTE:Sealant may leak out through the puncture in the
tire.
If the sealant (white fluid) does not flow within0–10
seconds through the Sealant Hose (6):
1. Press the Power Button (4) to turn Off the Tire Service
Kit. Disconnect the Sealant Hose (6) from the valve
stem. Make sure the valve stem is free of debris.
Reconnect the Sealant Hose (6) to the valve stem.
Check that the Mode Select Knob (5) is in the Sealant
Mode position and not Air Mode. Press the Power
Button (4) to turn On the Tire Service Kit.
2. Connect the Power Plug (8) to a different 12 Volt
power outlet in your vehicle or another vehicle, if
available. Make sure the engine is running before
turning ON the Tire Service Kit.
3. The Sealant Bottle (1) may be empty due to previous
use. Call for assistance.
320 WHAT TO DO IN EMERGENCIES
Page 329 of 438
Preparations For Jacking
1. Park the vehicle on a firm level surface, avoiding ice or
slippery areas.
WARNING!
Do not attempt to change a tire on the side of the
vehicle close to moving traffic, pull far enough off
the road to avoid the danger of being hit when
operating the jack or changing the wheel.
2. Turn on the Hazard Warning flashers.
3. Set the parking brake.
4. Place the shift lever in PARK (Euro Twin Clutch
Transmission) or REVERSE (manual transmission).
5. Turn Off the ignition.
6. Block both the front and rear of the wheel diagonally
opposite of the jacking position. For
example, if changing the right front
tire, block the left rear wheel.
NOTE:Passengers should not remain in the vehicle
while the vehicle is being jacked.
6
WHAT TO DO IN EMERGENCIES 327
Page 330 of 438
Jacking Instructions
WARNING!
Carefully follow these tire changing warnings to
help prevent personal injury or damage to your
vehicle:
•Always park on a firm, level surface as far from the
edge of the roadway as possible before raising the
vehicle.
•Turn on the Hazard Warning flasher.
•Block the wheel diagonally opposite the wheel to
be raised.
•Set the parking brake firmly and set an Euro Twin
Clutch Transmission in PARK; a manual transmis-
sion in REVERSE.
•Never start or run the engine with the vehicle on a
jack.
(Continued)
WARNING!(Continued)
•Do not let anyone sit in the vehicle when it is on a
jack.
•Do not get under the vehicle when it is on a jack. If
you need to get under a raised vehicle, take it to a
service center where it can be raised on a lift.
•Only use the jack in the positions indicated and for
lifting this vehicle during a tire change.
•If working on or near a roadway, be extremely
careful of motor traffic.
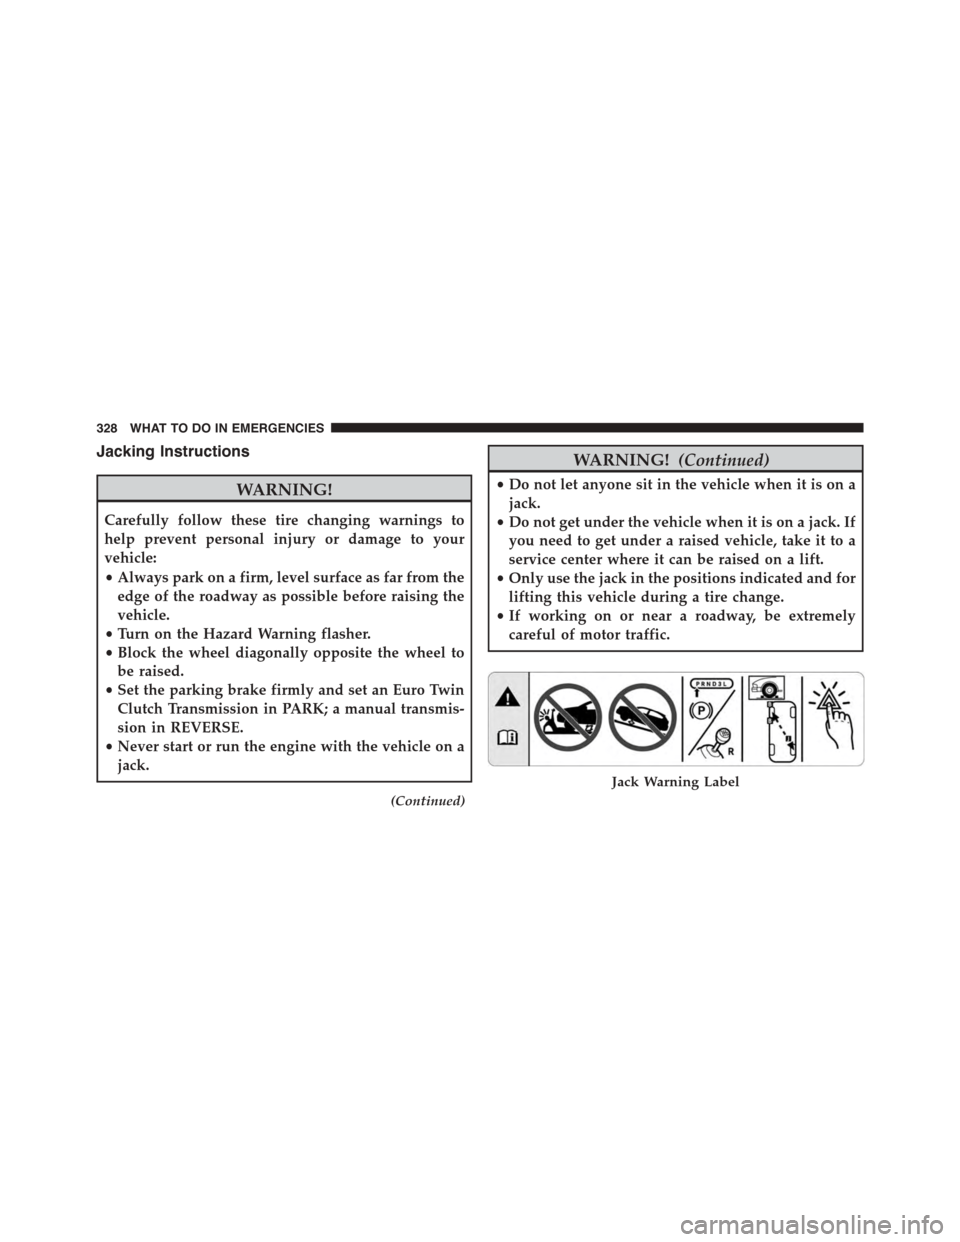
Jack Warning Label
328 WHAT TO DO IN EMERGENCIES
Page 339 of 438

Follow these steps to connect the negative(-)battery
cable:
1. Connect the negative(-)battery terminal to the nega-
tive(-)post of the battery.
2. Push inward on the negative(-)battery cable terminal
release lever to the closed position.
If frequent jump-starting is required to start your vehicle,
you should have the battery and charging system in-
spected at your authorized dealer.
CAUTION!
Accessories plugged into the vehicle power outlets
draw power from the vehicle’s battery, even when not
in use (i.e., cellular phones, etc.). Eventually, if
plugged in long enough without engine operation,
the vehicle’s battery will discharge sufficiently to
(Continued)
CAUTION!(Continued)
degrade battery life and/or prevent the engine from
starting.
FREEING A STUCK VEHICLE
If your vehicle becomes stuck in mud, sand or snow, it
can often be moved using a rocking motion. Turn the
steering wheel right and left to clear the area around the
front wheels. Then shift back and forth between DRIVE
and REVERSE (with Automatic or Euro Twin Clutch
Transmission) or 2nd gear and REVERSE (with manual
transmission), while gently pressing the accelerator. Use
the least amount of accelerator pedal pressure that will
maintain the rocking motion, without spinning the
wheels, or racing the engine.
6
WHAT TO DO IN EMERGENCIES 337
Page 343 of 438
Manual Transmission
•Vehicle can be flat towed (all four wheels on the
ground) with the transmission in NEUTRAL.
•Vehicle can be towed with the front wheels elevated.
•Vehicle can be towed on a flatbed truck (all wheels off
the ground).
CAUTION!
Towing this vehicle in violation of the above require-
ments can cause severe engine and/or transmission
damage. Damage from improper towing is not cov-
ered under the New Vehicle Limited Warranty.
Euro Twin Clutch Transmission
•Vehicle can be flat towed (all four wheels on the
ground) with the transmission in NEUTRAL.
•Vehicle can be towed with the front wheels elevated.
•Vehicle can be towed on a flatbed truck (all wheels off
the ground).
If the ignition key is unavailable, or the vehicle’s battery
is discharged, refer to#Shift Lever Override#in this
section for instructions on shifting the transmission out of
PARK for towing.
CAUTION!
•Towing this vehicle in violation of the above re-
quirements can cause severe transmission damage.
Damage from improper towing is not covered un-
der the New Vehicle Limited Warranty.
6
WHAT TO DO IN EMERGENCIES 341
Page 344 of 438

Automatic Transmission
•Vehicle can be towed with the front wheels elevated.
•Vehicle can be towed on a flatbed truck (all wheels off
the ground).
If the ignition key is unavailable, or the battery is
discharged, refer to “Shift Lever Override” in this section
for instructions on shifting the transmission out of PARK
in order to move the vehicle.
CAUTION!
•DO NOT flat tow any vehicle equipped with a
conventional automatic transmission. Damage to
the drivetrain will result. If these vehicles require
towing, make sure all drive wheels are OFF the
ground.
(Continued)
CAUTION!(Continued)
•Towing this vehicle in violation of the above re-
quirements can cause severe transmission damage.
Damage from improper towing is not covered un-
der the New Vehicle Limited Warranty.
IGNITION KEY REMOVAL OVERRIDE
This vehicle is equipped with a Key Ignition Park Inter-
lock which requires the transmission to be in PARK
before the ignition switch can be turned to the LOCK/
OFF (key removal) position. To remove the key manually,
proceed as follows:
1. Firmly apply the parking brake
2. Remove the Allen Key located in the rear cargo area, in
the tool bag (if equipped) or on the left side in the
cargo box.
342 WHAT TO DO IN EMERGENCIES

