Page 158 of 367
1 — Side Vent6 — Storage Compartment11 — Power Window Controls
2 — Multifunction Lever – Light
Control
7 — Passenger Air Bag12 — Heated Seat Controls/Front
Fog Light Control
3 — Instrument Cluster And Elec-
tronic Vehicle Information Center
8 — Rear Defrost Button13 — ESC Off
4 — Windshield Wiper, Washer,
Trip Computer
9 — Hazard Button14 — Horn/Driver Airbag
5 — Central Air Vents10 — Climate Controls
156 UNDERSTANDING YOUR INSTRUMENT PANEL
Page 161 of 367

Vehicles equipped with the Anti-Lock Brake System
(ABS), are also equipped with Electronic Brake Force
Distribution (EBD). In the event of an EBD failure, the
Brake Warning Light will turn on along with the ABS
Light. Immediate repair to the ABS system is required.
Operation of the Brake Warning Light can be checked by
turning the ignition switch from the OFF/LOCK position
to the ON/RUN position. The light should illuminate for
approximately two seconds. The light should then turn
off unless the parking brake is applied or a brake fault is
detected. If the light does not illuminate, have the light
inspected by an authorized dealer.
The light also will turn on when the parking brake is
applied with the ignition switch in the ON/RUN posi-
tion.
NOTE:This light shows only that the parking brake is
applied. It does not show the degree of brake application.
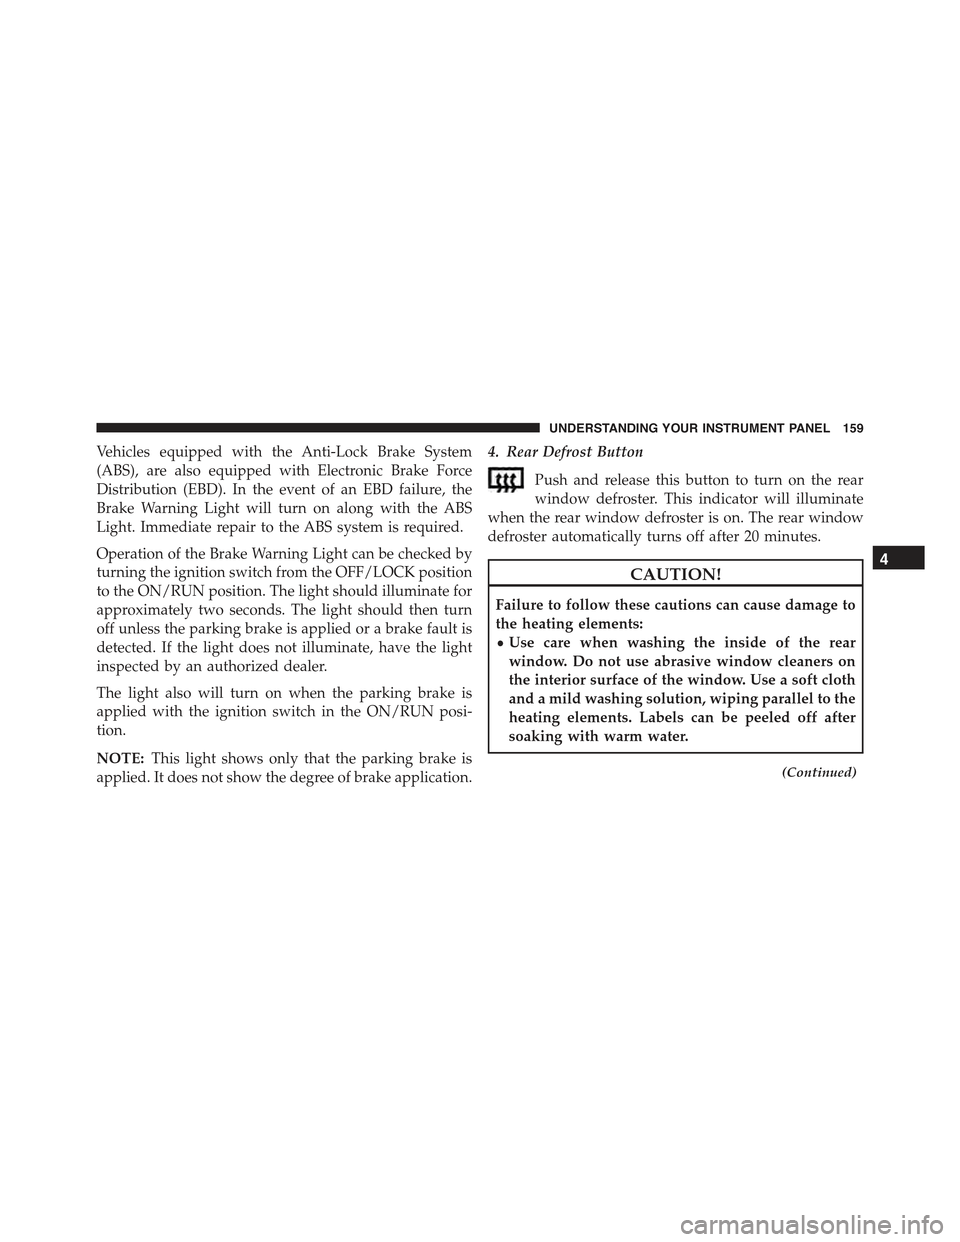
4. Rear Defrost Button
Push and release this button to turn on the rear
window defroster. This indicator will illuminate
when the rear window defroster is on. The rear window
defroster automatically turns off after 20 minutes.
CAUTION!
Failure to follow these cautions can cause damage to
the heating elements:
•Use care when washing the inside of the rear
window. Do not use abrasive window cleaners on
the interior surface of the window. Use a soft cloth
and a mild washing solution, wiping parallel to the
heating elements. Labels can be peeled off after
soaking with warm water.
(Continued)
4
UNDERSTANDING YOUR INSTRUMENT PANEL 159
Page 162 of 367

CAUTION!(Continued)
•Do not use scrapers, sharp instruments, or abrasive
window cleaners on the interior surface of the
window.
•Keep all objects a safe distance from the window.
5. Park/Headlight ON Indicator / Follow Me Home
(Headlight Delay) Indicator
This indicator will illuminate when the park
lights or headlights are turned on. If the Follow
Me Home feature is activated this indicator
will illuminate and the EVIC will show how
long the function remains active. For further information,
refer to “Follow Me Home” in “Understanding The
Features of Your Vehicle.”
6. Vehicle Break-in/Indicator
This indicator will illuminate when the Vehicle
Theft Alarm system has detected an attempt
was made to break into the vehicle.
7. Front Fog Light Indicator — If Equipped
This indicator will illuminate when the front fog
lights are on.
8. High Beam Indicator
This light indicates that the headlights are on high
beam. Pull the turn signal lever toward the steer-
ing wheel to switch the headlights to low beam.
160 UNDERSTANDING YOUR INSTRUMENT PANEL
Page 206 of 367

are selected. This allows the front occupants to control
the volume of air circulated in the vehicle and cancel the
AUTO mode.
The operator can also select the direction of the airflow
by selecting one of the following positions.
5. Mix Mode
Air is directed through the floor, defrost, and side
window demister outlets. This setting works best
in cold or snowy conditions that require extra heat to the
windshield. This setting is good for maintaining comfort
while reducing moisture on the windshield. Performing
this function will cause the ATC to switch into manual
mode.
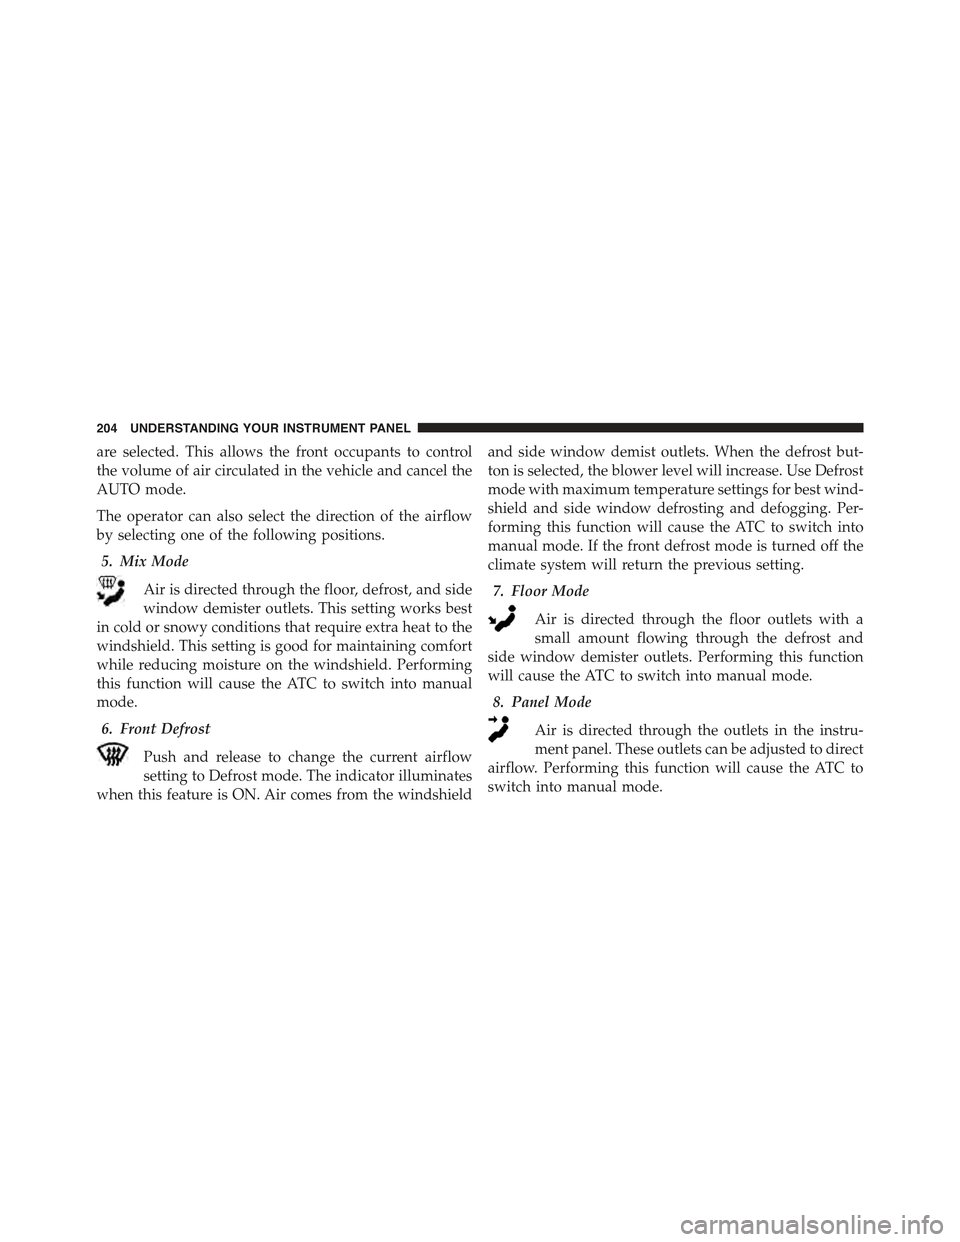
6. Front Defrost
Push and release to change the current airflow
setting to Defrost mode. The indicator illuminates
when this feature is ON. Air comes from the windshield
and side window demist outlets. When the defrost but-
ton is selected, the blower level will increase. Use Defrost
mode with maximum temperature settings for best wind-
shield and side window defrosting and defogging. Per-
forming this function will cause the ATC to switch into
manual mode. If the front defrost mode is turned off the
climate system will return the previous setting.
7. Floor Mode
Air is directed through the floor outlets with a
small amount flowing through the defrost and
side window demister outlets. Performing this function
will cause the ATC to switch into manual mode.
8. Panel Mode
Air is directed through the outlets in the instru-
ment panel. These outlets can be adjusted to direct
airflow. Performing this function will cause the ATC to
switch into manual mode.
204 UNDERSTANDING YOUR INSTRUMENT PANEL
Page 208 of 367

NOTE:
•If the system is in Mix or Defrost Mode, the A/C can
be turned off, but the A/C system shall remain active
to prevent fogging of the windows.
•If fog or mist appears on the windshield or side glass,
select Defrost mode and adjust blower speed if
needed.
Recirculation Control
When outside air contains smoke, odors, or high
humidity, or if rapid cooling is desired, you may
wish to recirculate interior air by pushing the RECIRCU-
LATION control button. Recirculation mode should only
be used temporarily. The recirculation LED will illumi-
nate when this button is selected. Push the button a
second time to turn off the Recirculation mode LED and
allow outside air into the vehicle.
NOTE:In cold weather, use of Recirculation mode may lead
to excessive window fogging. The recirculation feature may
be unavailable (indicator light shall blink) if conditions exist
that could create fogging on the inside of the windshield. On
systems with Manual Climate Controls, the Recirculation
mode is not allowed in Defrost mode to improve window
clearing operation. Recirculation will be disabled automati-
cally if this mode is selected. Attempting to use Recirculation
while in this mode will cause the LED in the control button
to blink and then turn off.
Automatic Operation
1. Push the AUTO button on the Automatic Temperature
Control (ATC) Panel, the indicator will illuminate
when on.
2.Next, adjust the temperature you would like the system
to maintain by adjusting the temperature control buttons.
Once the desired temperature is displayed, the system
will achieve and automatically maintain that comfort
level.
206 UNDERSTANDING YOUR INSTRUMENT PANEL
Page 210 of 367

Operating Tips
NOTE:Refer to the chart at the end of this section for
suggested control settings for various weather condi-
tions.
Window Fogging
Windows will fog on the inside when the humidity inside
the vehicle is high. This often occurs in mild or cool
temperatures when it’s rainy or humid. In most cases,
turning the air conditioning (pressing the A/C button) on
will clear the fog. Adjust the temperature control, air
direction, and blower speed to maintain comfort.
As the temperature gets colder, it may be necessary to
direct air onto the windshield. Adjust the temperature
control and blower speed to maintain comfort. Higher
blower speeds will reduce fogging. Interior fogging on
the windshield can be quickly removed by selecting the
Defrost mode.
Regular cleaning of the inside of the windows with a
non-filming cleaning solution (vinegar and water works
very well) will help prevent contaminates (cigarette
smoke, perfumes, etc.) from sticking to the windows.
Contaminates increase the rate of window fogging.
NOTE:Automatic Temperature Controls (ATC) will au-
tomatically adjust the climate control settings to reduce
or eliminate window fogging on the front windshield.
When this occurs, recirculation will be unavailable.
208 UNDERSTANDING YOUR INSTRUMENT PANEL
Page 216 of 367

STARTING PROCEDURES
Before starting your vehicle, adjust your seat, adjust both
inside and outside mirrors, and fasten your seat belts.
WARNING!
•Never leave children alone in a vehicle, or with
access to an unlocked vehicle.
•Allowing children to be in a vehicle unattended is
dangerous for a number of reasons. A child or
others could be seriously or fatally injured. Chil-
dren should be warned not to touch the parking
brake, brake pedal or the shift lever.
•Do not leave the Key Fob in or near the vehicle (or
in a location accessible to children). A child could
operate power windows, other controls, or move
the vehicle.
Single-Speed Transmission
The transmission must be in the PARK or NEUTRAL
position before you can start the vehicle. Apply the
brakes when selecting a transmission gear from Park.
NOTE:You must press the brake pedal before selecting
a transmission gear.
Normal Starting
Turn the key to the START position while your vehicle is
in PARK. When the ignition key is turned to the START
and then released to the RUN position, a chime will
sound and the “READY” indicator in the EVIC will
illuminate to indicate the 500e’s Electric Drive System has
started. When the “READY” indicator is illuminated
your 500e is ready to be driven.
214 STARTING AND OPERATING
Page 219 of 367

WARNING!
•Only place the transmission into gear when your
foot is firmly pressing the brake pedal.
•Unintended movement of a vehicle could injure
those in or near the vehicle. As with all vehicles,
you should never exit a vehicle while the vehicle is
in “READY” mode. Before exiting a vehicle, always
apply the parking brake, shift the transmission
into PARK, and remove the ignition key. Once the
key is removed, the transmission is locked in
PARK, securing the vehicle against unwanted
movement.
•When leaving the vehicle, always remove the igni-
tion key and lock your vehicle.
(Continued)
WARNING!(Continued)
•Never leave children alone in a vehicle, or with
access to an unlocked vehicle. Allowing children to
be in a vehicle unattended is dangerous for a
number of reasons. A child or others could be
seriously or fatally injured. Children should be
warned not to touch the parking brake, brake pedal
or the transmission range buttons.
•Do not leave the ignition key in or near the vehicle
(or in a location accessible to children). A child
could operate power windows, other controls, or
move the vehicle.
5
STARTING AND OPERATING 217