Page 144 of 426
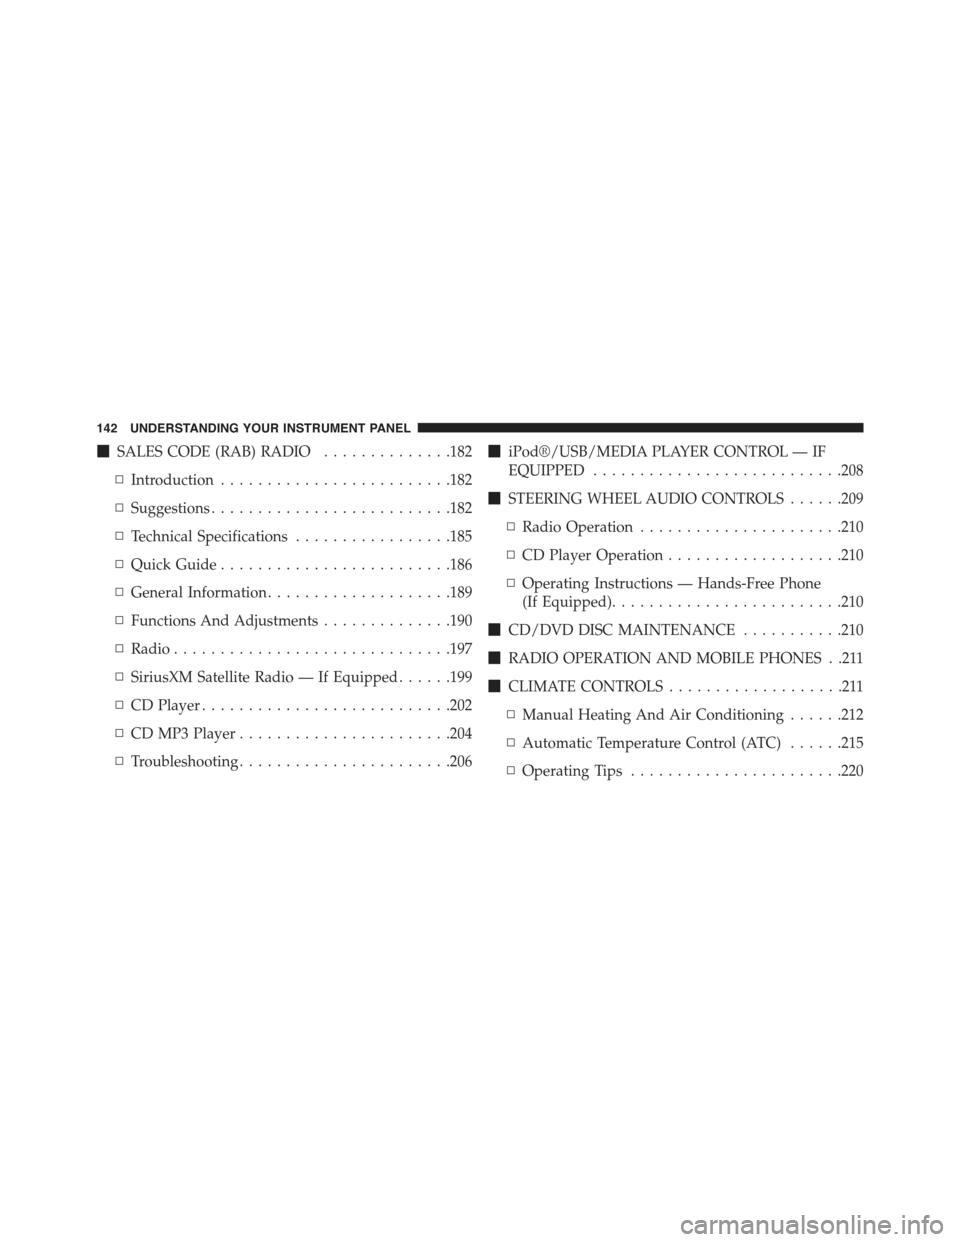
!SALES CODE (RAB) RADIO..............182
▫Introduction.........................182
▫Suggestions..........................182
▫Technical Specifications.................185
▫Quick Guide.........................186
▫General Information....................189
▫Functions And Adjustments..............190
▫Radio..............................197
▫SiriusXM Satellite Radio — If Equipped......199
▫CD Player...........................202
▫CD MP3 Player.......................204
▫Troubleshooting.......................206
!iPod®/USB/MEDIA PLAYER CONTROL — IF
EQUIPPED...........................208
!STEERING WHEEL AUDIO CONTROLS......209
▫Radio Operation......................210
▫CD Player Operation...................210
▫Operating Instructions — Hands-Free Phone
(If Equipped).........................210
!CD/DVD DISC MAINTENANCE...........210
!RADIO OPERATION AND MOBILE PHONES . .211
!CLIMATE CONTROLS...................211
▫Manual Heating And Air Conditioning......212
▫Automatic Temperature Control (ATC)......215
▫Operating Tips.......................220
142 UNDERSTANDING YOUR INSTRUMENT PANEL
Page 155 of 426
10. Front Fog Light Indicator — If Equipped
This indicator will illuminate when the front
fog lights are on.
11. Electric Power Steering Malfunction Warning Light
This telltale is on when the Electric Power
Steering is not operating and needs service.
12. Rear Fog Light Indicator — If Equipped
This indicator will illuminate when the rear fog
lights are on.
13. Rear Defrost Indicator
This indicator will illuminate when the rear win-
dow defroster is on. The rear window defroster
automatically turns off after 20 minutes.
CAUTION!
Failure to follow these cautions can cause damage to
the heating elements:
•Use care when washing the inside of the rear
window. Do not use abrasive window cleaners on
the interior surface of the window. Use a soft cloth
and a mild washing solution, wiping parallel to the
heating elements. Labels can be peeled off after
soaking with warm water.
•Do not use scrapers, sharp instruments, or abrasive
window cleaners on the interior surface of the
window.
•Keep all objects a safe distance from the window.
14. Brake Warning Light
This light monitors various brake functions,
including brake fluid level and parking brake
application. If the brake light turns on it may
4
UNDERSTANDING YOUR INSTRUMENT PANEL 153
Page 168 of 426
after a single chime has sounded to indicate the next
scheduled oil change interval. The engine oil change
indicator system is duty cycle based, which means the
engine oil change interval may fluctuate, dependent
upon your personal driving style.
Unless reset, this message will continue to display each
time you turn the ignition switch to the ON/RUN
position. To turn off the message temporarily, push and
release theMENUbutton. To reset the oil change indica-
tor system (after performing the scheduled maintenance),
refer to the following procedure.
1. Turn the ignition switch to the ON position. (do not
start the engine.)
2. Fully push the accelerator pedal slowly, three times
within 10 seconds.
3. Turn the ignition switch to the OFF/LOCK position.
NOTE:If the indicator message illuminates when you
start the vehicle, the oil change indicator system did not
reset. If necessary, repeat this procedure.
Trip Computer
The Trip Computer is located in the instrument cluster. It
features a driver-interactive display (displays informa-
tion such as trip information, range, fuel consumption,
average speed, and travel time).
Trip Button
TheTRIPbutton, located on the right steering column
stalk, can be used to display and to reset the previously
described values.
•A short button push displays the different values.
•A long button push resets the system and then starts a
new trip.
166 UNDERSTANDING YOUR INSTRUMENT PANEL
Page 211 of 426
STEERING WHEEL AUDIO CONTROLS
The remote sound system controls are located on the rear
surface of the steering wheel. Reach behind the wheel to
access the switches.
The right-hand control is a rocker-type switch with a
pushbutton in the center and controls the volume and
mode of the sound system. Pushing the top of the rocker
switch will increase the volume, and pushing the bottom
of the rocker switch will decrease the volume.
Pushing the center button will make the radio switch
between the various modes available (AM/FM/SAT/
CD/AUX/Media Player, etc.) and can also be used to
select/enter an item while scrolling through menu.
The left-hand control is a rocker-type switch with a
pushbutton in the center. The function of the left-hand
control is different depending on which mode you are in.
The following describes the left-hand control operation in
each mode.
Remote Sound System Controls (Back View Of Steering
Wheel)
4
UNDERSTANDING YOUR INSTRUMENT PANEL 209
Page 226 of 426
!AUTOSTICK..........................242
▫Operation...........................242
!DRIVING ON SLIPPERY SURFACES.........244
▫Acceleration.........................244
▫Traction............................244
!DRIVING THROUGH WATER.............245
▫Flowing/Rising Water..................245
▫Shallow Standing Water.................245
!POWER STEERING.....................247
!PARKING BRAKE......................248
!SPORT MODE.........................250
▫Manual Transmission — If Equipped........250
▫Automatic Transmission — If Equipped......251
!BRAKE SYSTEM.......................252
!ELECTRONIC BRAKE CONTROL SYSTEM . . . .252
▫Four-Wheel Anti-Lock Brake System (ABS) . . .252
▫Brake Assist System (BAS)...............254
▫Traction Control System (TCS)............254
▫Hill Start Assist (HSA).................255
▫Electronic Stability Control (ESC)..........256
▫ESC Activation/Malfunction Indicator Light
And ESC OFF Indicator Light............260
!TIRE SAFETY INFORMATION.............261
▫Tire Markings........................261
▫Tire Identification Number (TIN)...........264
▫Tire Terminology And Definitions..........266
224 STARTING AND OPERATING
Page 249 of 426
POWER STEERING
The electric power steering system will give you good
vehicle response and increased ease of maneuverability
in tight spaces. The system will vary its assist to provide
light efforts while parking and good feel while driving.
If the electric steering system experiences a fault that
prevents it from providing assist, you will still have the
ability to steer the vehicle manually.
WARNING!
Continued operation with reduced or no power steer-
ing assist could pose a safety risk to yourself and
others. Service should be obtained as soon as pos-
sible.
If the Steering icon is flashing, it indicates that the vehicle
needs to be taken to an authorized dealer for service. It is
likely the vehicle has lost power steering assistance.
If the Steering icon is displayed and the “POWER STEER-
ING SYSTEM OVER TEMP” message is displayed on the
EVIC screen, they indicate that extreme steering maneu-
vers may have occurred which caused an over tempera-
ture condition in the power steering system. Once driv-
ing conditions are safe, pull over and let the vehicle idle
for a few moments until the icon and message turn off.
Refer to “Electronic Vehicle Information (EVIC)” in “Un-
derstanding Your Instrument Panel” for further informa-
tion.
If the Steering icon is displayed and the “SERVICE
POWER STEERING – ASSIST OFF” message is displayed
on the EVIC screen, they indicate the vehicle needs to be
taken to an authorized dealer for service. Refer to “Elec-
tronic Vehicle Information (EVIC)” in “Understanding
Your Instrument Panel” for further information.
5
STARTING AND OPERATING 247
Page 250 of 426
NOTE:
•Even if the power steering assistance is no longer
operational, it is still possible to steer the vehicle.
Under these conditions there will be a substantial
increase in steering effort, especially at low speeds and
during parking maneuvers.
•If the condition persists, see your authorized dealer for
service.
PARKING BRAKE
Before leaving the vehicle, make sure that the parking
brake is fully applied. Also, be certain to leave the
manual transmission in REVERSE or first gear.
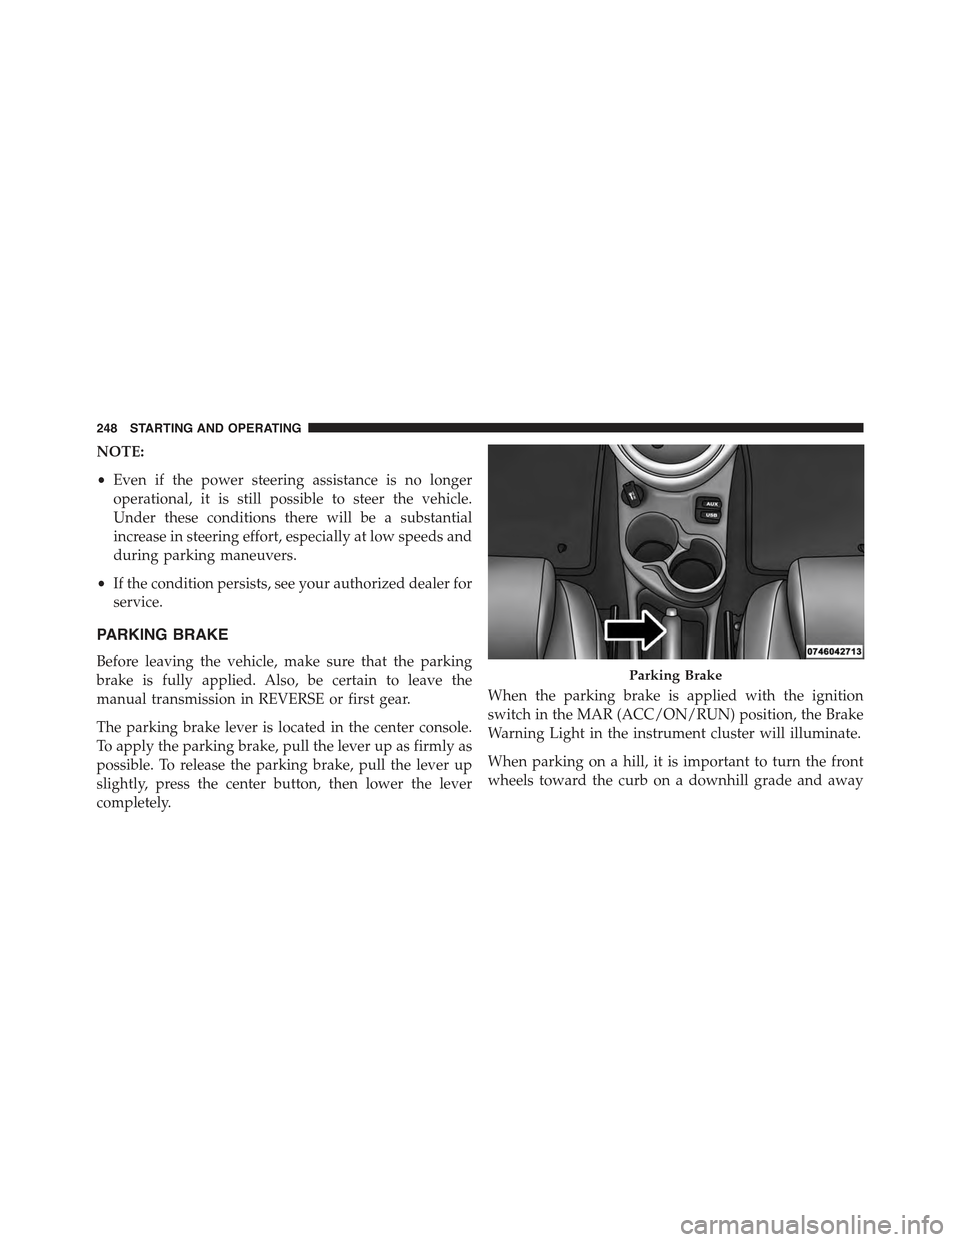
The parking brake lever is located in the center console.
To apply the parking brake, pull the lever up as firmly as
possible. To release the parking brake, pull the lever up
slightly, press the center button, then lower the lever
completely.
When the parking brake is applied with the ignition
switch in the MAR (ACC/ON/RUN) position, the Brake
Warning Light in the instrument cluster will illuminate.
When parking on a hill, it is important to turn the front
wheels toward the curb on a downhill grade and away
Parking Brake
248 STARTING AND OPERATING
Page 252 of 426
SPORT MODE
Manual Transmission — If Equipped
In Sport mode, the engine is more responsive to the
throttle pedal, and provides more maximum torque by
increasing turbo boost pressure. Steering feedback is
improved, and steering effort is slightly higher. This
driving mode is useful for spirited driving.
1. To activate the Sport mode, press the SPORT button.
Once activated, a SPORT message will be displayed in
the instrument cluster.
2. Momentarily release the accelerator pedal.
3. Press the accelerator pedal again to activate.
SPORT Button
250 STARTING AND OPERATING