Page 6 of 140
DRIVER COCKPIT
1. Headlight Switch pg. 37
2. Electronic Vehicle Information Center (EVIC) Controls pg. 76
3. Turn Signal/Light Lever pg. 36
4. Instrument Cluster pg. 6
5. Electronic Vehicle Information Center (EVIC) Display pg. 6
6. Speed Controls pg. 38
7. Engine Start/Stop Button pg. 12
8. Your Vehicle's Sound System pg. 46
9. Switch Panel
•HazardSwitch
•RearDefrosterpg.42
•ElectronicStabilityControl(ESC)OFFIndicatorLightpg.91
•AirRecirculationpg.43
CONTROLS AT A GLANCE
4
Page 8 of 140
INSTRUMENT CLUSTER
1. Temperature Gauge
2. Tachometer
3. Electronic Vehicle Information Center (EVIC) Display
(See page 86 for Warning Light information.)
CONTROLS AT A GLANCE
6
Page 44 of 140
Climate Control Knobs
•Foryourconveniencetheclimatecontrolscanbeoperatedbyusingthebuttonsonthe
touchscreen located or the climate control knobs below the Uconnect®display.
Automatic Operation — If Equipped
•PushtheAUTObuttonorpressthe“AUTO”buttononthetouchscreen.
•SelectthedesiredtemperaturebypressingtheTemperatureControlsforthedriveror
passenger.
The system will maintain the set temperature automatically.
SYNC Temperature Button — If Equipped
Press the SYNC button on the touchscreen once to control driver and passenger
temperatures simultaneously.
Press the SYNC button on the touchscreen a second time to control the temperatures
individually.
Climate Control Knobs
1—A/CButton6—RotateBlowerControlKnob2—AirRecirculationButton7—AUTOButton3—FrontDefrostButton8—DriverTemperatureControl4—RearDefrostButton9—OFFButton5—PassengerTemperatureControl
OPERATING YOUR VEHICLE
42
Page 45 of 140

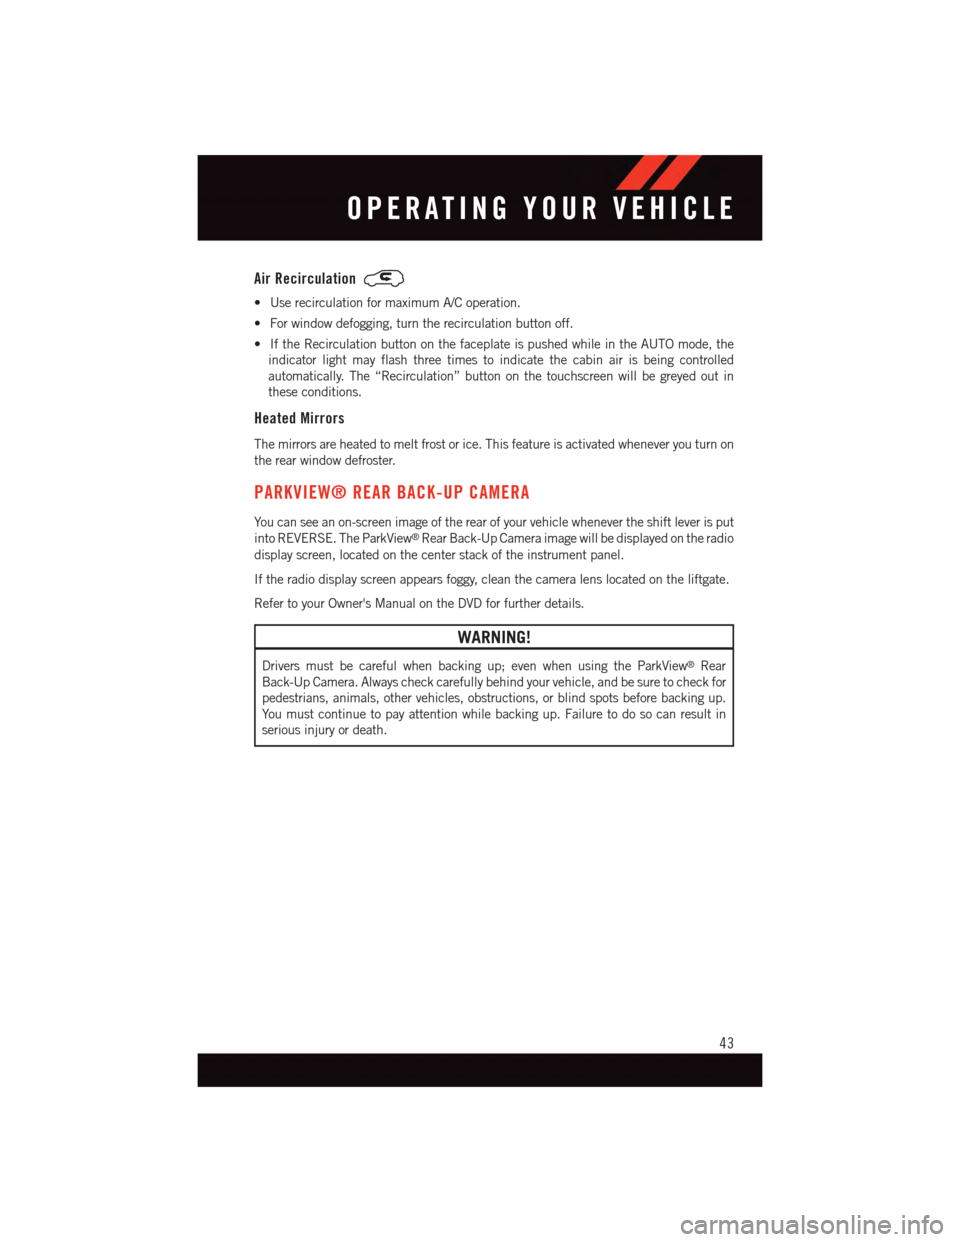
Air Recirculation
•UserecirculationformaximumA/Coperation.
•Forwindowdefogging,turntherecirculationbuttonoff.
•IftheRecirculationbuttononthefaceplateispushedwhileintheAUTOmode,the
indicator light may flash three times to indicate the cabin air is being controlled
automatically. The “Recirculation” button on the touchscreen will be greyed out in
these conditions.
Heated Mirrors
The mirrors are heated to melt frost or ice. This feature is activated whenever you turn on
the rear window defroster.
PARKVIEW® REAR BACK-UP CAMERA
Yo u c a n s e e a n o n - s c r e e n i m a g e o f t h e r e a r o f y o u r v e h i c l e w h e n e v e r t h e s h i f t l e v e r i s p u t
into REVERSE. The ParkView®Rear Back-Up Camera image will be displayed on the radio
display screen, located on the center stack of the instrument panel.
If the radio display screen appears foggy, clean the camera lens located on the liftgate.
Refer to your Owner's Manual on the DVD for further details.
WARNING!
Drivers must be careful when backing up; even when using the ParkView®Rear
Back-Up Camera. Always check carefully behind your vehicle, and be sure to check for
pedestrians, animals, other vehicles, obstructions, or blind spots before backing up.
Yo u m u s t c o n t i n u e t o p a y a t t e n t i o n w h i l e b a c k i n g u p . F a i l u r e t o d o s o c a n r e s u l t i n
serious injury or death.
OPERATING YOUR VEHICLE
43
Page 51 of 140
Uconnect® 4.3 & 4.3S AT A GLANCE
Displaying The Time
•IfthetimeisnotcurrentlydisplayedatthetopofthescreenwheninRadiomode,push
the SETTINGS button, then press “Clock.” Select “Show Time,” then press “On.”
Setting The Time
•PushtheSETTINGSbuttononthefaceplate,thenpressthe“Clock”buttononthe
touchscreen.
•Pressthe“Time”buttononthetouchscreen.
•Pressthe“UporDown”buttonsonthetouchscreentoadjustthehours,minutesor
AM/PM.
NOTE:
12hr format and 24hr format can also be set.
•Oncethetimeissetpressthe“Done”buttononthetouchscreentoexitthetime
screen.
Uconnect® 4.3 & 4.3S
1—Radio:AM/FM/SIRIUSSatelliteRadio(IfEquipped)2—STATUSBAR3—Settings:Clock,Display,etc.4—ScreenOFF/ON5—MORE:Uconnect®Phone, Compass, etc.6—Player:CD,iPod®,USBDeviceorAUXDevice
ELECTRONICS
49
Page 53 of 140
Uconnect® 8.4 & 8.4N AT A GLANCE
Displaying The Time
•Ifthetimeisnotcurrentlydisplayedontheradioorplayermainpage,pressthe“More”
button on the touchscreen and then press the “Settings” button on the touchscreen. In
the Settings list, press the “Clock” button on the touchscreen, then press the check box
next to Show Time in Status Bar.
Uconnect® 8.4N
1—STATUSBAR2—SmallNavigationMap(8.4N)3—MoreSettingsButton4—Uconnect®Phone Button5—GarminNavigationButton(8.4N)
6—ClimateControlButton7—ControlsButton8—PlayerButton9—RadioButton
ELECTRONICS
51
Page 54 of 140

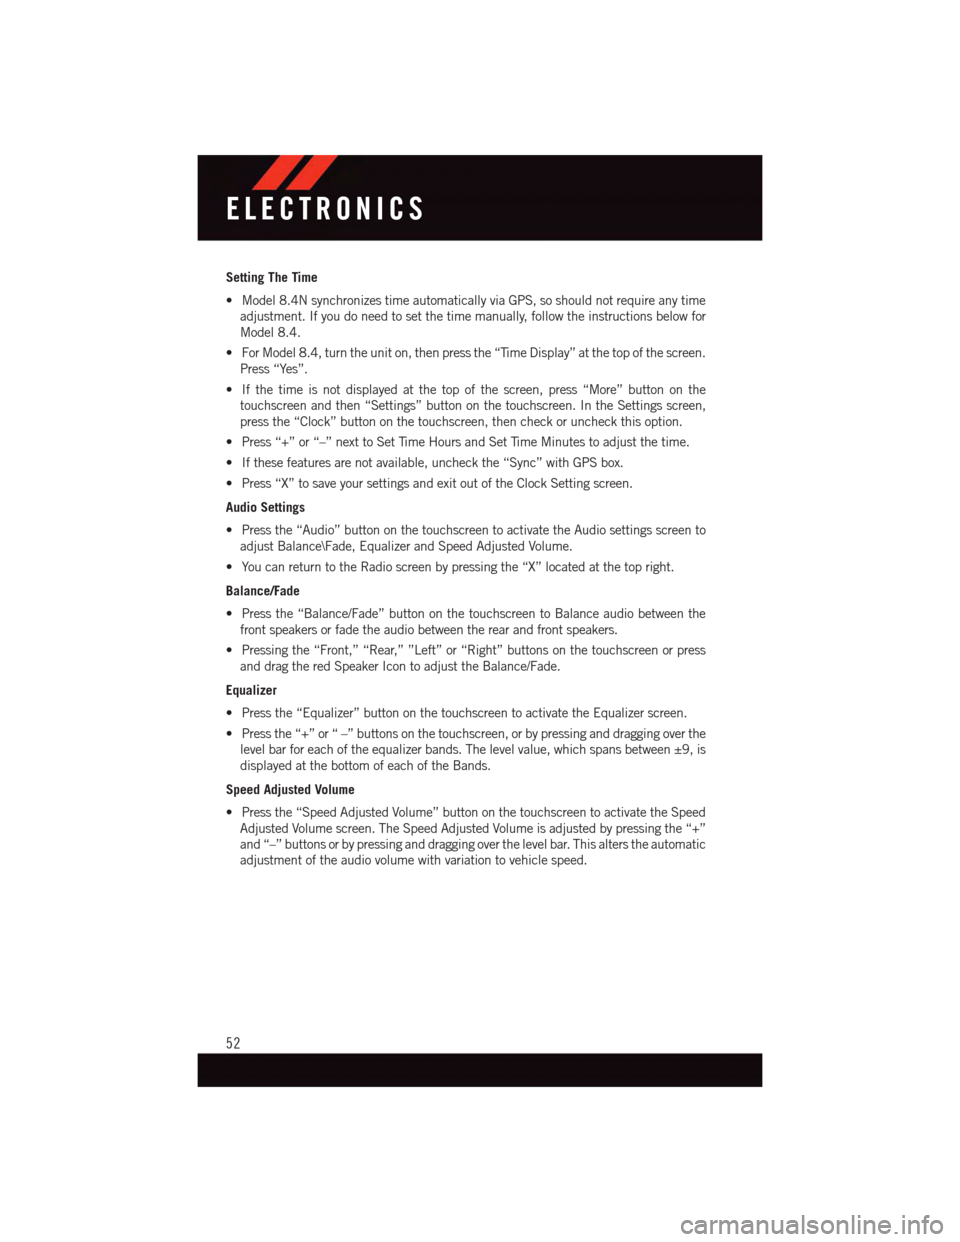
Setting The Time
•Model8.4NsynchronizestimeautomaticallyviaGPS,soshouldnotrequireanytime
adjustment. If you do need to set the time manually, follow the instructions below for
Model 8.4.
•ForModel8.4,turntheuniton,thenpressthe“TimeDisplay”atthetopofthescreen.
Press “Yes”.
•Ifthetimeisnotdisplayedatthetopofthescreen,press“More”buttononthe
touchscreen and then “Settings” button on the touchscreen. In the Settings screen,
press the “Clock” button on the touchscreen, then check or uncheck this option.
•Press“+”or“–”nexttoSetTimeHoursandSetTimeMinutestoadjustthetime.
•Ifthesefeaturesarenotavailable,uncheckthe“Sync”withGPSbox.
•Press“X”tosaveyoursettingsandexitoutoftheClockSettingscreen.
Audio Settings
•Pressthe“Audio”buttononthetouchscreentoactivatetheAudiosettingsscreento
adjust Balance\Fade, Equalizer and Speed Adjusted Volume.
•YoucanreturntotheRadioscreenbypressingthe“X”locatedatthetopright.
Balance/Fade
•Pressthe“Balance/Fade”buttononthetouchscreentoBalanceaudiobetweenthe
front speakers or fade the audio between the rear and front speakers.
•Pressingthe“Front,”“Rear,””Left”or“Right”buttonsonthetouchscreenorpress
and drag the red Speaker Icon to adjust the Balance/Fade.
Equalizer
•Pressthe“Equalizer”buttononthetouchscreentoactivatetheEqualizerscreen.
•Pressthe“+”or“–”buttonsonthetouchscreen,orbypressinganddraggingoverthe
level bar for each of the equalizer bands. The level value, which spans between ±9, is
displayed at the bottom of each of the Bands.
Speed Adjusted Volume
•Pressthe“SpeedAdjustedVolume”buttononthetouchscreentoactivatetheSpeed
Adjusted Volume screen. The Speed Adjusted Volume is adjusted by pressing the “+”
and “–” buttons or by pressing and dragging over the level bar. This alters the automatic
adjustment of the audio volume with variation to vehicle speed.
ELECTRONICS
52
Page 59 of 140
Replay
•Letsyoureplayupto44minutesofthecontentofthecurrentSiriusXMSatelliteRadio
channel.
ReplayOptionOption Description
Play/Pause Press to Pause content playback. Press “Pause/Play” again to resumeplayback.
Rewind/RW Rewinds the channel content in steps of five seconds. Press and hold torewind continuously, then release to begin playing content at that point.
FastForward/FWForwards the content, and works similarly to Rewind/RW. However, FastForward/FW can only be used when content has been previously rewound.
Replay Time Displays the amount of time in the upper center of the screen by which yourcontent lags the Live channel.
Live Resumes playback of Live content at any time while replaying rewoundcontent.
iPod®/CD/AUX CONTROLS
Models 4.3 & 4.3S
Models 4.3 & 4.3S
1—MusicSource2—More:AudioSettingsandShuffle3—CurrentTrackInformation4—Play/Pause5—Source:Disc,iPod®,AUXOrBluetooth®
6—BrowseMusicBy:Folder,Artist,Playlist,Song,AlbumOrGenre
ELECTRONICS
57