2015 DODGE GRAND CARAVAN transmission fluid
[x] Cancel search: transmission fluidPage 327 of 703

CAUTION!
Continuous driving with the Transmission Tempera-
ture Warning Light illuminated will eventually cause
severe transmission damage or transmission failure.
WARNING!
If you continue operating the vehicle when the
Transmission Temperature Warning Light is illumi-
nated you could cause the fluid to boil over, come in
contact with hot engine or exhaust components and
cause a fire.
ELECTRONIC VEHICLE INFORMATION CENTER
(EVIC) — IF EQUIPPED
The Electronic Vehicle Information Center (EVIC) fea-
tures a driver-interactive display that is located in the
instrument cluster.
Electronic Vehicle Information Center (EVIC)
4
UNDERSTANDING YOUR INSTRUMENT PANEL 325
Page 336 of 703

overheating will cause the temperature gauge to passH,
a continuous chime will occur until the engine is allowed
to cool.
If the light turns on while driving, safely pull over and
stop the vehicle. If the A/C system is on, turn it off. Also,
shift the transmission into NEUTRAL and idle the ve-
hicle. If the temperature reading does not return to
normal, turn the engine off immediately and call for
service. Refer to “If Your Engine Overheats” in “What To
Do In Emergencies” for more information.
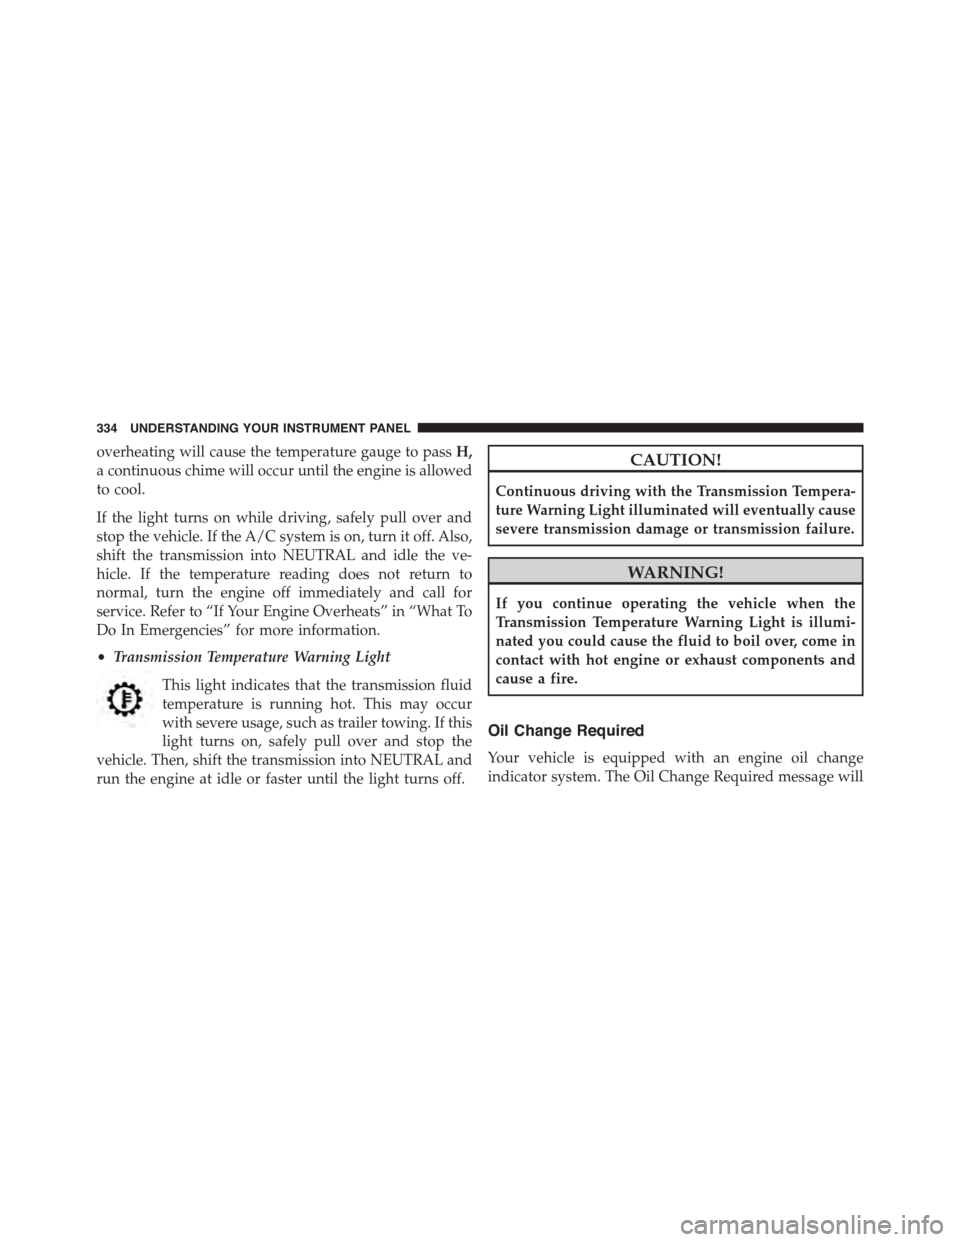
•Transmission Temperature Warning Light
This light indicates that the transmission fluid
temperature is running hot. This may occur
with severe usage, such as trailer towing. If this
light turns on, safely pull over and stop the
vehicle. Then, shift the transmission into NEUTRAL and
run the engine at idle or faster until the light turns off.
CAUTION!
Continuous driving with the Transmission Tempera-
ture Warning Light illuminated will eventually cause
severe transmission damage or transmission failure.
WARNING!
If you continue operating the vehicle when the
Transmission Temperature Warning Light is illumi-
nated you could cause the fluid to boil over, come in
contact with hot engine or exhaust components and
cause a fire.
Oil Change Required
Your vehicle is equipped with an engine oil change
indicator system. The Oil Change Required message will
334 UNDERSTANDING YOUR INSTRUMENT PANEL
Page 473 of 703

DRIVE (D)
This range should be used for most city and highway
driving. It provides the smoothest upshifts and down-
shifts, and the best fuel economy. The transmission
automatically upshifts through all forward gears. The
DRIVE position provides optimum driving characteris-
tics under all normal operating conditions.
When frequent transmission shifting occurs (such as
when operating the vehicle under heavy loading condi-
tions, in hilly terrain, traveling into strong head winds, or
while towing heavy trailers), use the Electronic Range
Select (ERS) shift control (refer to#Electronic Range Select
(ERS) Operation#in this section for further information)
to select a lower gear range. Under these conditions,
using a lower gear range will improve performance and
extend transmission life by reducing excessive shifting
and heat buildup.
During cold temperatures, transmission operation may
be modified depending on engine and transmission
temperature as well as vehicle speed. This feature im-
proves warm up time of the engine and transmission to
achieve maximum efficiency. Engagement of the torque
converter clutch is inhibited until the transmission fluid
is warm (refer to the “Note” under “Torque Converter
Clutch” in this section). During extremely cold tempera-
tures (-16°F [-27°C] or below), operation may briefly be
limited to third gear only. Normal operation will resume
once the transmission temperature has risen to a suitable
level.
5
STARTING AND OPERATING 471
Page 476 of 703

Transmission Gear Position
Display123456D
Actual Gear(s) Allowed 1 1–2 1–3 1–4 1–5 1–6 1–6
NOTE:To select the proper gear position for maximum
deceleration (engine braking), tap the shift lever to the
left (-) repeatedly as the vehicle slows. The transmission
will shift to the range from which the vehicle can best be
slowed down.
Overdrive Operation
The automatic transmission includes an electronically
controlled Overdrive (sixth gear). The transmission will
automatically shift into Overdrive if the following con-
ditions are present:
•The shift lever is in the DRIVE position.
•The transmission fluid has reached an adequate tem-
perature.
•The engine coolant has reached an adequate tempera-
ture.
•The vehicle speed is sufficiently high.
•The driver is not heavily pressing the accelerator.
Torque Converter Clutch
A feature designed to improve fuel economy has been
included in the automatic transmission on your vehicle.
A clutch within the torque converter engages automati-
cally at calibrated speeds. This may result in a slightly
different feeling or response during normal operation in
the upper gears. When the vehicle speed drops or during
some accelerations, the clutch automatically disengages.
474 STARTING AND OPERATING
Page 477 of 703
![DODGE GRAND CARAVAN 2015 5.G Owners Manual NOTE:The torque converter clutch will not engage until
the transmission fluid and engine coolant are warm
[usually after 1 to 3 miles (2 to 5 km) of driving]. Because
the engine speed is higher when t DODGE GRAND CARAVAN 2015 5.G Owners Manual NOTE:The torque converter clutch will not engage until
the transmission fluid and engine coolant are warm
[usually after 1 to 3 miles (2 to 5 km) of driving]. Because
the engine speed is higher when t](/manual-img/12/5628/w960_5628-476.png)
NOTE:The torque converter clutch will not engage until
the transmission fluid and engine coolant are warm
[usually after 1 to 3 miles (2 to 5 km) of driving]. Because
the engine speed is higher when the torque converter
clutch is not engaged, it may seem as if the transmission
is not shifting into Overdrive when cold. This is normal.
Using the Electronic Range Select (ERS) shift control,
when the transmission is sufficiently warm, will demon-
strate that the transmission is able to shift into and out of
Overdrive.
DRIVING ON SLIPPERY SURFACES
Acceleration
Rapid acceleration on snow covered, wet, or other slip-
pery surfaces may cause the driving wheels to pull
erratically to the right or left. This phenomenon occurs
when there is a difference in the surface traction under
the front (driving) wheels.
WARNING!
Rapid acceleration on slippery surfaces is dangerous.
Unequal traction can cause sudden pulling of the
front wheels. You could lose control of the vehicle
and possibly have a collision. Accelerate slowly and
carefully whenever there is likely to be poor traction
(ice, snow, wet, mud, loose sand, etc.).
Traction
When driving on wet or slushy roads, it is possible for a
wedge of water to build up between the tire and road
surface. This is hydroplaning and may cause partial or
complete loss of vehicle control and stopping ability. To
reduce this possibility, the following precautions should
be observed:
1. Slow down during rainstorms or when the roads are
slushy.
5
STARTING AND OPERATING 475
Page 558 of 703

Towing Tips
Before setting out on a trip, practice turning, stopping,
and backing up the trailer in an area located away from
heavy traffic.
Automatic Transmission
The DRIVE gear can be selected when towing. However,
if frequent shifting occurs while in DRIVE, use the
Electronic Range Select (ERS) shift control to select a
lower gear range.
NOTE:Using a lower gear range while operating the
vehicle under heavy loading conditions will improve
performance and extend transmission life by reducing
excessive shifting and heat build up. This action will also
provide better engine braking.
If you REGULARLY tow a trailer for more than 45
minutes of continuous operation, then change the trans-
mission fluid and filter as specified for “police, taxi, fleet,
or frequent trailer towing.” Refer to the “Maintenance
Schedule” for the proper maintenance intervals.
Electronic Speed Control — If Equipped
•Do not use in hilly terrain or with heavy loads.
•When using the speed control, if you experience speed
drops greater than 10 mph (16 km/h), disengage until
you can get back to cruising speed.
•Use speed control in flat terrain and with light loads to
maximize fuel efficiency.
556 STARTING AND OPERATING
Page 570 of 703

on the ground. This will provide the best positioning
of the kit when injecting the sealant into the deflated
tire and running the air pump. Move the vehicle as
necessary to place the valve stem in this position
before proceeding.
3. Place the transmission in PARK (auto transmission) or
in Gear (manual transmission) and turn Off the igni-
tion.
4. Set the parking brake.
(B) Setting Up To Use Tire Service Kit:
1. Push in the Mode Select Knob (5) and turn to the
Sealant Mode position.
2. Uncoil the Sealant Hose (6) and then remove the cap
from the fitting at the end of the hose.
3. Place the Tire Service Kit flat on the ground next to the
deflated tire.
4. Remove the cap from the valve stem and then screw
the fitting at the end of the Sealant Hose (6) onto the
valve stem.
5. Uncoil the Power Plug (8) and insert the plug into the
vehicle’s 12 Volt power outlet.
NOTE:Do not remove foreign objects (e.g., screws or
nails) from the tire.
(C) Injecting Tire Service Kit Sealant Into The
Deflated Tire:
•Always start the engine before turning ON the Tire
Service Kit.
NOTE:Manual transmission vehicles must have the
parking brake engaged and the shift lever in NEUTRAL.
•After pressing the Power Button (4), the sealant (white
fluid) will flow from the Sealant Bottle (1) through the
Sealant Hose (6) and into the tire.
568 WHAT TO DO IN EMERGENCIES
Page 614 of 703

MAINTENANCE PROCEDURES
The pages that follow contain therequiredmaintenance
services determined by the engineers who designed your
vehicle.
Besides those maintenance items specified in the fixed
“Maintenance Schedule”, there are other components
which may require servicing or replacement in the future.
CAUTION!
•Failure to properly maintain your vehicle or per-
form repairs and service when necessary could
result in more costly repairs, damage to other
components or negatively impact vehicle perfor-
mance. Immediately have potential malfunctions
examined by an authorized dealer or qualified
repair center.
(Continued)
CAUTION!(Continued)
•Your vehicle has been built with improved fluids
that protect the performance and durability of your
vehicle and also allow extended maintenance inter-
vals. Do not use chemical flushes in these compo-
nents as the chemicals can damage your engine,
transmission, power steering or air conditioning.
Such damage is not covered by the New Vehicle
Limited Warranty. If a flush is needed because of
component malfunction, use only the specified
fluid for the flushing procedure.
Engine Oil
Checking Oil Level
To assure proper engine lubrication, the engine oil must
be maintained at the correct level. Check the oil level at
612 MAINTAINING YOUR VEHICLE