Page 235 of 603

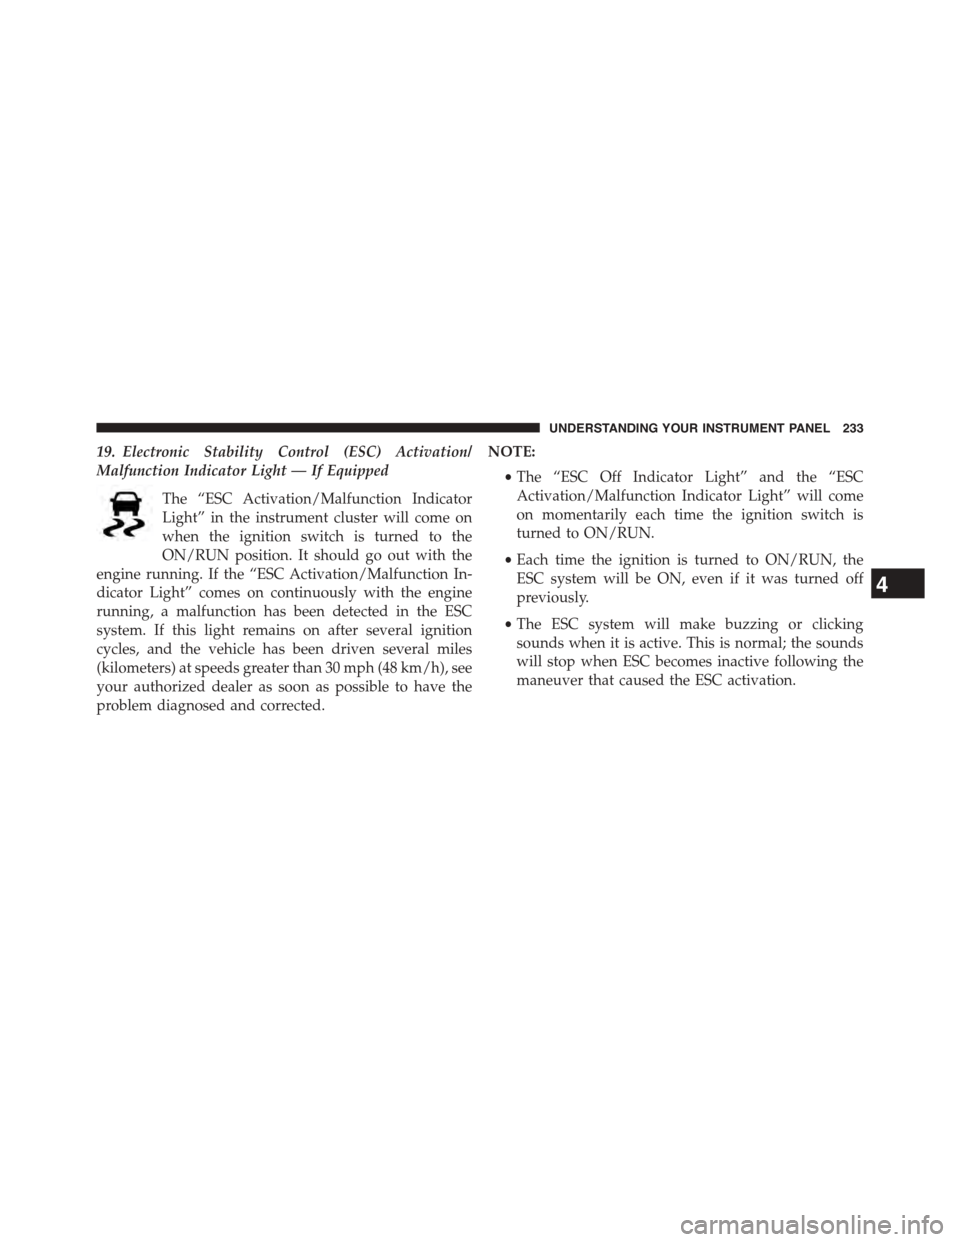
19. Electronic Stability Control (ESC) Activation/
Malfunction Indicator Light — If Equipped
The “ESC Activation/Malfunction Indicator
Light” in the instrument cluster will come on
when the ignition switch is turned to the
ON/RUN position. It should go out with the
engine running. If the “ESC Activation/Malfunction In-
dicator Light” comes on continuously with the engine
running, a malfunction has been detected in the ESC
system. If this light remains on after several ignition
cycles, and the vehicle has been driven several miles
(kilometers) at speeds greater than 30 mph (48 km/h), see
your authorized dealer as soon as possible to have the
problem diagnosed and corrected.
NOTE:
•The “ESC Off Indicator Light” and the “ESC
Activation/Malfunction Indicator Light” will come
on momentarily each time the ignition switch is
turned to ON/RUN.
•Each time the ignition is turned to ON/RUN, the
ESC system will be ON, even if it was turned off
previously.
•The ESC system will make buzzing or clicking
sounds when it is active. This is normal; the sounds
will stop when ESC becomes inactive following the
maneuver that caused the ESC activation.
4
UNDERSTANDING YOUR INSTRUMENT PANEL 233
Page 238 of 603

NOTE:
•Holding the Up/Down or Left/Right arrow buttons
will loop the user through the currently selected menu
or options presented on the screen.
•Main menu and submenu’s wrap for continuous
scrolling.
•Upon returning to a main menu, the last submenu
screen viewed within that main menu will be dis-
played.
OK Button:
For Digital Speedometer
•Pushing the OK button changes units (MPH or km/h).
For Screen Setup and Vehicle Settings:
•OK button allows user to enter menu and submenus.
•Within each submenu layer, the up/down arrows will
allow the user to select the item of interest.
•Pushing the OK button makes the selection and a
confirmation screen will appear (returning the user to
the 1st page of the submenu).
•Pushing the left arrow button will exit each submenu
layer and return to the main menu.
For the Trip and Fuel Economy menus (and new Perfor-
mance Timers):
•Information is reset by pushing and holding the OK
button.
Engine Oil Life Reset
Oil Change Required
Your vehicle is equipped with an engine oil change
indicator system. The “Oil Change Required” message
will display in the DID for five seconds after a single
236 UNDERSTANDING YOUR INSTRUMENT PANEL
Page 239 of 603

chime has sounded, to indicate the next scheduled oil
change interval. The engine oil change indicator system
is duty cycle based, which means the engine oil change
interval may fluctuate, dependent upon your personal
driving style.
Unless reset, this message will continue to display each
time you turn the ignition switch to the ON/RUN
position or cycle the ignition to the ON/RUN position if
equipped with Keyless Enter-N-Go™. To turn off the
message temporarily, push and release the OK button. To
reset the oil change indicator system (after performing
the scheduled maintenance) refer to the following proce-
dure.
Vehicles Equipped With Keyless Enter-N-Go™
1. Without pushing the brake pedal, push the ENGINE
START/STOP button and place the ignition to the
ON/RUN position (do not start the engine.)
2. Fully push the accelerator pedal, slowly, three times
within 10 seconds.
3. Without pushing the brake pedal, push the ENGINE
START/STOP button once to return the ignition to the
OFF/LOCK position.
NOTE:If the indicator message illuminates when you
start the vehicle, the oil change indicator system did not
reset. If necessary, repeat this procedure.
Secondary Method Of Navigating To The Oil Life
Screen In The DID And Holding Ok
Your vehicle is equipped with an engine oil change
indicator system. The “Oil Change Required” message
will flash in the DID display for approximately 10
seconds after a single chime has sounded, to indicate the
next scheduled oil change interval. The engine oil change
indicator system is duty cycle based, which means the
engine oil change interval may fluctuate, dependent
upon your personal driving style.
4
UNDERSTANDING YOUR INSTRUMENT PANEL 237
Page 240 of 603
Use the steering wheel DID controls for the following
procedure(s):
1. Without pushing the brake pedal, cycle the ignition to
the ON/RUN position (do not start the engine.)
2. Push and release theDOWNarrow button to scroll
downward through the main menu to “Vehicle Info”.
3. Push and release theRIGHTarrow button to access
the ”Oil Life” screen.
4. Push and hold theOKbutton until the ”Oil Life”
screen displays.
5. Push and release theDOWNarrow button to select “
Ye s”, then push and release theOKbutton to select
reset of the Oil Life.
6. Push and release theUparrow button to exit the sub
menu screen.
NOTE:If the indicator message illuminates when you
start the vehicle, the oil change indicator system did not
reset. If necessary, repeat this procedure.
DID Selectable Menu Items
Push and release the UP or DOWN arrow buttons until
the desired Selectable Menu item is highlighted in the
DID.
Follow the Menu or submenu prompts as desired.
238 UNDERSTANDING YOUR INSTRUMENT PANEL
Page 242 of 603

Engine Torque
Engine Power
NOTE:Depending on what your vehicles configuration,
the Performance Pages feature must be initially launched
in order to view certain gauges through the DID display.
Refer to “Uconnect Settings®” in this section for further
information.
Performance Features
WARNING!
Measurement of vehicle statistics with the Perfor-
mance Features is intended for off-highway or off-
road use only and should not be done on any public
roadways. It is recommended that these features be
used in a controlled environment and within the
limits of the law. The capabilities of the vehicle as
(Continued)
WARNING!(Continued)
measured by the performance pages must never be
exploited in a reckless or dangerous manner, which
can jeopardize the user ’s safety or the safety of
others. Only a safe, attentive, and skillful driver can
prevent accidents.
Refer to “Driver Information Display (DID)” in “ Under-
standing Your Instrument Panel” for Main Menu/Sub-
Menu selectable items and navigation.
This mode provides performance based suspension tun-
ing with improved handling and acceleration through an
electronic controlled dampening system. This system
reduces body roll and pitch in many driving situations
including cornering, acceleration and braking.
240 UNDERSTANDING YOUR INSTRUMENT PANEL
Page 249 of 603

•System Cancel
•Driver Override
•System Off
•ACC Proximity Warning
•ACC Unavailable Warning
•The DID will return to the last display selected after
five seconds of no ACC display activity.
For further information, refer to “Adaptive Cruise Con-
trol (ACC) — If Equipped” in “Understanding The
Features Of Your Vehicle”.
Fuel Economy
Push and release the UP or DOWN arrow button until
the Fuel Economy Menu item is highlighted in the DID.
•Two sub menu pages one with Current value dis-
played and one without the Current Value displayed:
– Current MPG (or L/100 km)
– Range (miles or km)
– Average MPG (or L/100 km)
– The Max and Min values will correspond to the
particular engine requirements
•Lower end of gauge will be displayed in an amber
color and turn green as Fuel Economy improves.
•MPG will have the gauge fill from the left (clockwise).
•L/100 km will have the gauge fill from the right
(counter clockwise).
•HoldOKto reset average fuel economy information.
4
UNDERSTANDING YOUR INSTRUMENT PANEL 247
Page 254 of 603

Buttons On The Touchscreen
Buttons on the touchscreen are accessible on the
Uconnect® display.
Customer Programmable Features — Uconnect®
5.0 Settings
Push the MORE button on the faceplate and then press
the “Settings” button on the touchscreen to display the
menu setting screen. In this mode the Uconnect® system
allows you to access programmable features that may be
equipped such as Display, Units, Voice, Clock, Safety/
Assistance, Lights, Doors & Locks, Auto-On Comfort &
Remote Start, Engine Off Options, Compass Settings,
Audio, Phone/Bluetooth®, SiriusXM Setup, Restore Set-
tings, and Clear Personal Data.
NOTE:Only one touchscreen area may be selected at a
time.
When making a selection, press the button on the touch-
screen to enter the desired mode. Once in the desired
mode, select the preferred setting. Once the setting is
complete, either press the Back Arrow/Done button on
the touchscreen or the Back button on the faceplate to
return to the previous menu or press the “X” button on
the touchscreen to close out of the settings screen. Press-
ing the Up or Down Arrow buttons on the right side of
the screen will allow you to toggle up or down through
the available settings.
252 UNDERSTANDING YOUR INSTRUMENT PANEL
Page 261 of 603

touchscreen. Press the “Parkview Backup camera Delay”
button on the touchscreen and select from “ON” or
“OFF.”
•Rain Sensing Auto Wipers
When this feature is selected, the system will automati-
cally activate the windshield wipers if it senses moisture
on the windshield. To enable or disable, press the “Rain
Sensing” button on the touchscreen, and select “On” or
“Off.” Press the back arrow/Done button on the touch-
screen to return to the previous menu.
•Hill Start Assist — If Equipped
When this feature is selected, the Hill Start Assist (HSA)
system is active. Refer to “Electronic Brake Control
System” in “Starting And Operating” for system function
and operating information. To enable or disable, press the
“Hill Start Assist” button on the touchscreen, and select
“On” or “Off.” Press the back arrow/Done button on the
touchscreen to return to the previous menu.
Lights
After pressing the “Lights” button on the touchscreen,
the following settings will be available:
•Headlight Off Delay
When this feature is selected, it allows the adjustment of
the amount of time the headlights remain on after the
engine is shut off. To change the Headlight Off Delay
setting, press the “Headlight Off Delay” button on the
touchscreen and choose either “0,” “30,” “60,” or “90”
buttons on the touchscreen to select your desired time
interval. Press the back arrow/Done button on the touch-
screen to return to the previous menu.
•Headlight Illumination On Approach
When this feature is selected, it allows the adjustment of
the amount of time the headlights remain on when the
doors are unlocked with the Remote Keyless Entry (RKE)
transmitter. To change the Illuminated Approach status,
4
UNDERSTANDING YOUR INSTRUMENT PANEL 259