2015 DODGE CHALLENGER ECO mode
[x] Cancel search: ECO modePage 204 of 603
Firmly push and release the “LEARN” or “TRAIN-
ING” button. On some garage door openers/devices
there may be a light that blinks when the garage door
opener/device is in the LEARN/TRAIN mode.
NOTE:You have 30 seconds in which to initiate the next
step after the LEARN button has been pushed.
6. Return to the vehicle and push the programmed
HomeLink® button twice (holding the button for two
seconds each time). If the garage door opener/device
activates, programming is complete.
NOTE:If the garage door opener/device does not acti-
vate, push the button a third time (for two seconds) to
complete the training.
To program the remaining two HomeLink® buttons,
repeat each step for each remaining button. DO NOT
erase the channels.
Reprogramming A Single HomeLink® Button
(Rolling Code)
To reprogram a channel that has been previously trained,
follow these steps:
1. Cycle the ignition to the ON/RUN position.
2. Push and hold the desired HomeLink® button until
the indicator light begins to flash after 20 seconds.Do
not release the button.
3.Without releasing the buttonproceed with “Program-
ming A Rolling Code” step 2 and follow all remaining
steps.
Programming A Non-Rolling Code
For programming Garage Door Openers manufactured
before 1995.
1. Turn the ignition switch to the ON/RUN position.
202 UNDERSTANDING THE FEATURES OF YOUR VEHICLE
Page 210 of 603
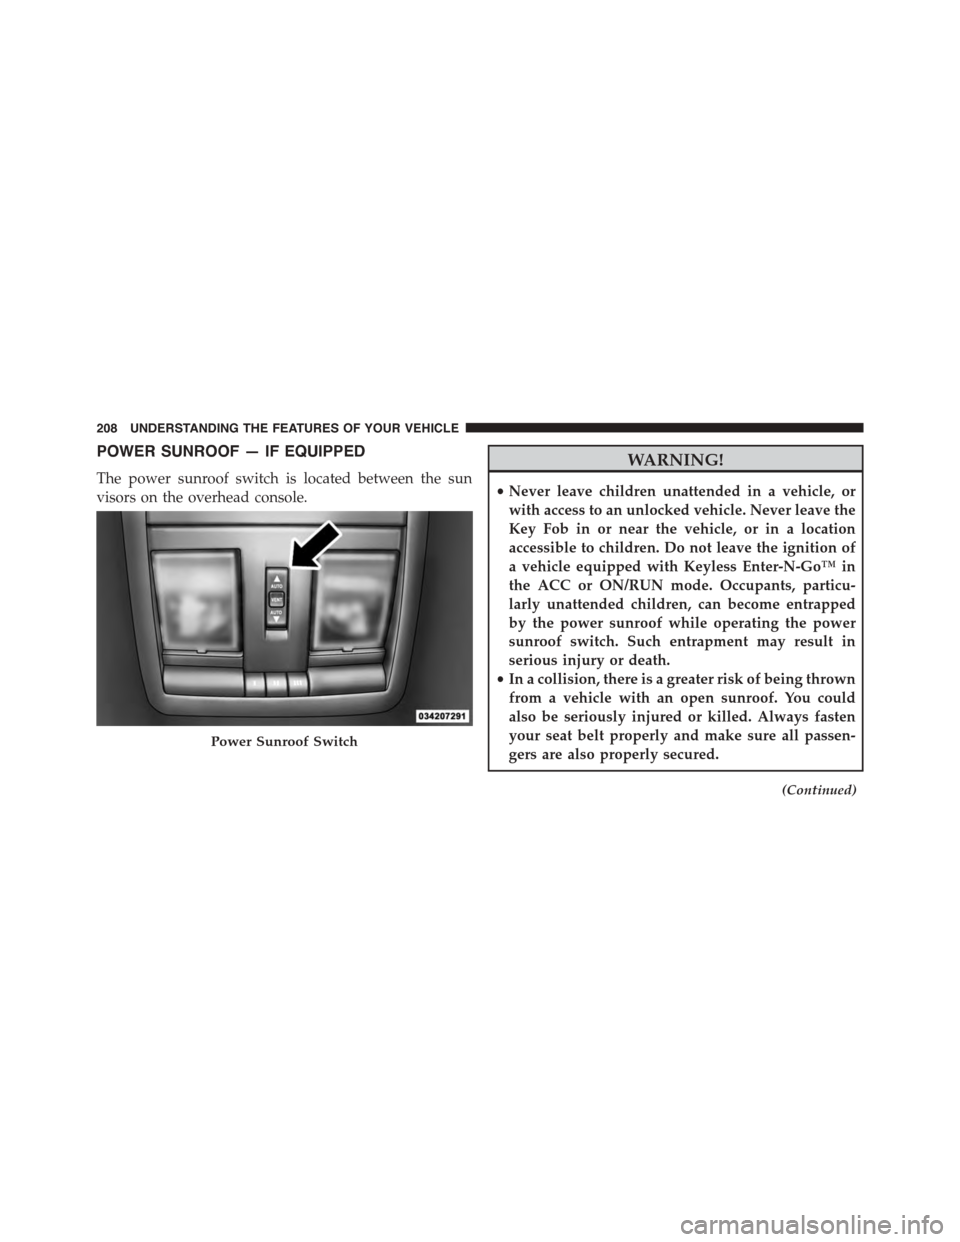
POWER SUNROOF — IF EQUIPPED
The power sunroof switch is located between the sun
visors on the overhead console.
WARNING!
•Never leave children unattended in a vehicle, or
with access to an unlocked vehicle. Never leave the
Key Fob in or near the vehicle, or in a location
accessible to children. Do not leave the ignition of
a vehicle equipped with Keyless Enter-N-Go™ in
the ACC or ON/RUN mode. Occupants, particu-
larly unattended children, can become entrapped
by the power sunroof while operating the power
sunroof switch. Such entrapment may result in
serious injury or death.
•In a collision, there is a greater risk of being thrown
from a vehicle with an open sunroof. You could
also be seriously injured or killed. Always fasten
your seat belt properly and make sure all passen-
gers are also properly secured.
(Continued)
Power Sunroof Switch
208 UNDERSTANDING THE FEATURES OF YOUR VEHICLE
Page 211 of 603
WARNING!(Continued)
•Do not allow small children to operate the sunroof.
Never allow your fingers, other body parts, or any
object, to project through the sunroof opening.
Injury may result.
Opening Sunroof — Express
Press the switch rearward and release it within one-half
second. The sunroof and sunshade will open automati-
cally from any position. The sunroof and sunshade will
open fully and stop automatically. This is called “Express
Open”. During Express Open operation, any movement
of the sunroof switch will stop the sunroof.
Opening Sunroof — Manual Mode
To open the sunroof, press and hold the switch rearward
to full open. Any release of the switch will stop the
movement. The sunroof and sunshade will remain in a
partially opened condition until the switch is pushed and
held rearward again.
Closing Sunroof — Express
Press the switch forward and release it within one-half
second and the sunroof will close automatically from any
position. The sunroof will close fully and stop automati-
cally. This is called “Express Close”. During Express
Close operation, any movement of the switch will stop
the sunroof.
Closing Sunroof — Manual Mode
To close the sunroof, press and hold the switch in the
forward position. Any release of the switch will stop the
movement and the sunroof will remain in a partially
closed condition until the switch is pushed and held
forward again.
3
UNDERSTANDING THE FEATURES OF YOUR VEHICLE 209
Page 220 of 603
WARNING!
Do not operate this vehicle with a console compart-
ment lid in the open position. Driving with the
console compartment lid open may result in injury in
a collision.
REAR WINDOW FEATURES
Rear Window Defroster
The rear window defroster button is located on
the climate control (Mode) knob. Press this button
to turn on the rear window defroster and the heated
outside mirrors (if equipped). An indicator in the button
will illuminate when the rear window defroster is on. The
rear window defroster automatically turns off after ap-
proximately 10 minutes. For an additional five minutes of
operation, press the button a second time.
NOTE:To prevent excessive battery drain, use the rear
window defroster only when the engine is operating.
CAUTION!
Failure to follow these cautions can cause damage to
the heating elements:
•Use care when washing the inside of the rear
window. Do not use abrasive window cleaners on
the interior surface of the window. Use a soft cloth
and a mild washing solution, wiping parallel to the
heating elements. Labels can be peeled off after
soaking with warm water.
•Do not use scrapers, sharp instruments, or abrasive
window cleaners on the interior surface of the
window.
•Keep all objects a safe distance from the window.
218 UNDERSTANDING THE FEATURES OF YOUR VEHICLE
Page 222 of 603
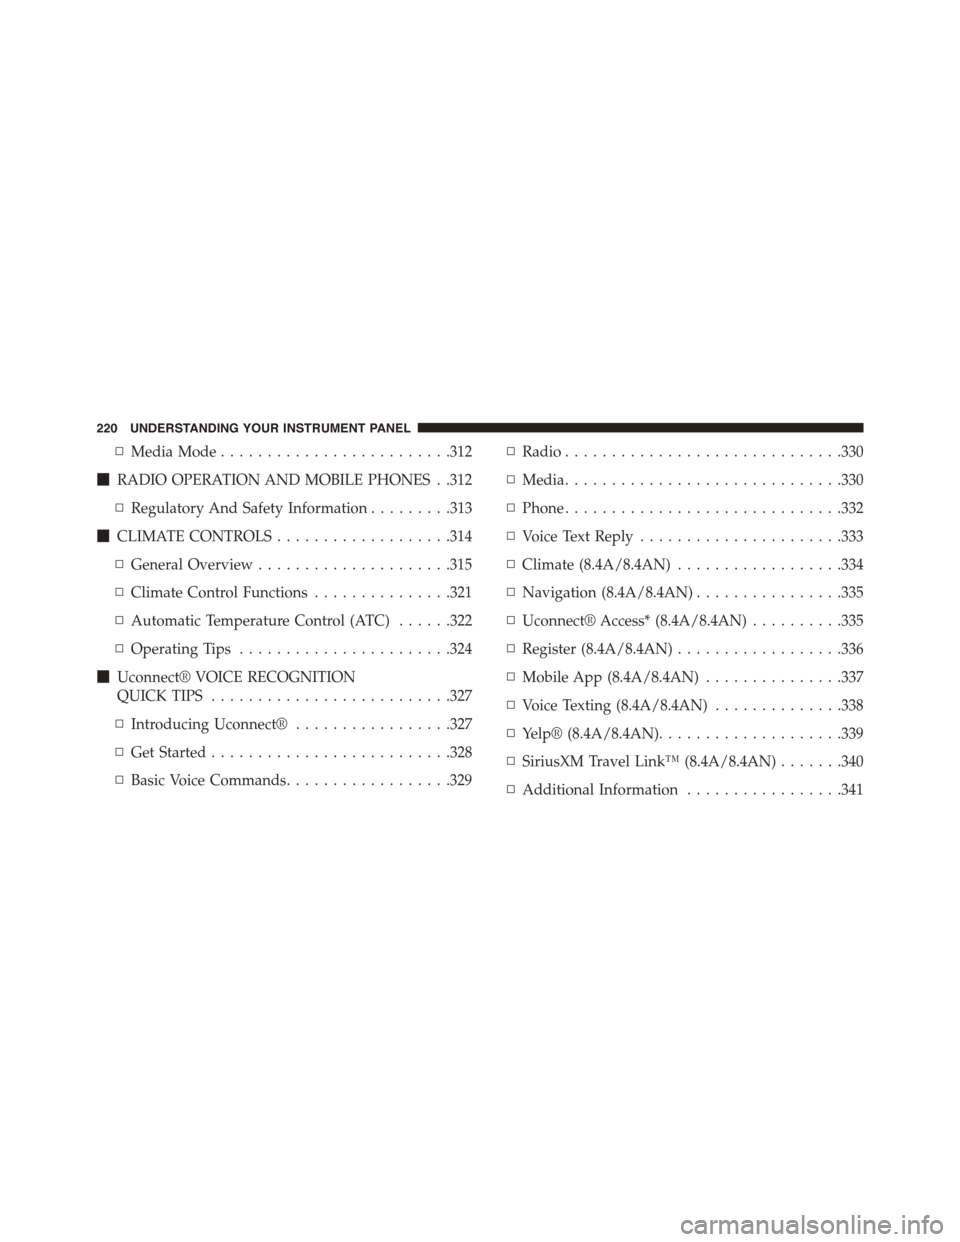
▫Media Mode.........................312
!RADIO OPERATION AND MOBILE PHONES . .312
▫Regulatory And Safety Information.........313
!CLIMATE CONTROLS...................314
▫General Overview.....................315
▫Climate Control Functions...............321
▫Automatic Temperature Control (ATC)......322
▫Operating Tips.......................324
!Uconnect® VOICE RECOGNITION
QUICK TIPS..........................327
▫Introducing Uconnect®.................327
▫Get Started..........................328
▫Basic Voice Commands..................329
▫Radio..............................330
▫Media..............................330
▫Phone..............................332
▫Voice Text Reply......................333
▫Climate (8.4A/8.4AN)..................334
▫Navigation (8.4A/8.4AN)................335
▫Uconnect® Access* (8.4A/8.4AN)..........335
▫Register (8.4A/8.4AN)..................336
▫Mobile App (8.4A/8.4AN)...............337
▫Voice Texting (8.4A/8.4AN)..............338
▫Yelp® (8.4A/8.4AN)....................339
▫SiriusXM Travel Link™ (8.4A/8.4AN).......340
▫Additional Information.................341
220 UNDERSTANDING YOUR INSTRUMENT PANEL
Page 242 of 603

Engine Torque
Engine Power
NOTE:Depending on what your vehicles configuration,
the Performance Pages feature must be initially launched
in order to view certain gauges through the DID display.
Refer to “Uconnect Settings®” in this section for further
information.
Performance Features
WARNING!
Measurement of vehicle statistics with the Perfor-
mance Features is intended for off-highway or off-
road use only and should not be done on any public
roadways. It is recommended that these features be
used in a controlled environment and within the
limits of the law. The capabilities of the vehicle as
(Continued)
WARNING!(Continued)
measured by the performance pages must never be
exploited in a reckless or dangerous manner, which
can jeopardize the user ’s safety or the safety of
others. Only a safe, attentive, and skillful driver can
prevent accidents.
Refer to “Driver Information Display (DID)” in “ Under-
standing Your Instrument Panel” for Main Menu/Sub-
Menu selectable items and navigation.
This mode provides performance based suspension tun-
ing with improved handling and acceleration through an
electronic controlled dampening system. This system
reduces body roll and pitch in many driving situations
including cornering, acceleration and braking.
240 UNDERSTANDING YOUR INSTRUMENT PANEL
Page 260 of 603

status, press the “Off,” “Lights,” or “Lights & Chime”
button on the touchscreen. Then press the back arrow/
Done button on the touchscreen.
NOTE:If your vehicle has experienced any damage in
the area where the sensor is located, even if the fascia is
not damaged, the sensor may have become misaligned.
Take your vehicle to an authorized dealer to verify sensor
alignment. Having a sensor that is misaligned will result
in the BSM not operating to specification.
•ParkView® Backup Camera Active Guidelines
Your vehicle may be equipped with the ParkView® Rear
Back Up Camera Active Guidelines that allows you to see
active guidelines over the ParkView Back up camera
display whenever the shift lever/gear selector is put into
REVERSE. The image will be displayed on the radio
touchscreen display along with a caution note to “check
entire surroundings” across the top of the screen. After
five seconds, this note will disappear. To enable or
disable, press the “ParkView® Backup Camera Active
Guidelines” button on the touchscreen, and select “On”
or “Off.” Press the back arrow/Done button on the
touchscreen to return to the previous menu.
•ParkView® Backup Camera Delay
When the vehicle is shifted out of REVERSE (with camera
delay turned OFF), the rear camera mode is exited and
the navigation or audio screen appears again. When the
vehicle is shifted out of REVERSE (with camera delay
turned ON), the rear view image with dynamic grid lines
will be displayed for up to 10 seconds after shifting out of
“REVERSE” unless the forward vehicle speed exceeds
8 mph (12 km/h), the transmission is shifted into PARK
or the ignition is switched to the OFF position. To set the
ParkView® Backup Camera Delay press the “Controls”
button on the touchscreen, the “settings” button on the
touchscreen, then the “Safety & Assistance” button on the
258 UNDERSTANDING YOUR INSTRUMENT PANEL
Page 278 of 603

Blind Spot Alert status, press the “Off,” “Lights” or
“Lights & Chime” button on the touchscreen. Then press
the back arrow button on the touchscreen.
NOTE:If your vehicle has experienced any damage in
the area where the sensor is located, even if the fascia is
not damaged, the sensor may have become misaligned.
Take your vehicle to an authorized dealer to verify sensor
alignment. Having a sensor that is misaligned will result
in the BSM not operating to specification.
•ParkView® Backup Camera Active Guidelines
Your vehicle may be equipped with the ParkView® Rear
Back Up Camera Active Guidelines that allows you to see
active guidelines over the ParkView Back up camera
display whenever the shift lever is put into REVERSE.
The image will be displayed on the radio touchscreen
display along with a caution note to “check entire sur-
roundings” across the top of the screen. After five sec-
onds, this note will disappear. To make your selection,
press the “ParkView Backup Camera Active Guidelines”
button on the touchscreen, until a check-mark appears
next to setting, indicating that the setting had been
selected. Press the back arrow button on the touchscreen
to return to the previous menu.
•ParkView® Backup Camera Delay
When the vehicle is shifted out of REVERSE (with camera
delay turned OFF), the rear camera mode is exited and
the navigation or audio screen appears again. When the
vehicle is shifted out of REVERSE (with camera delay
turned ON), the rear view image with dynamic grid lines
will be displayed for up to 10 seconds after shifting out of
“REVERSE” unless the forward vehicle speed exceeds
8 mph (12 km/h), the transmission is shifted into
“PARK” or the ignition is switched to the OFF position.
To set the ParkView® Backup Camera Delay press the
“Controls” button on the touchscreen, the “settings”
button on the touchscreen, then the “Safety & Driving
276 UNDERSTANDING YOUR INSTRUMENT PANEL