2015 DODGE CHALLENGER phone
[x] Cancel search: phonePage 265 of 603
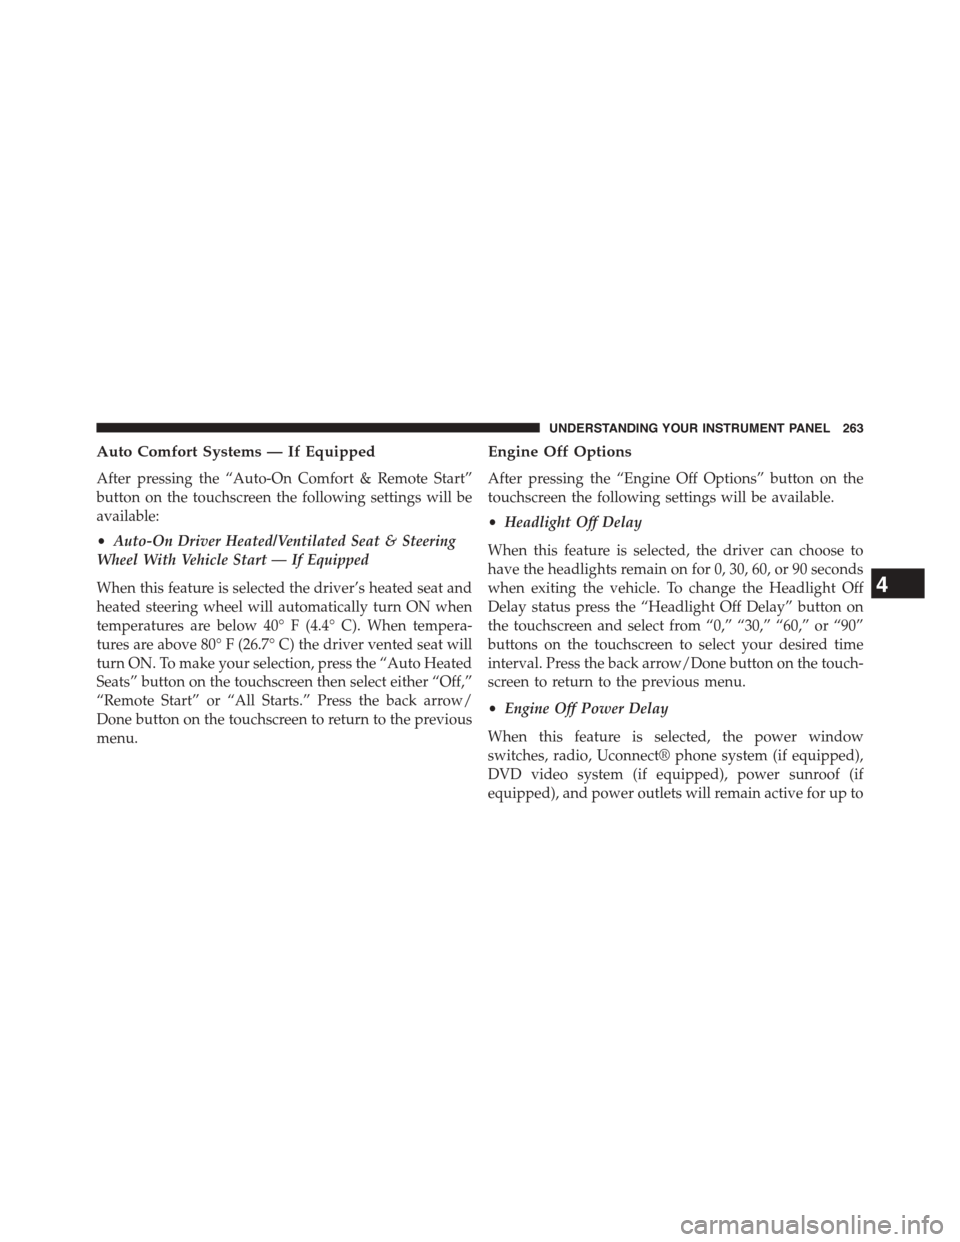
Auto Comfort Systems — If Equipped
After pressing the “Auto-On Comfort & Remote Start”
button on the touchscreen the following settings will be
available:
•Auto-On Driver Heated/Ventilated Seat & Steering
Wheel With Vehicle Start — If Equipped
When this feature is selected the driver’s heated seat and
heated steering wheel will automatically turn ON when
temperatures are below 40° F (4.4° C). When tempera-
tures are above 80° F (26.7° C) the driver vented seat will
turn ON. To make your selection, press the “Auto Heated
Seats” button on the touchscreen then select either “Off,”
“Remote Start” or “All Starts.” Press the back arrow/
Done button on the touchscreen to return to the previous
menu.
Engine Off Options
After pressing the “Engine Off Options” button on the
touchscreen the following settings will be available.
•Headlight Off Delay
When this feature is selected, the driver can choose to
have the headlights remain on for 0, 30, 60, or 90 seconds
when exiting the vehicle. To change the Headlight Off
Delay status press the “Headlight Off Delay” button on
the touchscreen and select from “0,” “30,” “60,” or “90”
buttons on the touchscreen to select your desired time
interval. Press the back arrow/Done button on the touch-
screen to return to the previous menu.
•Engine Off Power Delay
When this feature is selected, the power window
switches, radio, Uconnect® phone system (if equipped),
DVD video system (if equipped), power sunroof (if
equipped), and power outlets will remain active for up to
4
UNDERSTANDING YOUR INSTRUMENT PANEL 263
Page 266 of 603

10 minutes after the ignition is cycled to OFF. Opening
either front door will cancel this feature. To change the
Engine Off Power Delay status press the “Engine Off
Power Delay” button and select from “0 seconds,” “45
seconds,” “5 minutes” or “10 minutes” buttons on the
touchscreen. Press the back arrow/Done button on the
touchscreen to return to the previous menu.
Compass Settings — If Equipped
After pressing the “Compass Settings” button on the
touchscreen the following settings will be available:
•Variance
Compass Variance is the difference between Magnetic
North and Geographic North. To compensate for the
differences the variance should be set for the zone where
the vehicle is driven, per the zone map. Once properly
set, the compass will automatically compensate for the
differences, and provide the most accurate compass
heading.
NOTE:Keep magnetic materials away from the top of the
instrument panel, such as iPod’s, Mobile Phones, Lap-
tops and Radar Detectors. This is where the compass
module is located, and it can cause interference with the
compass sensor, and it may give false readings.
Compass Variance Map
264 UNDERSTANDING YOUR INSTRUMENT PANEL
Page 268 of 603
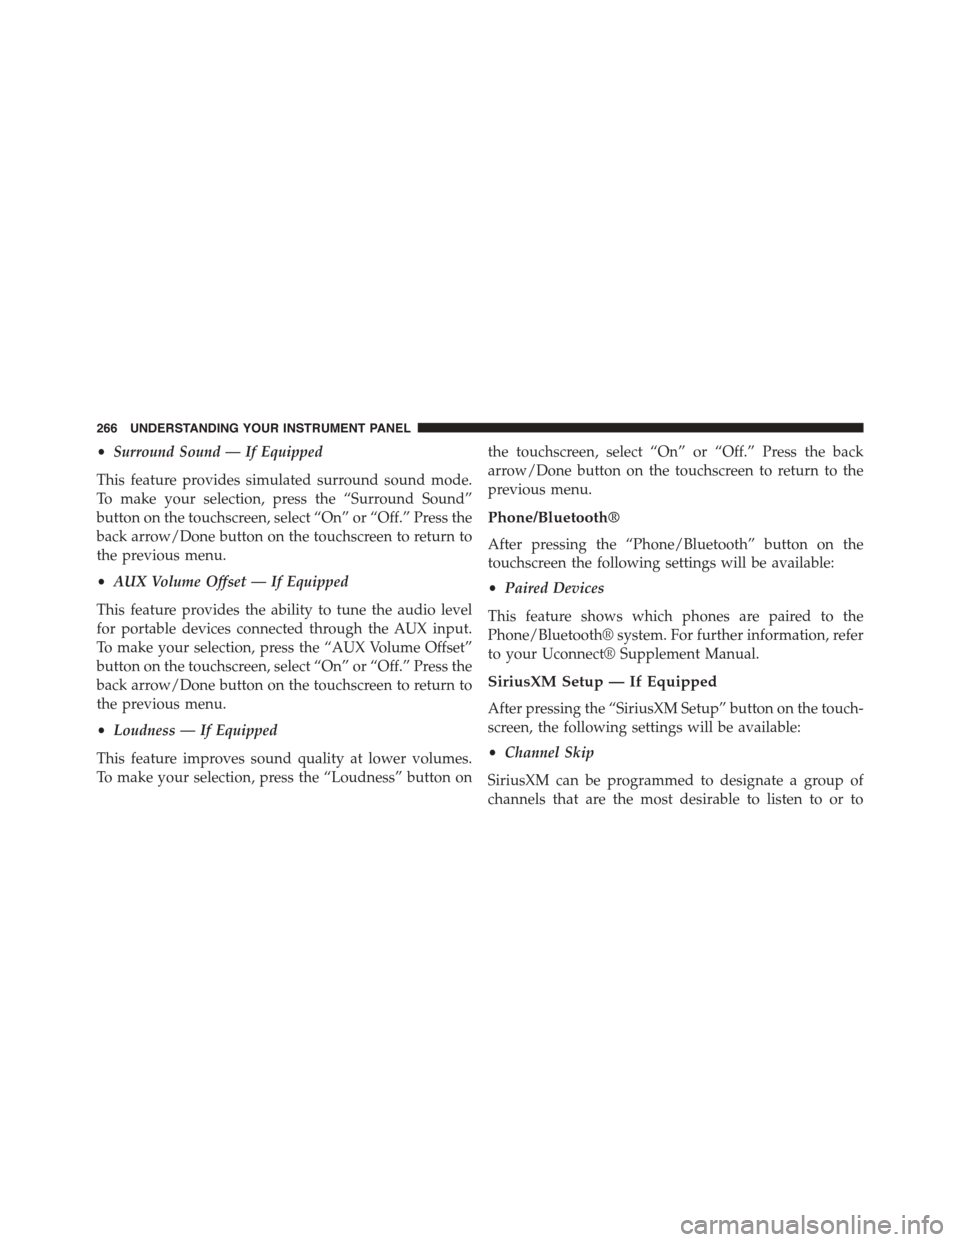
•Surround Sound — If Equipped
This feature provides simulated surround sound mode.
To make your selection, press the “Surround Sound”
button on the touchscreen, select “On” or “Off.” Press the
back arrow/Done button on the touchscreen to return to
the previous menu.
•AUX Volume Offset — If Equipped
This feature provides the ability to tune the audio level
for portable devices connected through the AUX input.
To make your selection, press the “AUX Volume Offset”
button on the touchscreen, select “On” or “Off.” Press the
back arrow/Done button on the touchscreen to return to
the previous menu.
•Loudness — If Equipped
This feature improves sound quality at lower volumes.
To make your selection, press the “Loudness” button on
the touchscreen, select “On” or “Off.” Press the back
arrow/Done button on the touchscreen to return to the
previous menu.
Phone/Bluetooth®
After pressing the “Phone/Bluetooth” button on the
touchscreen the following settings will be available:
•Paired Devices
This feature shows which phones are paired to the
Phone/Bluetooth® system. For further information, refer
to your Uconnect® Supplement Manual.
SiriusXM Setup — If Equipped
After pressing the “SiriusXM Setup” button on the touch-
screen, the following settings will be available:
•Channel Skip
SiriusXM can be programmed to designate a group of
channels that are the most desirable to listen to or to
266 UNDERSTANDING YOUR INSTRUMENT PANEL
Page 270 of 603

Clear Personal Data
After pressing the “Clear Personal Data Settings” button
on the touchscreen the following settings will be avail-
able:
•Clear Personal Data
When this feature is selected it will remove all personal
data including Bluetooth® devices and presets. To re-
move all personal information, press the “Clear Personal
Data” button and select from “Yes” or “No.” If “Yes” is
selected a pop-up will appear asking#Are you sure you
want to clear all personal data?” select “Yes” to Clear, or
“Cancel” to exit. Press the back arrow/Done button on
the touchscreen to return to the previous menu.
Customer Programmable Features — Uconnect®
8.4 Settings
Press the “Apps,” or the “Controls,” button on the
touchscreen, then press the “Settings” button on the
touchscreen to display the menu setting screen. In this
mode the Uconnect® system allows you to access pro-
grammable features that may be equipped such as Dis-
play, Clock, Safety & Driving Assistance, Lights, Doors &
Locks, Auto-On Comfort & Remote Start, Engine Off
Options, Compass Settings, Audio, Phone/Bluetooth®,
SiriusXM Setup, Restore Settings, Clear Personal Data,
and System Information.
NOTE:
•Only one touchscreen area may be selected at a time.
•Depending on the vehicles options, feature settings
may vary.
When making a selection, press the button on the touch-
screen to enter the desired mode. Once in the desired
mode, press and release the preferred setting until a
check-mark appears next to the setting, showing that
setting has been selected. Once the setting is complete,
268 UNDERSTANDING YOUR INSTRUMENT PANEL
Page 284 of 603
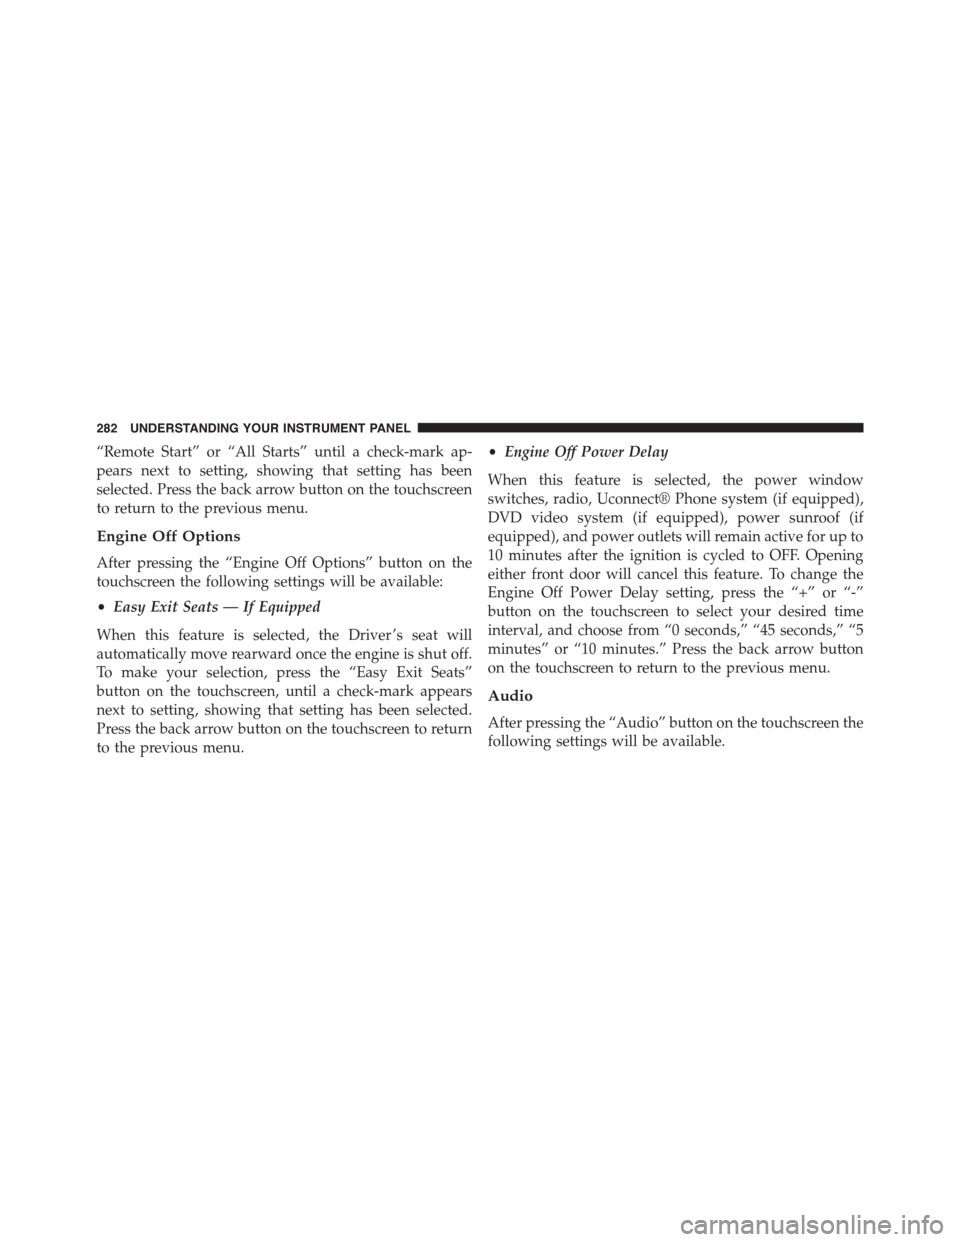
“Remote Start” or “All Starts” until a check-mark ap-
pears next to setting, showing that setting has been
selected. Press the back arrow button on the touchscreen
to return to the previous menu.
Engine Off Options
After pressing the “Engine Off Options” button on the
touchscreen the following settings will be available:
•Easy Exit Seats — If Equipped
When this feature is selected, the Driver ’s seat will
automatically move rearward once the engine is shut off.
To make your selection, press the “Easy Exit Seats”
button on the touchscreen, until a check-mark appears
next to setting, showing that setting has been selected.
Press the back arrow button on the touchscreen to return
to the previous menu.
•Engine Off Power Delay
When this feature is selected, the power window
switches, radio, Uconnect® Phone system (if equipped),
DVD video system (if equipped), power sunroof (if
equipped), and power outlets will remain active for up to
10 minutes after the ignition is cycled to OFF. Opening
either front door will cancel this feature. To change the
Engine Off Power Delay setting, press the “+” or “-”
button on the touchscreen to select your desired time
interval, and choose from “0 seconds,” “45 seconds,” “5
minutes” or “10 minutes.” Press the back arrow button
on the touchscreen to return to the previous menu.
Audio
After pressing the “Audio” button on the touchscreen the
following settings will be available.
282 UNDERSTANDING YOUR INSTRUMENT PANEL
Page 286 of 603
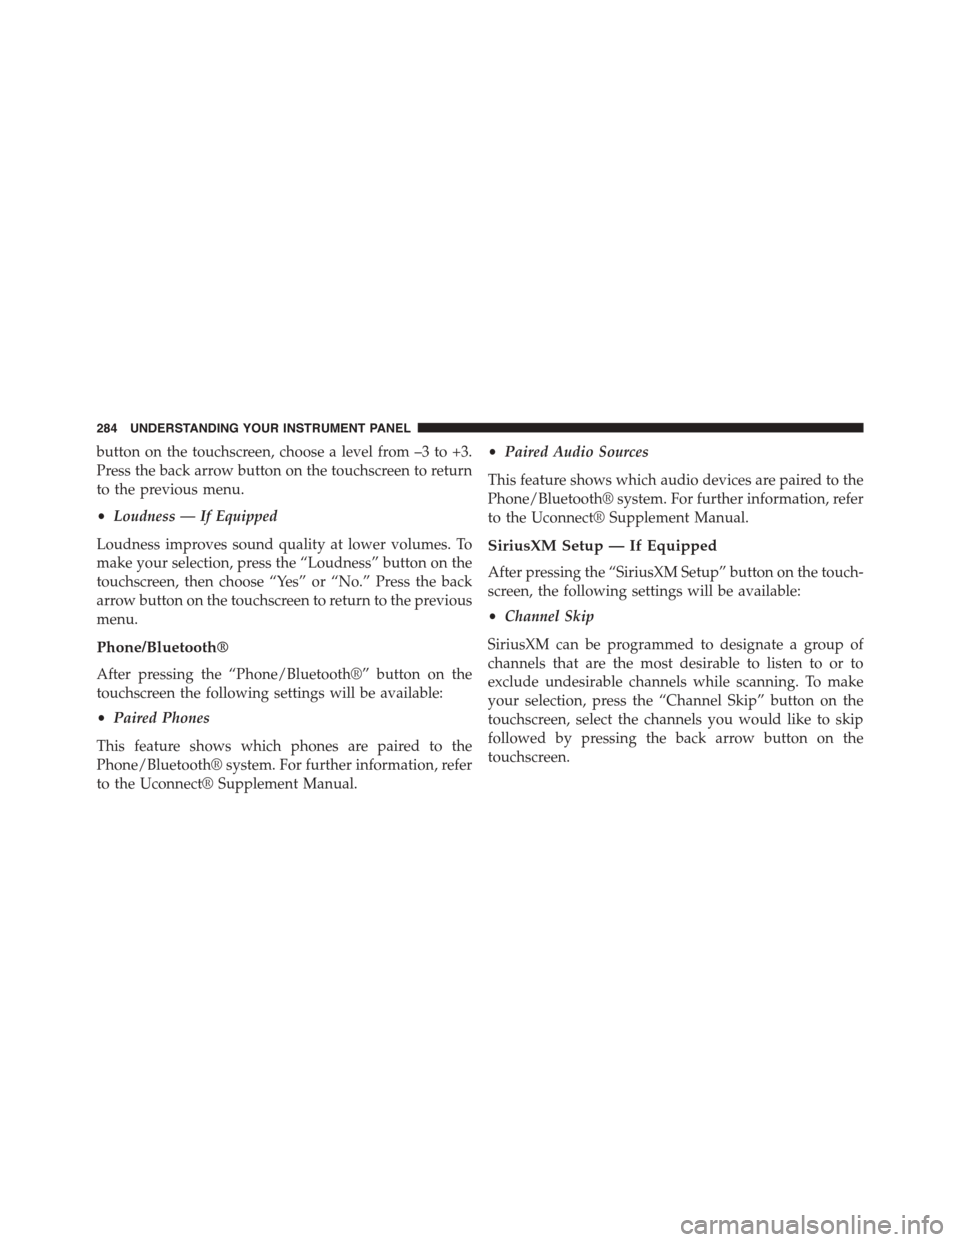
button on the touchscreen, choose a level from –3 to +3.
Press the back arrow button on the touchscreen to return
to the previous menu.
•Loudness — If Equipped
Loudness improves sound quality at lower volumes. To
make your selection, press the “Loudness” button on the
touchscreen, then choose “Yes” or “No.” Press the back
arrow button on the touchscreen to return to the previous
menu.
Phone/Bluetooth®
After pressing the “Phone/Bluetooth®” button on the
touchscreen the following settings will be available:
•Paired Phones
This feature shows which phones are paired to the
Phone/Bluetooth® system. For further information, refer
to the Uconnect® Supplement Manual.
•Paired Audio Sources
This feature shows which audio devices are paired to the
Phone/Bluetooth® system. For further information, refer
to the Uconnect® Supplement Manual.
SiriusXM Setup — If Equipped
After pressing the “SiriusXM Setup” button on the touch-
screen, the following settings will be available:
•Channel Skip
SiriusXM can be programmed to designate a group of
channels that are the most desirable to listen to or to
exclude undesirable channels while scanning. To make
your selection, press the “Channel Skip” button on the
touchscreen, select the channels you would like to skip
followed by pressing the back arrow button on the
touchscreen.
284 UNDERSTANDING YOUR INSTRUMENT PANEL
Page 313 of 603
iPod® control supports Mini, 4G, Photo, Nano, 5G iPod®
and iPhone® devices. Some iPod® software versions
may not fully support the iPod® control features. Please
visit Apple’s website for software updates.
For further information, refer to the Uconnect® User ’s
Manual.
STEERING WHEEL AUDIO CONTROLS — IF
EQUIPPED
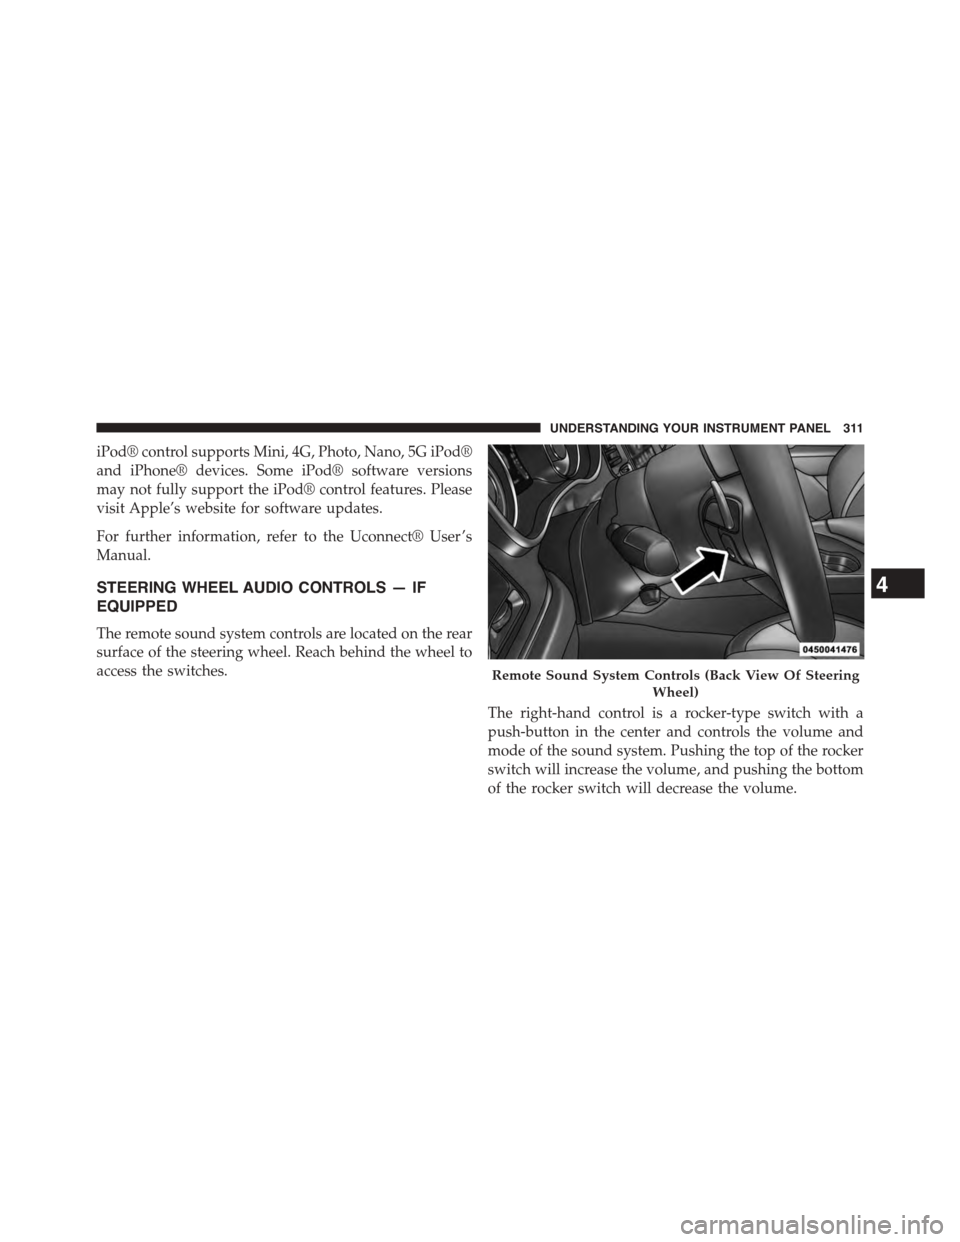
The remote sound system controls are located on the rear
surface of the steering wheel. Reach behind the wheel to
access the switches.
The right-hand control is a rocker-type switch with a
push-button in the center and controls the volume and
mode of the sound system. Pushing the top of the rocker
switch will increase the volume, and pushing the bottom
of the rocker switch will decrease the volume.
Remote Sound System Controls (Back View Of Steering
Wheel)
4
UNDERSTANDING YOUR INSTRUMENT PANEL 311
Page 314 of 603
Pushing the center button will make the radio switch
between the various modes available (AM/FM/SXM/
AUX etc.).
The left-hand control is a rocker-type switch with a
push-button in the center. The function of the left-hand
control is different depending on which mode you are in.
The following describes the left-hand control operation in
each mode.
Radio Operation
Pushing the top of the switch will “Seek” up for the next
listenable station and pushing the bottom of the switch
will “Seek” down for the next listenable station.
The button located in the center of the left-hand control
will tune to the next preset station that you have pro-
grammed in the radio preset button.
Media Mode
Pushing the top of the switch once will go to the next
track on the selected media (AUX, Bluetooth®, SD Card).
Pushing the bottom of the switch once will go to the
beginning of the current track, or to the beginning of the
previous track if it is within eight seconds after the
current track begins to play.
If you push the switch up or down twice, it plays the
second track; three times, it will play the third, etc.
RADIO OPERATION AND MOBILE PHONES
Under certain conditions, the mobile phone being on in
your vehicle can cause erratic or noisy performance from
your radio. This condition may be lessened or eliminated
by relocating the mobile phone antenna. This condition is
not harmful to the radio. If your radio performance does
not satisfactorily “clear” by the repositioning of the
312 UNDERSTANDING YOUR INSTRUMENT PANEL