2015 DODGE CHALLENGER engine overheat
[x] Cancel search: engine overheatPage 131 of 603

When the HI-level setting is selected, the heater will
provide a boosted heat level during the first four minutes
of operation. Then, the heat output will drop to the
normal HI-level. If the HI-level setting is selected, the
system will automatically switch to LO-level after ap-
proximately 60 minutes of continuous operation. At that
time, the display will change from HI to LO, indicating
the change. The LO-level setting will turn OFF automati-
cally after approximately 45 minutes.
NOTE:The engine must be running for the heated seats
to operate.
Vehicles Equipped With Remote Start
On models that are equipped with remote start, the
heated seats can be programed to come on during a
remote start.
This feature can be programmed through the Uconnect®
system. Refer to “Uconnect® Settings” in “Understand-
ing Your Instrument Panel” for further information.
WARNING!
•Persons who are unable to feel pain to the skin
because of advanced age, chronic illness, diabetes,
spinal cord injury, medication, alcohol use, exhaus-
tion or other physical condition must exercise care
when using the seat heater. It may cause burns
even at low temperatures, especially if used for
long periods of time.
•Do not place anything on the seat or seatback that
insulates against heat, such as a blanket or cushion.
This may cause the seat heater to overheat. Sitting
in a seat that has been overheated could cause
serious burns due to the increased surface tempera-
ture of the seat.
3
UNDERSTANDING THE FEATURES OF YOUR VEHICLE 129
Page 156 of 603
The heated steering wheel control button is located
within the Uconnect® system. You can gain access to the
control button through the climate screen or the controls
screen.
•Press the heated steering wheel buttononce to
turn the heating element ON.
•Press the heated steering wheel buttona second
time to turn the heating element OFF.
NOTE:The engine must be running for the heated
steering wheel to operate.
Vehicles Equipped With Remote Start
On models that are equipped with remote start, the
heated steering wheel can be programmed to come on
during a remote start through the Uconnect® system.
Refer to “Uconnect® Settings” in “Understanding Your
Instrument Panel” for further information.
WARNING!
•Persons who are unable to feel pain to the skin
because of advanced age, chronic illness, diabetes,
spinal cord injury, medication, alcohol use, exhaus-
tion, or other physical conditions must exercise
care when using the steering wheel heater. It may
cause burns even at low temperatures, especially if
used for long periods.
•Do not place anything on the steering wheel that
insulates against heat, such as a blanket or steering
wheel covers of any type and material. This may
cause the steering wheel heater to overheat.
ELECTRONIC SPEED CONTROL — IF EQUIPPED
When engaged, the Electronic Speed Control takes over
accelerator operations at speeds greater than 25 mph
(40 km/h).
154 UNDERSTANDING THE FEATURES OF YOUR VEHICLE
Page 169 of 603
Metric Speed (km/h)
•Pressing the SET-button once will result in a 1 km/h
decrease in set speed. Each subsequent tap of the
button results in a decrease of 1 km/h.
•If the button is continually pressed, the set speed will
continue to decrease in 10 km/h increments until the
button is released. The decrease in set speed is re-
flected in the DID.
NOTE:
•When you override and push the SET+button or SET
-buttons, the new Set Speed will be the current speed
of the vehicle.
•When you use the SET-button to decelerate, if the
engine’s braking power does not slow the vehicle
sufficiently to reach the set speed, the brake system
will automatically slow the vehicle.
•The ACC system applies the brake down to 15 mph
(24 km/h) when following a target vehicle.
•The ACC system maintains set speed when driving up
hill and down hill. However, a slight speed change on
moderate hills is normal. In addition, downshifting
may occur while climbing uphill or descending down-
hill. This is normal operation and necessary to main-
tain set speed. When driving up hill and down hill, the
ACC system will cancel if the braking temperature
exceeds normal range (overheated).
Setting The Following Distance In ACC
The specified following distance for ACC can be set by
varying the distance setting between four bars (longest),
three bars (long), two bars (medium) and one bar (short).
Using this distance setting and the vehicle speed, ACC
calculates and sets the distance to the vehicle ahead. This
distance setting displays in the DID.
3
UNDERSTANDING THE FEATURES OF YOUR VEHICLE 167
Page 232 of 603

The gauge pointer will likely indicate a higher tempera-
ture when driving in hot weather, up mountain grades,
or when towing a trailer. It should not be allowed to
exceed the upper limits of the normal operating range.
CAUTION!
Driving with a hot engine cooling system could
damage your vehicle. If the temperature gauge reads
“H,” pull over and stop the vehicle. Idle the vehicle
with the air conditioner turned off until the pointer
drops back into the normal range. If the pointer
remains on the “H,” and you hear a chime, turn the
engine OFF immediately and call for service.
WARNING!
A hot engine cooling system is dangerous. You or
others could be badly burned by steam or boiling
(Continued)
WARNING!(Continued)
coolant. You may want to call a service center if your
vehicle overheats. If you decide to look under the
hood yourself, refer to “Maintaining Your Vehicle”
and follow the warnings under the Cooling System
Pressure Cap paragraph.
17. Tire Pressure Monitoring Telltale Light
Each tire, including the spare (if provided),
should be checked monthly when cold and
inflated to the inflation pressure recommended
by the vehicle manufacturer on the vehicle
placard or tire inflation pressure label. (If your vehicle
has tires of a different size than the size indicated on the
vehicle placard or tire inflation pressure label, you should
determine the proper tire inflation pressure for those
tires.)
230 UNDERSTANDING YOUR INSTRUMENT PANEL
Page 326 of 603
The operator can also select the direction of the airflow
by selecting one of the available mode settings. A/C
operation and Recirculation control can also be manually
selected in Manual operation.
NOTE:Each of these features operates independently
from each other. If any feature is controlled manually,
temperature control will continue to operate automati-
cally.
Operating Tips
NOTE:Refer to the chart at the end of this section for
suggested control settings for various weather condi-
tions.
Summer Operation
The engine cooling system must be protected with a
high-quality antifreeze coolant to provide proper corro-
sion protection and to protect against engine overheating.
A solution of 50% OAT (Organic Additive Technology)
coolant that meets the requirements of Chrysler Material
Standard MS-12106 and 50% water is recommended.
Refer to “Maintenance Procedures” in “Maintaining Your
Vehicle” for proper coolant selection.
Winter Operation
Use of the air Recirculation mode during winter months
is not recommended because it may cause window
fogging.
Vacation Storage
Any time you store your vehicle or keep it out of service
(i.e., vacation) for two weeks or more, run the air
conditioning system at idle for about five minutes in the
fresh air and high blower setting. This will ensure
adequate system lubrication to minimize the possibility
of compressor damage when the system is started again.
324 UNDERSTANDING YOUR INSTRUMENT PANEL
Page 373 of 603

upshift automatically at redline in this mode, nor will
downshifts be obtained if the accelerator pedal is
pressed to the floor.
•The transmission will automatically downshift as the
vehicle slows (to prevent engine lugging) and will
display the current gear.
•The transmission will automatically downshift to first
gear when coming to a stop. After a stop, the driver
should manually upshift (+) the transmission as the
vehicle is accelerated.
•You can start out, from a stop, in first or second gear.
Tapping (+) (at a stop) will allow starting in second
gear. Starting out in second gear can be helpful in
snowy or icy conditions.
•If a requested downshift would cause the engine to
over-speed, that shift will not occur.
•The system will ignore attempts to upshift at too low
of a vehicle speed.
•Holding the (-) paddle depressed (if equipped), or
holding the shift lever in the (-) position, will down-
shift the transmission to the lowest gear possible at the
current speed.
•Transmission shifting will be more noticeable when
AutoStick® is engaged.
•The system may revert to automatic shift mode if a
fault or overheat condition is detected.
To disengage AutoStick® mode, return the shift lever to
the DRIVE position, or press and hold the (+) shift paddle
(if equipped, and the shift lever is already in DRIVE)
until “D” is once again indicated in the instrument
cluster. You can shift in or out of the AutoStick® mode at
any time without taking your foot off the accelerator
pedal.
5
STARTING AND OPERATING 371
Page 431 of 603
life and reduces emissions system performance in some
vehicles. The manufacturer recommends that gasoline
without MMT be used in your vehicle. The MMT content
of gasoline may not be indicated on the gasoline pump,
therefore, you should ask your gasoline retailer whether
the gasoline contains MMT. MMT is prohibited in Federal
and California reformulated gasoline.
Materials Added To Fuel
All gasoline sold in the United States is required to
contain effective detergent additives. Use of additional
detergents or other additives is not needed under normal
conditions and they would result in additional cost.
Therefore, you should not have to add anything to the
fuel.
Fuel System Cautions
CAUTION!
Follow these guidelines to maintain your vehicle’s
performance:
•The use of leaded gas is prohibited by Federal law.
Using leaded gasoline can impair engine perfor-
mance and damage the emissions control system.
•An out-of-tune engine or certain fuel or ignition
malfunctions can cause the catalytic converter to
overheat. If you notice a pungent burning odor or
some light smoke, your engine may be out of tune
or malfunctioning and may require immediate ser-
vice. Contact your authorized dealer for service
assistance.
(Continued)
5
STARTING AND OPERATING 429
Page 453 of 603
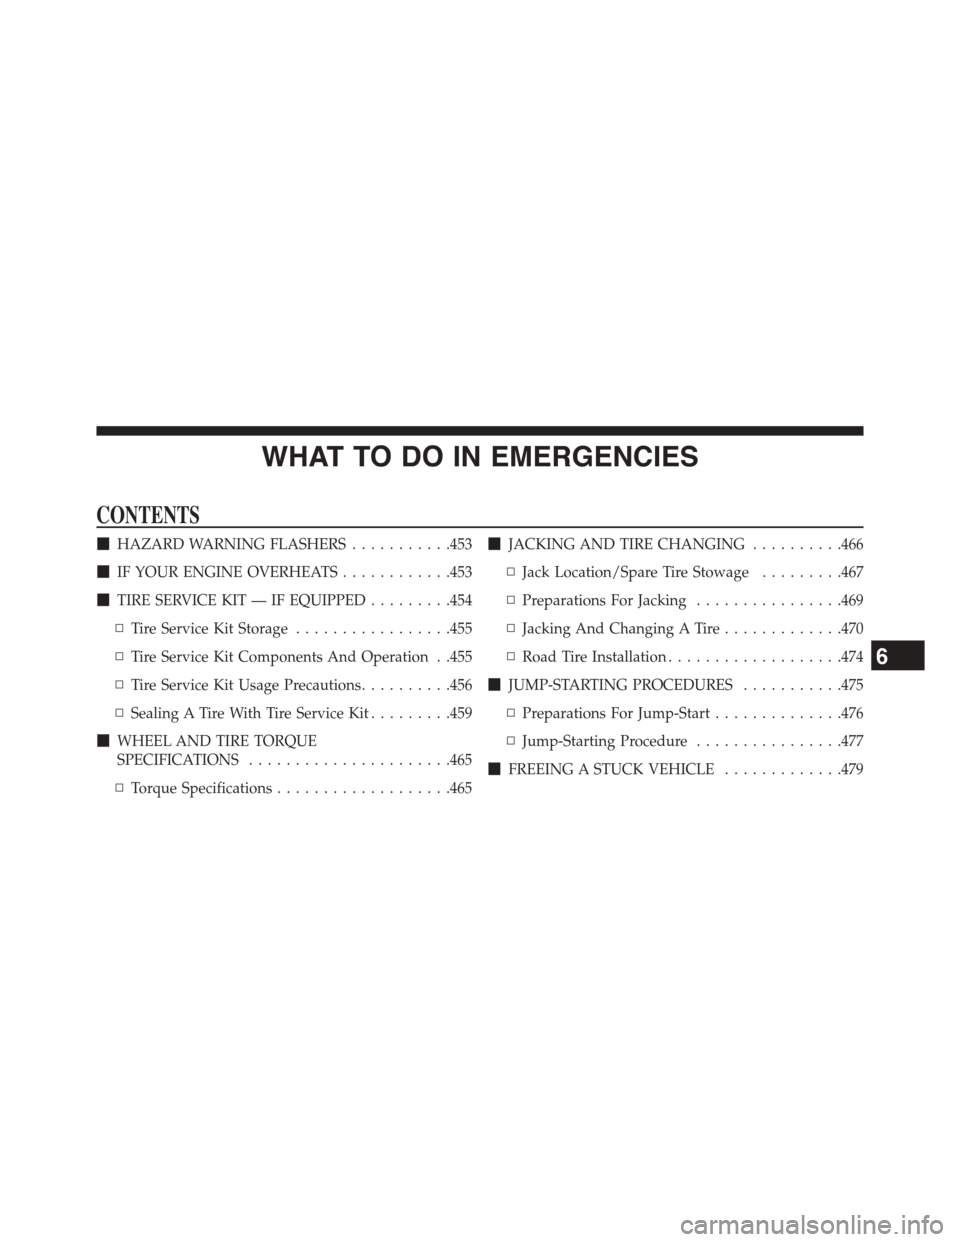
WHAT TO DO IN EMERGENCIES
CONTENTS
!HAZARD WARNING FLASHERS...........453
!IF YOUR ENGINE OVERHEATS............453
!TIRE SERVICE KIT — IF EQUIPPED.........454
▫Tire Service Kit Storage.................455
▫Tire Service Kit Components And Operation . .455
▫Tire Service Kit Usage Precautions..........456
▫Sealing A Tire With Tire Service Kit.........459
!WHEEL AND TIRE TORQUE
SPECIFICATIONS......................465
▫Torque Specifications...................465
!JACKING AND TIRE CHANGING..........466
▫Jack Location/Spare Tire Stowage.........467
▫Preparations For Jacking................469
▫Jacking And Changing A Tire.............470
▫Road Tire Installation...................474
!JUMP-STARTING PROCEDURES...........475
▫Preparations For Jump-Start..............476
▫Jump-Starting Procedure................477
!FREEING A STUCK VEHICLE.............479
6