2015 DODGE CHALLENGER audio
[x] Cancel search: audioPage 46 of 603

After the sequence completes, the Seat Belt Reminder
Light remains illuminated until the respective seat belts
are buckled. The driver should instruct all other occu-
pants to buckle their seat belts. If an outboard front seat
belt is unbuckled while traveling at speeds greater than
5 mph (8 km/h), BeltAlert® will provide both audio and
visual notification.
The outboard front passenger seat BeltAlert® is not
active when the outboard front passenger seat is unoc-
cupied. BeltAlert® may be triggered when an animal or
heavy object is on the outboard front passenger seat or
when the seat is folded flat (if equipped). It is recom-
mended that pets be restrained in the rear seat (if
equipped) in pet harnesses or pet carriers that are se-
cured by seat belts, and cargo is properly stowed.
BeltAlert® can be activated or deactivated by your au-
thorized dealer. Chrysler Group LLC does not recom-
mend deactivating BeltAlert®.
NOTE:If BeltAlert® has been deactivated, the Seat Belt
Reminder Light will continue to illuminate while the
driver ’s or outboard front passenger ’s (if equipped with
BeltAlert®) seat belt remains unbuckled.
Lap/Shoulder Belts
All seating positions in your vehicle are equipped with
lap/shoulder belts.
The seat belt webbing retractor will lock only during very
sudden stops or collisions. This feature allows the shoul-
der part of the seat belt to move freely with you under
normal conditions. However, in a collision the seat belt
will lock and reduce your risk of striking the inside of the
vehicle or being thrown out of the vehicle.
44 THINGS TO KNOW BEFORE STARTING YOUR VEHICLE
Page 110 of 603

3. Once a connection between the vehicle and a 9-1-1
operator is made, the 9-1-1 Call system may transmit
the following important vehicle information to a 9-1-1
operator:
•Indication that the occupant placed a 9-1-1 Call.
•The vehicle brand.
•The last known GPS coordinates of the vehicle.
4. You should be able to speak with the 9-1-1 operator
through the vehicle audio system to determine if
additional help is needed.
NOTE:Once a connection is made between the vehicle’s
9-1-1 Call system and the 9-1-1 operator, the 9-1-1 opera-
tor may be able to open a voice connection with the
vehicle to determine if additional help is needed. Once
the 9-1-1 operator opens a voice connection with the
vehicle’s 9-1-1 Call system, the operator should be able to
speak with you or other vehicle occupants and hear
sounds occurring in the vehicle. The vehicle’s 9-1-1 Call
system will attempt to remain connected with the 9-1-1
operator until the 9-1-1 operator terminates the connec-
tion.
5. The 9-1-1 operator may attempt to contact appropriate
emergency responders and provide them with impor-
tant vehicle information and GPS coordinates.
108 UNDERSTANDING THE FEATURES OF YOUR VEHICLE
Page 112 of 603

If the 9-1-1 Call system detects a malfunction, any of the
following may occur at the time the malfunction is
detected, and at the beginning of each ignition cycle:
•The Rearview Mirror light located between the Assist
and 9-1-1 buttons will continuously be illuminated
red.
•The Phone Screen will display the following message
“Vehicle phone requires service. Please contact your
dealer.”
•An In-Vehicle Audio message will state “Vehicle phone
requires service. Please contact your dealer.”
WARNING!
•Ignoring the Rearview Mirror light could mean you
will not have 9-1-1 Call services. If the Rearview
Mirror light is illuminated, have an authorized
dealer service the 9-1-1 Call system immediately.
•The Occupant Restraint Control module turns on
the Air Bag Warning Light on the instrument panel
if a malfunction in any part of the system is
detected. If the Air Bag Warning Light is illumi-
nated, the air bag system may not be working
properly and the 9-1-1 system may not be able to
send a signal to a 9-1-1 operator. If the Air Bag
Warning Light is illuminated, have an authorized
dealer service the ORC system immediately.
11 0 U N D E R S TA N D I N G T H E F E AT U R E S O F Y O U R V E H I C L E
Page 126 of 603

Modes Of Operation
Three selectable modes of operation are available in the
Uconnect® System. Refer to “Uconnect® Settings” in
“Understanding Your Instrument Panel” for further in-
formation.
Blind Spot Alert Lights Only
When operating in Blind Spot Alert mode, the BSM
system will provide a visual alert in the appropriate side
view mirror based on a detected object. However, when
the system is operating in Rear Cross Path mode, the
system will respond with both visual and audible alerts
when a detected object is present. Whenever an audible
alert is requested, the radio volume is reduced.
Blind Spot Alert Lights/Chime
When operating in Blind Spot Alert Lights/Chime mode,
the BSM system will provide a visual alert in the appro-
priate side view mirror based on a detected object. If the
turn signal is then activated, and it corresponds to an
alert present on that side of the vehicle, an audible chime
will also be sounded. Whenever a turn signal and de-
tected object are present on the same side at the same
time, both the visual and audio alerts will be issued. In
addition to the audible alert the radio (if on) volume will
be reduced.
NOTE:
•Whenever an audible alert is requested by the BSM
system, the radio volume is reduced.
•If the hazard flashers are on, the system will request
the appropriate visual alert only.
When the system is in RCP, the system shall respond with
both visual and audible alerts when a detected object is
present. Whenever an audible alert is requested, the radio
volume is reduced. Turn/hazard signal status is ignored;
the RCP state always requests the chime.
124 UNDERSTANDING THE FEATURES OF YOUR VEHICLE
Page 196 of 603

•When you move the shift lever to the REVERSE
position and ParkSense® is turned off, the Driver
Information Display (DID) will display “PARKSENSE
OFF” message for as long as the vehicle is in RE-
VERSE.
•ParkSense® will reduce the volume of the radio when
it is sounding an audio tone.
•Clean the ParkSense® sensors regularly, taking care
not to scratch or damage them. The sensors must not
be covered with ice, snow, slush, mud, dirt or debris.
Failure to do so can result in the system not working
properly. The ParkSense® system might not detect an
obstacle behind the fascia/bumper, or it could provide
a false indication that an obstacle is behind the fascia/
bumper.
•Ensure the ParkSense® system is OFF if objects such as
bicycle carriers, trailer hitches, etc., are placed within
12 inches 30 (cm) from the rear fascia/bumper. Failure
to do so can result in the system misinterpreting a
close object as a sensor problem, causing the
“PARKSENSE UNAVAILABLE SERVICE REQUIRED”
message to be displayed in the Driver Information
Display (DID).
CAUTION!
•ParkSense® is only a parking aid and it is unable to
recognize every obstacle, including small obstacles.
Parking curbs might be temporarily detected or not
detected at all. Obstacles located above or below
the sensors will not be detected when they are in
close proximity.
•The vehicle must be driven slowly when using
ParkSense® in order to be able to stop in time
when an obstacle is detected. It is recommended
that the driver looks over his/her shoulder when
using ParkSense®.
194 UNDERSTANDING THE FEATURES OF YOUR VEHICLE
Page 221 of 603

UNDERSTANDING YOUR INSTRUMENT PANEL
CONTENTS
!INSTRUMENT PANEL FEATURES..........221
!INSTRUMENT CLUSTER — BASE..........222
!INSTRUMENT CLUSTER — PREMIUM......223
!INSTRUMENT CLUSTER DESCRIPTIONS.....224
!DRIVER INFORMATION DISPLAY (DID).....234
▫Engine Oil Life Reset..................236
▫DID Selectable Menu Items..............238
!Uconnect® SETTINGS...................250
▫Buttons On The Faceplate................251
▫Buttons On The Touchscreen..............252
▫Customer Programmable Features — Uconnect®
5.0 Settings..........................252
▫Customer Programmable Features — Uconnect®
8.4 Settings..........................268
▫Performance Pages — If Equipped.........286
▫Performance Control — If Equipped........296
!Uconnect® RADIOS — IF EQUIPPED........309
!iPod®/USB/MP3 CONTROL — IF EQUIPPED . .310
!STEERING WHEEL AUDIO CONTROLS — IF
EQUIPPED...........................311
▫Radio Operation......................312
4
Page 236 of 603

DRIVER INFORMATION DISPLAY (DID)
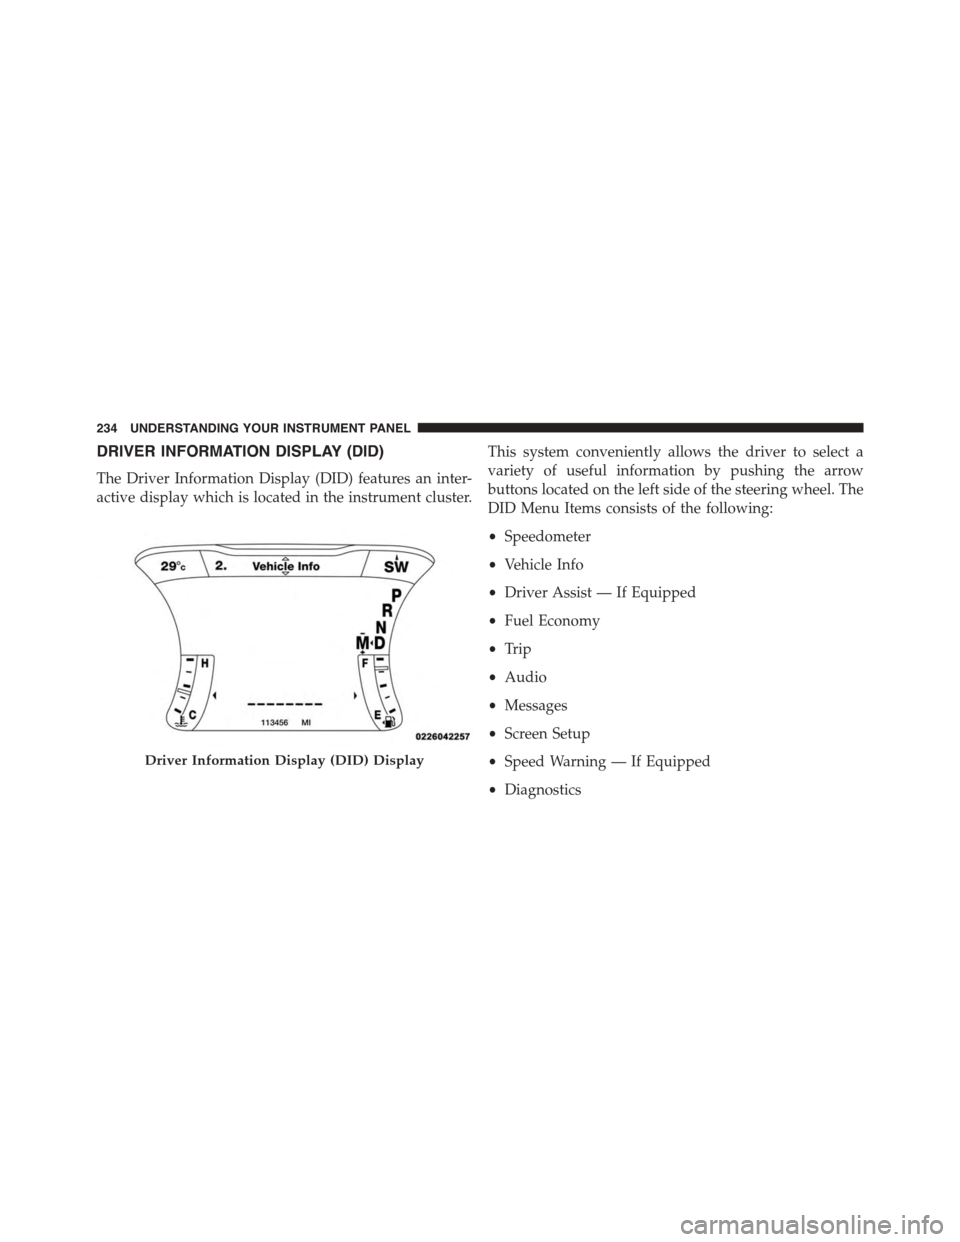
The Driver Information Display (DID) features an inter-
active display which is located in the instrument cluster.
This system conveniently allows the driver to select a
variety of useful information by pushing the arrow
buttons located on the left side of the steering wheel. The
DID Menu Items consists of the following:
•Speedometer
•Vehicle Info
•Driver Assist — If Equipped
•Fuel Economy
•Trip
•Audio
•Messages
•Screen Setup
•Speed Warning — If Equipped
•Diagnostics
Driver Information Display (DID) Display
234 UNDERSTANDING YOUR INSTRUMENT PANEL
Page 250 of 603

Trip Info
Push and release the UP or DOWN arrow button until
the Trip Menu item is highlighted in the DID (Toggle left
or right to select Trip A or Trip B). The Trip information
will display the following:
•Distance
•Average Fuel Economy
•Elapsed Time
Hold the OK button to reset feature information.
Audio
Push and release the UP or DOWN arrow button until
the Audio Menu displays in the DID.
Stored Messages
Push and release the UP or DOWN arrow button until
the Messages Menu item is highlighted in the DID. This
feature shows the number of stored warning messages.
Pushing the RIGHT arrow button will allow you to see
what the stored messages are.
Screen Setup
Push and release the UP or DOWN arrow button until
the Screen Setup Menu displays in the DID. Push and
release the OK button to enter the sub-menus. The Screen
Setup feature allows you to change what information is
displayed in the instrument cluster as well as the location
that information is displayed.
248 UNDERSTANDING YOUR INSTRUMENT PANEL