2015 Citroen C4 PICASSO towing
[x] Cancel search: towingPage 162 of 420

160
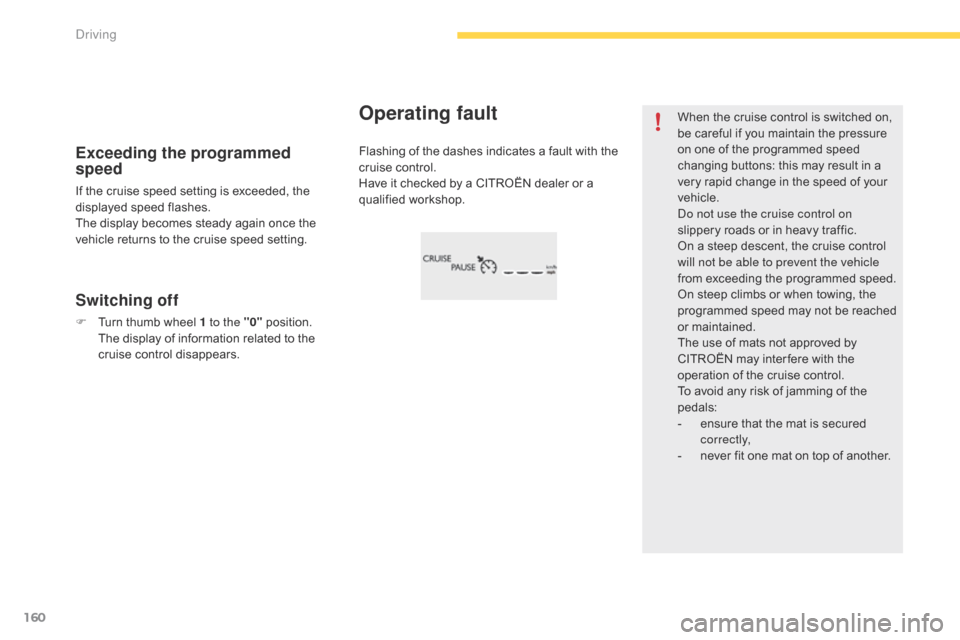
Flashing of the dashes indicates a fault with the cruise control.
Have
it checked by a CITROËN dealer or a
q
ualified
w
orkshop.
Operating fault
Exceeding the programmed
speed
If the cruise speed setting is exceeded, the displayed speed flashes.
The
display becomes steady again once the
v
ehicle returns to the cruise speed setting.
Switching off
F Turn thumb wheel 1 to the "0" p osition. T
he display of information related to the
c
ruise control disappears. When
the cruise control is switched on,
b
e careful if you maintain the pressure
o
n one of the programmed speed
c
hanging buttons: this may result in a
v
ery rapid change in the speed of your
v
ehicle.
do n
ot use the cruise control on
slippery roads or in heavy traffic.
On a steep descent, the cruise control
w
ill not be able to prevent the vehicle
from exceeding the programmed speed.
On steep climbs or when towing, the p
rogrammed speed may not be reached o
r maintained.
The
use of mats not approved by
C
ITROËN may inter fere with the
o
peration of the cruise control.
To
avoid any risk of jamming of the
ped
als:
-
e
nsure that the mat is secured
c
o r r e c t l y,
-
n
ever fit one mat on top of another.
Driving
Page 177 of 420

175
F To deactivate the system, press t
his button again; its indicator
l
amp goes off as well as the
a
ssociated indicator in the
in
strument
pan
el.
In
the event of a fault, the symbol for
t
he button changes to alert mode and
t
he warning lamp flashes for a few
m
oments then goes off.
Operating fault
Have it checked by a CITROËN dealer or a qualified w orkshop.
The
system is automatically deactivated
w
hen towing with a towbar approved by
CIT
ROËN.
The system may suffer temporary
i
nterference in certain weather
conditions (rain, hail...).
In particular, driving on a wet sur face
o
r moving from a dry area to a wet area
c
an cause false alerts (for example, the
p
resence of a fog of water droplets in
t
he blind spot angle is interpreted as a
v
ehicle).
In bad or wintry weather, ensure that
t
he sensors are not covered by mud, ice
o
r snow.
Take care not to cover the warning zone
i
n the door mirrors or the detection
z
ones on the front and rear bumpers
w
ith adhesive labels or other objects;
t
hey may hamper the correct operation
o
f the system.
The state of the system remains in memory on
s
witching off the ignition.
High pressure jet wash
When washing your vehicle, direct the
l
ance at least 30 cm away from the
sen
sors.
4
Driving
Page 190 of 420

188
The system is deactivated by pressing the control.
The
system is deactivated automatically:
-
o
n switching off the ignition,
-
i
f the engine stalls,
-
i
f no manoeuvre is started within 5 minutes
o
f selection of the type of manoeuvre,
-
a
fter a prolonged stop of the vehicle during
a
manoeuvre,
-
i
f the road wheel anti-slip regulation (ASR)
i
s
t
riggered,
-
i
f the speed of the vehicle exceeds the
s
tated limit,
-
w
hen the driver interrupts movement of the
s
teering
w
heel,
-
a
fter 4 manoeuvre cycles,
-
o
n opening the driver's door,
-
i
f one of the front wheels encounters an
o
bstacle.
The
operation indicator lamp goes off in the
i
nstrument panel and a message is displayed
a
ccompanied by an audible signal.
The
driver should then take back control of the
v
ehicle's
s
teering.
Deactivation
The system is switched off automatically:
- w hen towing a trailer,
-
i
f the driver's door is opened,
-
i
f the speed of the vehicle is above 42 mph
(
70 km/h).
To
switch the system of for a prolonged period,
c
ontact a CITROËN dealer or a qualified
w
orkshop. In
the event of a fault, the symbol for
t
he button changes to alert mode and
t
he warning lamp flashes for a few
m
oments then goes off.
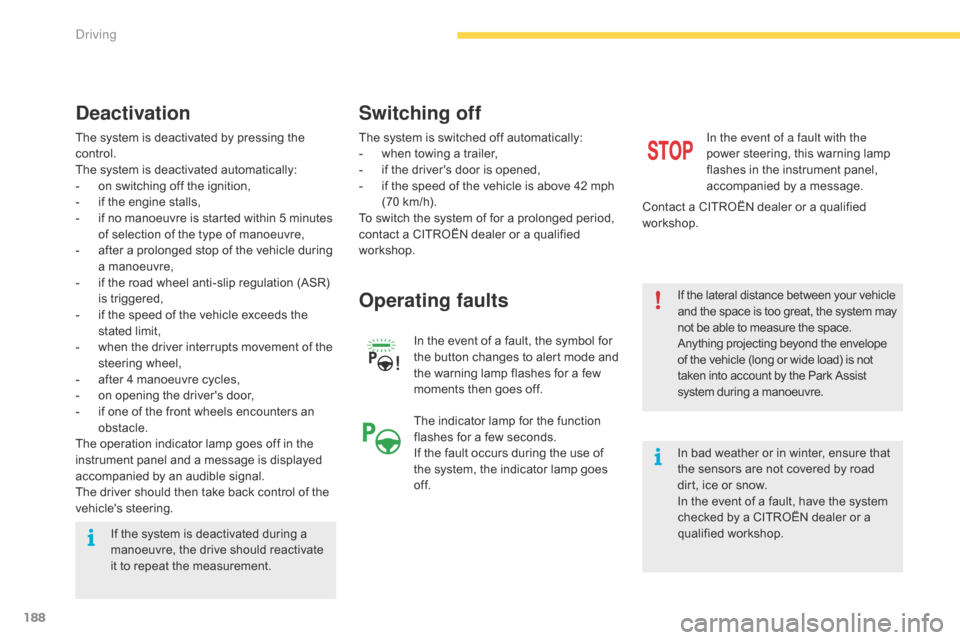
Operating faults
In the event of a fault with the
power steering, this warning lamp
f
lashes in the instrument panel,
a
ccompanied by a message.
Contact
a
CITROËN dealer or a qualified
w
orkshop.
Switching off
If the lateral distance between your vehicle a nd the space is too great, the system may n
ot be able to measure the space.
Anything
projecting beyond the envelope
o
f the vehicle (long or wide load) is not
t
aken into account by the Park Assist
s
ystem during a manoeuvre.
In
bad weather or in winter, ensure that
t
he sensors are not covered by road
d
irt, ice or snow.
In
the event of a fault, have the system
c
hecked by a CITROËN dealer or a
q
ualified
w
orkshop.
If
the
system
is
deactivated
during
a
m
anoeuvre,
the
drive
should
reactivate
i
t
to
repeat
the
measurement. The
indicator
lamp
for
the
function
f
lashes
for
a
few
seconds.
If
the
fault
occurs
during
the
use
of
t
he
system,
the
indicator
lamp
goes
o
f f.
Driving
Page 211 of 420

209
Direction indicators
F Left: lower the lighting stalk passing the p
oint of resistance.
F
R
ight: raise the lighting stalk passing the
p
oint of resistance.
Three flashes of the direction
indicators
F Press briefly upwards or downwards, w
ithout going beyond the point of
r
esistance; the direction indicators will
f
lash 3 times.
Hazard warning lam ps
Visual warning by means of the direction i
ndicators to alert other road users to a vehicle
b
reakdown, towing or accident.
F
Press this button, the direction indicators flash.They can operate with the ignition off.
Automatic operation of
hazard warning lamps
When braking in an emergency, depending on the deceleration, the hazard warning lamps
c
ome on automatically.
They
switch off automatically the first time you
a
ccelerate.
F
Y
ou can also switch them off by pressing
t
he button.
Horn
F Press the central part of the steering w
heel.
6
Safety
Page 212 of 420

210
This system allows you to make an emergency or assistance call to the emergency services or
t
o the dedicated CITROËN service.
Emergency or
a
ssistance call
For more information on the use of this f
unction, refer to the "Audio and telematics"
s
ection.
Warning triangle
This safety device should be used in addition to the hazard warning lamps.
Its
presence in the vehicle is mandatory.
A
location for stowing the warning triangle is
p
rovided in the tailgate interior trim.
Placing the triangle in the road
F Place the triangle behind the vehicle, as r
equired by the legislation in force in your
c
o unt r y.Before
leaving your vehicle to set up
a
nd install the triangle, switch on the
h
azard warning lamps and put on your
h
igh visibility vest.
Refer to the manufacturer's instructions
o
n unfolding and installing supplied with
t
he triangle.
Safety
Page 221 of 420

219
2nd row seat belts
Fastening
F Pull the strap, then insert the tongue in the buc
kle.
F
C
heck that the seat belt is fastened
c
orrectly by pulling the strap.
Unfastening
F Press the red button on the buckle.
F G uide the seat belt as it reels in.The
rear seats are each fitted with a seat belt,
t
hree-point anchorages with inertia reel and
f
orce limiter (except for the centre rear seat).
Guide the belt as it reels in and place the
t
ongue on the magnet at the side anchorage
po
int.
2nd row outer seat belts
(stowing)
6
Safety
Page 222 of 420

220
2nd row centre seat belt
The seat belt for the centre rear seat is built into the roof.
Fastening
F Pull the strap and insert the tongue A into
the right hand buckle.
F
I
nsert tongue B into the left hand buckle.
F
C
heck that each buckle is correctly
f
astened by pulling on the belt webbing.
Unfastening
F Press the red button in buckle B, then
buckle A .
F
G
uide the seat belt as it reels in and place
t
he tongue B and then A on the magnet in
t
he roof anchorage point.
be
fore any operation of the rear seats,
to
avoid damage to the seat belts
c
heck that there is no slack in the outer
b
elts and secure their tongues on the
a
nchorage points. The centre seat belt
m
ust be fully reeled in.
3rd row seat belts
Fastening
F Detach the seat belt strap from its retaining l
oop located on the side trim of the boot.
F
P
ull on the strap and insert the tongue into
t
he buckle.
F
C
heck that the buckle is correctly fastened
b
y pulling on the belt strap.
Unfastening and stowing
F Press the red button in buckle.
F G uide the seat belt strap as it reels in.
F
S
ecure the strap, flat in the retaining loop.
Ensure that the the seat belts are
secured
when not in use.
Safety
Page 252 of 420

250
List of tools
* Depending on equipment.
al
l of these tools are specific to your vehicle
and can vary according to equipment. Do not
u
se them for other purposes.
1.
1
2 V compressor.
C
ontains a sealant cartridge for the
t
emporary repair of a tyre and can also be
u
sed for adjusting tyre pressures.
2.
C
hocks* to immobilise the wheels of the
v
ehicle.
3.
B
olt cover removal tool*.
F
or removing the wheel bolt finishers
(
covers) on alloy wheels.
4.
R
emovable towing eye.
S
ee the "Towing the vehicle" section.
Practical information