Page 9 of 271

7
C1_en_Chap00b_vue-ensemble_ed01-2015
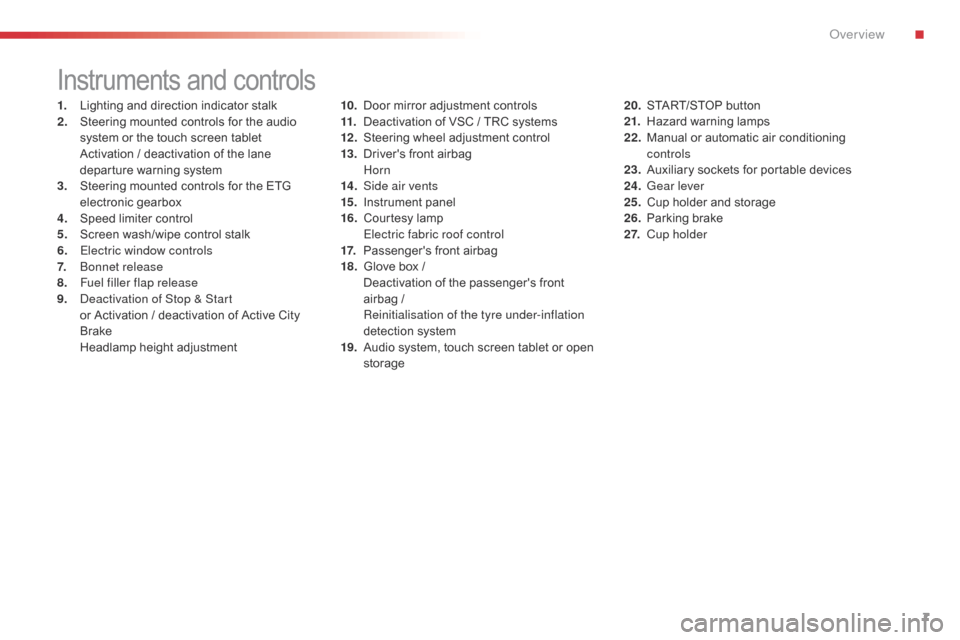
Instruments and controls
1. Lighting and direction indicator stalk
2. Steering mounted controls for the audio
system or the touch screen tablet
A
ctivation / deactivation of the lane
departure warning system
3.
S
teering mounted controls for the ETG
electronic gearbox
4.
S
peed limiter control
5.
S
creen wash/wipe control stalk
6.
E
lectric window controls
7.
B
onnet release
8.
F
uel filler flap release
9.
D
eactivation of Stop & Start
o
r Activation / deactivation of Active City
Brake
H
eadlamp height adjustment 10. D
oor mirror adjustment controls
11. D eactivation of VSC / TRC systems
12 .
S
teering wheel adjustment control
13.
D
river's front airbag
Horn
14 .
S
ide air vents
15.
I
nstrument panel
16.
C
ourtesy lamp
E
lectric fabric roof control
17.
P
assenger's front airbag
18.
G
love box /
D
eactivation of the passenger's front
airbag /
R
einitialisation of the tyre under-inflation
detection system
19.
A
udio system, touch screen tablet or open
storage 20. S
TART/STOP button
21. H azard warning lamps
22.
M
anual or automatic air conditioning
controls
23.
A
uxiliary sockets for portable devices
24.
G
ear lever
25.
C
up holder and storage
26.
P
arking brake
2 7.
C
up holder
.
Over view
Page 138 of 271

136
C1_en_Chap09_info-pratiques_ed01-2015
Fuel tank
Low fuel levelRefuelling
When the low fuel level is reached,
this warning lamp comes on and the
last bar flashes, accompanied by an
audible signal.
You have approximately 5 litres remaining.
In certain driving conditions and depending on the
engine, the distance which can be travelled with the
fuel remaining may be less than 30 miles (50 km).
When the frequency of the flashing increases, you
have approximately 3 litres remaining .
To refuel in complete safety:
F
Y ou must stop the engine and switch off
the ignition (ignition in "LOCK" position
or "OFF" mode) .
F
P
ull the control on the lower dashboard,
driver's side, to release the filler flap.
F
O
pen the fuel filler flap.
If you run out of fuel, the emission
control system warning lamp may come
on in the instrument panel. It will go off
automatically after the engine has been
started a few times. Refuelling must only be done with the engine
stopped and the ignition switched off
(ignition
switch in the " LOCK" position or " OFF" mode).
The capacity of the fuel tank is approximately 35 litres.
Additions of fuel must be of at least 5 litres to
be registered by the fuel gauge.
A label on the inside of the flap reminds you
which type of fuel to use.
There may be an inrush of air when removing
the filler cap. This vacuum is per fectly normal
and results from the sealing of the fuel system.
Practical information
Page 139 of 271

137
C1_en_Chap09_info-pratiques_ed01-2015
F Unscrew the filler cap and hook it on the bracket on the inner face of the filer flap.
F
I
nsert the filler nozzle as far as it will go,
before starting delivery of fuel (risk of
blow- back).
F
K
eep the nozzle in this position while
refuelling.
Quality of the fuel used for
petrol engines
The petrol engines are compatible with
E10 type petrol biofuels (containing
10 % ethanol), conforming to European
standards EN 228 and EN 15376.
E85 type fuels (containing up to 85 % ethanol)
are reserved exclusively for vehicles marketed
for the use of this type of fuel (BioFlex
vehicles). The quality of the ethanol must
comply with European standard EN 15293.
Once refuelling is complete:
F
F
it and tighten the filler cap until you hear a
click.
W
hen you release the filler cap, it turns
slightly in the opposite direction.
F
P
ush the filler flap to close it.
When you fill the fuel tank, do not continue
after the 3rd cut- off of the pump; this could
cause malfunctions.
Your vehicle is fitted with a catalytic converter
that reduces harmful exhaust emissions.
The filler neck has a narrower aperture that
only admits nozzles on pumps delivering
unleaded petrol .
9
Practical information
Page 175 of 271
173
C1_en_Chap10_verifications_ed01-2015
1. Screenwash fluid reservoir.
2. Coolant header tank.
3.
A
ir filter.
4.
B
rake fluid reservoir.
5.
B
attery.
6.
F
usebox.
7.
E
ngine oil dipstick.
8.
E
ngine oil filler cap.
Petrol engines
PureTech 82
VTi 68
For access to the brake fluid reservoir
and the fusebox, unclip the plastic cover
at the base of the windscreen, pressing
on the two tongues.
Refer to the "Changing a fuse" section.
10
Checks
Page 177 of 271

175
C1_en_Chap10_verifications_ed01-2015
The brake fluid level should be close
to the "MA X" mark. If it is not, check
the brake pad wear.
Brake fluid level
Changing the fluid
Refer to the manufacturer's service schedule
for details of the interval for this operation.
Fluid specification
The brake fluid must conform to the
manufacturer's recommendations.
Topping-up the engine oil
Oil grade
The oil must be the correct grade for your
engine and conform to the manufacturer's
recommendations.
Refer to the under-bonnet view for the location
of the oil filler cap on your vehicle.
F
U
nscrew the filler cap for access to the
filler orifice.
F
P
our in the oil in small quantities, avoiding
spills onto the engine (risk of fire).
F
W
ait a few minutes before checking the
level again using the dipstick.
F
T
op-up again if necessary.
F
A
fter checking and topping up, carefully
refit the oil filler cap and the dipstick to its
housing.
Engine oil change
Refer to the manufacturer's service schedule
for details of the interval for this operation.
In order to maintain the reliability of the engine
and emissions control system, never use
additives in the engine oil.
10
Checks