2015 CHRYSLER TOWN AND COUNTRY check engine light
[x] Cancel search: check engine lightPage 346 of 726
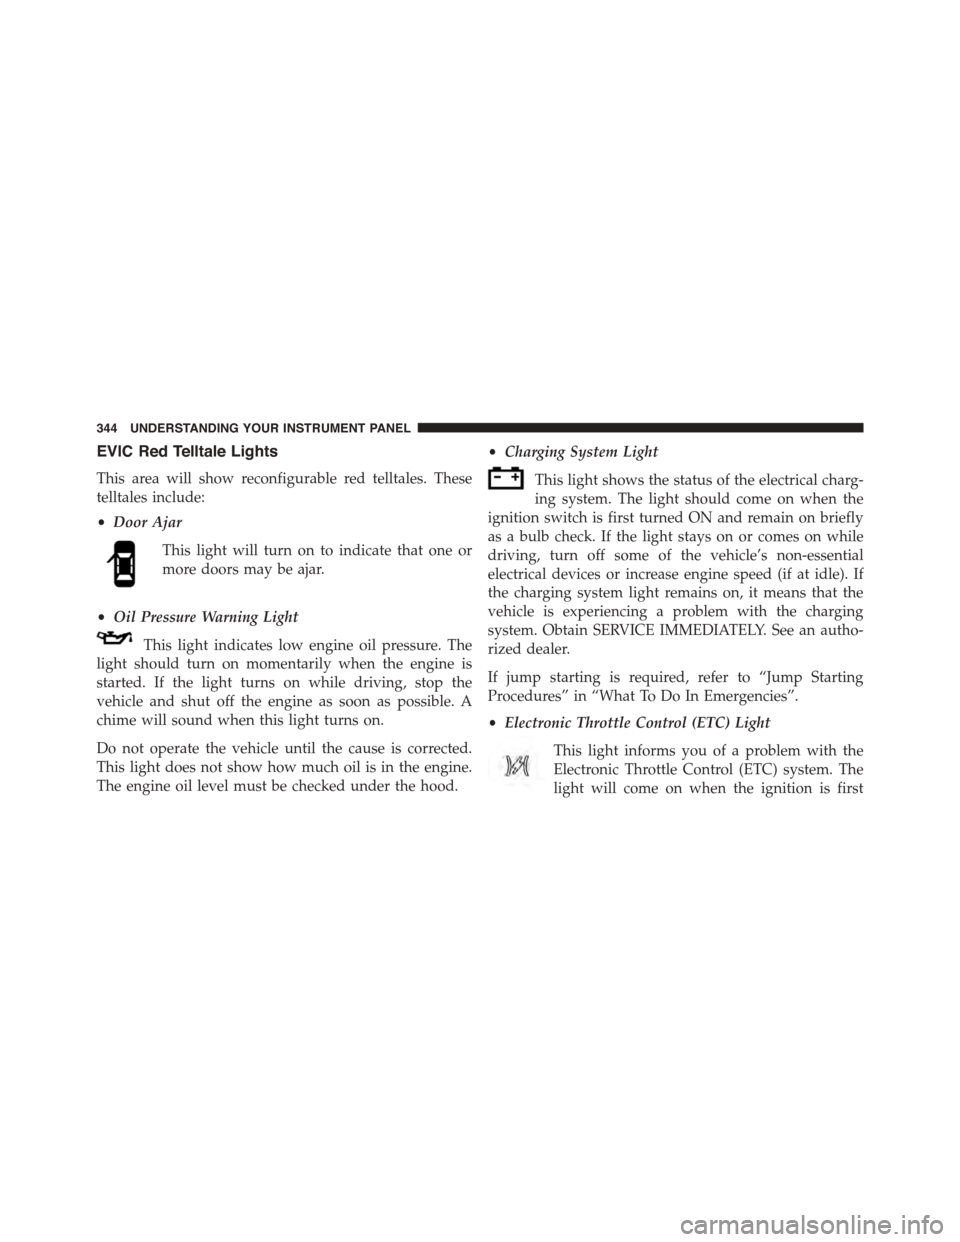
EVIC Red Telltale Lights
This area will show reconfigurable red telltales. These
telltales include:
•Door Ajar
This light will turn on to indicate that one or
more doors may be ajar.
•Oil Pressure Warning Light
This light indicates low engine oil pressure. The
light should turn on momentarily when the engine is
started. If the light turns on while driving, stop the
vehicle and shut off the engine as soon as possible. A
chime will sound when this light turns on.
Do not operate the vehicle until the cause is corrected.
This light does not show how much oil is in the engine.
The engine oil level must be checked under the hood.
•Charging System Light
This light shows the status of the electrical charg-
ing system. The light should come on when the
ignition switch is first turned ON and remain on briefly
as a bulb check. If the light stays on or comes on while
driving, turn off some of the vehicle’s non-essential
electrical devices or increase engine speed (if at idle). If
the charging system light remains on, it means that the
vehicle is experiencing a problem with the charging
system. Obtain SERVICE IMMEDIATELY. See an autho-
rized dealer.
If jump starting is required, refer to “Jump Starting
Procedures” in “What To Do In Emergencies”.
•Electronic Throttle Control (ETC) Light
This light informs you of a problem with the
Electronic Throttle Control (ETC) system. The
light will come on when the ignition is first
344 UNDERSTANDING YOUR INSTRUMENT PANEL
Page 347 of 726
turned ON and remain on briefly as a bulb check. If the
light does not come on during starting, have the system
checked by an authorized dealer.
If a problem is detected, the light will come on while the
engine is running. Cycle the ignition key when the
vehicle has completely stopped and the shift lever is
placed in the PARK position. The light should turn off.
If the light remains lit with the engine running, your
vehicle will usually be drivable. However, see an autho-
rized dealer for service as soon as possible. If the light is
flashing when the engine is running, immediate service is
required. You may experience reduced performance, an
elevated/rough idle or engine stall and your vehicle may
require towing.
•Engine Temperature Warning Light
This light warns of an overheated engine condi-
tion. As temperatures rise and the gauge ap-
proachesH,this indicator will illuminate and a single
chime will sound after reaching a set threshold. Further
overheating will cause the temperature gauge to passH,
a continuous chime will occur until the engine is allowed
to cool.
If the light turns on while driving, safely pull over and
stop the vehicle. If the A/C system is on, turn it off. Also,
shift the transmission into NEUTRAL and idle the ve-
hicle. If the temperature reading does not return to
normal, turn the engine off immediately and call for
service. Refer to “If Your Engine Overheats” in “What To
Do In Emergencies” for more information.
4
UNDERSTANDING YOUR INSTRUMENT PANEL 345
Page 630 of 726
ONBOARD DIAGNOSTIC SYSTEM — OBD II
Your vehicle is equipped with a sophisticated Onboard
Diagnostic system called OBD II. This system monitors
the performance of the emissions, engine, and automatic
transmission control systems. When these systems are
operating properly, your vehicle will provide excellent
performance and fuel economy, as well as engine emis-
sions well within current government regulations.
If any of these systems require service, the OBD II system
will turn on the “Malfunction Indicator Light (MIL).” It
will also store diagnostic codes and other information to
assist your service technician in making repairs. Al-
though your vehicle will usually be drivable and not
need towing, see your authorized dealer for service as
soon as possible.
CAUTION!
•Prolonged driving with the MIL on could cause
further damage to the emission control system. It
could also affect fuel economy and driveability.
The vehicle must be serviced before any emissions
tests can be performed.
•If the MIL is flashing while the engine is running,
severe catalytic converter damage and power loss
will soon occur. Immediate service is required.
Loose Fuel Filler Cap Message
If the vehicle diagnostic system determines that the fuel
filler cap is loose, improperly installed, or damaged, a
“gASCAP” message will display in the odometer or a
“CHECK GASCAP” message will be displayed in the
Electronic Vehicle Information Center (EVIC). Refer to
628 MAINTAINING YOUR VEHICLE
Page 631 of 726
“Electronic Vehicle Information Center (EVIC)” in ”Un-
derstanding Your Instrument Panel” for further informa-
tion. Tighten the gas cap until a#clicking#sound is heard.
This is an indication that the gas cap is properly tight-
ened.
Press the odometer reset button to turn the message off.
If the problem persists, the message will appear the next
time the vehicle is started. This might indicate a damaged
cap. If the problem is detected twice in a row, the system
will turn on the MIL. Resolving the problem will turn the
MIL light off.
EMISSIONS INSPECTION AND MAINTENANCE
PROGRAMS
In some localities, it may be a legal requirement to pass
an inspection of your vehicle’s emissions control system.
Failure to pass could prevent vehicle registration.
For states that require an Inspection and Mainte-
nance (I/M), this check verifies the “Malfunction
Indicator Light (MIL)” is functioning and is not
on when the engine is running, and that the OBD II
system is ready for testing.
Normally, the OBD II system will be ready. The OBD II
system maynotbe ready if your vehicle was recently
serviced, recently had a dead battery or a battery replace-
ment. If the OBD II system should be determined not
ready for the I/M test, your vehicle may fail the test.
7
MAINTAINING YOUR VEHICLE 629
Page 653 of 726
•Do not change the thermostat for Summer or Winter
operation. If replacement is ever necessary, install
ONLY the correct type thermostat. Other designs may
result in unsatisfactory engine coolant (antifreeze)
performance, poor gas mileage, and increased emis-
sions.
Brake System
In order to assure brake system performance, all brake
system components should be inspected periodically.
Refer to the “Maintenance Schedule” for the proper
maintenance intervals.
WARNING!
Riding the brakes can lead to brake failure and
possibly a collision. Driving with your foot resting or
riding on the brake pedal can result in abnormally
(Continued)
WARNING!(Continued)
high brake temperatures, excessive lining wear, and
possible brake damage. You would not have your full
braking capacity in an emergency.
Master Cylinder — Brake Fluid Level Check
The fluid level in the master cylinder should be checked
when performing underhood services, or immediately if
the “Brake System Warning Light” indicates system
failure.
Clean the top of the master cylinder area before removing
the cap. Add fluid to bring the level up to the top of the
“FULL” mark on the side of the master cylinder reservoir.
Overfilling of fluid is not recommended because it may
cause leaking in the system.
Add enough fluid to bring the level up to the require-
ments described on the brake fluid reservoir. With disc
7
MAINTAINING YOUR VEHICLE 651
Page 687 of 726
•Check tire pressure and look for unusual wear or
damage. Rotate tires at the first sign of irregular wear,
even if it occurs before the oil indicator system turns on.
•Check the fluid levels of the coolant reservoir, brake
master cylinder, and power steering and fill as needed.
•Check function of all interior and exterior lights.
Required Maintenance Intervals.
Refer to the maintenance schedules on the following
page for the required maintenance intervals.
At Every Oil Change Interval As Indicated By Oil Change Indicator System:
•Change oil and filter.
•Rotate the tires.Rotate at the first sign of irregular wear, even if it occurs before the oil indicator system
turns on.
•Inspect battery and clean and tighten terminals as required.
•Inspect brake pads, shoes, rotors, drums, hoses and park brake.
•Inspect engine cooling system protection and hoses.
•Inspect exhaust system.
•Inspect engine air cleaner if using in dusty or off-road conditions.
8
MAINTENANCE
SCHEDULES
MAINTENANCE SCHEDULES 685
Page 705 of 726
Alterations/Modifications, Vehicle...............7
Antenna, Satellite Radio.....................386
Antifreeze (Engine Coolant)..................646
Disposal..............................649
Anti-Lock Warning Light....................326
Appearance Care.........................655
Ashtray................................291
Assistance Towing.........................170
Assist, Hill Start..........................513
Auto Down Power Windows..................47
Automatic Dimming Mirror..................141
Automatic Door Locks......................39
Automatic Headlights......................231
Automatic Temperature Control (ATC)..........457
Automatic Transmission....................484
Adding Fluid..........................654
Fluid and Filter Changes..................654
Fluid Change..........................654
Fluid Level Check.......................654
Fluid Type............................653
Gear Ranges...........................488
Special Additives.......................653
Torque Converter.......................495
Auto Up Power Windows....................48
Battery.................................639
Jump Starting..........................614
Keyless Transmitter Replacement (RKE)........28
Saving Feature (Protection)................239
Belts, Seat...............................128
Body Mechanism Lubrication.................642
B-Pillar Location..........................523
Brake Assist System.......................508
Brake Control System, Electronic..............504
Brake Fluid.............................681
Brake System............................503
Anti-Lock (ABS)........................503
FluidCheck...........................65110
INDEX 703
Page 706 of 726
Parking..............................501
Warning Light.........................331
Brake/Transmission Interlock.................486
Bulb Replacement.........................673
Bulbs, Light.............................131
Calibration, Compass......................352
Camera, Rear............................262
Capacities, Fluid..........................678
Caps, Filler
Fuel.................................560
Power Steering.........................500
Radiator (Coolant Pressure)................648
Carbon Monoxide Warning..................127
Cargo Compartment
Luggage Carrier........................307
Cargo (Vehicle Loading)....................298
Car Washes.............................655
Cellular Phone...........................155
Center High Mounted Stop Light..............677
Certification Label.........................562
Chains, Tire.............................539
Changing A Flat Tire.......................595
Chart, Tire Sizing.........................518
Check Engine Light (Malfunction Indicator Light) . .328
Checking Your Vehicle For Safety..............127
Checks, Safety...........................127
Child Restraint...........................102
Child Restraints
Booster Seats..........................107
Center Seat LATCH......................116
Child Restraints........................102
Child Seat Installation....................119
How To Stow An Unused ALR Seat Belt.......117
Infants And Child Restraints...............105
Install A LATCH-compatible Child Restraint....116
Installing Child Restraints Using The Vehicle Seat
Belt.................................118
704 INDEX