2015 CHRYSLER TOWN AND COUNTRY jump start
[x] Cancel search: jump startPage 336 of 726
WARNING!
A hot engine cooling system is dangerous. You or
others could be badly burned by steam or boiling
coolant. You may want to call an authorized dealer
for service if your vehicle overheats. If you decide to
look under the hood yourself, see “Maintaining Your
Vehicle”. Follow the warnings under the Cooling
System Pressure Cap paragraph.
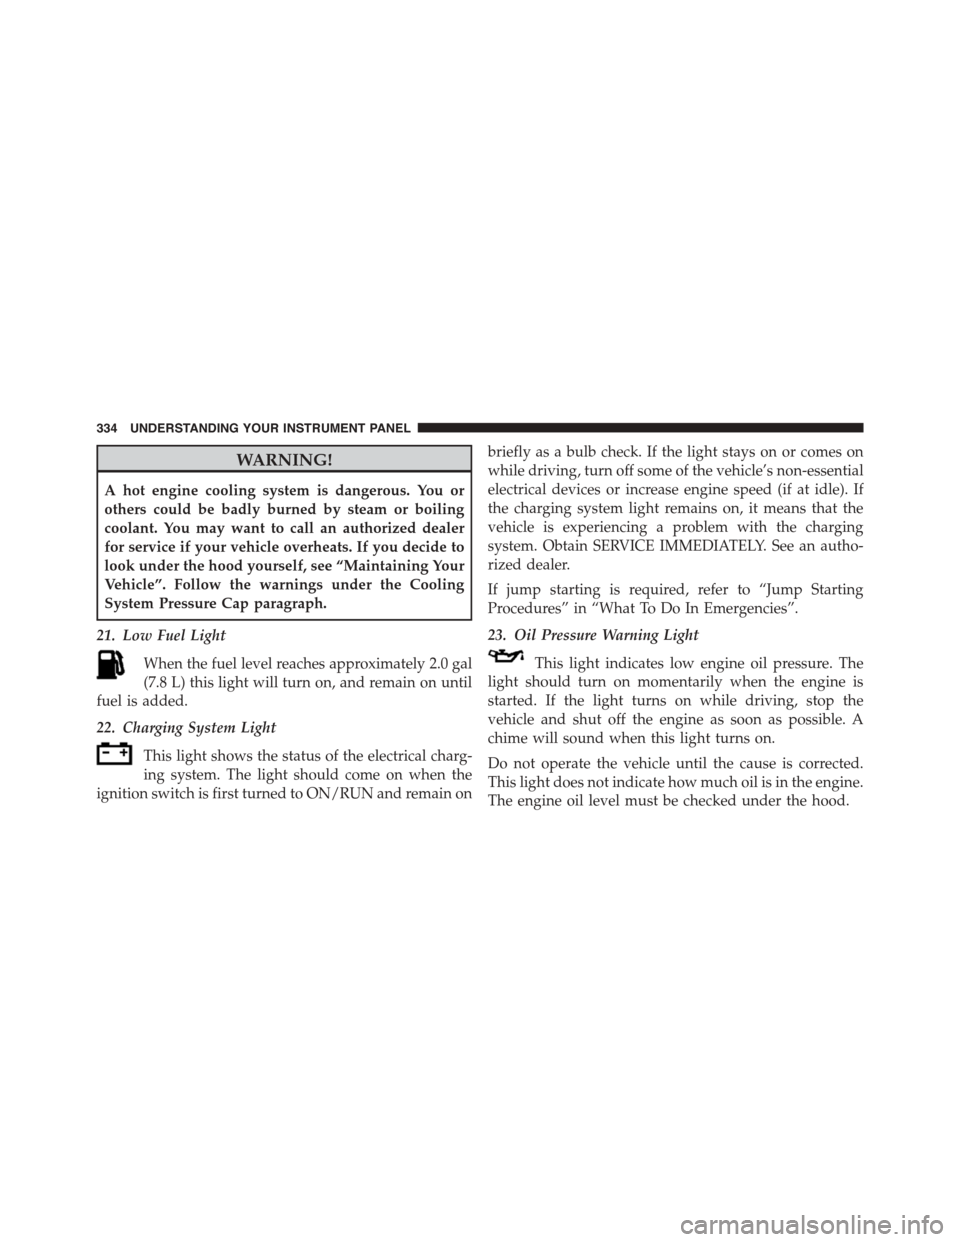
21. Low Fuel Light
When the fuel level reaches approximately 2.0 gal
(7.8 L) this light will turn on, and remain on until
fuel is added.
22. Charging System Light
This light shows the status of the electrical charg-
ing system. The light should come on when the
ignition switch is first turned to ON/RUN and remain on
briefly as a bulb check. If the light stays on or comes on
while driving, turn off some of the vehicle’s non-essential
electrical devices or increase engine speed (if at idle). If
the charging system light remains on, it means that the
vehicle is experiencing a problem with the charging
system. Obtain SERVICE IMMEDIATELY. See an autho-
rized dealer.
If jump starting is required, refer to “Jump Starting
Procedures” in “What To Do In Emergencies”.
23. Oil Pressure Warning Light
This light indicates low engine oil pressure. The
light should turn on momentarily when the engine is
started. If the light turns on while driving, stop the
vehicle and shut off the engine as soon as possible. A
chime will sound when this light turns on.
Do not operate the vehicle until the cause is corrected.
This light does not indicate how much oil is in the engine.
The engine oil level must be checked under the hood.
334 UNDERSTANDING YOUR INSTRUMENT PANEL
Page 346 of 726
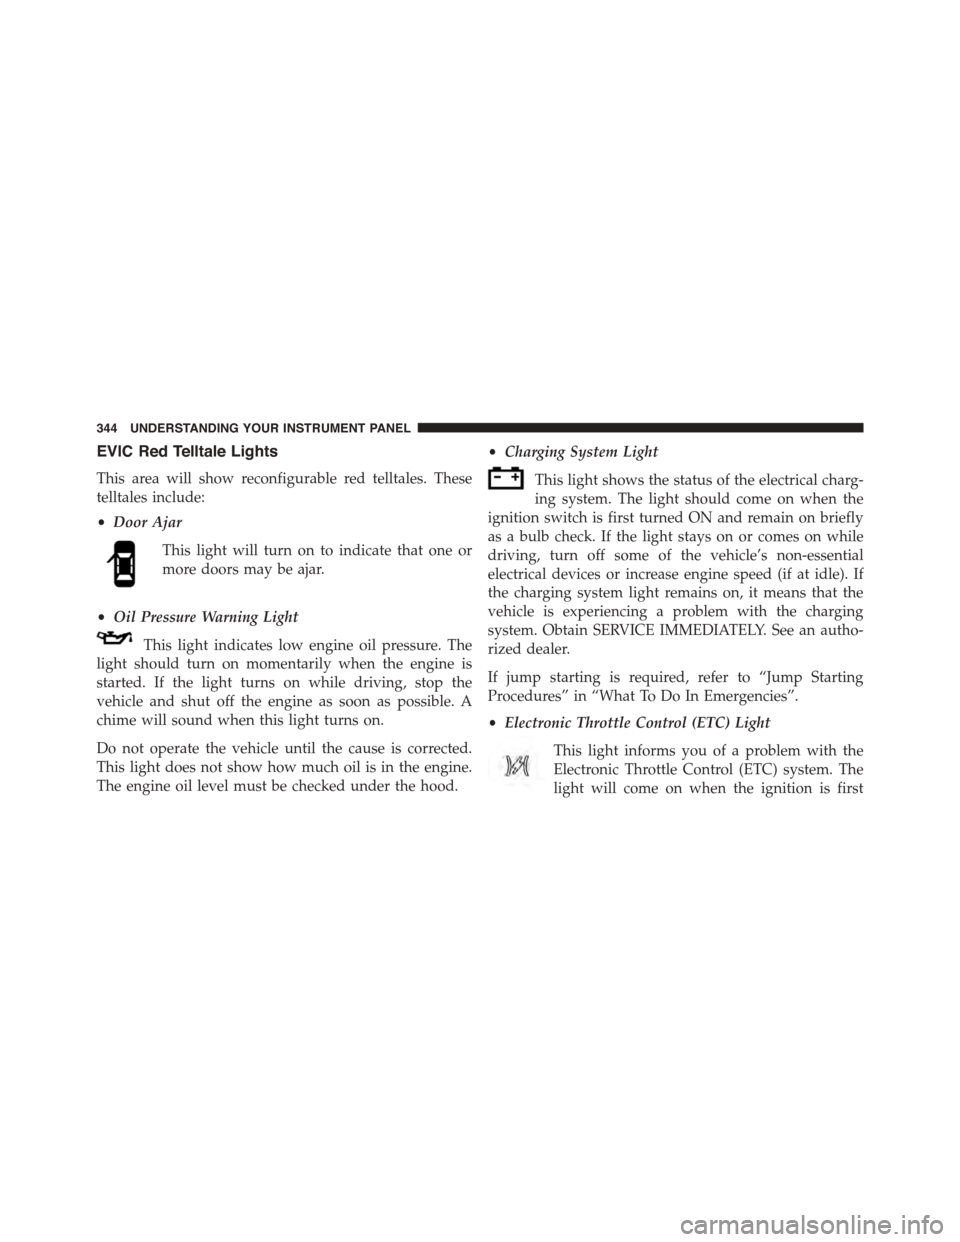
EVIC Red Telltale Lights
This area will show reconfigurable red telltales. These
telltales include:
•Door Ajar
This light will turn on to indicate that one or
more doors may be ajar.
•Oil Pressure Warning Light
This light indicates low engine oil pressure. The
light should turn on momentarily when the engine is
started. If the light turns on while driving, stop the
vehicle and shut off the engine as soon as possible. A
chime will sound when this light turns on.
Do not operate the vehicle until the cause is corrected.
This light does not show how much oil is in the engine.
The engine oil level must be checked under the hood.
•Charging System Light
This light shows the status of the electrical charg-
ing system. The light should come on when the
ignition switch is first turned ON and remain on briefly
as a bulb check. If the light stays on or comes on while
driving, turn off some of the vehicle’s non-essential
electrical devices or increase engine speed (if at idle). If
the charging system light remains on, it means that the
vehicle is experiencing a problem with the charging
system. Obtain SERVICE IMMEDIATELY. See an autho-
rized dealer.
If jump starting is required, refer to “Jump Starting
Procedures” in “What To Do In Emergencies”.
•Electronic Throttle Control (ETC) Light
This light informs you of a problem with the
Electronic Throttle Control (ETC) system. The
light will come on when the ignition is first
344 UNDERSTANDING YOUR INSTRUMENT PANEL
Page 394 of 726
Using This Feature
By using an iPod® cable, or an external USB device to
connect to the USB port:
•The audio device can be played on the vehicle’s sound
system, providing metadata (artist, track title, album,
etc.) information on the radio display.
•The audio device can be controlled using the radio
buttons to Play, Browse, and List the iPod® contents.
•The audio device battery charges when plugged into
the USB/AUX connector (if supported by the specific
audio device).
Controlling The iPod® Or External USB Device
Using Radio Buttons
To get into the iPod®/USB/MP3 control mode and
access a connected audio device, either push the “AUX”
button on the radio faceplate or push the VR button and
say#USB#or#Switch to USB.#Once in the iPod®/USB/
MP3 control mode, audio tracks (if available from audio
device) start playing over the vehicle’s audio system.
Play Mode
When switched to iPod®/USB/MP3 control mode, the
iPod® or external USB device automatically starts Play
mode. In Play mode, the following buttons on the radio
faceplate may be used to control the iPod® or external
USB device and display data:
•Use theTUNEcontrol knob to select the next or
previous track.
•Turning it clockwise (forward) by one click, while
playing a track, skips to the next track or push the VR
button and say#Next Track.#
•Turning it counterclockwise (backward) by one click,
will jump to the previous track in the list or push the
VR button and say#Previous Track.#
392 UNDERSTANDING YOUR INSTRUMENT PANEL
Page 395 of 726
•Jump backward in the current track by pushing and
holding the <
track.
•Jump forward in the current track by pushing and
holding theFF>> button.
•A single push backward <
jump backward or forward respectively, for five sec-
onds.
•Use the <
previous or next track. Pushing theSEEK>> button
during play mode will jump to the next track in the
list, or push the VR button and say#Next or Previous
Track.#
•While a track is playing, push theINFObutton to see
the associated metadata (artist, track title, album, etc.)
for that track. Pushing theINFObutton again jumps to
the next screen of data for that track. Once all screens
have been viewed, the lastINFObutton push will go
back to the play mode screen on the radio.
•Pushing theREPEATbutton will change the audio
device mode to repeat the current playing track or
push the VR button and say#Repeat ON#or#Repeat
Off.#
•Push theSCANbutton to use iPod®/USB/MP3 de-
vice scan mode, which will play the first ten seconds of
each track in the current list and then forward to the
next song. To stop SCAN mode and start playing the
desired track, when it is playing the track, push the
SCANbutton again. During Scan mode, pushing the
<
and next tracks.
•RNDbutton (available on sales code RES radio only):
Pushing this button toggles between Shuffle ON and
Shuffle OFF modes for the iPod® or external USB
4
UNDERSTANDING YOUR INSTRUMENT PANEL 393
Page 398 of 726
Bluetooth® Streaming Audio (BTSA)
Music can be streamed from your cellular phone to the
Uconnect® phone system.
Refer to the Uconnect® Radio Supplement for further
information on Bluetooth® connectivity.
Controlling BTSA Using Radio Buttons
To enter BTSA mode, push either “AUX” button on the
radio or push the VR button and say “Bluetooth Stream-
ing Audio.”
Play Mode
When switched to BTSA mode, some audio devices can
start playing music over the vehicle’s audio system, but
some devices require the music to be initiated on the
device first, then it will get streamed to the Uconnect®
phone system. Seven devices can be paired to the
Uconnect® phone system, but just one can be selected
and played.
Selecting A Different Audio Device
1. Push the PHONE button to begin.
2. After the#Ready#prompt and following the beep, say
#Setup#, then say#Select Audio Devices.#
3. Say the name of the audio device or ask the
Uconnect® phone system to list the audio devices.
Next Track
Use the SEEK UP button, or push the VR button on the
radio and say “Next Track,” to jump to the next music
track on your cellular phone.
Previous Track
Use the SEEK DOWN button, or push the VR button on
the radio and say “Previous Track,” to jump to the
previous music track on your cellular phone.
396 UNDERSTANDING YOUR INSTRUMENT PANEL
Page 423 of 726
6. SETUP – Push to access the Blu-ray™ Setup menu
screen. When a disc is loaded in the Blu-ray™ player
(if equipped) and the VES™ mode is selected and the
disc is stopped, push the SETUP button to access the
Blu-ray™ Setup menu.
7.!!"– Push and release to jump to the next available
audio track or video chapter. Push and hold to fast
forward through the current audio track or video
chapter.
8.!/%(Play/Pause) – Begin/resume or pause disc play.
9. Four Colored Buttons – Push to access Blu-ray™ Disc
features.
10. POPUP/MENU – Push to access the Blu-ray™ main
menu when in Blu-ray™ or DVD mode. Push to start
Scan or start Random track functions in CD or HDD
modes.
11. KEYPAD – Push to navigate chapters or titles.
12.▪(Stop) – Stops disc play.
13."##– Push and release to jump to the previous audio
track or video chapter. Push and hold to fast rewind
through the current audio track or video chapter.
14.– Mutes headphone audio.
15. BACK – Push to exit out of menus or return to source
selection screen.
16."– Push to navigate menus.
17. OK – Push to select the highlighted option in a menu.
18.#– Push to navigate menus.
19.$– Push to navigate menus.
4
UNDERSTANDING YOUR INSTRUMENT PANEL 421
Page 483 of 726
2. Press the ENGINE START/STOP button a second time
to change the ignition switch to the RUN position,
3. Press the ENGINE START/STOP button a third time
to return the ignition switch to the OFF position.
Extreme Cold Weather (Below –20°F or−29°C)
To ensure reliable starting at these temperatures, use of
an externally powered electric engine block heater (avail-
able from your authorized dealer) is recommended.
If Engine Fails To Start
WARNING!
•Never pour fuel or other flammable liquid into the
throttle body air inlet opening in an attempt to start
the vehicle. This could result in flash fire causing
serious personal injury.
(Continued)
WARNING!(Continued)
•Do not attempt to push or tow your vehicle to get it
started. Vehicles equipped with an automatic trans-
mission cannot be started this way. Unburned fuel
could enter the catalytic converter and once the
engine has started, ignite and damage the converter
and vehicle.
•If the vehicle has a discharged battery, booster
cables may be used to obtain a start from a booster
battery or the battery in another vehicle. This type
of start can be dangerous if done improperly. Refer
to “Jump Starting” in “What To Do In Emergen-
cies” for further information.
5
STARTING AND OPERATING 481
Page 582 of 726
▫Road Tire Installation...................612
!JUMP-STARTING......................614
▫Preparations For Jump-Start..............615
▫Jump-Starting Procedure................616
!FREEING A STUCK VEHICLE.............618
!SHIFT LEVER OVERRIDE................619
!TOWING A DISABLED VEHICLE...........621
580 WHAT TO DO IN EMERGENCIES