Page 85 of 220

Via Mobile apps can also be launched through Voice Recognition by pressing the VR button on
the steering wheel and stating “launch” and then the name of the app. For example, you can say
“launch Aha Via Mobile.”
NOTE:
For detailed information on how to use Via Mobile apps visit the Mopar Owner Connect website
(moparownerconnect.com) and login using the username and password you set up when
registering for Uconnect® Access.
A message will be displayed to remind you that Via Mobile apps utilize the data plan on your
connected smartphone to provide content. Many smartphones have a limit to how much data
they can utilize before incurring additional charges. The amount of data being used varies by
smartphone device, cellular service provider and specific app. Check your mobile phone service
plan for more details.* Press “OK” to continue or the “X” to exit.
(*Additional smartphone data usage charges may apply.)
Via Mobile Apps — If Equipped
•Aha™ by HARMAN — Aha™ by HARMAN makes it easy to instantly access your favorite
Web content on the go. Choose from over 40,000+ stations spanning internet radio, person-
alized music, news, entertainment, hotels, weather, audiobooks, Facebook®, Twitter®, and
more.
• iHeartRadio — iHeartRadio provides instant access to more than 1,500 live radio stations
from across the country and allows listeners to create custom music stations inspired by their
favorite artists or songs.
• Pandora® — Pandora® gives people the music and comedy they love anytime, anywhere.
Personalized stations launch instantly, with the input of a favorite artist, track, comedian, or
genre.
• Slacker Radio — Enjoy millions of songs and hundreds of handcrafted stations.
NOTE:
For detailed information on how to use Via Mobile apps visit the Mopar Owner Connect website
(moparownerconnect.com) and log in using the username and password you set up when
registering for Uconnect® Access.
ELECTRONICS
83
Page 86 of 220
Uconnect® 3.0
Clock Setting
1. Push the Menu button at the bottom of the radio, and push the Enter/Browse button forSystem Settings. Next, select the Time and Format setting and then select Set Time by
pushing the Enter/Browse button.
2. Adjust the hours or minutes by turning the Tune/Scroll knob, then pushing the Enter/Browse button to move to the next entry. You can also select 12hr or 24hr format by turning the
Tune/Scroll knob, then pushing the Enter/Browse button on the desired selection.
3. Once the time is set push the “Back” button to exit the time screen.
Uconnect® 3.0 Radio
1 — RADIO Button
2 — INFO Button
3 — MEDIA Button
4 — A-B-C Button
5 — Preset Buttons
6 — SEEK Down Button
7 — Play/Pause — Mute Button8 — SEEK Up Button
9 — ON/OFF Button/Volume Knob
10 — BROWSE/ENTER Button/TUNE/
SCROLL Knob
11 — AUDIO Button
12 — MENU Button
13 — BACK Button
ELECTRONICS
84
Page 87 of 220

Audio
• Push the AUDIO button on the radio faceplate.
The Audio Menu shows the following options for you to customize your audio settings.
Treble, Mid, Bass, Fade, Balance, Speed Adjusted Volume, Loudness
• Select the desired setting to adjust, then push the ENTER/BROWSE button. Turn theTUNE/SCROLL knob to adjust the setting + or - 9. Push the “Back” button when done.
Radio Operation
Seek Up/Down Buttons
• Push to seek through radio stations in AM, FM or SXM bands.
• Hold either button to bypass stations without stopping.
Store Radio Presets
• The Presets are available for all Radio Modes, and are activated by pushing any of the sixPreset buttons.
• When you are receiving a station that you wish to commit into memory, push and hold the desired numbered button for more than two seconds, or until you hear a confirmation beep.
• The Radio stores up to 18 presets in each of the Radio modes. Push the A-B-C button on the faceplate to select the A, B or C preset list.
USB/Audio Jack (AUX) Operation
USB/iPod®
• USB/iPod® Mode is entered by either inserting a USB Jump Drive or iPod® cable into the USBport or by pushing the MEDIA button located left of the display. Once in Media Mode, select
“USB/iPod” for the source.
• Push the MEDIA button, then select “USB/iPod” to change the mode to the USB device if the device is connected, allowing the music from your portable device to play through the
vehicle's speakers.
Audio Jack (AUX)
The AUX allows a portable device such as an MP3 player or an iPod® to be plugged into the radio
and utilize the vehicle’s audio system, using a 3.5 mm audio cable, to amplify the source and play
through the vehicle’s speakers.
• If the audio cable is connected to the AUX jack and portable device, push the MEDIA button, then press the “Source” button on the touchscreen and select “AUX” to change the mode to
auxiliary device. This allows the music from your portable device to play through the vehicle's
speakers.
ELECTRONICS
85
Page 88 of 220
The functions of the portable device are controlled using the device buttons, not the buttons on
the radio. The volume may be controlled using the radio or portable device.
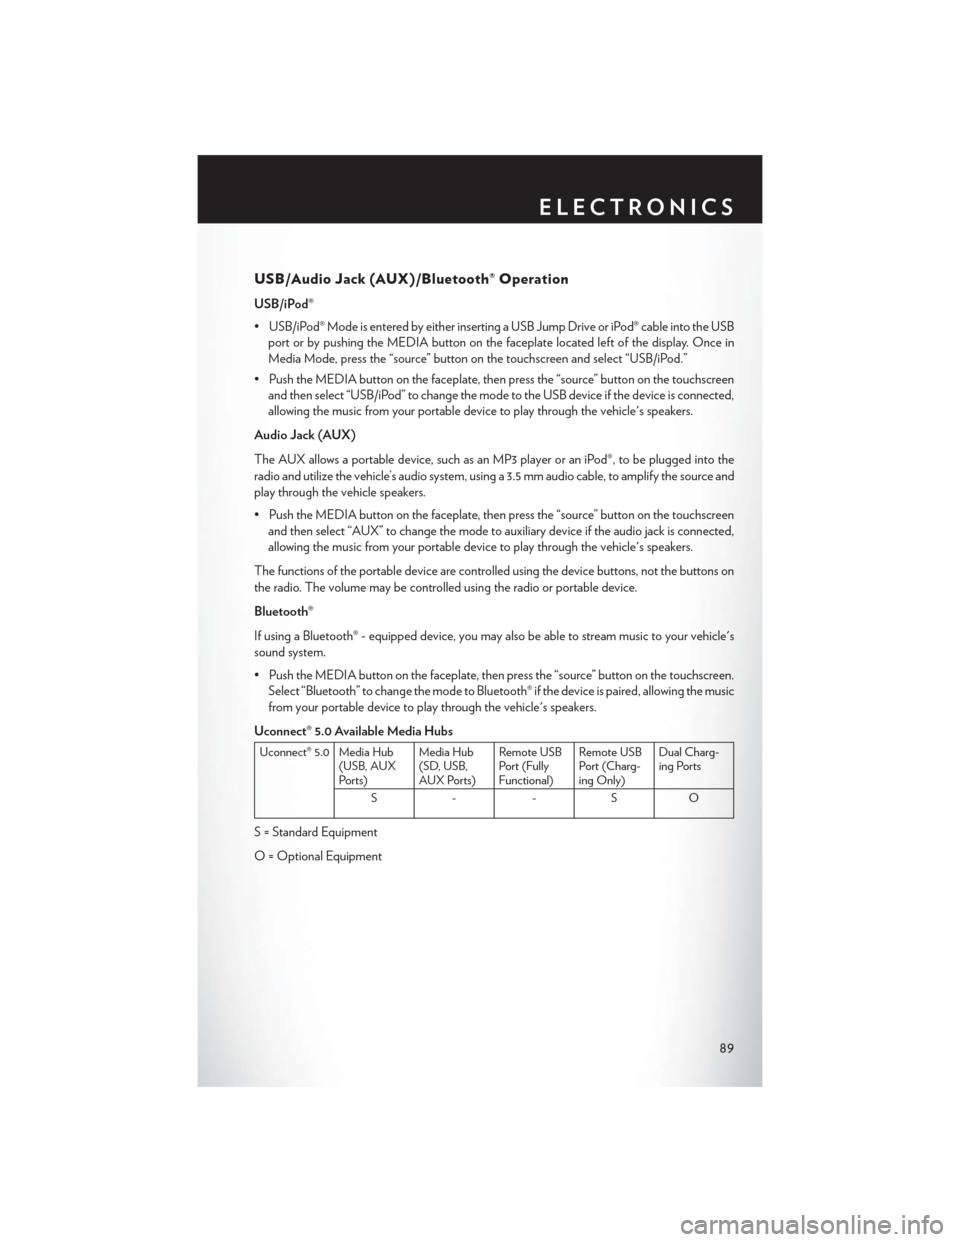
Uconnect® 3.0 Available Media Hubs
Uconnect® 3.0 Media Hub(USB, AUX
Ports) Media Hub
(SD, USB,
AUX Ports)Remote USB
Port (Fully
Functional)Remote USB
Port (Charg-
ing Only)Dual Charg-
ing Ports
S- -OO
S = Standard Equipment
O = Optional Equipment
Uconnect® 5.0
1 — Radio Mode Button
2 — Presets Button
3 — Compass Information Button
4 — Media Mode Button
5 — SEEK Down Button
6 — SEEK Up Button
7 — Climate Functions Button8 — Uconnect® Phone Button
9 — FM/SXM Button
10 — Manual Tune Button
11 — Info Button
12 — Audio Button
13 — MORE Functions Button
Uconnect® 5.0
ELECTRONICS
86
Page 91 of 220

USB/Audio Jack (AUX)/Bluetooth® Operation
USB/iPod®
• USB/iPod® Mode is entered by either inserting a USB Jump Drive or iPod® cable into the USBport or by pushing the MEDIA button on the faceplate located left of the display. Once in
Media Mode, press the “source” button on the touchscreen and select “USB/iPod.”
• Push the MEDIA button on the faceplate, then press the “source” button on the touchscreen and then select “USB/iPod” to change the mode to the USB device if the device is connected,
allowing the music from your portable device to play through the vehicle's speakers.
Audio Jack (AUX)
The AUX allows a portable device, such as an MP3 player or an iPod®, to be plugged into the
radio and utilize the vehicle’s audio system, using a 3.5 mm audio cable, to amplify the source and
play through the vehicle speakers.
• Push the MEDIA button on the faceplate, then press the “source” button on the touchscreen and then select “AUX” to change the mode to auxiliary device if the audio jack is connected,
allowing the music from your portable device to play through the vehicle's speakers.
The functions of the portable device are controlled using the device buttons, not the buttons on
the radio. The volume may be controlled using the radio or portable device.
Bluetooth®
If using a Bluetooth® - equipped device, you may also be able to stream music to your vehicle's
sound system.
• Push the MEDIA button on the faceplate, then press the “source” button on the touchscreen. Select “Bluetooth” to change the mode to Bluetooth® if the device is paired, allowing the music
from your portable device to play through the vehicle's speakers.
Uconnect® 5.0 Available Media Hubs
Uconnect® 5.0 Media Hub (USB, AUX
Ports) Media Hub
(SD, USB,
AUX Ports)Remote USB
Port (Fully
Functional)Remote USB
Port (Charg-
ing Only)Dual Charg-
ing Ports
S- -SO
S = Standard Equipment
O = Optional Equipment
ELECTRONICS
89
Page 92 of 220

Voice Text Reply (Not Compatible With iPhone®)
Once your Uconnect® system is pairedwith a compatible mobile device, the system can
announce a new incoming text message, and read it to your over the vehicle audio system. You
can reply to the message using Voice Recognition by selecting, or saying, one of the 18
pre-defined messages.
• Here’s How: Push the Uconnect® Phone button
and wait for the beep, then say “reply.”
Uconnect® will give the following prompt: “ Please say the message you would like to send.”
Wait for the beep and say one of the pre-defined messages. (If you are not sure, you can say
“help”). Uconnect® will then read the pre-defined messages allowed. As soon as you hear the
message you would like to send, you can interrupt the list of prompts by pushing the
Uconnect® phone button and saying the phrase. Uconnect® will confirm the message by
reading it back to you. Push the Phone button and say “Send.”
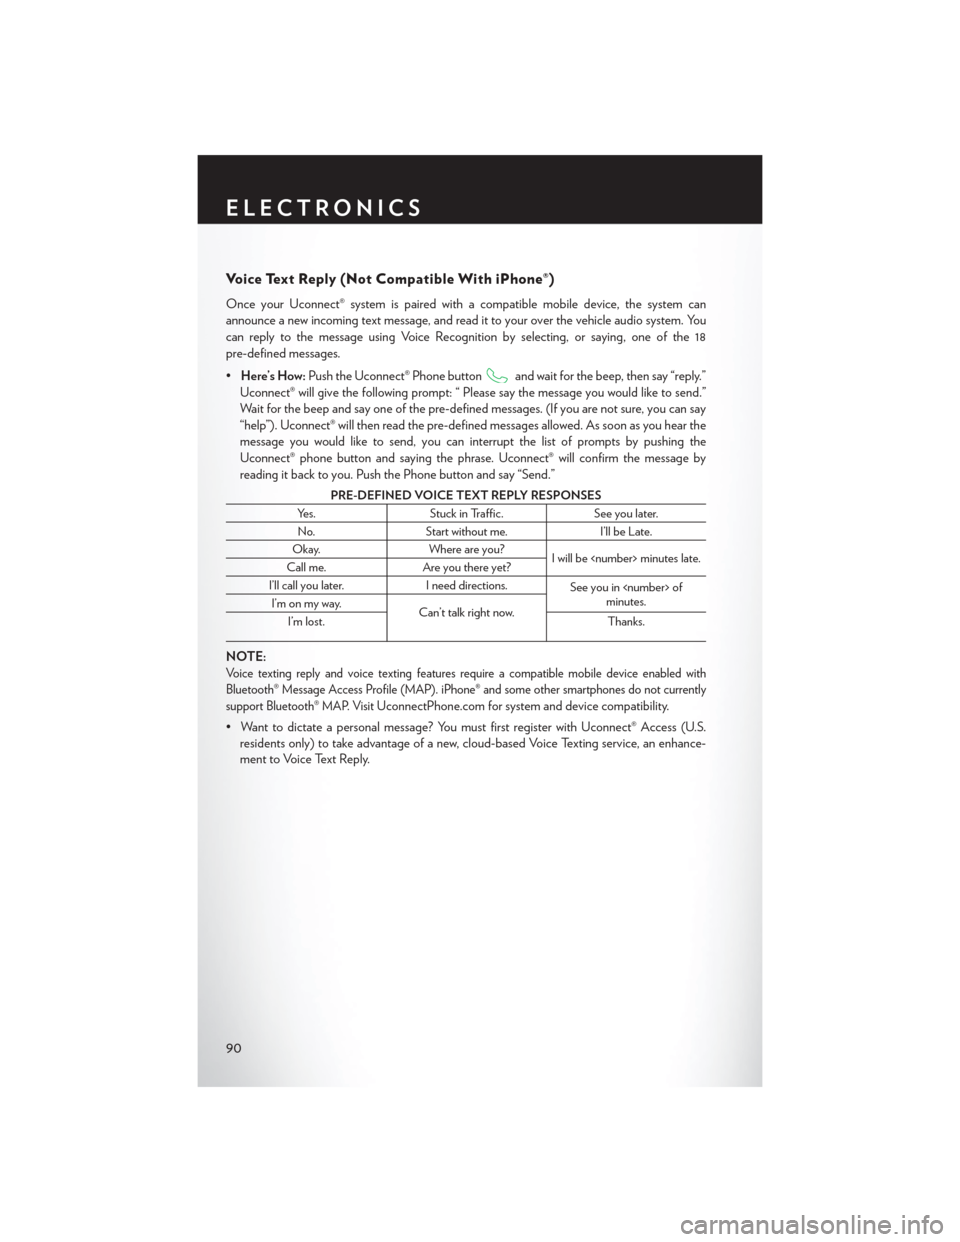
PRE-DEFINED VOICE TEXT REPLY RESPONSES
Yes. Stuck in Traffic. See you later.
No. Start without me. I’ll be Late.
Okay. Where are you?
I will be minutes late.
Call me. Are you there yet?
I’ll call you later. I need directions.
See you in of
minutes.
I’m on my way.
Can’t talk right now.
I’m lost. Thanks.
NOTE:
Voice texting reply and voice texting features require a compatible mobile device enabled with
Bluetooth® Message Access Profile (MAP). iPhone® and some other smartphones do not currently
support Bluetooth® MAP. Visit
UconnectPhone.com for system and device compatibility.
• Want to dictate a personal message? You must first register with Uconnect® Access (U.S. residents only) to take advantage of a new, cloud-based Voice Texting service, an enhance-
ment to Voice Text Reply.
ELECTRONICS
90
Page 93 of 220
Uconnect® 5.0 VOICE RECOGNITION QUICK TIPS
Introducing Uconnect®
Start using Uconnect® Voice Recognition with these helpful quick tips. It provides the key Voice
Commands and tips you need to know to control your Uconnect® 5.0 system.
Key Features:
• 5” touchscreen
• Three buttons on either side of the display
Uconnect® 5.0
ELECTRONICS
91
Page 94 of 220
Get Started
1. VisitUconnectPhone.com to check mobile device and feature compatibility and to find
phone pairing instructions.
2. Reduce background noise. Wind and passenger conversations are examples of noise that may impact recognition.
3. Speak clearly at a normal pace and volume while facing straight ahead. The microphone is positioned on the rearview mirror and aimed at the driver.
4. Each time you give a Voice Command, you must first press either the VR or Phone button, wait until afterthe beep, then say your Voice Command.
5. You can interrupt the help message or system prompts by pressing the VR or Phone button and saying a Voice Command from current category.
All you need to control your Uconnect® system with your voice are the buttons on your steering
wheel.
Uconnect® VR/Phone Buttons
1 — Push To Initiate Or To Answer A Phone Call, Send Or Receive A Text
2 — Push To Begin Radio Or Media Functions
3 — Push To End Call
ELECTRONICS
92