2015 CHRYSLER 200 display
[x] Cancel search: displayPage 90 of 220
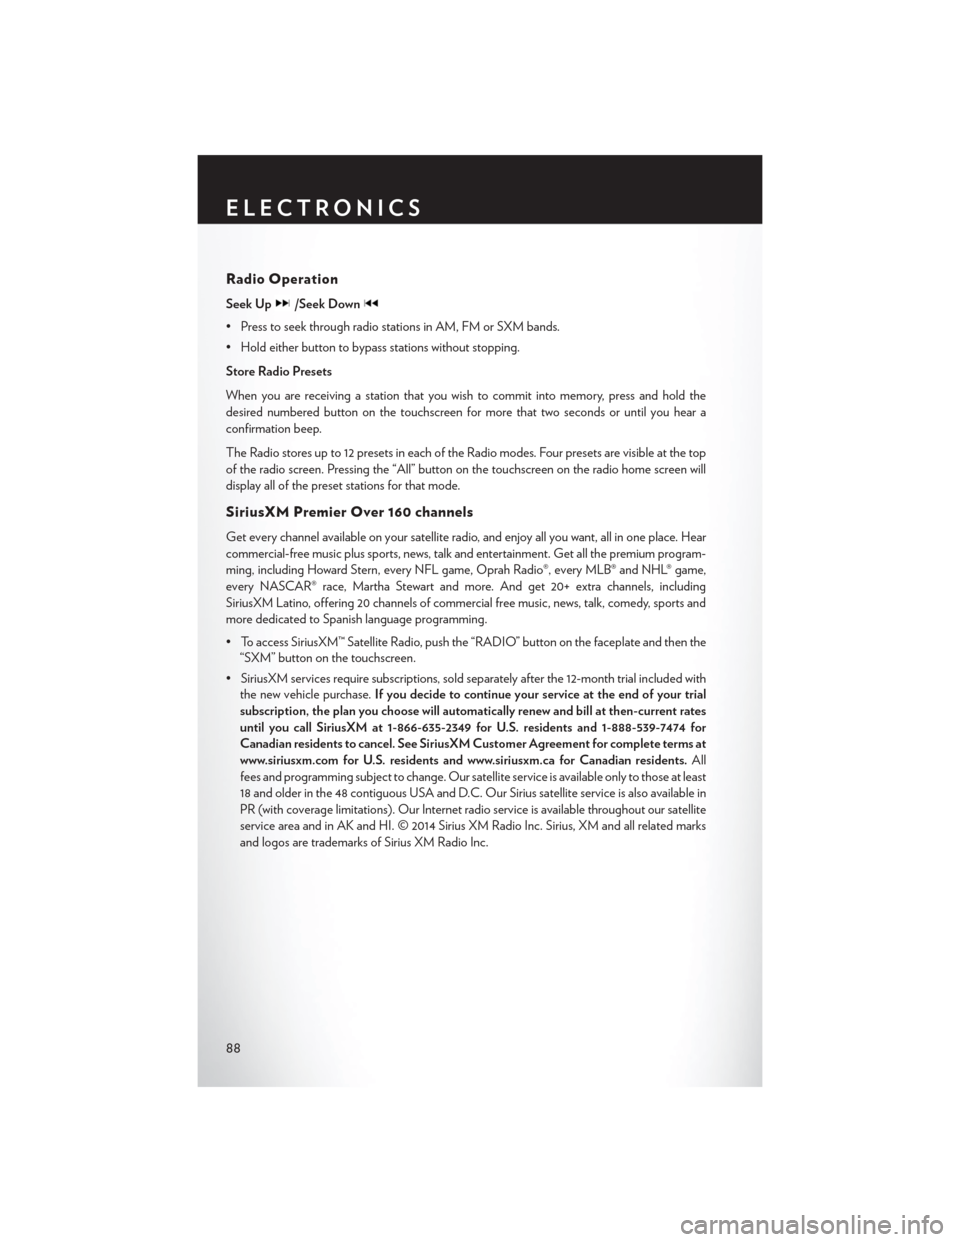
Radio Operation
Seek Up/Seek Down
• Press to seek through radio stations in AM, FM or SXM bands.
• Hold either button to bypass stations without stopping.
Store Radio Presets
When you are receiving a station that you wish to commit into memory, press and hold the
desired numbered button on the touchscreen for more that two seconds or until you hear a
confirmation beep.
The Radio stores up to 12 presets in each of the Radio modes. Four presets are visible at the top
of the radio screen. Pressing the “All” button on the touchscreen on the radio home screen will
display all of the preset stations for that mode.
SiriusXM Premier Over 160 channels
Get every channel available on your satellite radio, and enjoy all you want, all in one place. Hear
commercial-free music plus sports, news, talk and entertainment. Get all the premium program-
ming, including Howard Stern, every NFL game, Oprah Radio®, every MLB® and NHL® game,
every NASCAR® race, Martha Stewart and more. And get 20+ extra channels, including
SiriusXM Latino, offering 20 channels of commercial free music, news, talk, comedy, sports and
more dedicated to Spanish language programming.
• To access SiriusXM™ Satellite Radio, push the “RADIO” button on the faceplate and then the“SXM” button on the touchscreen.
• SiriusXM services require subscriptions, sold separately after the 12-month trial included with the new vehicle purchase. If you decide to continue your service at the end of your trial
subscription, the plan you choose will automatically renew and bill at then-current rates
until you call SiriusXM at 1-866-635-2349 for U.S. residents and 1-888-539-7474 for
Canadian residents to cancel. See SiriusXM Customer Agreement for complete terms at
www.siriusxm.com for U.S. residents and www.siriusxm.ca for Canadian residents. All
fees and programming subject to change. Our satellite service is available only to those at least
18 and older in the 48 contiguous USA and D.C. Our Sirius satellite service is also available in
PR (with coverage limitations). Our Internet radio service is available throughout our satellite
service area and in AK and HI. © 2014 Sirius XM Radio Inc. Sirius, XM and all related marks
and logos are trademarks of Sirius XM Radio Inc.
ELECTRONICS
88
Page 91 of 220
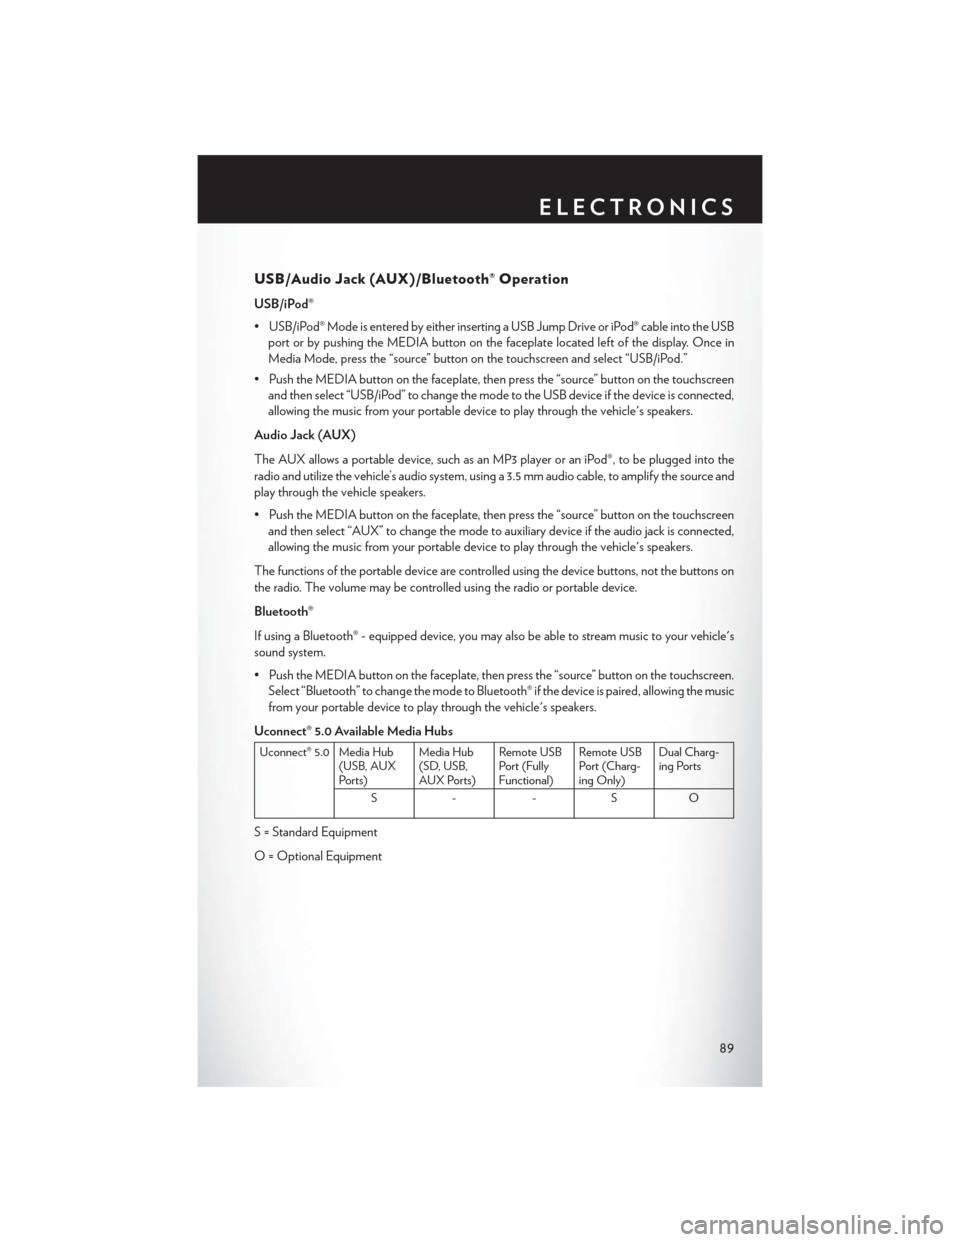
USB/Audio Jack (AUX)/Bluetooth® Operation
USB/iPod®
• USB/iPod® Mode is entered by either inserting a USB Jump Drive or iPod® cable into the USBport or by pushing the MEDIA button on the faceplate located left of the display. Once in
Media Mode, press the “source” button on the touchscreen and select “USB/iPod.”
• Push the MEDIA button on the faceplate, then press the “source” button on the touchscreen and then select “USB/iPod” to change the mode to the USB device if the device is connected,
allowing the music from your portable device to play through the vehicle's speakers.
Audio Jack (AUX)
The AUX allows a portable device, such as an MP3 player or an iPod®, to be plugged into the
radio and utilize the vehicle’s audio system, using a 3.5 mm audio cable, to amplify the source and
play through the vehicle speakers.
• Push the MEDIA button on the faceplate, then press the “source” button on the touchscreen and then select “AUX” to change the mode to auxiliary device if the audio jack is connected,
allowing the music from your portable device to play through the vehicle's speakers.
The functions of the portable device are controlled using the device buttons, not the buttons on
the radio. The volume may be controlled using the radio or portable device.
Bluetooth®
If using a Bluetooth® - equipped device, you may also be able to stream music to your vehicle's
sound system.
• Push the MEDIA button on the faceplate, then press the “source” button on the touchscreen. Select “Bluetooth” to change the mode to Bluetooth® if the device is paired, allowing the music
from your portable device to play through the vehicle's speakers.
Uconnect® 5.0 Available Media Hubs
Uconnect® 5.0 Media Hub (USB, AUX
Ports) Media Hub
(SD, USB,
AUX Ports)Remote USB
Port (Fully
Functional)Remote USB
Port (Charg-
ing Only)Dual Charg-
ing Ports
S- -SO
S = Standard Equipment
O = Optional Equipment
ELECTRONICS
89
Page 93 of 220
Uconnect® 5.0 VOICE RECOGNITION QUICK TIPS
Introducing Uconnect®
Start using Uconnect® Voice Recognition with these helpful quick tips. It provides the key Voice
Commands and tips you need to know to control your Uconnect® 5.0 system.
Key Features:
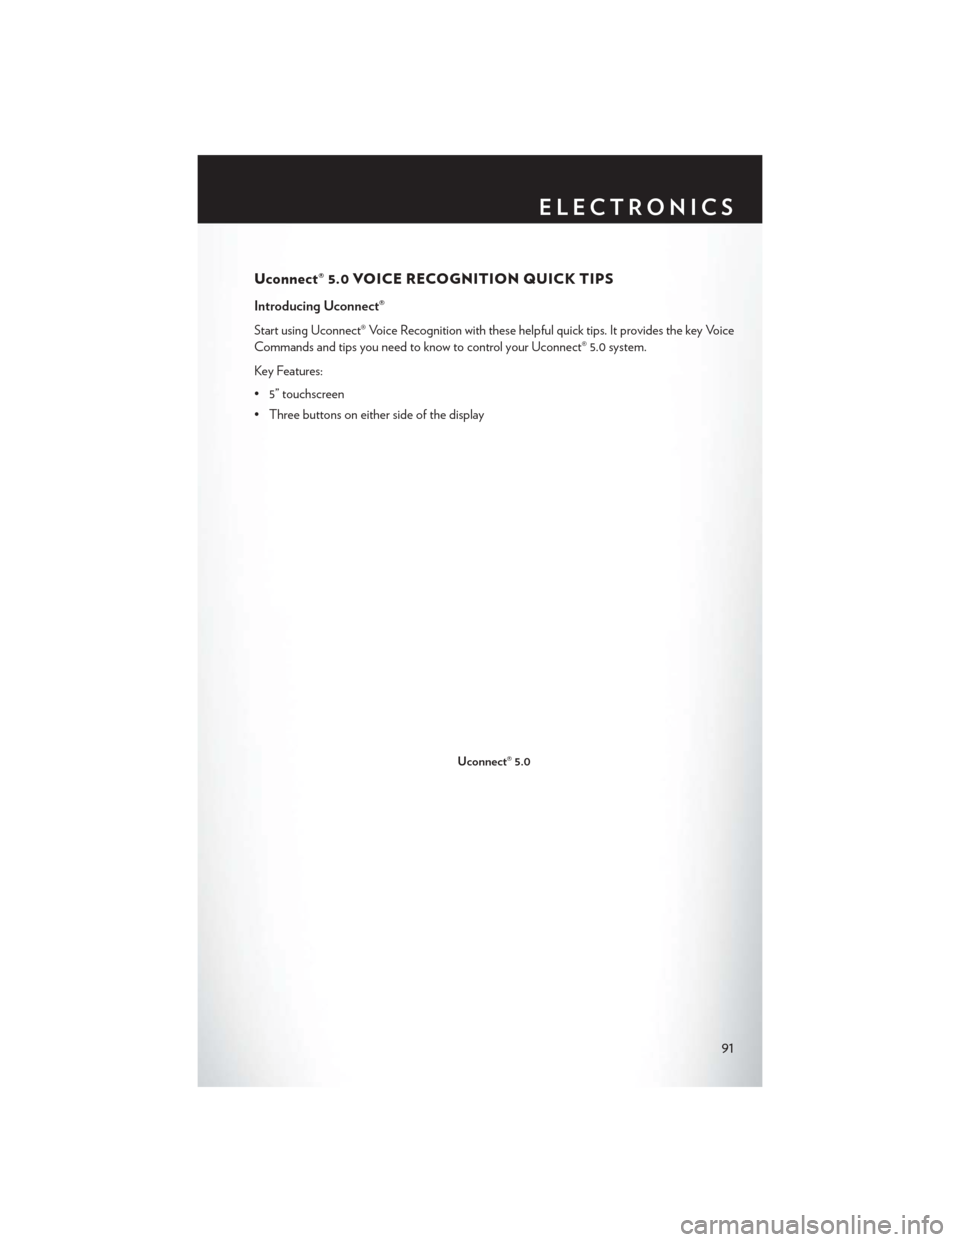
• 5” touchscreen
• Three buttons on either side of the display
Uconnect® 5.0
ELECTRONICS
91
Page 97 of 220

Media
Uconnect® offers connections via USB, SD, Bluetooth® and auxiliary ports (If Equipped). Voice
operation is only available for connected USB and iPod® devices. (Remote CD player optional
and not available on all vehicles.)
Push the VR button
. After the beep, say one of the following commands and follow the
prompts to switch your media source or choose an artist.
• Change source to Bluetooth®
• Change source to iPod®
• Change source to USB
• Play artist Beethoven; Play album Greatest Hits; Play songMoonlight Sonata; Play genre
Classical
TIP: Press the Browse button on the touchscreen to see all of the music on your iPod® or USB
device. Your Voice Command must match exactlyhow the artist, album, song and genre
information is displayed.
Uconnect® 5.0 Media
ELECTRONICS
95
Page 100 of 220

Uconnect® 8.4A
Uconnect® 8.4A — If Equipped
At A Glance
Displaying The Time
• If the time is not currently displayed on the radio or player main page, press the “Controls”button on the touchscreen or the “Apps” button on the touchscreen, then the “Settings”
button on the touchscreen. In the Settings list, press the “Clock” button on the touchscreen.
Uconnect® 8.4A
1 — Status Bar
2 — Menu Bar
3 — Uconnect® Apps Button
4 — Uconnect® Phone Button5 — Climate Button
6 — Controls Button
7 — Media Button
8 — Radio Button
ELECTRONICS
98
Page 101 of 220
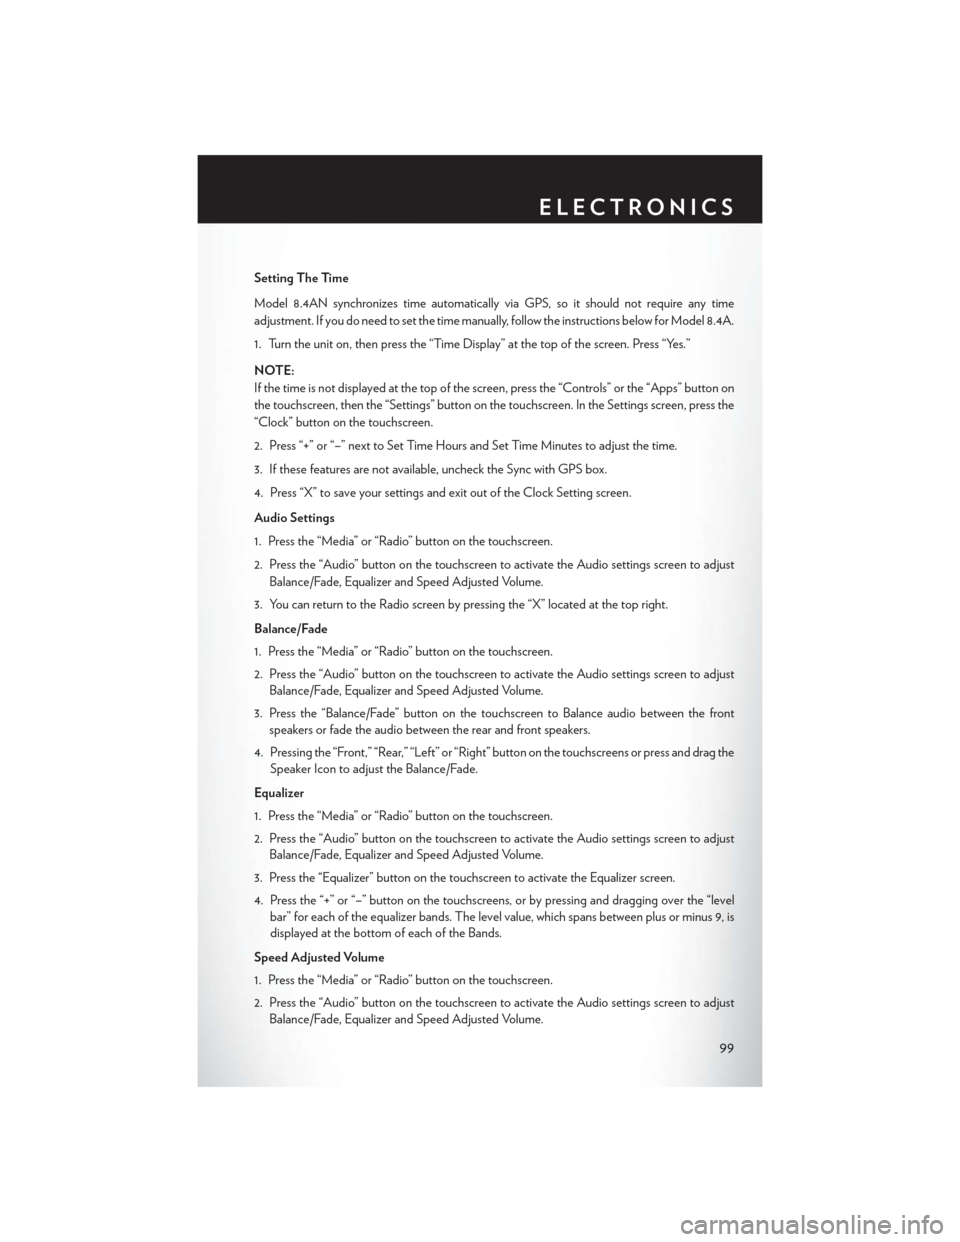
Setting The Time
Model 8.4AN synchronizes time automatically via GPS, so it should not require any time
adjustment. If you do need to set the time manually, follow the instructions below for Model 8.4A.
1. Turn the unit on, then press the “Time Display” at the top of the screen. Press “Yes.”
NOTE:
If the time is not displayed at the top of the screen, press the “Controls” or the “Apps” button on
the touchscreen, then the “Settings” button on the touchscreen. In the Settings screen, press the
“Clock” button on the touchscreen.
2. Press “+” or “–” next to Set Time Hours and Set Time Minutes to adjust the time.
3. If these features are not available, uncheck the Sync with GPS box.
4. Press “X” to save your settings and exit out of the Clock Setting screen.
Audio Settings
1. Press the “Media” or “Radio” button on the touchscreen.
2. Press the “Audio” button on the touchscreen to activate the Audio settings screen to adjustBalance/Fade, Equalizer and Speed Adjusted Volume.
3. You can return to the Radio screen by pressing the “X” located at the top right.
Balance/Fade
1. Press the “Media” or “Radio” button on the touchscreen.
2. Press the “Audio” button on the touchscreen to activate the Audio settings screen to adjust Balance/Fade, Equalizer and Speed Adjusted Volume.
3. Press the “Balance/Fade” button on the touchscreen to Balance audio between the front speakers or fade the audio between the rear and front speakers.
4. Pressing the “Front,” “Rear,” “Left” or “Right” button on the touchscreens or press and drag the Speaker Icon to adjust the Balance/Fade.
Equalizer
1. Press the “Media” or “Radio” button on the touchscreen.
2. Press the “Audio” button on the touchscreen to activate the Audio settings screen to adjust Balance/Fade, Equalizer and Speed Adjusted Volume.
3. Press the “Equalizer” button on the touchscreen to activate the Equalizer screen.
4. Press the “+” or “–” button on the touchscreens, or by pressing and dragging over the “level bar” for each of the equalizer bands. The level value, which spans between plus or minus 9, is
displayed at the bottom of each of the Bands.
Speed Adjusted Volume
1. Press the “Media” or “Radio” button on the touchscreen.
2. Press the “Audio” button on the touchscreen to activate the Audio settings screen to adjust Balance/Fade, Equalizer and Speed Adjusted Volume.
ELECTRONICS
99
Page 105 of 220
Replay
Lets you replay up to 44 minutes of the content of the current SiriusXM channel.
Replay
OptionOption Description
Play/Pause Press to Pause content playback. Press Pause/Play again to resume playback.
Rewind/RW Rewinds the channel content in steps of five seconds. Press and hold to rewind continuously, then release to begin playing content at that point.
Fast
Forward/FW Forwards the content, and works similarly to Rewind/RW. However, Fast
Forward/FW can only be used when content has been previously rewound.
Replay Time Displays the amount of time in the upper center of the screen by which your content lags the Live channel.
Live Resumes playback of Live content at any time while replaying rewound content.
SiriusXM services require subscriptions, sold separately after the 12-month trial included with the
new vehicle purchase. If you decide to continue your service at the end of your trial subscrip-
tion, the plan you choose will automatically renew and bill at then-current rates until you call
SiriusXM at 1-866-635-2349 for U.S. residents and 1-888-539-7474 for Canadian residents
to cancel. See SiriusXM Customer Agreement for complete terms at www.siriusxm.com for
U.S. residents and www.siriusxm.ca for Canadian residents. All fees and programming subject
to change. Our satellite service is available only to those at least 18 and older in the 48 contiguous
USA and D.C. Our Sirius satellite service is also available in PR (with coverage limitations). Our
Internet radio service is available throughout our satellite service area and in AK and HI. © 2014
Sirius XM Radio Inc. Sirius, XM and all related marks and logos are trademarks of Sirius XM
Radio Inc.
MEDIA HUB — PLAYING iPod®/USB/MP3 DEVICES
There are many ways to play music from iPod®/MP3 players or USB devices through your
vehicle's sound system.
• Press your “Media” button on the touchscreen to begin.
USB Port
Connect your iPod® or compatible device using a USB cable into the USB Port. USB Memory
sticks with audio files can also be used. Audio from the device can be played on the vehicle's
sound system while providing metadata (artist, track title, album, etc.) information on the radio
display.
When connected, the iPod®/compatible USB device can be controlled using the radio or
Steering Wheel Audio Controls to play, skip to the next or previous track, browse, and list the
contents.
The iPod® battery charges when plugged into the USB port (if supported by the specific device).
To route the USB/iPod® cable out of the center console, use the access cut out.
ELECTRONICS
103
Page 107 of 220

iPod®/CD/AUX CONTROLS
• The iPod®/CD/AUX controls are accessed by pressing the desired button on the touchscreendisplayed on the side of the screen and choose between Disc, AUX, iPod®, or Bluetooth®.
NOTE:
Uconnect® will usually automatically switch to the appropriate mode when something is first
connected or inserted into the system.
Uconnect® 8.4A Media
1 — Repeat Music Track
2 — Music Track And Time
3 — Shuffle Music Tracks
4 — Music Source5 — Music Track Information
6 — Songs In Cue To Be Played
7 — Browse Music By
ELECTRONICS
105