2015 CHRYSLER 200 ad blue
[x] Cancel search: ad bluePage 142 of 220

Go Home
A Home location must be saved in the system. From the Main Navigation menu, press the “Where To?”
button on the touchscreen, then press the “Go Home” button on the touchscreen.
Your route is marked with a blue line on the map. If you depart from the original route, your route
is recalculated. A speed limit icon could appear as you travel on major roadways.
Adding A Stop
To add a stop you must be navigating a route.
• Press the “Menu” button on the touchscreen to return to the Main Navigation menu.
• Press the “Where To?” button on the touchscreen, then search for the extra stop. Whenanother location has been selected, you can choose to cancel your previous route, add as the
first destination or add as the last destination.
• Press the desired selection and press the “Yes” button on the touchscreen.
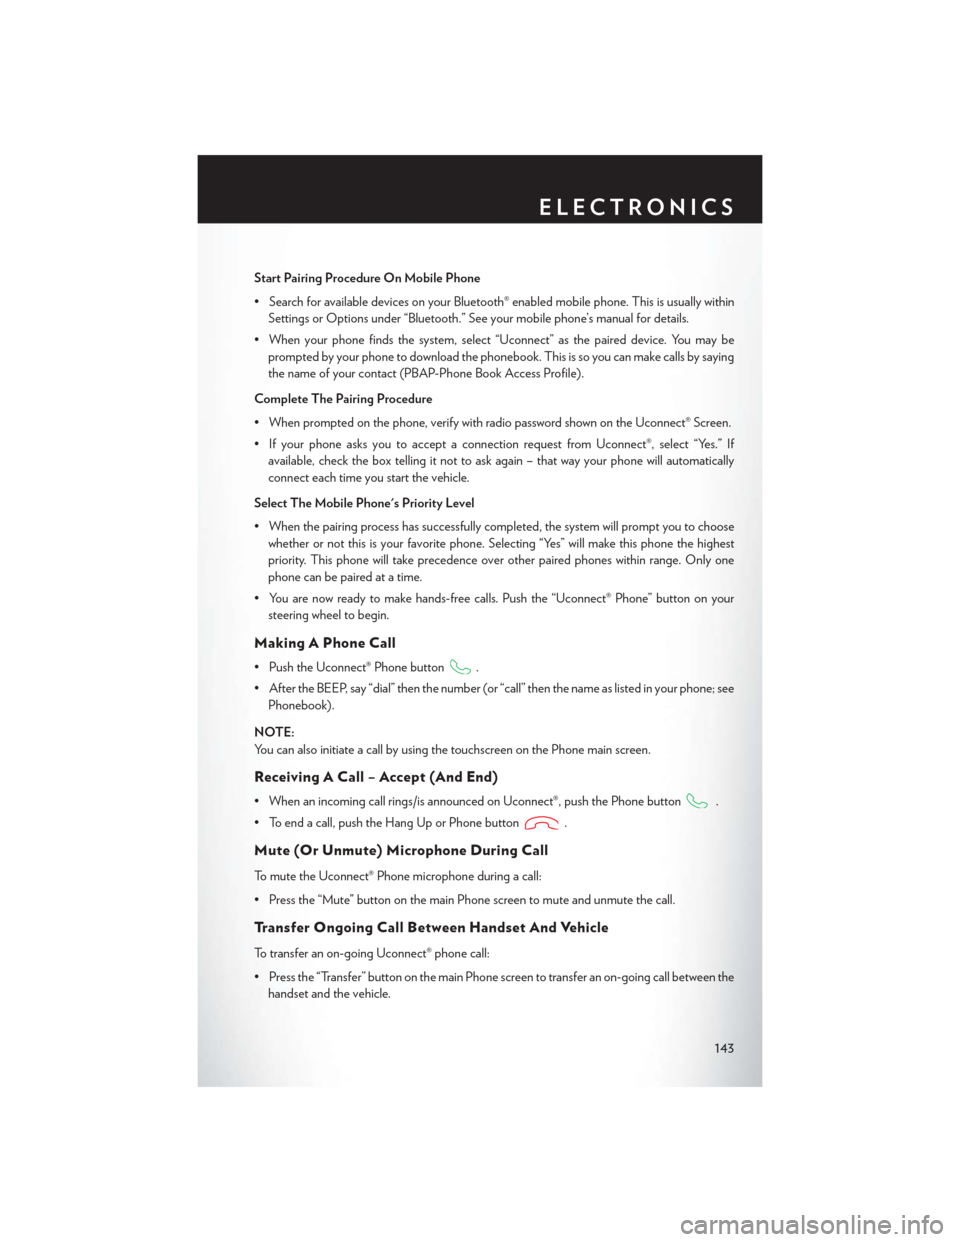
Uconnect® 8.4AN Map
1 — Distance To Next Turn
2 — Next Turn Street
3 — Estimated Time Of Arrival
4 — Zoom In And Out5 — Your Location On The Map
6 — Navigation Main Menu
7 — Current Street Location
8 — Navigation Routing Options
ELECTRONICS
140
Page 144 of 220

NOTE:
SiriusXM Travel Link requires a subscription, sold separately after the 1 year trial subscription
included with your vehicle purchase.
SiriusXM Travel Link is only available in the United States.
Fuel PricesCheck local gas and diesel prices in your area and route to the station of your
choice.
Movie Listings Check local movie theatres and listings in your area and route to the theater of
your choice.
Sports Scores In-game and final scores as well as weekly schedules.
Weather Check variety of local and national weather information from radar maps to
current and 5-day forecast.
Uconnect® Phone (Bluetooth® Hands Free Calling)
• If the Uconnect® Phone Buttonexists on your steering wheel, then you have the
Uconnect® Phone features.
• The Uconnect® Phone is a voice-activated, hands-free, in-vehicle communications system with Voice Command Capability (see Voice Command section).
• The Uconnect® Phone allows you to dial a phone number with your mobile phone using simple voice commands or using button on the touchscreen.
• Refer to the “Understanding The Features Of Your Vehicle” section of your vehicle's Owner's Manual on the DVD for further details.
NOTE:
The Uconnect® Phone requires a mobile phone equipped with the Bluetooth® Hands-Free
Profile, Version 1.0 or higher. For Uconnect® Customer Support:
• U.S. residents visit UconnectPhone.com or call 1-877-855-8400.
• Canadian Residents visit UconnectPhone.com or call, 1-800-465-2001 (English) or 1-800-387-9983 (French).
Pairing A Phone
• To use the Uconnect® Phone feature, you must first pair your Bluetooth® phone with theUconnect® system.
Start Pairing Procedure On The Radio
• Press the “Phone” button on the touchscreen, then press the “Settings” button on the touchscreen. Next, press “Add Device.”
• Uconnect® Phone will display an “In progress” screen while the system is connecting.
ELECTRONICS
142
Page 145 of 220

Start Pairing Procedure On Mobile Phone
• Search for available devices on your Bluetooth® enabled mobile phone. This is usually withinSettings or Options under “Bluetooth.” See your mobile phone’s manual for details.
• When your phone finds the system, select “Uconnect” as the paired device. You may be prompted by your phone to download the phonebook. This is so you can make calls by saying
the name of your contact (PBAP-Phone Book Access Profile).
Complete The Pairing Procedure
• When prompted on the phone, verify with radio password shown on the Uconnect® Screen.
• If your phone asks you to accept a connection request from Uconnect®, select “Yes.” If available, check the box telling it not to ask again – that way your phone will automatically
connect each time you start the vehicle.
Select The Mobile Phone's Priority Level
• When the pairing process has successfully completed, the system will prompt you to choose whether or not this is your favorite phone. Selecting “Yes” will make this phone the highest
priority. This phone will take precedence over other paired phones within range. Only one
phone can be paired at a time.
• You are now ready to make hands-free calls. Push the “Uconnect® Phone” button on your steering wheel to begin.
Making A Phone Call
• Push the Uconnect® Phone button.
• After the BEEP, say “dial” then the number (or “call” then the name as listed in your phone; see Phonebook).
NOTE:
You can also initiate a call by using the touchscreen on the Phone main screen.
Receiving A Call – Accept (And End)
• When an incoming call rings/is announced on Uconnect®, push the Phone button.
• To end a call, push the Hang Up or Phone button
.
Mute (Or Unmute) Microphone During Call
To mute the Uconnect® Phone microphone during a call:
• Press the “Mute” button on the main Phone screen to mute and unmute the call.
Transfer Ongoing Call Between Handset And Vehicle
To transfer an on-going Uconnect® phone call:
• Press the “Transfer” button on the main Phone screen to transfer an on-going call between the handset and the vehicle.
ELECTRONICS
143
Page 147 of 220

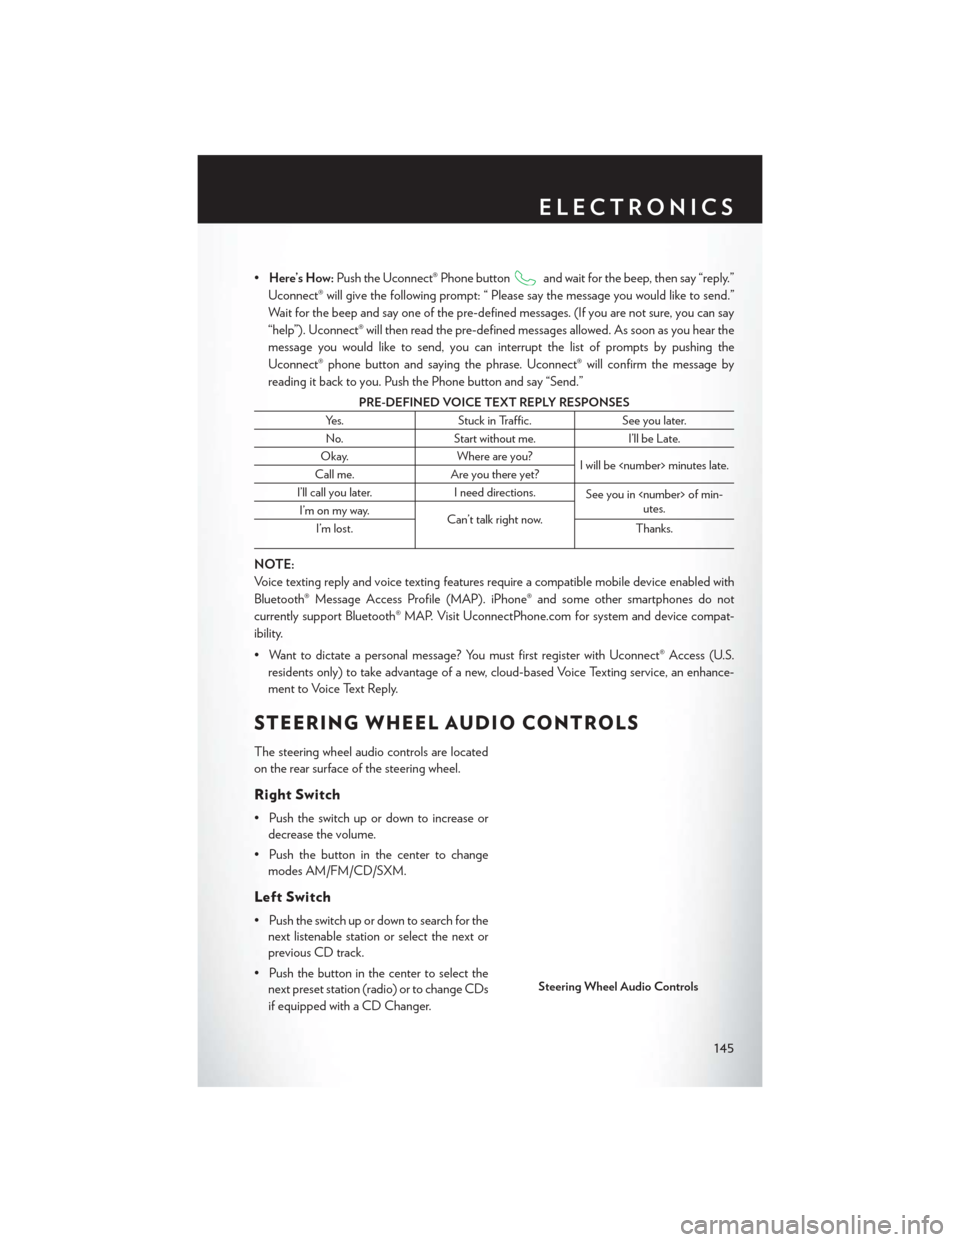
•Here’s How: Push the Uconnect® Phone buttonand wait for the beep, then say “reply.”
Uconnect® will give the following prompt: “ Please say the message you would like to send.”
Wait for the beep and say one of the pre-defined messages. (If you are not sure, you can say
“help”). Uconnect® will then read the pre-defined messages allowed. As soon as you hear the
message you would like to send, you can interrupt the list of prompts by pushing the
Uconnect® phone button and saying the phrase. Uconnect® will confirm the message by
reading it back to you. Push the Phone button and say “Send.”
PRE-DEFINED VOICE TEXT REPLY RESPONSES
Yes. Stuck in Traffic. See you later.
No. Start without me. I’ll be Late.
Okay. Where are you?
I will be
Call me. Are you there yet?
I’ll call you later. I need directions.
See you in
utes.
I’m on my way.
Can’t talk right now.
I’m lost. Thanks.
NOTE:
Voice texting reply and voice texting features require a compatible mobile device enabled with
Bluetooth® Message Access Profile (MAP). iPhone® and some other smartphones do not
currently support Bluetooth® MAP. Visit UconnectPhone.com for system and device compat-
ibility.
• Want to dictate a personal message? You must first register with Uconnect® Access (U.S.
residents only) to take advantage of a new, cloud-based Voice Texting service, an enhance-
ment to Voice Text Reply.
STEERING WHEEL AUDIO CONTROLS
The steering wheel audio controls are located
on the rear surface of the steering wheel.
Right Switch
• Push the switch up or down to increase ordecrease the volume.
• Push the button in the center to change modes AM/FM/CD/SXM.
Left Switch
• Push the switch up or down to search for thenext listenable station or select the next or
previous CD track.
• Push the button in the center to select the next preset station (radio) or to change CDs
if equipped with a CD Changer.
Steering Wheel Audio Controls
ELECTRONICS
145
Page 150 of 220

PROGRAMMABLE FEATURES
Uconnect® Customer Programmable Features
The Uconnect® system allows you to access Customer Programmable feature settings such as
Display, Clock, Safety/Assistance, Lights, Doors & Locks, Auto-On Comfort & Remote Start,
Engine Off Operation, Compass Settings, Audio, Trailer Brake, Phone/Bluetooth®, Suspension
and SiriusXM Setup and System Information through buttons on the touchscreen.
• Push the “Controls” button located near the bottom of the touchscreen, then push the“Settings” button on the touchscreen to access the Settings screen. When making a selection,
scroll up or down until the preferred setting is highlighted, then press and release the preferred
setting until a check-mark appears next to the setting, showing that setting has been selected.
The following feature settings are available:
• Display • Voice
• Units • Doors & Locks
• Safety/Assistance • Engine Off Options
• Auto-On Comfort & Remote Start • Audio
• Phone/Bluetooth® • SiriusXM Setup
• Lights • System Information
• Clock • Compass
Refer to “Uconnect Settings/Customer Programmable Features” found within “Understanding
Your Instrument Panel” located in your Owner's Manual on the DVD for further information.
UNIVERSAL GARAGE DOOR OPENER
(HomeLink®)
HomeLink® replaces up to three hand-held
transmitters that operate devices such as ga-
rage door openers, motorized gates, lighting or
home security systems. The HomeLink® unit is
powered by your vehicles 12 Volt battery.
The HomeLink® buttons that are located in the
overhead console or sunvisor designate the
three different HomeLink® channels.
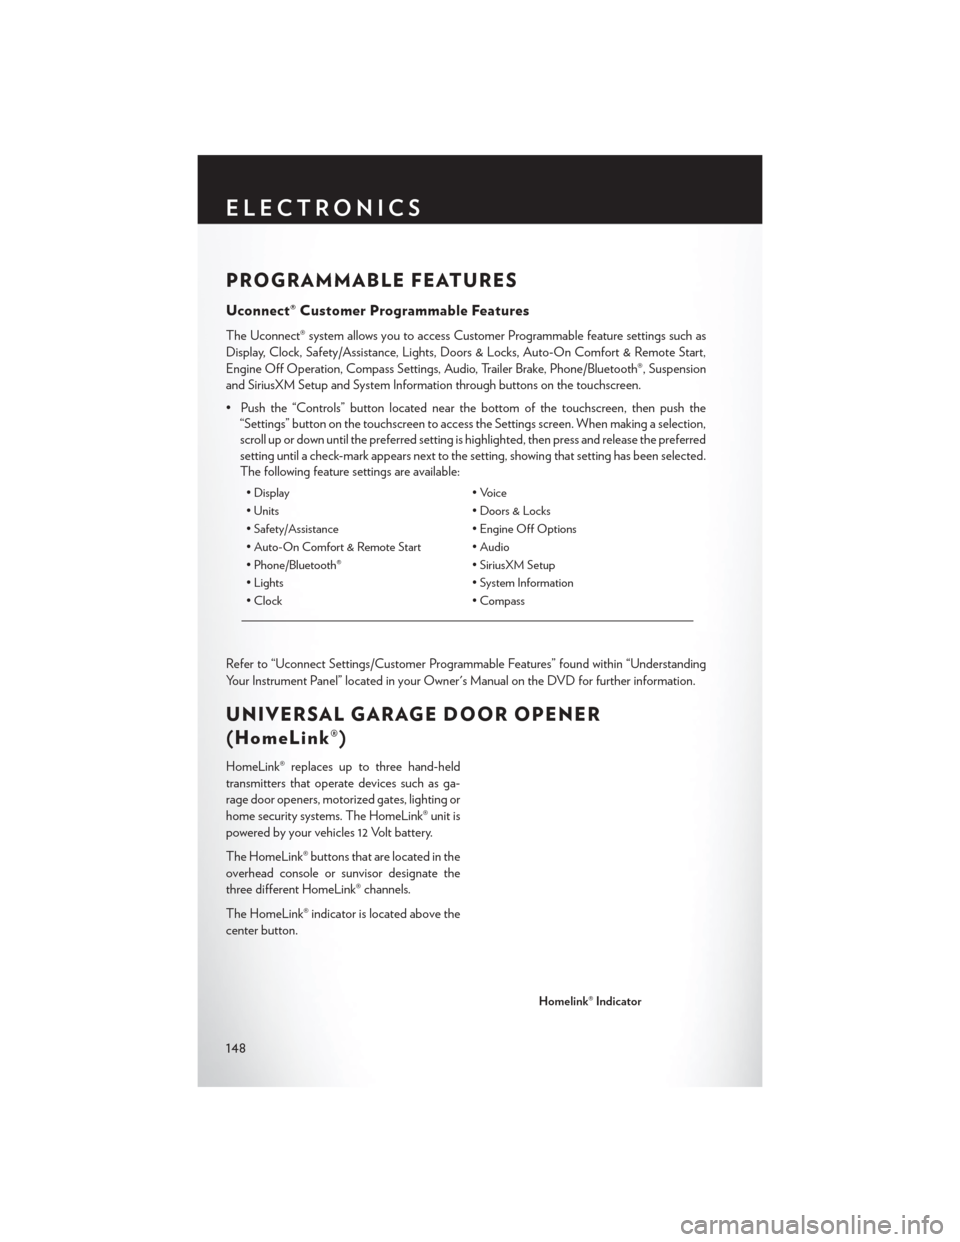
The HomeLink® indicator is located above the
center button.
Homelink® Indicator
ELECTRONICS
148
Page 196 of 220

Cavity Blade FuseCartridge FuseDescription
F26 – –Not Used
F27 – –Not Used
F28 15 Amp Blue –Transmission Control
Module (TCM)
F29 – –Not Used
F30 10 Amp Red –Engine Control Module
(ECM) / EPS
F31 – –Not Used
F32 – –Not Used
F33 – –Not Used
F34 – –Not Used
F35 – –Not Used
F36 – –Not Used
F37 – 50 Amp RedRadiator Fan PWM Con-
troller
F38 – –Not Used
F39 –40 Amp Green HVAC Blower Motor
F40 – –Not Used
F41 – 50 Amp RedVoltage Stability Module
(VSM) #1 – If Equipped With Stop/Start Engine Option
F41 — 60 Amp Yellow Body Controller Module
(BCM) – Feed 1
F42 – –Not Used
F43 20 Amp Yellow –Fuel Pump Motor
F44 – –Not Used
F45 – 30 Amp Pink Passenger Door Module
(PDM) – If Equipped
F46 – 25 Amp Clear Sunroof – If Equipped
F47 – –Not Used
F48 – 30 Amp Pink Driver Door Module
(DDM)
F49 – 30 Amp Pink Power Inverter (115V
A/C) – If Equipped
F50 – 30 Amp Pink Windshield Wiper Smart
Motor (WWSM)
F51 – –Not Used
F52 – –Not Used
F53 – 30 Amp Pink Brake System Module
BSM & Valves
MAINTAINING YOUR VEHICLE
194
Page 197 of 220

Cavity Blade FuseCartridge FuseDescription
F54 – 30 Amp Pink Body Controller Module
(BCM) – Feed 3
F55 10 Amp Red –Blind Spot Sensors/
Compass/Rearview Cam- era – If Equipped
F56 15 Amp Blue –Ignition Node Module
(IGNM) / RF Hub
F57 – –Not Used
F58 10 Amp Red –Occupant Classification
Module/Voltage Stability Module (VSM) #2 – If
Equipped With Stop/Start Engine Option
F59 – 30 Amp PinkDrivetrain Control Module
(DTCM)
F60 20 Amp Yellow –Power Outlet – Center
Console
F61 – –Not Used
F62 – –Not Used
F63 20 Amp Yellow –Front Heated Seats – If
Equipped
F64 20 Amp Yellow –Heated Steering Wheel –
If Equipped
F65 10 Amp Red –In Car Temperature
Sensor/Humidity Sensor/ Driver Assist System
Module (DASM)/Park Assist (PAM) – If
Equipped With Stop/Start Engine Option
F66 15 Amp Blue –Instrument Panel Cluster
(IPC)/Electronic Climate Control (ECC )
F67 10 Amp Red –In Car Temperature
Sensor/Humidity Sensor/ Drivers Assist System
Module (DASM)/Park Assist (PAM) – If Equipped
F68 – –Not Used
F69 10 Amp Red –Gear Shift Module
(GSM)/Active Grill Shut-
ter (AGS). – If Equipped / EPB SW
MAINTAINING YOUR VEHICLE
195
Page 198 of 220

Cavity Blade FuseCartridge FuseDescription
F70 5 Amp Tan –Intelligent Battery Sensor
(IBS) – If Equipped with Stop/Start Option
F71 20 Amp Yellow –HID Headlamp Right – If
Equipped with Stop/Start Option
F72 10 Amp Red –Heated Mirrors – If
Equipped
F73 – –Not Used
F74 – 30 Amp Pink Rear Defroster/Defogger
F75 20 Amp Yellow –Cigar Lighter
F76 10 Amp Red –Drivers Window SW– If
Equipped
F77 10 Amp Red –UCI Port/Brake Pedal
Switch
F78 10 Amp Red –Diagnostic Port/Steering
Column Control Module (SCCM)
F79 10 Amp Red –Integrated Center Stack
(ICS)/Switch Bank/
Instrument Panel Cluster (IPC)/EPB SW
F80 20 Amp Yellow –Radio
F81 – –Not Used
F82 – –Not Used
F83 – 20 Amp Blue Engine Control Module
(ECM)
F84 – 30 Amp PinkElectric Park Brake (EPB)
– Left
F85 – –Not Used
F86 20 Amp Yellow –Horns – If Equipped With
Stop/Start Engine Option
F87A 20 Amp Yellow –HID Headlamp Left – If
Equipped Stop/Start Only
F88 10 Amp Red –Collision Mitigation Mod-
ule (CMM)/
Electrochromatic Mirror/ Haptic Lane Feedback
Module (Half )/Humidity Sensor– If Equipped
F89 – –Not Used
F90 – –Not Used
F91 – –Not Used
F92 – –Not Used
MAINTAINING YOUR VEHICLE
196