2015 CHRYSLER 200 buttons
[x] Cancel search: buttonsPage 77 of 220

1.Assist Call – The rear view mirror contains an ASSIST push button which (once registered)
automatically connects the vehicle occupants to one of these predefined destinations for
immediate support:
•Roadside Assistance Call — If you get a
flat tire, or need a tow, you’ll be con-
nected to someone who can help any-
time. Additional fees may apply. Addi-
tional information in this section.
• Uconnect® Access Care — In vehicle
support for Uconnect® Access System,
Apps and Features.
• Vehicle Care — Total support for your
Chrysler Group LLC vehicle.
2. Emergency 9-1-1 Call (If Equipped) —
The rear view mirror contains a 9-1-1 button
that, when pressed, may place a call from
your vehicle to a local 9-1-1 operator to re-
quest help from local police, fire or ambu-
lance personnel. If this button is accidentally
pressed, you will have 10 seconds to stop the call. To cancel, press the 9-1-1 Call button again
or press the “cancel button shown on the touchscreen. After 10 seconds has passed, the 9-1-1
call will be placed and only the 9-1-1 operator can cancel it. The LED light on the rearview
mirror will turn green once a connection to a 9-1-1 operator has been made. The green LED
light will turn off once the 9-1-1 call is terminated. Have an authorized dealer service the
vehicle if the rearview mirror light is continuously red. On equipped vehicles, this feature
requires a functioning electrical system and wireless coverage to function properly. If a
connection is made between a 9-1-1 operator and your vehicle, you understand and agree
that 9-1-1 operators may, like any other 9-1-1 call, record conversations and sounds in and
near your vehicle upon connection.
3. Roadside Assistance (If Equipped) — If your vehicle is equipped with this feature and within
wireless range, you may be able to connect to Roadside Assistance by pressing the “ASSIST”
button on the rearview mirror. You will be presented with Assist Care options. Make a selection
by pressing the prompts displayed on the radio. If Roadside Assistance is provided to your
vehicle, you agree to be responsible for any additional roadside assistance service costs that
you may incur. In order to provide Uconnect® Services to you, we may record and monitor
your conversations with Roadside Assistance, Uconnect® Care or Vehicle Care, whether such
conversations are initiated through the Uconnect® Services in your vehicle, or via a landline or
mobile telephone, and may share information obtained through such recording and monitor-
ing in accordance with regulatory requirements. You acknowledge, agree and consent to any
recording, monitoring or sharing of information obtained through any such call recordings.
ASSIST/9-1-1 Buttons
1—ASSIST
Button2 — 9-1-1 Button
ELECTRONICS
75
Page 86 of 220

Uconnect® 3.0
Clock Setting
1. Push the Menu button at the bottom of the radio, and push the Enter/Browse button forSystem Settings. Next, select the Time and Format setting and then select Set Time by
pushing the Enter/Browse button.
2. Adjust the hours or minutes by turning the Tune/Scroll knob, then pushing the Enter/Browse button to move to the next entry. You can also select 12hr or 24hr format by turning the
Tune/Scroll knob, then pushing the Enter/Browse button on the desired selection.
3. Once the time is set push the “Back” button to exit the time screen.
Uconnect® 3.0 Radio
1 — RADIO Button
2 — INFO Button
3 — MEDIA Button
4 — A-B-C Button
5 — Preset Buttons
6 — SEEK Down Button
7 — Play/Pause — Mute Button8 — SEEK Up Button
9 — ON/OFF Button/Volume Knob
10 — BROWSE/ENTER Button/TUNE/
SCROLL Knob
11 — AUDIO Button
12 — MENU Button
13 — BACK Button
ELECTRONICS
84
Page 87 of 220

Audio
• Push the AUDIO button on the radio faceplate.
The Audio Menu shows the following options for you to customize your audio settings.
Treble, Mid, Bass, Fade, Balance, Speed Adjusted Volume, Loudness
• Select the desired setting to adjust, then push the ENTER/BROWSE button. Turn theTUNE/SCROLL knob to adjust the setting + or - 9. Push the “Back” button when done.
Radio Operation
Seek Up/Down Buttons
• Push to seek through radio stations in AM, FM or SXM bands.
• Hold either button to bypass stations without stopping.
Store Radio Presets
• The Presets are available for all Radio Modes, and are activated by pushing any of the sixPreset buttons.
• When you are receiving a station that you wish to commit into memory, push and hold the desired numbered button for more than two seconds, or until you hear a confirmation beep.
• The Radio stores up to 18 presets in each of the Radio modes. Push the A-B-C button on the faceplate to select the A, B or C preset list.
USB/Audio Jack (AUX) Operation
USB/iPod®
• USB/iPod® Mode is entered by either inserting a USB Jump Drive or iPod® cable into the USBport or by pushing the MEDIA button located left of the display. Once in Media Mode, select
“USB/iPod” for the source.
• Push the MEDIA button, then select “USB/iPod” to change the mode to the USB device if the device is connected, allowing the music from your portable device to play through the
vehicle's speakers.
Audio Jack (AUX)
The AUX allows a portable device such as an MP3 player or an iPod® to be plugged into the radio
and utilize the vehicle’s audio system, using a 3.5 mm audio cable, to amplify the source and play
through the vehicle’s speakers.
• If the audio cable is connected to the AUX jack and portable device, push the MEDIA button, then press the “Source” button on the touchscreen and select “AUX” to change the mode to
auxiliary device. This allows the music from your portable device to play through the vehicle's
speakers.
ELECTRONICS
85
Page 88 of 220

The functions of the portable device are controlled using the device buttons, not the buttons on
the radio. The volume may be controlled using the radio or portable device.
Uconnect® 3.0 Available Media Hubs
Uconnect® 3.0 Media Hub(USB, AUX
Ports) Media Hub
(SD, USB,
AUX Ports)Remote USB
Port (Fully
Functional)Remote USB
Port (Charg-
ing Only)Dual Charg-
ing Ports
S- -OO
S = Standard Equipment
O = Optional Equipment
Uconnect® 5.0
1 — Radio Mode Button
2 — Presets Button
3 — Compass Information Button
4 — Media Mode Button
5 — SEEK Down Button
6 — SEEK Up Button
7 — Climate Functions Button8 — Uconnect® Phone Button
9 — FM/SXM Button
10 — Manual Tune Button
11 — Info Button
12 — Audio Button
13 — MORE Functions Button
Uconnect® 5.0
ELECTRONICS
86
Page 91 of 220

USB/Audio Jack (AUX)/Bluetooth® Operation
USB/iPod®
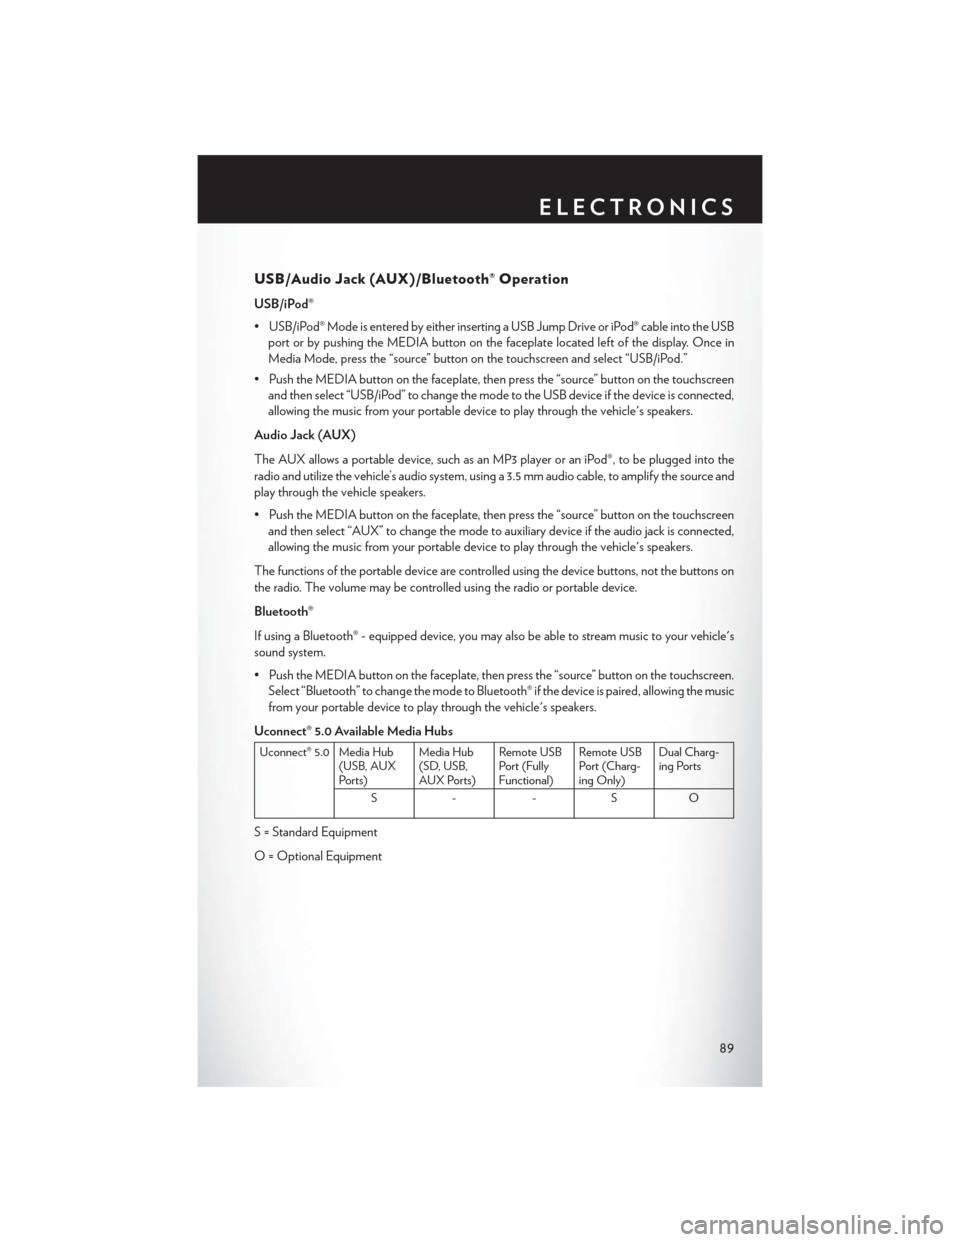
• USB/iPod® Mode is entered by either inserting a USB Jump Drive or iPod® cable into the USBport or by pushing the MEDIA button on the faceplate located left of the display. Once in
Media Mode, press the “source” button on the touchscreen and select “USB/iPod.”
• Push the MEDIA button on the faceplate, then press the “source” button on the touchscreen and then select “USB/iPod” to change the mode to the USB device if the device is connected,
allowing the music from your portable device to play through the vehicle's speakers.
Audio Jack (AUX)
The AUX allows a portable device, such as an MP3 player or an iPod®, to be plugged into the
radio and utilize the vehicle’s audio system, using a 3.5 mm audio cable, to amplify the source and
play through the vehicle speakers.
• Push the MEDIA button on the faceplate, then press the “source” button on the touchscreen and then select “AUX” to change the mode to auxiliary device if the audio jack is connected,
allowing the music from your portable device to play through the vehicle's speakers.
The functions of the portable device are controlled using the device buttons, not the buttons on
the radio. The volume may be controlled using the radio or portable device.
Bluetooth®
If using a Bluetooth® - equipped device, you may also be able to stream music to your vehicle's
sound system.
• Push the MEDIA button on the faceplate, then press the “source” button on the touchscreen. Select “Bluetooth” to change the mode to Bluetooth® if the device is paired, allowing the music
from your portable device to play through the vehicle's speakers.
Uconnect® 5.0 Available Media Hubs
Uconnect® 5.0 Media Hub (USB, AUX
Ports) Media Hub
(SD, USB,
AUX Ports)Remote USB
Port (Fully
Functional)Remote USB
Port (Charg-
ing Only)Dual Charg-
ing Ports
S- -SO
S = Standard Equipment
O = Optional Equipment
ELECTRONICS
89
Page 93 of 220

Uconnect® 5.0 VOICE RECOGNITION QUICK TIPS
Introducing Uconnect®
Start using Uconnect® Voice Recognition with these helpful quick tips. It provides the key Voice
Commands and tips you need to know to control your Uconnect® 5.0 system.
Key Features:
• 5” touchscreen
• Three buttons on either side of the display
Uconnect® 5.0
ELECTRONICS
91
Page 94 of 220

Get Started
1. VisitUconnectPhone.com to check mobile device and feature compatibility and to find
phone pairing instructions.
2. Reduce background noise. Wind and passenger conversations are examples of noise that may impact recognition.
3. Speak clearly at a normal pace and volume while facing straight ahead. The microphone is positioned on the rearview mirror and aimed at the driver.
4. Each time you give a Voice Command, you must first press either the VR or Phone button, wait until afterthe beep, then say your Voice Command.
5. You can interrupt the help message or system prompts by pressing the VR or Phone button and saying a Voice Command from current category.
All you need to control your Uconnect® system with your voice are the buttons on your steering
wheel.
Uconnect® VR/Phone Buttons
1 — Push To Initiate Or To Answer A Phone Call, Send Or Receive A Text
2 — Push To Begin Radio Or Media Functions
3 — Push To End Call
ELECTRONICS
92
Page 106 of 220

NOTE:
• When connecting your iPod® device for the first time, the system may take several minutes toread your music, depending on the number of files. For example, the system will take
approximately five minutes for every 1000 songs loaded on the device. Also during the
reading process, the Shuffle and Browse functions will be disabled. This process is needed to
ensure the full use of your iPod® features and only happens the first time it is connected. After
the first time, the reading process of your iPod® will take considerably less time unless changes
are made or new songs are added to the playlist.
• The USB port supports certain Mini, Classic, Nano, Touch, and iPhone® devices. The USB port also supports playing music from compatible external USB Mass Storage Class memory
devices. Some iPod® software versions may not fully support the USB port features. Please visit
Apple’s website for iPod® software updates.
Audio Jack (AUX)
The AUX allows a portable device, such as an MP3 player or an iPod®, to be plugged into the
radio and utilize the vehicle’s sound system, using a 3.5 mm audio cable, to amplify the source and
play through the vehicle speakers.
• Pressing the “AUX” button on the touchscreen will change the mode to auxiliary device if the audio jack is connected, allowing the music from your portable device to be heard through the
vehicle's speakers. In order to activate the AUX, plug in the audio jack.
• The functions of the portable device are controlled using the device buttons. The volume may be controlled using the radio or portable device.
• To route the audio cable out of the center console, use the access cut out in the front of the console.
Bluetooth® Streaming Audio
If using a Bluetooth® - equipped device, you may also be able to stream music to your vehicle's
sound system. Your connected device must be Bluetooth-compatible, and paired with your
system (see Uconnect® Phone for pairing instructions).
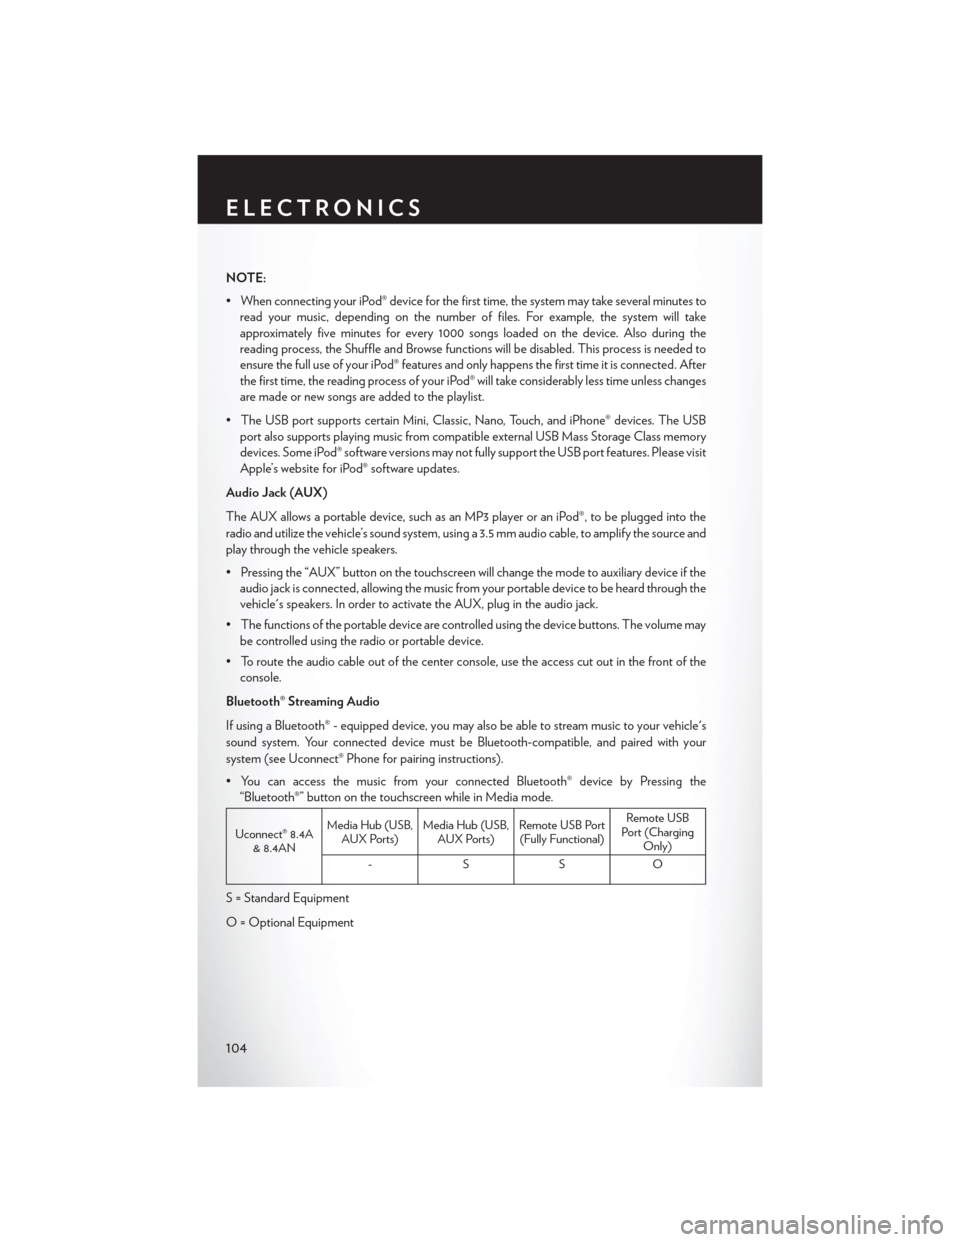
• You can access the music from your connected Bluetooth® device by Pressing the “Bluetooth®” button on the touchscreen while in Media mode.
Uconnect® 8.4A & 8.4AN Media Hub (USB,
AUX Ports) Media Hub (USB,
AUX Ports) Remote USB Port
(Fully Functional) Remote USB
Port (Charging Only)
-SSO
S = Standard Equipment
O = Optional Equipment
ELECTRONICS
104