2015 CHEVROLET CRUZE horn
[x] Cancel search: hornPage 10 of 417

Black plate (3,1)Chevrolet Cruze Owner Manual (GMNA-Localizing-U.S./Canada-7707493) -
2015 - crc - 11/24/14
In Brief 1-3
1.Exterior Lamp Controls on
page 6-1.
Front Fog Lamps on page 6-4 (If
Equipped).
Instrument Panel Illumination
Control on page 6-5.
2. Air Vents on page 8-6.
3. Headlamp High/Low-Beam
Changer on page 6-2.
Turn Signal Lever. See Turn and
Lane-Change Signals on
page 6-4.
Driver Information Center (DIC)
Buttons. See Driver Information
Center (DIC) on page 5-23.
4. Instrument Cluster on page 5-8.
5. Driver Information Center (DIC)
on page 5-23.
6. Steering Wheel Controls on
page 5-2.
7. Windshield Wiper/Washer on
page 5-3.
8. Infotainment on page 7-1. 9. Light Sensor. See
Automatic
Headlamp System on page 6-3.
10. Hood Release. See Hood on
page 10-4.
11. Data Link Connector (DLC) (Out of View). See Malfunction
Indicator Lamp on page 5-14.
12. Instrument Panel Fuse Block
on page 10-41.
13. Cruise Control on page 9-43.
14. Steering Wheel Adjustment on
page 5-2.
15. Horn on page 5-3.
16. Ignition Switch or Keyless Ignition Button (If Equipped).
SeeIgnition Positions (Keyless
Access) on page 9-14 or
Ignition Positions (Key Access)
on page 9-16.
17. Trunk Release Button. See Trunk on page 2-14.
18. Hazard Warning Flashers on
page 6-3.
19. Power Outlets on page 5-6. 20.
Parking Brake on page 9-39.
21. Shift Lever. See Automatic
Transmission on page 9-33 or
Manual Transmission on
page 9-37.
22. Traction Control/Electronic
Stability Control on page 9-41.
23. Climate Control Systems on
page 8-1 (If Equipped).
Automatic Climate Control
System on page 8-3 (If
Equipped).
Heated Front Seats on
page 3-5 (If Equipped).
24. Passenger Airbag Status
Indicator on page 5-13.
Page 32 of 417
Black plate (3,1)Chevrolet Cruze Owner Manual (GMNA-Localizing-U.S./Canada-7707493) -
2015 - crc - 11/24/14
Keys, Doors, and Windows 2-3
Remote Keyless Entry
(RKE) System Operation
The Keyless Access system allows
for vehicle entry when the
transmitter is within range. See
“Keyless Access Operation”later in
this section.
The transmitter functions may work
up to 60 m (195 ft) away from the
vehicle.
Keep in mind that other conditions,
such as those previously stated, can
impact the performance of the
transmitter.
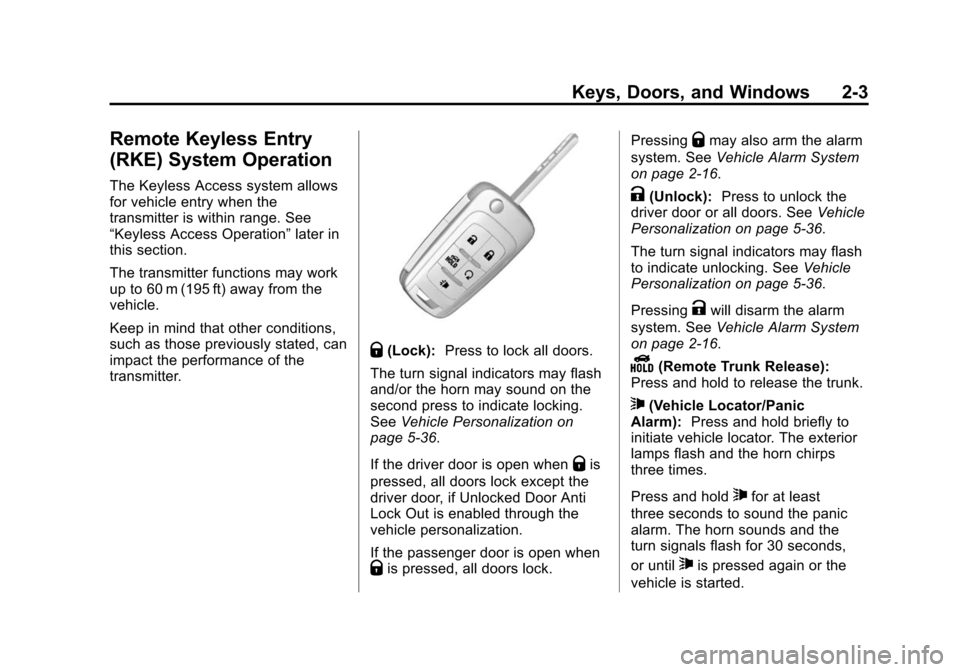
Q(Lock): Press to lock all doors.
The turn signal indicators may flash
and/or the horn may sound on the
second press to indicate locking.
See Vehicle Personalization on
page 5-36.
If the driver door is open when
Qis
pressed, all doors lock except the
driver door, if Unlocked Door Anti
Lock Out is enabled through the
vehicle personalization.
If the passenger door is open when
Qis pressed, all doors lock. Pressing
Qmay also arm the alarm
system. See Vehicle Alarm System
on page 2-16.
K(Unlock): Press to unlock the
driver door or all doors. See Vehicle
Personalization on page 5-36.
The turn signal indicators may flash
to indicate unlocking. See Vehicle
Personalization on page 5-36.
Pressing
Kwill disarm the alarm
system. See Vehicle Alarm System
on page 2-16.
Y(Remote Trunk Release):
Press and hold to release the trunk.
7(Vehicle Locator/Panic
Alarm): Press and hold briefly to
initiate vehicle locator. The exterior
lamps flash and the horn chirps
three times.
Press and hold
7for at least
three seconds to sound the panic
alarm. The horn sounds and the
turn signals flash for 30 seconds,
or until
7is pressed again or the
vehicle is started.
Page 46 of 417
Black plate (17,1)Chevrolet Cruze Owner Manual (GMNA-Localizing-U.S./Canada-7707493) -
2015 - crc - 11/24/14
Keys, Doors, and Windows 2-17
will bypass the 30-second delay
and immediately arm the alarm
system.
The vehicle alarm system will not
arm if the doors are locked with
the key.
If the driver door is opened without
first unlocking with the RKE
transmitter, the horn will chirp and
the lights will flash to indicate
pre-alarm. If the vehicle is not
started, or the door is not unlocked
by pressing
Kon the RKE
transmitter during the 10-second
pre-alarm, the alarm will be
activated.
If a door, the hood, or the trunk is
opened without first disarming the
system, the turn signals will flash
and the horn will sound for about
30 seconds. The alarm system will
then re-arm to monitor for the next
unauthorized event.
Disarming the Alarm System
Do one of the following to disarm
the alarm system or turn off the
alarm if it has been activated:
.PressKon the RKE transmitter.
.Unlock the vehicle using the
Keyless Access system,
if equipped.
.Start the vehicle.
To avoid setting off the alarm by
accident:
.Lock the vehicle after all
occupants have left the vehicle
and all doors are closed.
.Always unlock a door with the
RKE transmitter or use the
Keyless Access system,
if equipped.
Unlocking the driver door with the
key will not disarm the system or
turn off the alarm.
How to Detect a Tamper
Condition
IfKis pressed on the RKE
transmitter and the horn chirps and
the lamps flash three times, an
alarm occurred previously while the
alarm system was armed.
If the alarm has been activated, a
message will appear on the DIC.
See Security Messages on
page 5-33.
Immobilizer
See Radio Frequency Statement on
page 13-12.
Immobilizer Operation
This vehicle has a passive
theft-deterrent system.
The system does not have to be
manually armed or disarmed.
The vehicle is automatically
immobilized when the key is
removed from the ignition.
Page 104 of 417
Black plate (1,1)Chevrolet Cruze Owner Manual (GMNA-Localizing-U.S./Canada-7707493) -
2015 - crc - 12/2/14
Instruments and Controls 5-1
Instruments and
Controls
Controls
Steering Wheel Adjustment . . . 5-2
Steering Wheel Controls . . . . . . 5-2
Horn . . . . . . . . . . . . . . . . . . . . . . . . . . 5-3
Windshield Wiper/Washer . . . . . 5-3
Compass . . . . . . . . . . . . . . . . . . . . . 5-4
Clock . . . . . . . . . . . . . . . . . . . . . . . . . 5-4
Power Outlets . . . . . . . . . . . . . . . . . 5-6
Cigarette Lighter . . . . . . . . . . . . . . 5-6
Ashtrays . . . . . . . . . . . . . . . . . . . . . . 5-6
Warning Lights, Gauges, and
Indicators
Warning Lights, Gauges, andIndicators . . . . . . . . . . . . . . . . . . . . 5-7
Instrument Cluster . . . . . . . . . . . . 5-8
Speedometer . . . . . . . . . . . . . . . . 5-10
Odometer . . . . . . . . . . . . . . . . . . . . 5-10
Trip Odometer . . . . . . . . . . . . . . . 5-10
Tachometer . . . . . . . . . . . . . . . . . . 5-10
Fuel Gauge . . . . . . . . . . . . . . . . . . 5-10
Engine Coolant Temperature Gauge . . . . . . . . . . . . . . . . . . . . . . 5-11
Safety Belt Reminders . . . . . . . 5-11 Airbag Readiness Light . . . . . . 5-12
Passenger Airbag Status
Indicator . . . . . . . . . . . . . . . . . . . . 5-13
Charging System Light . . . . . . 5-13
Malfunction Indicator Lamp . . . . . . . . . . . . . 5-14
Brake System Warning Light . . . . . . . . . . . . . . . . . . . . . . . 5-16
Antilock Brake System (ABS) Warning Light . . . . . . . . . . . . . . 5-17
Up-Shift Light . . . . . . . . . . . . . . . . 5-17
Power Steering Warning Light . . . . . . . . . . . . . . . . . . . . . . . 5-18
Traction Off Light . . . . . . . . . . . . 5-18
StabiliTrak
®OFF Light . . . . . . . 5-18
Traction Control System (TCS)/StabiliTrak
®Light . . . . 5-19
Wait-to-Start Light . . . . . . . . . . . 5-19
Tire Pressure Light . . . . . . . . . . 5-19
Engine Oil Pressure Light . . . . 5-20
Low Fuel Warning Light . . . . . . 5-20
Diesel Exhaust Fluid (DEF) Warning Light . . . . . . . . . . . . . . 5-21
Security Light . . . . . . . . . . . . . . . . 5-21
Reduced Engine Power Light . . . . . . . . . . . . . . . . . . . . . . . 5-21
High-Beam On Light . . . . . . . . . 5-22
Front Fog Lamp Light . . . . . . . . 5-22 Lamps On Reminder . . . . . . . . . 5-22
Cruise Control Light . . . . . . . . . 5-22
Door Ajar Light . . . . . . . . . . . . . . 5-22
Information Displays
Driver Information
Center (DIC) . . . . . . . . . . . . . . . 5-23
Vehicle Messages
Vehicle Messages . . . . . . . . . . . 5-27
Battery Voltage and ChargingMessages . . . . . . . . . . . . . . . . . . 5-27
Brake System Messages . . . . 5-27
Compass Messages . . . . . . . . . 5-27
Cruise Control Messages . . . . 5-28
Door Ajar Messages . . . . . . . . . 5-28
Engine Cooling System Messages . . . . . . . . . . . . . . . . . . 5-28
Engine Oil Messages . . . . . . . . 5-29
Engine Power Messages . . . . 5-29
Fuel System Messages . . . . . . 5-29
Diesel Exhaust Fluid Messages . . . . . . . . . . . . . . . . . . 5-29
Diesel Particulate Filter Messages . . . . . . . . . . . . . . . . . . 5-30
Key and Lock Messages . . . . . 5-30
Lamp Messages . . . . . . . . . . . . . 5-31
Object Detection System Messages . . . . . . . . . . . . . . . . . . 5-31
Page 106 of 417
Black plate (3,1)Chevrolet Cruze Owner Manual (GMNA-Localizing-U.S./Canada-7707493) -
2015 - crc - 12/2/14
Instruments and Controls 5-3
b/g(Push to Talk):For vehicles
with a Bluetooth, OnStar,
or navigation system, press to
interact with those systems. See
Bluetooth (Infotainment Controls) on
page 7-19 orBluetooth (Voice
Recognition) on page 7-22 or
Bluetooth (Overview) on page 7-17,
OnStar Overview on page 14-1,
or the infotainment manual.
$/i(Mute/End Call): Press to
silence the vehicle speakers only.
Press again to turn the sound on.
For vehicles with OnStar or
Bluetooth systems, press to reject
an incoming call, or end a
current call.
_SRC^(Source/Favorite): Press
to select a source or turn to change
favorite stations.
Press
_or^to select AM, FM, CD,
or MP3 track.
Turn
_or^to select the next or
previous saved favorite radio
stations. +
x−
(Volume): Press + to
increase the volume. Press −to
decrease the volume.
Horn
Pressaon the steering wheel pad
to sound the horn.
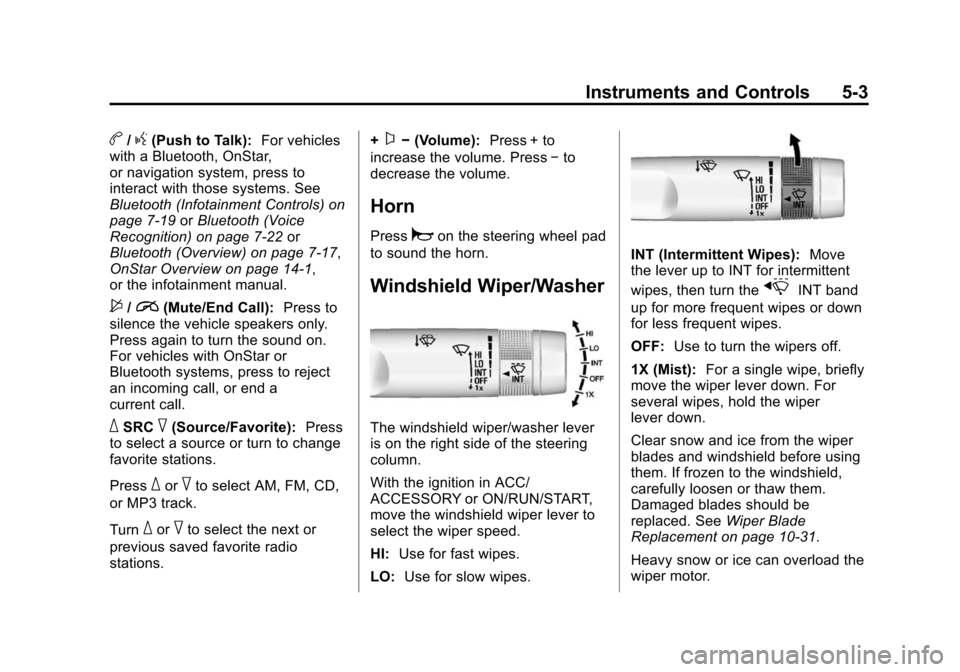
Windshield Wiper/Washer
The windshield wiper/washer lever
is on the right side of the steering
column.
With the ignition in ACC/
ACCESSORY or ON/RUN/START,
move the windshield wiper lever to
select the wiper speed.
HI: Use for fast wipes.
LO: Use for slow wipes.
INT (Intermittent Wipes): Move
the lever up to INT for intermittent
wipes, then turn the
xINT band
up for more frequent wipes or down
for less frequent wipes.
OFF: Use to turn the wipers off.
1X (Mist): For a single wipe, briefly
move the wiper lever down. For
several wipes, hold the wiper
lever down.
Clear snow and ice from the wiper
blades and windshield before using
them. If frozen to the windshield,
carefully loosen or thaw them.
Damaged blades should be
replaced. See Wiper Blade
Replacement on page 10-31.
Heavy snow or ice can overload the
wiper motor.
Page 144 of 417
Black plate (41,1)Chevrolet Cruze Owner Manual (GMNA-Localizing-U.S./Canada-7707493) -
2015 - crc - 12/2/14
Instruments and Controls 5-41
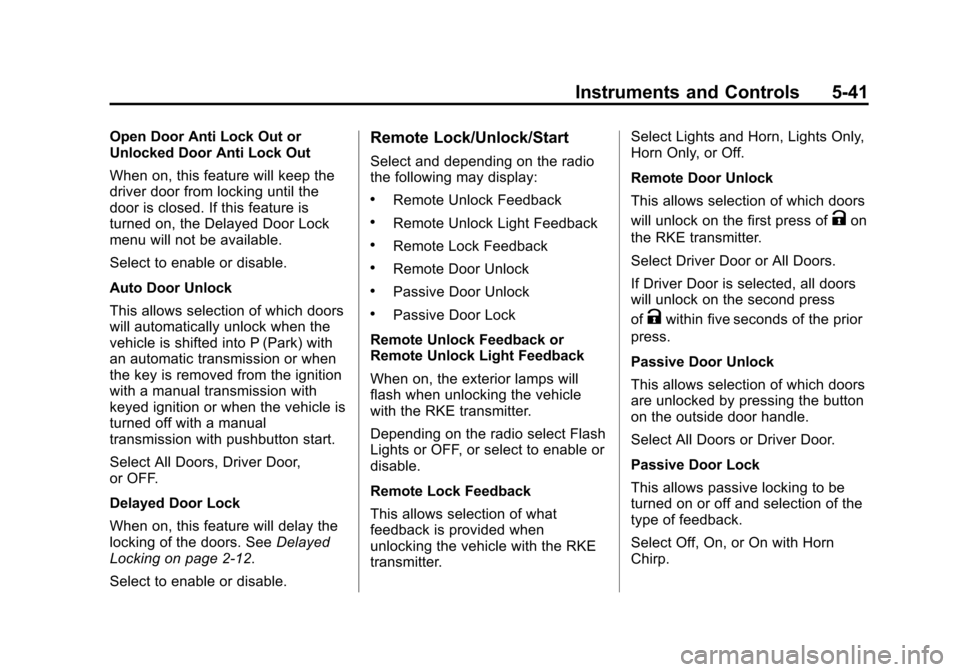
Open Door Anti Lock Out or
Unlocked Door Anti Lock Out
When on, this feature will keep the
driver door from locking until the
door is closed. If this feature is
turned on, the Delayed Door Lock
menu will not be available.
Select to enable or disable.
Auto Door Unlock
This allows selection of which doors
will automatically unlock when the
vehicle is shifted into P (Park) with
an automatic transmission or when
the key is removed from the ignition
with a manual transmission with
keyed ignition or when the vehicle is
turned off with a manual
transmission with pushbutton start.
Select All Doors, Driver Door,
or OFF.
Delayed Door Lock
When on, this feature will delay the
locking of the doors. SeeDelayed
Locking on page 2-12.
Select to enable or disable.Remote Lock/Unlock/Start
Select and depending on the radio
the following may display:
.Remote Unlock Feedback
.Remote Unlock Light Feedback
.Remote Lock Feedback
.Remote Door Unlock
.Passive Door Unlock
.Passive Door Lock
Remote Unlock Feedback or
Remote Unlock Light Feedback
When on, the exterior lamps will
flash when unlocking the vehicle
with the RKE transmitter.
Depending on the radio select Flash
Lights or OFF, or select to enable or
disable.
Remote Lock Feedback
This allows selection of what
feedback is provided when
unlocking the vehicle with the RKE
transmitter. Select Lights and Horn, Lights Only,
Horn Only, or Off.
Remote Door Unlock
This allows selection of which doors
will unlock on the first press of
Kon
the RKE transmitter.
Select Driver Door or All Doors.
If Driver Door is selected, all doors
will unlock on the second press
of
Kwithin five seconds of the prior
press.
Passive Door Unlock
This allows selection of which doors
are unlocked by pressing the button
on the outside door handle.
Select All Doors or Driver Door.
Passive Door Lock
This allows passive locking to be
turned on or off and selection of the
type of feedback.
Select Off, On, or On with Horn
Chirp.
Page 299 of 417
Black plate (40,1)Chevrolet Cruze Owner Manual (GMNA-Localizing-U.S./Canada-7707493) -
2015 - crc - 11/24/14
10-40 Vehicle Care
Mini Fuses Usage29 Not Used
30 Antilock Brake System
31 Body Control Module
32 Body Control Module
33 Front Seat Heating
34 Sunroof (If Equipped)
35 Infotainment System/Amplifier
36 Not Used
37 High Beam Right Side
38 High Beam Left Side
39 Not Used
40 Not Used
46 Cooling Fan
47 Lambda Sensor Mini Fuses Usage
48 Fog Lights
49 Not Used
50 Not Used
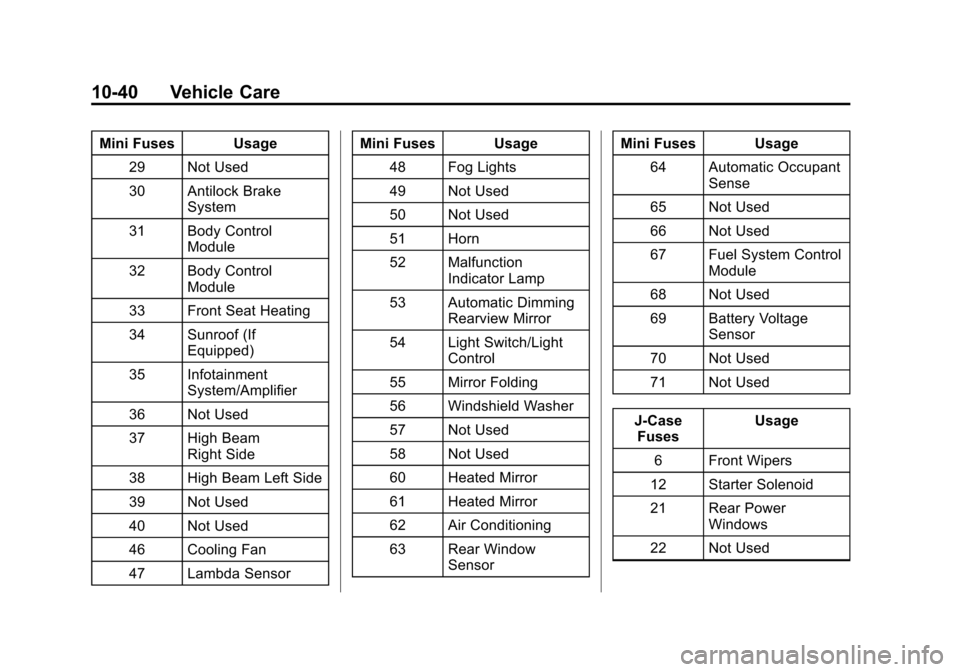
51 Horn
52 Malfunction Indicator Lamp
53 Automatic Dimming Rearview Mirror
54 Light Switch/Light Control
55 Mirror Folding
56 Windshield Washer
57 Not Used
58 Not Used
60 Heated Mirror
61 Heated Mirror
62 Air Conditioning
63 Rear Window Sensor Mini Fuses Usage
64 Automatic Occupant Sense
65 Not Used
66 Not Used
67 Fuel System Control Module
68 Not Used
69 Battery Voltage Sensor
70 Not Used
71 Not Used
J-Case Fuses Usage
6 Front Wipers
12 Starter Solenoid
21 Rear Power Windows
22 Not Used
Page 315 of 417
Black plate (56,1)Chevrolet Cruze Owner Manual (GMNA-Localizing-U.S./Canada-7707493) -
2015 - crc - 11/24/14
10-56 Vehicle Care
relearn tool, in the following order:
driver side front tire, passenger side
front tire, passenger side rear tire,
and driver side rear. See your
dealer for service or to purchase a
relearn tool. A TPMS relearn tool
can also be purchased. See Tire
Pressure Monitor Sensor Activation
Tool at
www.gmtoolsandequipment.com or
call 1-800-GM TOOLS
(1-800-468-6657).
There are two minutes to match the
first tire/wheel position, and
five minutes overall to match all four
tire/wheel positions. If it takes
longer, the matching process stops
and must be restarted.
The TPMS sensor matching
process is:
1. Set the parking brake.
2. Turn the ignition to ON/RUN withthe engine off. 3. Use the MENU button to select
the Vehicle Information menu in
the Driver Information
Center (DIC).
4. Use the thumbwheel to scroll to the Tire Pressure Menu item
screen.
5. Press the SET/CLR button to begin the sensor matching
process.
A message requesting
acceptance of the process
should display.
6. Press the SET/CLR button again to confirm the selection.
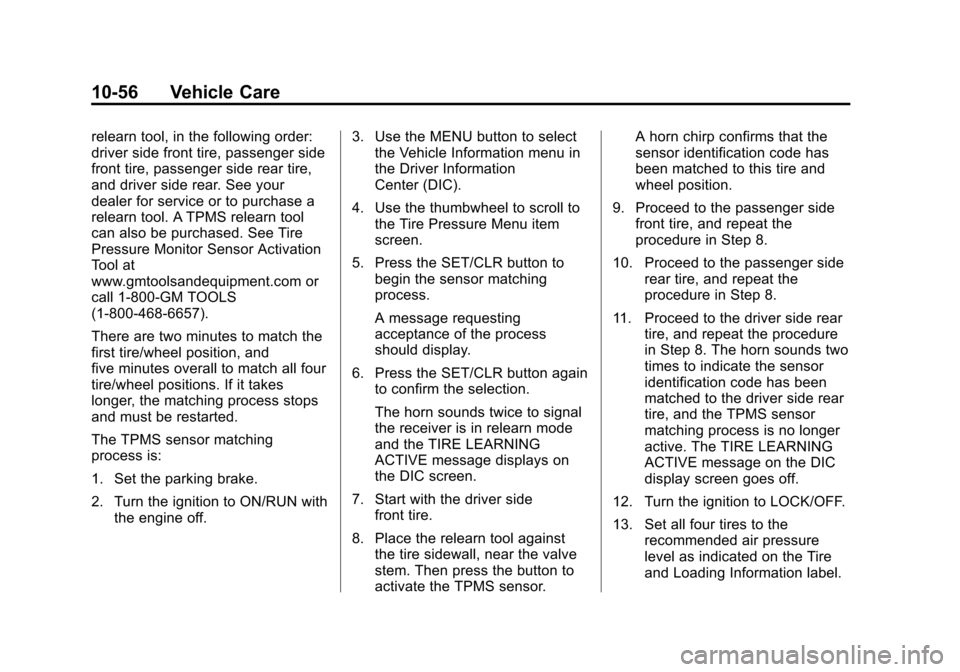
The horn sounds twice to signal
the receiver is in relearn mode
and the TIRE LEARNING
ACTIVE message displays on
the DIC screen.
7. Start with the driver side front tire.
8. Place the relearn tool against the tire sidewall, near the valve
stem. Then press the button to
activate the TPMS sensor. A horn chirp confirms that the
sensor identification code has
been matched to this tire and
wheel position.
9. Proceed to the passenger side front tire, and repeat the
procedure in Step 8.
10. Proceed to the passenger side rear tire, and repeat the
procedure in Step 8.
11. Proceed to the driver side rear tire, and repeat the procedure
in Step 8. The horn sounds two
times to indicate the sensor
identification code has been
matched to the driver side rear
tire, and the TPMS sensor
matching process is no longer
active. The TIRE LEARNING
ACTIVE message on the DIC
display screen goes off.
12. Turn the ignition to LOCK/OFF.
13. Set all four tires to the recommended air pressure
level as indicated on the Tire
and Loading Information label.