2015 CHEVROLET CAMARO wheel
[x] Cancel search: wheelPage 134 of 435

Black plate (29,1)Chevrolet Camaro Owner Manual (GMNA-Localizing-U.S./Canada/Mexico-
7695163) - 2015 - crc - 9/4/14
Instruments and Controls 5-29
The following indicator lights come
on in the instrument cluster when
activated and may also appear on
the HUD:
.Turn Signal Indicators
.High-Beam Indicator Symbol
The HUD also temporarily displays
the following messages on vehicles
with these systems, when they are
active:
.Check Tire Pressure
.Cruise Set To
.Fuel Level Low
.Speed Limited To
.Traction Control Active
.Stabilitrak Active
.Park Distance Unavailable
.Gap Alert Off
When the HUD is on, the
speedometer reading is continually
displayed. The current radio station
or CD track number may display for
a short period of time after the radio or CD track status changes. This
may happen whenever radio
information is changed. The
speedometer size is reduced when
radio, CD information, or warnings
are displayed on the HUD.
When the phone feature is
activated, the HUD will briefly
display phone information,
if available.
The HUD control is to the right of
the steering wheel.
To adjust the HUD image so that
items are properly displayed:
1. Adjust the driver seat to a
comfortable position.
2. Start the engine.
3. Adjust the HUD controls.
Use the following settings to adjust
the HUD.
OFF: Turn the HUD dimming knob
fully counterclockwise until the HUD
display turns off.
Brightness: Turn the dimming knob
clockwise or counterclockwise to
brighten or dim the display. The
HUD image will automatically dim
and brighten to compensate for
outside lighting. The HUD
brightness control can also be
adjusted as needed. The HUD
image can temporarily light up
depending on the angle and position
of the sunlight on the HUD display.
This is normal. Polarized
sunglasses could make the HUD
image harder to see.
Page 145 of 435
Black plate (40,1)Chevrolet Camaro Owner Manual (GMNA-Localizing-U.S./Canada/Mexico-
7695163) - 2015 - crc - 9/4/14
5-40 Instruments and Controls
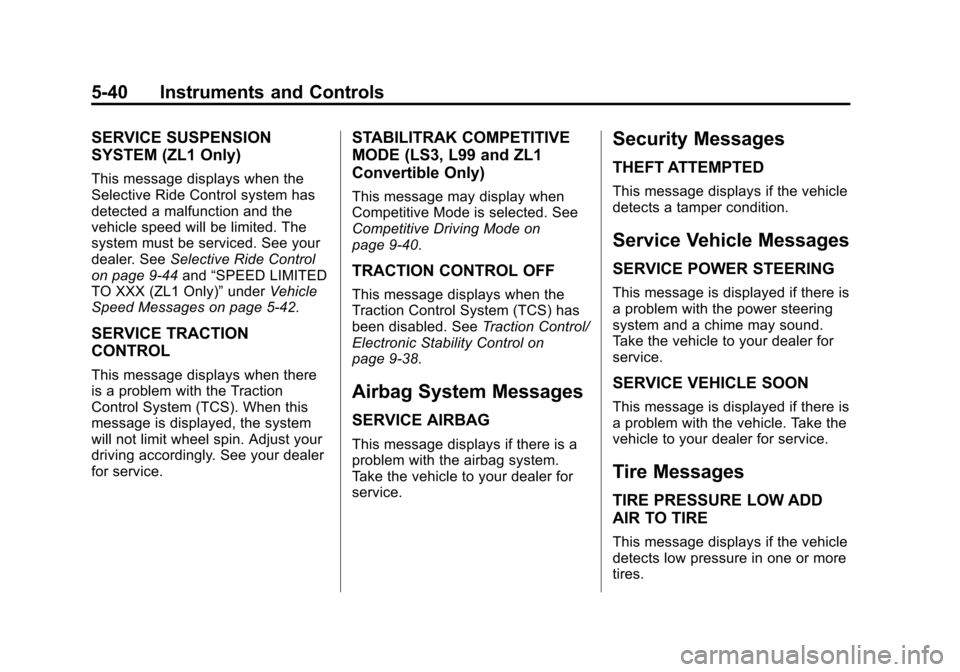
SERVICE SUSPENSION
SYSTEM (ZL1 Only)
This message displays when the
Selective Ride Control system has
detected a malfunction and the
vehicle speed will be limited. The
system must be serviced. See your
dealer. SeeSelective Ride Control
on page 9-44 and“SPEED LIMITED
TO XXX (ZL1 Only)” underVehicle
Speed Messages on page 5-42.
SERVICE TRACTION
CONTROL
This message displays when there
is a problem with the Traction
Control System (TCS). When this
message is displayed, the system
will not limit wheel spin. Adjust your
driving accordingly. See your dealer
for service.
STABILITRAK COMPETITIVE
MODE (LS3, L99 and ZL1
Convertible Only)
This message may display when
Competitive Mode is selected. See
Competitive Driving Mode on
page 9-40.
TRACTION CONTROL OFF
This message displays when the
Traction Control System (TCS) has
been disabled. See Traction Control/
Electronic Stability Control on
page 9-38.
Airbag System Messages
SERVICE AIRBAG
This message displays if there is a
problem with the airbag system.
Take the vehicle to your dealer for
service.
Security Messages
THEFT ATTEMPTED
This message displays if the vehicle
detects a tamper condition.
Service Vehicle Messages
SERVICE POWER STEERING
This message is displayed if there is
a problem with the power steering
system and a chime may sound.
Take the vehicle to your dealer for
service.
SERVICE VEHICLE SOON
This message is displayed if there is
a problem with the vehicle. Take the
vehicle to your dealer for service.
Tire Messages
TIRE PRESSURE LOW ADD
AIR TO TIRE
This message displays if the vehicle
detects low pressure in one or more
tires.
Page 158 of 435

Black plate (1,1)Chevrolet Camaro Owner Manual (GMNA-Localizing-U.S./Canada/Mexico-
7695163) - 2015 - crc - 9/4/14
Lighting 6-1
Lighting
Exterior Lighting
Exterior Lamp Controls . . . . . . . . 6-1
Headlamp High/Low-BeamChanger . . . . . . . . . . . . . . . . . . . . . 6-2
Flash-to-Pass . . . . . . . . . . . . . . . . . 6-2
Daytime Running Lamps (DRL) . . . . . . . . . . . . . . . . 6-2
Automatic Headlamp System . . . . . . . . . . . . . . . . . . . . . . 6-3
Hazard Warning Flashers . . . . . 6-4
Turn and Lane-Change Signals . . . . . . . . . . . . . . . . . . . . . . 6-4
Front Fog Lamps . . . . . . . . . . . . . . 6-5
Interior Lighting
Instrument Panel Illumination Control . . . . . . . . . . . . . . . . . . . . . . 6-5
Dome Lamps . . . . . . . . . . . . . . . . . 6-6
Lighting Features
Entry Lighting . . . . . . . . . . . . . . . . . 6-6
Exit Lighting . . . . . . . . . . . . . . . . . . . 6-6
Theater Dimming . . . . . . . . . . . . . . 6-6
Battery Load Management . . . . 6-7
Battery Power Protection . . . . . . 6-7
Exterior Lighting Battery Saver . . . . . . . . . . . . . . . . . . . . . . . . 6-7Exterior Lighting
Exterior Lamp Controls
The exterior lamp control is located
on the instrument panel, on the
outboard side of the steering wheel.
There are four positions:
P(Off): Briefly turn to this position
to turn the automatic light control off
or on again. When released, the
control returns to the AUTO
position.
AUTO (Automatic): Automatically
turns the exterior lamps on and off,
depending on outside lighting.
Page 162 of 435

Black plate (5,1)Chevrolet Camaro Owner Manual (GMNA-Localizing-U.S./Canada/Mexico-
7695163) - 2015 - crc - 9/4/14
Lighting 6-5
If after signaling a turn or lane
change the arrow flashes rapidly or
does not come on, a signal bulb
may be burned out.
Have any burned out bulbs
replaced. If a bulb is not burned out,
check the fuse. SeeElectrical
System Overload on page 10-48.
Front Fog Lamps
For vehicles with front fog lamps,
the button is on the exterior lamp
control, on the outboard side of the
steering wheel.
The ignition must be turned to ON/
RUN to turn on the fog lamps.
#(Front Fog Lamps): Press to
turn the fog lamps on or off. An
indicator light on the instrument
cluster comes on when the fog
lamps are on.
The fog lamps come on together
with the parking and sidemarker
lamps.
If the high-beam headlamps are
turned on, the fog lamps will turn off.
If the high-beam headlamps are
turned off, the fog lamps will turn
back on again.
For vehicles with High Intensity
Discharge (HID) headlamps, the
Daytime Running Lamps (DRL)
replace the fog lamps.
Some localities have laws that
require the headlamps to be on
along with the fog lamps.Interior Lighting
Instrument Panel
Illumination Control
This feature controls the brightness
of the instrument panel lights.
D(Instrument Panel
Brightness): Move the
thumbwheel up or down and hold, to
brighten or dim the instrument panel
lights.
Page 166 of 435
Black plate (1,1)Chevrolet Camaro Owner Manual (GMNA-Localizing-U.S./Canada/Mexico-
7695163) - 2015 - crc - 9/4/14
Infotainment System 7-1
Infotainment
System
Introduction
Infotainment . . . . . . . . . . . . . . . . . . . 7-1
Theft-Deterrent Feature . . . . . . . 7-2
Overview . . . . . . . . . . . . . . . . . . . . . . 7-2
Operation . . . . . . . . . . . . . . . . . . . . . 7-3
Radio
AM-FM Radio . . . . . . . . . . . . . . . . . 7-7
Satellite Radio . . . . . . . . . . . . . . . . 7-9
Radio Reception . . . . . . . . . . . . . 7-10
Backglass Antenna . . . . . . . . . . 7-11
Diversity Antenna System . . . 7-12
Multi-Band Antenna . . . . . . . . . . 7-12
Audio Players
CD Player . . . . . . . . . . . . . . . . . . . 7-12
Auxiliary Devices . . . . . . . . . . . . 7-14
Phone
Bluetooth (Overview) . . . . . . . . 7-20
Bluetooth (InfotainmentControls) . . . . . . . . . . . . . . . . . . . 7-21
Bluetooth (Voice Recognition) . . . . . . . . . . . . . . . 7-25
Introduction
Infotainment
Base radio information is included in
this manual. See the infotainment
manual for information on other
available infotainment systems.
Read the following pages to
become familiar with these features.
{Warning
Taking your eyes off the road for
too long or too often while using
any infotainment feature can
cause a crash. You or others
could be injured or killed. Do not
give extended attention to
infotainment tasks while driving.
Limit your glances at the vehicle
displays and focus your attention
on driving. Use voice commands
whenever possible. The infotainment system has built-in
features intended to help avoid
distraction by disabling some
functions when driving. These
functions may gray out when they
are unavailable. Many infotainment
features are also available through
the instrument cluster and steering
wheel controls.
Before driving:
.Become familiar with the
operation, faceplate buttons, and
screen buttons.
.Set up the audio by presetting
favorite stations, setting the
tone, and adjusting the
speakers.
.Set up phone numbers in
advance so they can be called
easily by pressing a single
button or by using a single voice
command if equipped with
Bluetooth phone capability.
See Defensive Driving on page 9-3.
Page 168 of 435
Black plate (3,1)Chevrolet Camaro Owner Manual (GMNA-Localizing-U.S./Canada/Mexico-
7695163) - 2015 - crc - 9/4/14
Infotainment System 7-3
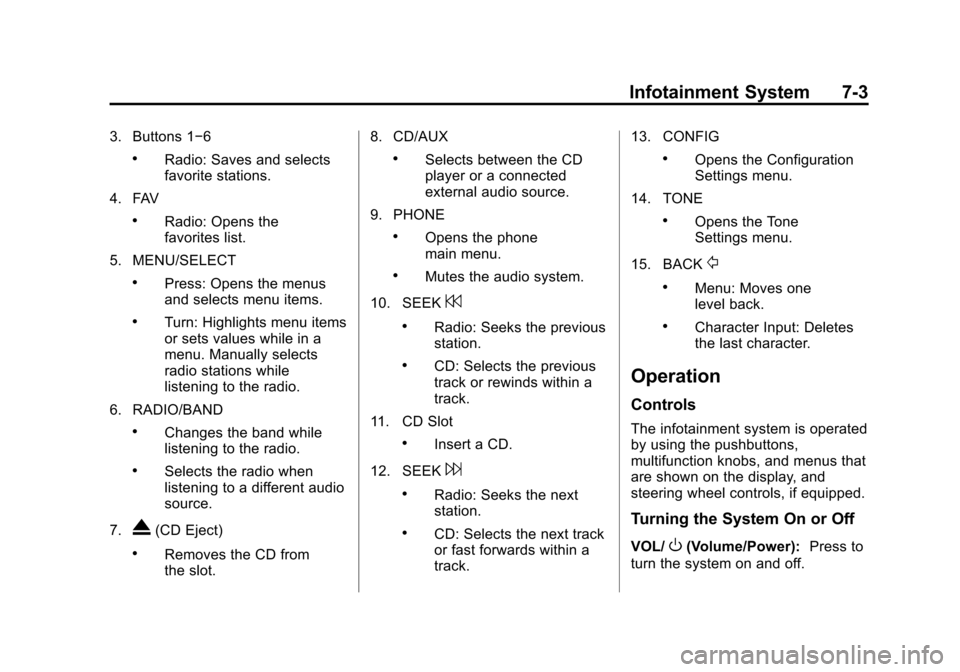
3. Buttons 1−6
.Radio: Saves and selects
favorite stations.
4. FAV
.Radio: Opens the
favorites list.
5. MENU/SELECT
.Press: Opens the menus
and selects menu items.
.Turn: Highlights menu items
or sets values while in a
menu. Manually selects
radio stations while
listening to the radio.
6. RADIO/BAND
.Changes the band while
listening to the radio.
.Selects the radio when
listening to a different audio
source.
7.
X(CD Eject)
.Removes the CD from
the slot. 8. CD/AUX
.Selects between the CD
player or a connected
external audio source.
9. PHONE
.Opens the phone
main menu.
.Mutes the audio system.
10. SEEK
7
.Radio: Seeks the previous
station.
.CD: Selects the previous
track or rewinds within a
track.
11. CD Slot
.Insert a CD.
12. SEEK
6
.Radio: Seeks the next
station.
.CD: Selects the next track
or fast forwards within a
track. 13. CONFIG
.Opens the Configuration
Settings menu.
14. TONE
.Opens the Tone
Settings menu.
15. BACK
/
.Menu: Moves one
level back.
.Character Input: Deletes
the last character.
Operation
Controls
The infotainment system is operated
by using the pushbuttons,
multifunction knobs, and menus that
are shown on the display, and
steering wheel controls, if equipped.
Turning the System On or Off
VOL/O(Volume/Power): Press to
turn the system on and off.
Page 185 of 435
Black plate (20,1)Chevrolet Camaro Owner Manual (GMNA-Localizing-U.S./Canada/Mexico-
7695163) - 2015 - crc - 9/4/14
7-20 Infotainment System
Phone
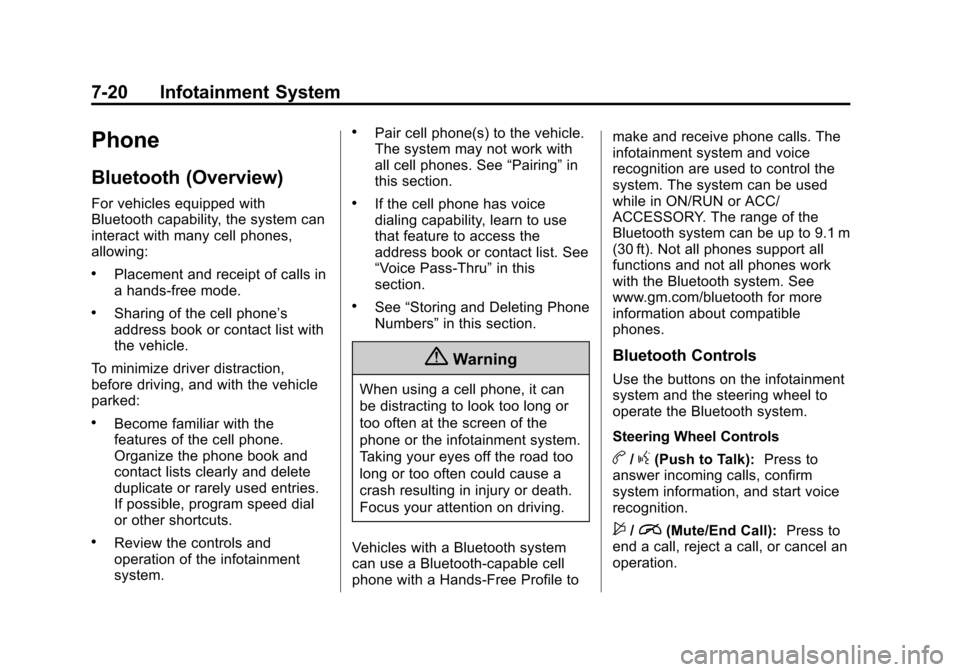
Bluetooth (Overview)
For vehicles equipped with
Bluetooth capability, the system can
interact with many cell phones,
allowing:
.Placement and receipt of calls in
a hands-free mode.
.Sharing of the cell phone’s
address book or contact list with
the vehicle.
To minimize driver distraction,
before driving, and with the vehicle
parked:
.Become familiar with the
features of the cell phone.
Organize the phone book and
contact lists clearly and delete
duplicate or rarely used entries.
If possible, program speed dial
or other shortcuts.
.Review the controls and
operation of the infotainment
system.
.Pair cell phone(s) to the vehicle.
The system may not work with
all cell phones. See “Pairing”in
this section.
.If the cell phone has voice
dialing capability, learn to use
that feature to access the
address book or contact list. See
“Voice Pass-Thru” in this
section.
.See “Storing and Deleting Phone
Numbers” in this section.
{Warning
When using a cell phone, it can
be distracting to look too long or
too often at the screen of the
phone or the infotainment system.
Taking your eyes off the road too
long or too often could cause a
crash resulting in injury or death.
Focus your attention on driving.
Vehicles with a Bluetooth system
can use a Bluetooth-capable cell
phone with a Hands-Free Profile to make and receive phone calls. The
infotainment system and voice
recognition are used to control the
system. The system can be used
while in ON/RUN or ACC/
ACCESSORY. The range of the
Bluetooth system can be up to 9.1 m
(30 ft). Not all phones support all
functions and not all phones work
with the Bluetooth system. See
www.gm.com/bluetooth for more
information about compatible
phones.
Bluetooth Controls
Use the buttons on the infotainment
system and the steering wheel to
operate the Bluetooth system.
Steering Wheel Controls
b/g(Push to Talk):
Press to
answer incoming calls, confirm
system information, and start voice
recognition.
$/i(Mute/End Call): Press to
end a call, reject a call, or cancel an
operation.
Page 190 of 435
Black plate (25,1)Chevrolet Camaro Owner Manual (GMNA-Localizing-U.S./Canada/Mexico-
7695163) - 2015 - crc - 9/4/14
Infotainment System 7-25
Dual Tone Multi-Frequency
(DTMF) Tones
The in-vehicle Bluetooth system can
send numbers during a call. This is
used when calling a menu-driven
phone system.
1. Turn or press the MENU/SELECT knob and select Enter
Number.
2. Enter the character sequence. See “Entering a Character
Sequence” inOperation on
page 7-3.
Bluetooth (Voice
Recognition)
Using Voice Recognition
To use voice recognition, press theb/gbutton on the steering wheel.
Use the commands below for the
various voice features. For
additional information, say “Help”
while you are in a voice
recognition menu.
Pairing
A Bluetooth-enabled cell phone
must be paired to the Bluetooth
system and then connected to the
vehicle before it can be used. See
your cell phone manufacturer's user
guide for Bluetooth functions before
pairing the cell phone. If a Bluetooth
phone is not connected, calls will be
made using OnStar Hands-Free
Calling, if available. See OnStar
Overview on page 14-1.
Pairing Information
.A Bluetooth phone with MP3
capability cannot be paired to
the vehicle as a phone and an
MP3 player at the same time.
.Up to five cell phones can be
paired to the Bluetooth system.
.The pairing process is disabled
when the vehicle is moving.
.Pairing only needs to be
completed once, unless the
pairing information on the cell
phone changes or the cell phone
is deleted from the system.
.Only one paired cell phone can
be connected to the Bluetooth
system at a time.
.If multiple paired cell phones are
within range of the system, the
system connects to the first
available paired cell phone in the
order that they were first paired
to the system. To link to a
different paired phone, see
“Linking to a Different Phone”
later in this section.
Pairing a Phone
1. Press
b/g. The system
responds “Ready,”followed by
a tone.
2. Say “Bluetooth.” This command
can be skipped.
3. Say “Pair.”The system responds
with instructions and a four-digit
Personal Identification Number
(PIN). The PIN is used in Step 5.