2015 CADILLAC ATS ignition
[x] Cancel search: ignitionPage 3 of 20

3
REMOTE KEYLESS ENTRY
TRANSMITTERKEYLESS ACCESS SYSTEM
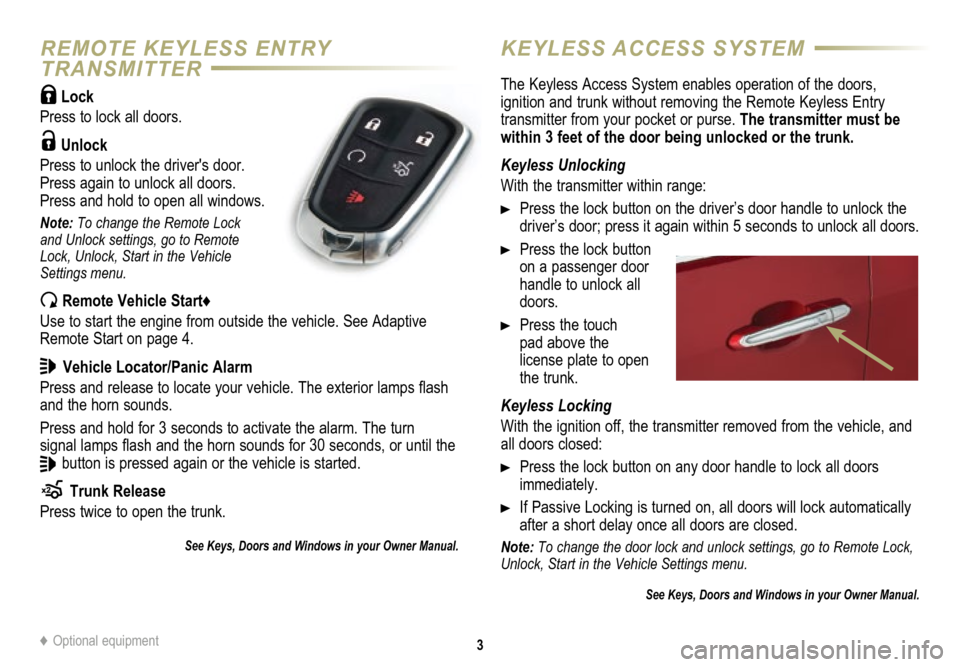
Lock
Press to lock all doors.
Unlock
Press to unlock the driver's door.
Press again to unlock all doors.
Press and hold to open all windows.
Note: To change the Remote Lock
and Unlock settings, go to Remote
Lock, Unlock, Start in the Vehicle
Settings menu.
Remote Vehicle Start♦
Use to start the engine from outside the vehicle. See Adaptive
Remote Start on page 4.
Vehicle Locator/Panic Alarm
Press and release to locate your vehicle. The exterior lamps flash
and the horn sounds.
Press and hold for 3 seconds to activate the alarm. The turn
signal lamps flash and the horn sounds for 30 seconds, or until the
button is pressed again or the vehicle is started.
Trunk Release
Press twice to open the trunk.
See Keys, Doors and Windows in your Owner Manual.
The Keyless Access System enables operation of the doors,
ignition and trunk without removing the Remote Keyless Entry
transmitter from your pocket or purse. The transmitter must be
within 3 feet of the door being unlocked or the trunk.
Keyless Unlocking
With the transmitter within range:
Press the lock button on the driver’s door handle to unlock the
driver’s door; press it again within 5 seconds to unlock all doors.
Press the lock button
on a passenger door
handle to unlock all
doors.
Press the touch
pad above the
license plate to open
the trunk.
Keyless Locking
With the ignition off, the transmitter removed from the vehicle, and
all doors closed:
Press the lock button on any door handle to lock all doors
immediately.
If Passive Locking is turned on, all doors will lock automat ically
after a short delay once all doors are closed.
Note: To change the door lock and unlock settings, go to Remote Lock,
Unlock, Start in the Vehicle Settings menu.
See Keys, Doors and Windows in your Owner Manual.
♦ Optional equipment
Page 4 of 20

4
KEYLESS STARTADAPTIVE REMOTE START♦
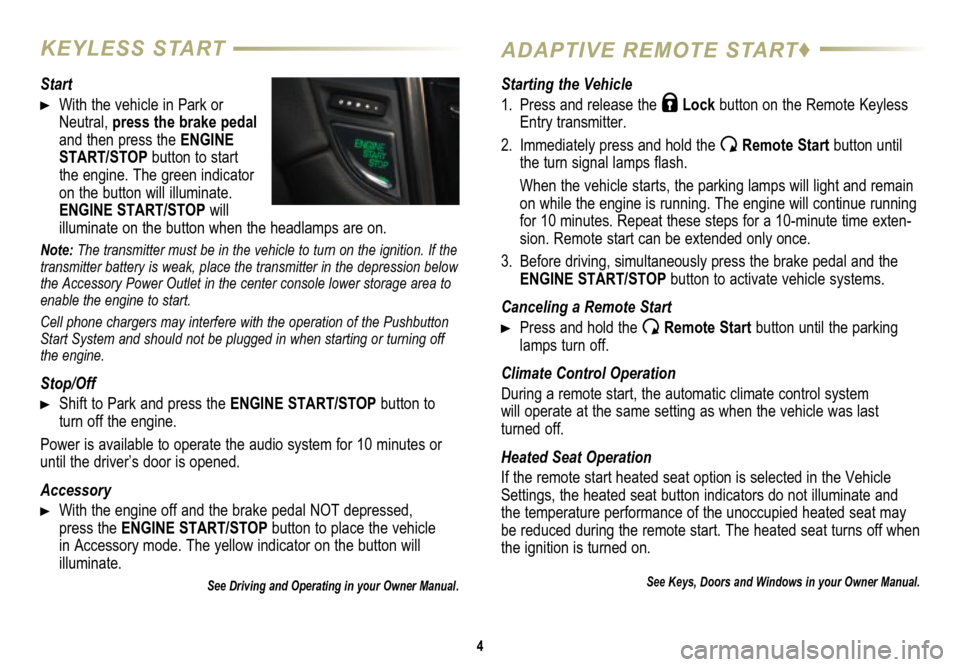
Start
With the vehicle in Park or
Neutral, press the brake pedal
and then press the ENGINE
START/STOP button to start
the engine. The green indicator
on the button will illuminate.
ENGINE START/STOP will
illuminate on the button when the headlamps are on.
Note: The transmitter must be in the vehicle to turn on the ignition. If the
transmitter battery is weak, place the transmitter in the depression below
the Accessory Power Outlet in the center console lower storage area to
enable the engine to start.
Cell phone chargers may interfere with the operation of the Pushbutton
Start System and should not be plugged in when starting or turning off
the engine.
Stop/Off
Shift to Park and press the ENGINE START/STOP button to
turn off the engine.
Power is available to operate the audio system for 10 minutes or
until the driver’s door is opened.
Accessory
With the engine off and the brake pedal NOT depressed,
press the ENGINE START/STOP button to place the vehicle
in Accessory mode. The yellow indicator on the button will
illuminate.
See Driving and Operating in your Owner Manual.
Starting the Vehicle
1. Press and release the
Lock button on the Remote Keyless
Entry transmitter.
2. Immediately press and hold the
Remote Start button until
the turn signal lamps flash.
When the vehicle starts, the parking lamps will light and remain
on while the engine is running. The engine will continue running
for 10 minutes. Repeat these steps for a 10-minute time exten
-sion. Remote start can be extended only once.
3. Before driving, simultaneously press the brake pedal and the
ENGINE START/STOP button to activate vehicle systems.
Canceling a Remote Start
Press and hold the Remote Start button until the parking
lamps turn off.
Climate Control Operation
During a remote start, the automatic climate control system
will operate at the same setting as when the vehicle was last turned off.
Heated Seat Operation
If the remote start heated seat option is selected in the Vehicle
Settings, the heated seat button indicators do not illuminate and
the temperature performance of the unoccupied heated seat may
be reduced during the remote start. The heated seat turns off when
the ignition is turned on.
See Keys, Doors and Windows in your Owner Manual.
Page 18 of 20

The traction control
system limits wheelspin
and the StabiliTrak
system assists with the
stability of the vehicle in
difficult driving conditions.
Both systems turn on
automatically every time
the vehicle is started.
Turning Off Traction Control
Turn off traction control if the vehicle is stuck and rocking the
vehicle is required.
Press the Traction Control/StabiliTrak button on the center
console. The Traction Control Off light on the instrument
cluster will illuminate.
Press the button again to turn on traction control.
See Driving and Operating in your Owner Manual.
18
STEERING WHEEL TAP SHIFT♦ STABILITRAK®/TRACTION
CONTROL SYSTEMS
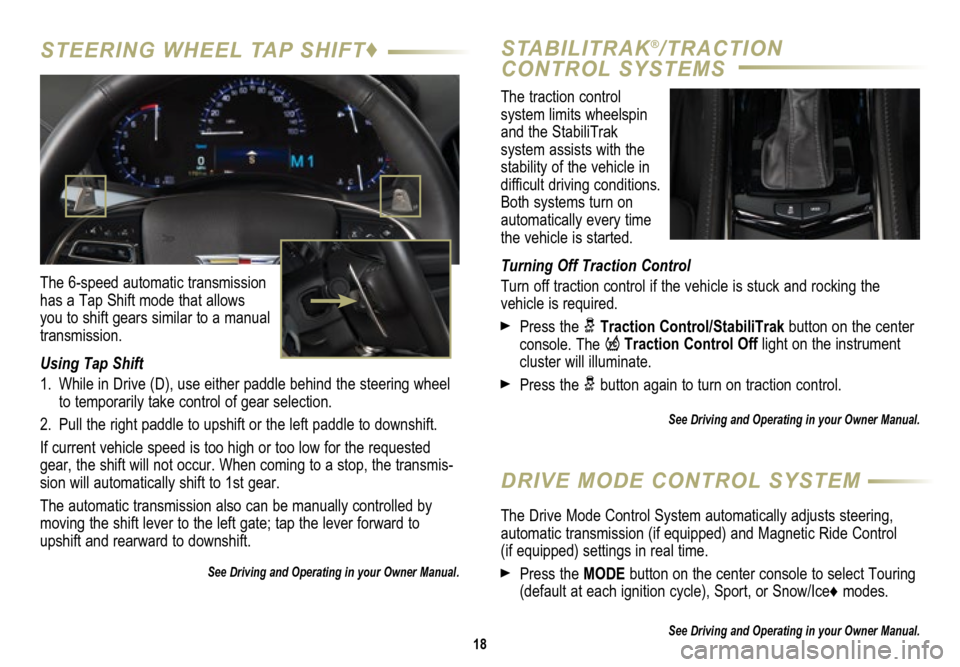
The 6-speed automatic transmission
has a Tap Shift mode that allows
you to shift gears similar to a manual
transmission.
Using Tap Shift
1. While in Drive (D), use either paddle behind the steering wheel
to temporarily take control of gear selection.
2. Pull the right paddle to upshift or the left paddle to downshift.
If current vehicle speed is too high or too low for the requested
gear, the shift will not occur. When coming to a stop, the transmis
-sion will automatically shift to 1st gear.
The automatic transmission also can be manually controlled by
moving the shift lever to the left gate; tap the lever forward to
upshift and rearward to downshift.
See Driving and Operating in your Owner Manual.
DRIVE MODE CONTROL SYSTEM
The Drive Mode Control System automatically adjusts steering,
automatic transmission (if equipped) and Magnetic Ride Control (if equipped) settings in real time.
Press the MODE button on the center console to select Touring
(default at each ignition cycle), Sport, or Snow/Ice♦ modes.
See Driving and Operating in your Owner Manual.
Page 19 of 20

19
ELECTRIC PARKING BRAKE♦TIRES
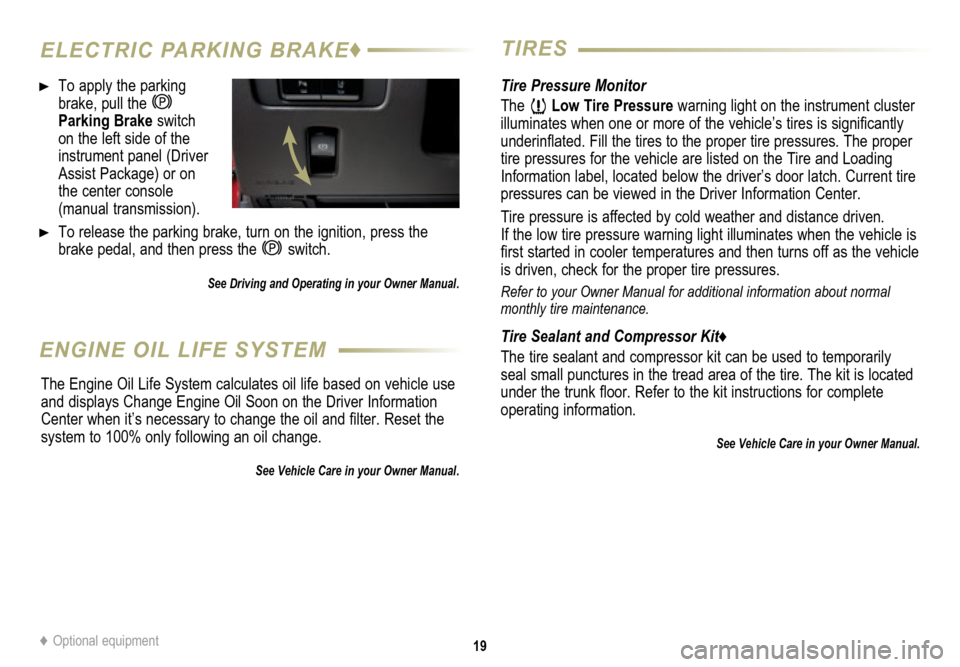
To apply the parking
brake, pull the
Parking Brake switch on the left side of the
instrument panel (Driver
Assist Package) or on
the center console
(manual transmission).
To release the parking brake, turn on the ignition, press the
brake pedal, and then press the
switch.
See Driving and Operating in your Owner Manual.
Tire Pressure Monitor
The
Low Tire Pressure warning light on the instrument cluster
illuminates when one or more of the vehicle’s tires is significantly
underinflated. Fill the tires to the proper tire
pressures. The proper
tire pressures for the vehicle are listed on the Tire and Loading
Information label, located below the driver’s door latch. Current tire
pressures can be viewed in the Driver Information Center.
Tire pressure is affected by cold weather and distance driven.
If the low tire pressure warning light illuminates when the vehicle is
first started in cooler temperatures and then turns off as the vehicle
is driven, check for the proper tire pressures.
Refer to your Owner Manual for additional information about normal
monthly tire maintenance.
Tire Sealant and Compressor Kit♦
The tire sealant and compressor kit can be used to temporarily
seal small punctures in the tread area of the tire. The kit is located
under the trunk floor. Refer to the kit instructions for complete
operating information.
See Vehicle Care in your Owner Manual.
ENGINE OIL LIFE SYSTEM
The Engine Oil Life System calculates oil life based on vehicle use
and displays Change Engine Oil Soon on the Driver Information
Center when it’s necessary to change the oil and filter. Reset the
system to 100% only following an oil change.
See Vehicle Care in your Owner Manual.
♦ Optional equipment