2015 BMW Z4 SDRIVE35IS maintenance
[x] Cancel search: maintenancePage 86 of 289
6.Create the settings.7.Confirm.
The entered date is stored.
Automatic Service Request
Data regarding the maintenance status or le‐
gally mandated inspections of the vehicle are
automatically transmitted to your service cen‐
ter before a service due date.
You can check when your service center was
notified.
1."Vehicle Info"2."Vehicle status"3.Open "Options".4."Last Service Request"
Check Control
The concept The Check Control monitors vehicle functions
and alerts you to any malfunctions in the sys‐
tems monitored.
Such Check Control messages involve indica‐
tor or warning lamps in the instrument cluster
and, in some circumstances, an acoustic signal
and text messages at the bottom of the Con‐
trol Display.
Indicator/warning lights
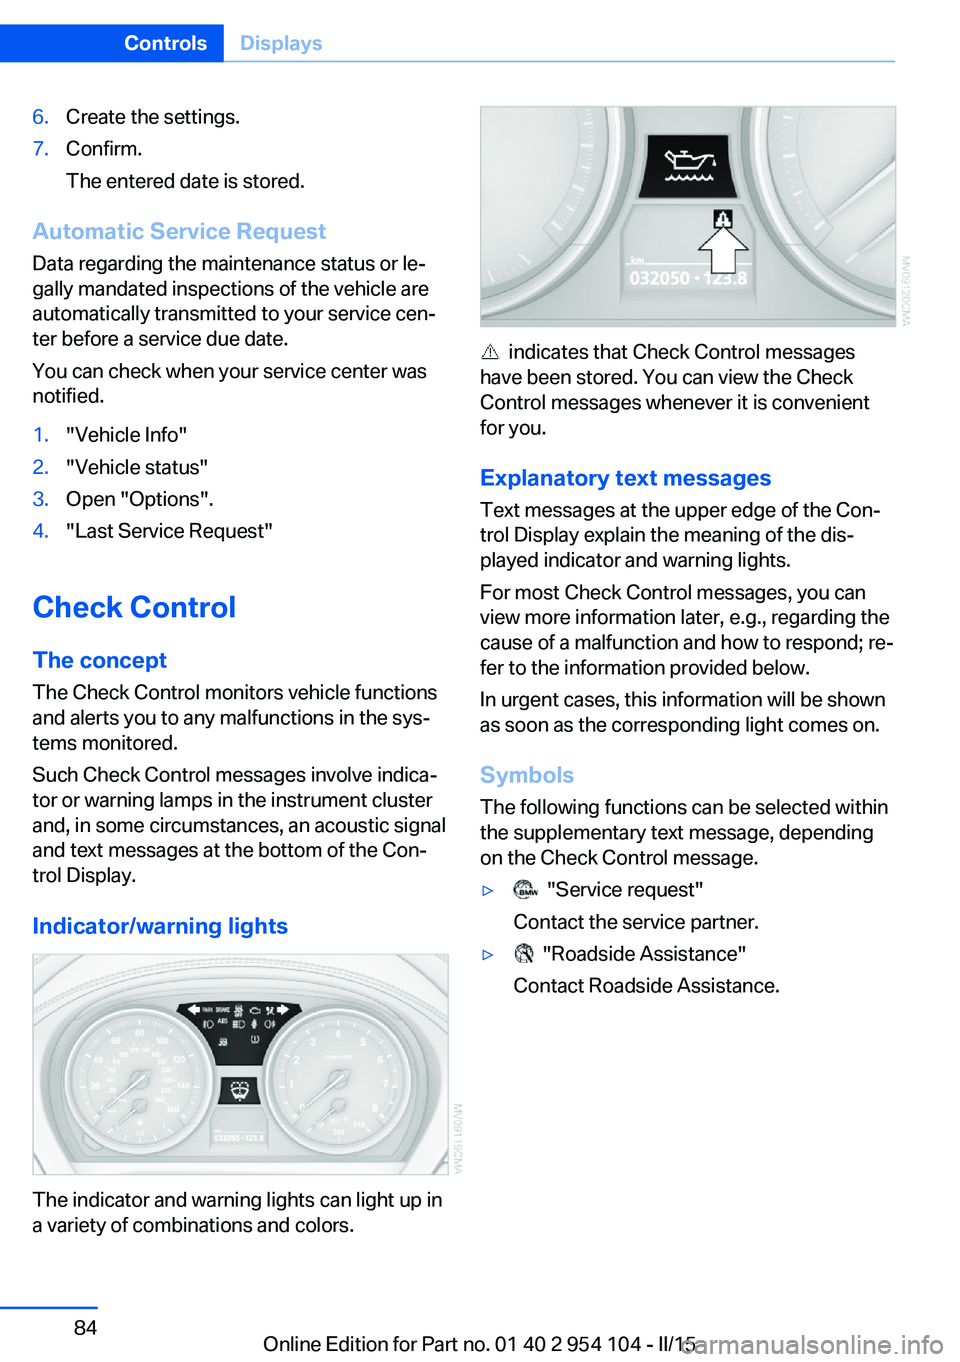
The indicator and warning lights can light up in
a variety of combinations and colors.
indicates that Check Control messages
have been stored. You can view the Check
Control messages whenever it is convenient
for you.
Explanatory text messages Text messages at the upper edge of the Con‐
trol Display explain the meaning of the dis‐
played indicator and warning lights.
For most Check Control messages, you can
view more information later, e.g., regarding the
cause of a malfunction and how to respond; re‐
fer to the information provided below.
In urgent cases, this information will be shown
as soon as the corresponding light comes on.
Symbols The following functions can be selected within
the supplementary text message, depending
on the Check Control message.
▷ "Service request"
Contact the service partner.▷ "Roadside Assistance"
Contact Roadside Assistance.Seite 84ControlsDisplays84
Online Edition for Part no. 01 40 2 954 104 - II/15
Page 102 of 289
ficiency and tire tread life, and may affect the
vehicle's handling and stopping ability.
Please note that the TPMS is not a substitute
for proper tire maintenance, and it is the driv‐
er's responsibility to maintain correct tire pres‐
sure, even if under-inflation has not reached
the level to trigger illumination of the TPMS
low tire pressure telltale.
Your vehicle has also been equipped with a
TPMS malfunction indicator to indicate when
the system is not operating properly. The
TPMS malfunction indicator is combined with
the low tire pressure telltale. When the system
detects a malfunction, the telltale will flash for
approximately one minute and then remain
continuously illuminated. This sequence will
continue upon subsequent vehicle startups as
long as the malfunction exists. When the mal‐
function indicator is illuminated, the system
may not be able to detect or signal low tire
pressure as intended. TPMS malfunctions may
occur for a variety of reasons, including the in‐
stallation of replacement or alternate tires or
wheels on the vehicle that prevent the TPMS
from functioning properly. Always check the
TPMS malfunction telltale after replacing one
or more tires or wheels on your vehicle to en‐
sure that the replacement or alternate tires and
wheels allow the TPMS to continue to function
properly.Brake force display
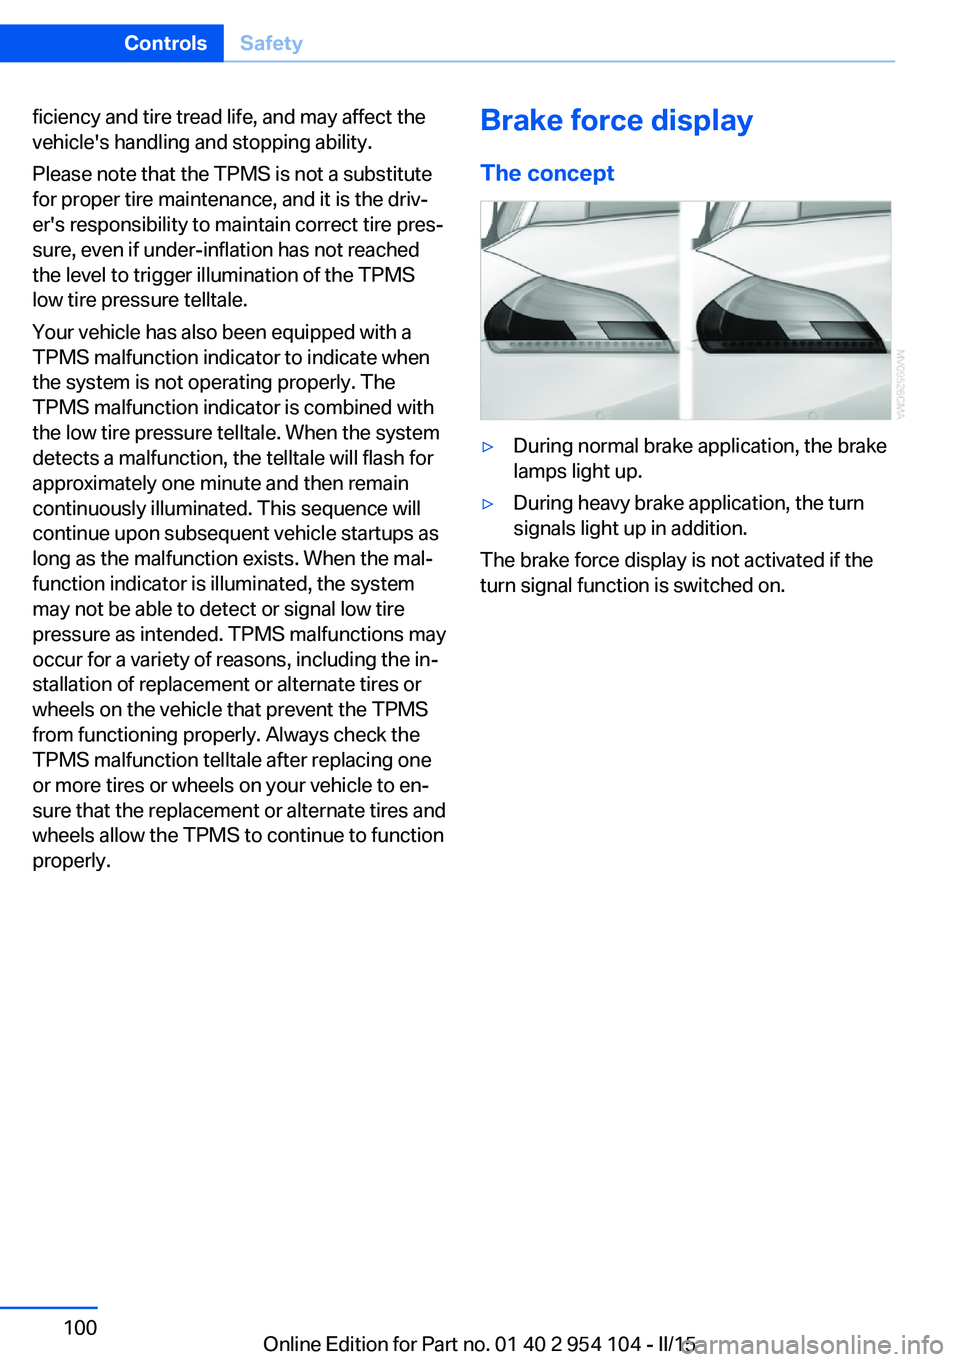
The concept▷During normal brake application, the brake
lamps light up.▷During heavy brake application, the turn
signals light up in addition.
The brake force display is not activated if the
turn signal function is switched on.
Seite 100ControlsSafety100
Online Edition for Part no. 01 40 2 954 104 - II/15
Page 116 of 289

▷Left LED on, automatic recirculated air
control: a sensor detects pollutants in the
outside air. If necessary, the system blocks
the supply of outside air and recirculates
the inside air. As soon as the concentration
of pollutants in the outside air has de‐
creased sufficiently, the system automati‐
cally switches back to outside air supply.▷Right LED on, recirculated air mode: the
supply of outside air into the vehicle is per‐
manently blocked. The system then recir‐
culates the air currently within the vehicle.
Adjusting air flow rate manually
Press the left side of the button to
reduce air flow. Press the right
side of the button to increase it.
The air volume may be reduced automatically
to save battery power. The display remains the
same.
Air distribution, manual
Depending on the selected setting, the air is
directed to the windshield, to the upper body
area, to the knee area and into the footwell.
Adjusting air distribution manually Press the button repeatedly until
the air distribution is set as re‐
quired. The corresponding LED lights up.
The manual air distribution is also switched on
when the AUTO program is deactivated.
Residual heat
The heat stored in the engine is used to heat
the interior.
This function can be switched on
using the right-hand button under
the following conditions:
▷Up to 15 minutes after switching off the
engine.▷When the engine is warm.▷With sufficient battery voltage.▷At an external temperature under
77 ℉/25 ℃.
The middle LED is lit when the function is on.
Defrosting and defogging windows Quickly removes ice and conden‐
sation from the windshield and
front side windows.
For this purpose, also switch on the cooling
function.
Rear window defroster The defroster switches off auto‐
matically after a certain time or
when the hardtop is opened.
Microfilter/activated-charcoal filter
The microfilter traps dust and pollen in the in‐
coming air. The activated-charcoal filter pro‐
vides additional protection by filtering gaseous
pollutants from the outside air. Your service
center replaces this combined filter during rou‐
tine maintenance.
Seite 114ControlsClimate114
Online Edition for Part no. 01 40 2 954 104 - II/15
Page 136 of 289
▷Heavy cargo: stow as far forward and as
low as possible, ideally directly behind the
cargo area separating wall.▷Cover sharp edges and corners.
Loading with the hardtop open
Before opening the hardtop, fold down
the cargo area partition and make sure the
cargo area is loaded correctly; otherwise, parts
of the hardtop could be damaged.◀
Fold down the cargo area partition, refer to
page 45.
Rear storage shelf Loading the rear storage shelf
When loading the rear storage shelf, do
not move both seats all the way forward while
moving them to their uppermost position and
leaning the backrests forward. Otherwise, the
seats could hit and damage the seal on the
windshield and the sun visor.◀
Light and small objects can be stored on the
rear storage shelf.
Securing cargo
Cargo area
Use retaining straps, a luggage net or draw
straps to secure small and lightweight items.
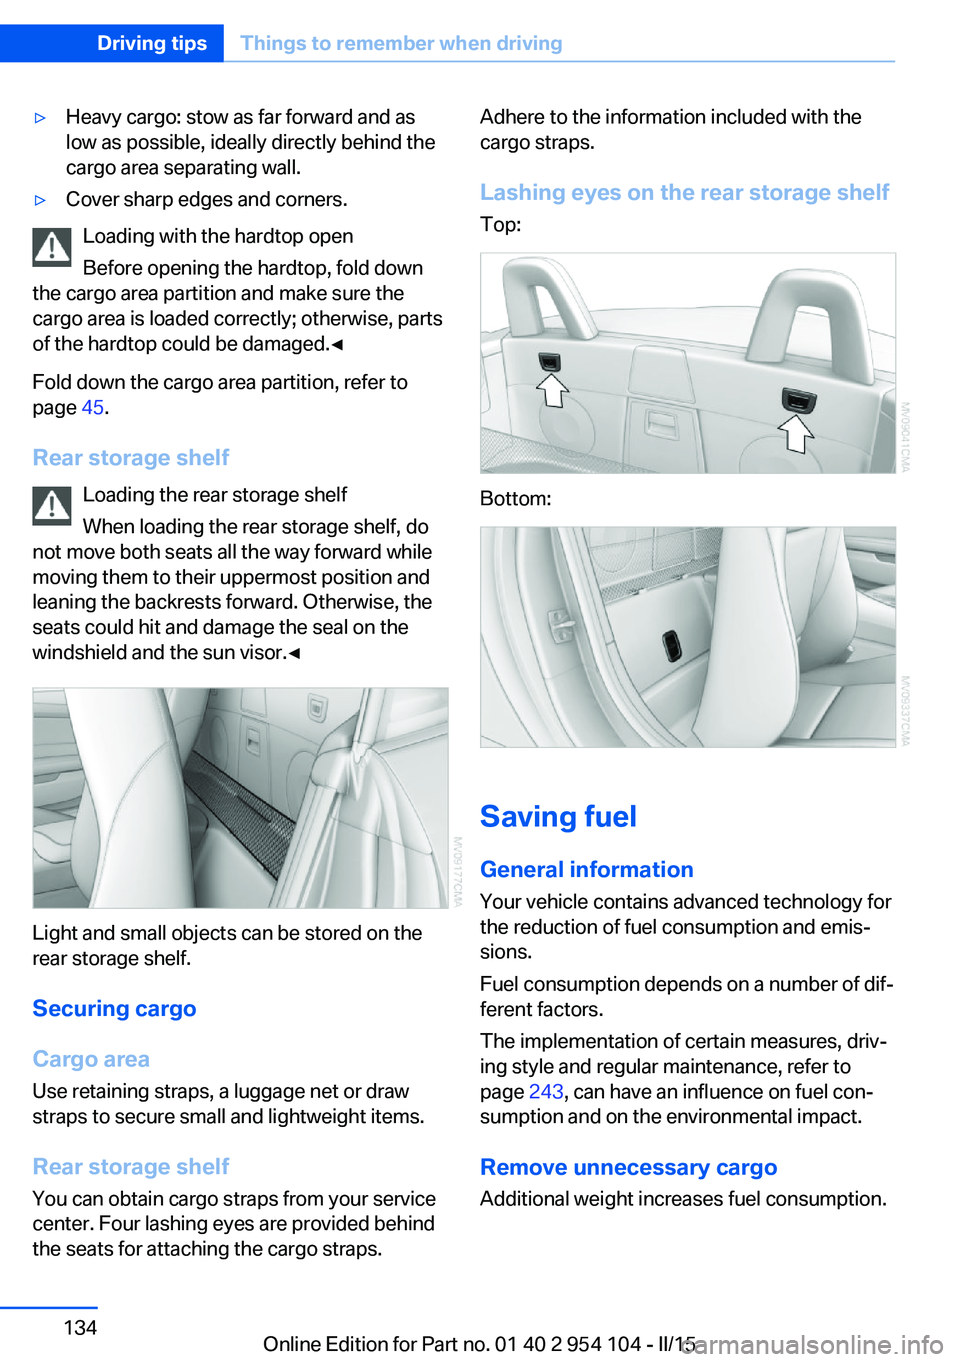
Rear storage shelf You can obtain cargo straps from your service
center. Four lashing eyes are provided behind
the seats for attaching the cargo straps.
Adhere to the information included with the
cargo straps.
Lashing eyes on the rear storage shelf
Top:
Bottom:
Saving fuel
General information
Your vehicle contains advanced technology for
the reduction of fuel consumption and emis‐
sions.
Fuel consumption depends on a number of dif‐
ferent factors.
The implementation of certain measures, driv‐
ing style and regular maintenance, refer to
page 243, can have an influence on fuel con‐
sumption and on the environmental impact.
Remove unnecessary cargo
Additional weight increases fuel consumption.
Seite 134Driving tipsThings to remember when driving134
Online Edition for Part no. 01 40 2 954 104 - II/15
Page 137 of 289

Remove attached parts following use
Remove auxiliary mirrors or rear-mounted lug‐
gage racks after use.
Attached parts on the vehicle impair the aero‐
dynamics and increase the fuel consumption.
Close both windows
An open window causes higher air resistance
and thus increases fuel consumption.
Tires
General information
Tires can have varying effects on fuel con‐
sumption; for example, fuel consumption can
be influenced by the tire size.
Check the tire inflation pressure
regularly
Check and, if necessary, correct the tire infla‐
tion pressure, refer to page 228, at least twice
a month and before starting on a long trip.
Low tire inflation pressure increases rolling re‐
sistance and thus raises fuel consumption and
tire wear.
Drive away without delay Do not wait for the engine to warm-up while
the vehicle remains stationary. Start driving
right away, but at moderate engine speeds.
This is the fastest way for the cold engine to
reach its operating temperature.
Look well ahead when driving
Avoid unnecessary acceleration and braking.
By maintaining a suitable distance to the vehi‐ cle driving ahead of you.
Driving smoothly and looking ahead reduces
fuel consumption.
Avoid high engine speeds Use 1st gear to get the vehicle in motion. Be‐
ginning with 2nd gear, accelerate rapidly.When accelerating, shift up before reaching high engine speeds.
When you reach the desired speed, shift into
the highest applicable gear and drive with the
engine speed as low as possible and at a con‐
stant speed.
As a rule: driving at low engine speeds lowers
fuel consumption and reduces wear.
Use coasting conditions When approaching a red light, take your foot
off the accelerator and coast to a halt in the
highest applicable gear.
On a downhill slope, take your foot off the ac‐
celerator and coast in a suitable gear.
The flow of fuel is interrupted while coasting.
Switch off the engine during longer
stops
Switch off the engine during longer stops, e.g.,
at traffic lights, railroad crossings or in traffic
congestion.
Automatic Engine Start/Stop Function The Automatic Engine Start/Stop Function au‐
tomatically switches the engine off during a
stop.
If the engine is stopped and then started again,
fuel consumption and emissions drop com‐
pared to an engine that runs permanently.
Stopping the engine even for just a few sec‐
onds can result in savings.
Use of this system can cause premature wear
on certain vehicle components.
In addition, fuel consumption depends on
other factors as well, such as driving style, road
conditions, maintenance, and environmental
factors.
Additional information on the Automatic En‐
gine Start/Stop Function, refer to page 59.Seite 135Things to remember when drivingDriving tips135
Online Edition for Part no. 01 40 2 954 104 - II/15
Page 138 of 289
Switch off any functions that are not
currently needed
Functions such as the automatic climate con‐
trol require a large amount of energy and con‐
sume additional fuel, especially in city and
stop-and-go traffic.
Therefore, switch off these functions if they
are not actually needed.
Have maintenance carried out Have vehicles maintained regularly to achieve
optimal vehicle economy and operating life.
Have the maintenance carried out by your
service center.
Please also note the BMW Maintenance Sys‐
tem, refer to page 243.Seite 136Driving tipsThings to remember when driving136
Online Edition for Part no. 01 40 2 954 104 - II/15
Page 225 of 289
Mobility
In order to always ensure your mobility, you will find important information on operating fluids,wheels and tires, maintenance and Roadside Assistance in the following.Online Edition for Part no. 01 40 2 954 104 - II/15
Page 230 of 289
Wheels and tiresVehicle equipment
This chapter describes all series equipment as
well as country-specific and special equipment
offered for this model series. Therefore, it also
describes equipment that may not be found in
your vehicle, for instance due to the selected
special equipment or the country version. This
also applies to safety-related functions and
systems.
When using the features and systems descri‐
bed here, adhere to local regulations.
Tire inflation pressure Information for your safety
It is not merely the tires' service life, but also
driving comfort and, to a great extent, driving
safety that depend on the condition of the tires
and the maintenance of the specified tire pres‐
sure.
Check the tire inflation pressure regularly
Regularly check the tire inflation pres‐
sure and correct it as needed: at least twice a
month and before a long trip. If you fail to ob‐
serve this precaution, you may be driving on
tires with incorrect tire pressures, a condition
that may not only compromise your vehicle's
driving stability, but also lead to tire damage
and the risk of an accident.◀
Checking the pressure Tires naturally lose pressure uniformly across
all four tires.
Only check the tire inflation pressure when the
tires are cold. This means after a maximum of
1.25 miles/2 km driving or when the vehicle
has been parked for at least 2 hours. When the
tires are warm, the tire inflation pressure is
higher.Tires warm up during driving and the tire infla‐
tion pressure increases as the temperature
rises. The tire inflation pressure specifications
apply to cold tires or tires at ambient tempera‐
ture.
Only check the tire inflation pressure when the
tires are cold. This means after a maximum of
1.25 miles/2 km driving or when the vehicle
has been parked for at least 2 hours.
The values displayed by tire inflation stations
may be up to 0.1 bar, 2 psi too low.
For the Flat Tire Monitor: after adjusting the
tire inflation pressure to a new value, reinitialize
the Flat Tire Monitor, refer to page 94.
For the Tire Pressure Monitor: after adjusting
the tire inflation pressure to a new value, reset
the Tire Pressure Monitor, refer to page 97.
Pressure specifications The tables below provide all the correct infla‐
tion pressures for the specified tire sizes at
ambient temperature.
The inflation pressures apply to the tire sizes
approved and tire brands recommended by
BMW; a list of these is available from your
service center.
For correct identification of the right tire infla‐
tion pressures, observe the following:▷Tire sizes of your vehicle.▷Maximum allowable driving speed.
Tire inflation pressures for driving up
to 100 mph or 160 km/h
For normal driving up to 100 mph/160 km/h,
adjust pressures to the respective tire inflation
pressures listed on the following pages in the
column for traveling speeds up to 100 mph/
160 km/h to achieve optimum driving comfort.
Seite 228MobilityWheels and tires228
Online Edition for Part no. 01 40 2 954 104 - II/15