2015 BMW X6M ECU
[x] Cancel search: ECUPage 188 of 255
LoadingVehicle features and options
This chapter describes all standard, country-
specific and optional features offered with the
series. It also describes features that are not
necessarily available in your car, e. g., due to
the selected options or country versions. This
also applies to safety-related functions and
systems. The respectively applicable country
provisions must be observed when using the
respective features and systems.
Information WARNING
High gross weight can overheat the tires,
damage them internally, and cause a sudden
drop in tire inflation pressure. There is risk of
an accident. Pay attention to the permitted
load capacity of the tires and never exceed the
permitted gross weight.◀
CAUTION
Fluids in the cargo area can cause dam‐
age. There is risk of property damage. Make
sure that no fluids leak in the cargo area.◀
WARNING
Loose objects in the car's interior can be
thrown into the car's interior while driving, e.g.
in the event of an accident or during braking
and evasive maneuvers. There is risk of inju‐
ries. Secure loose objects in the car's inte‐
rior.◀
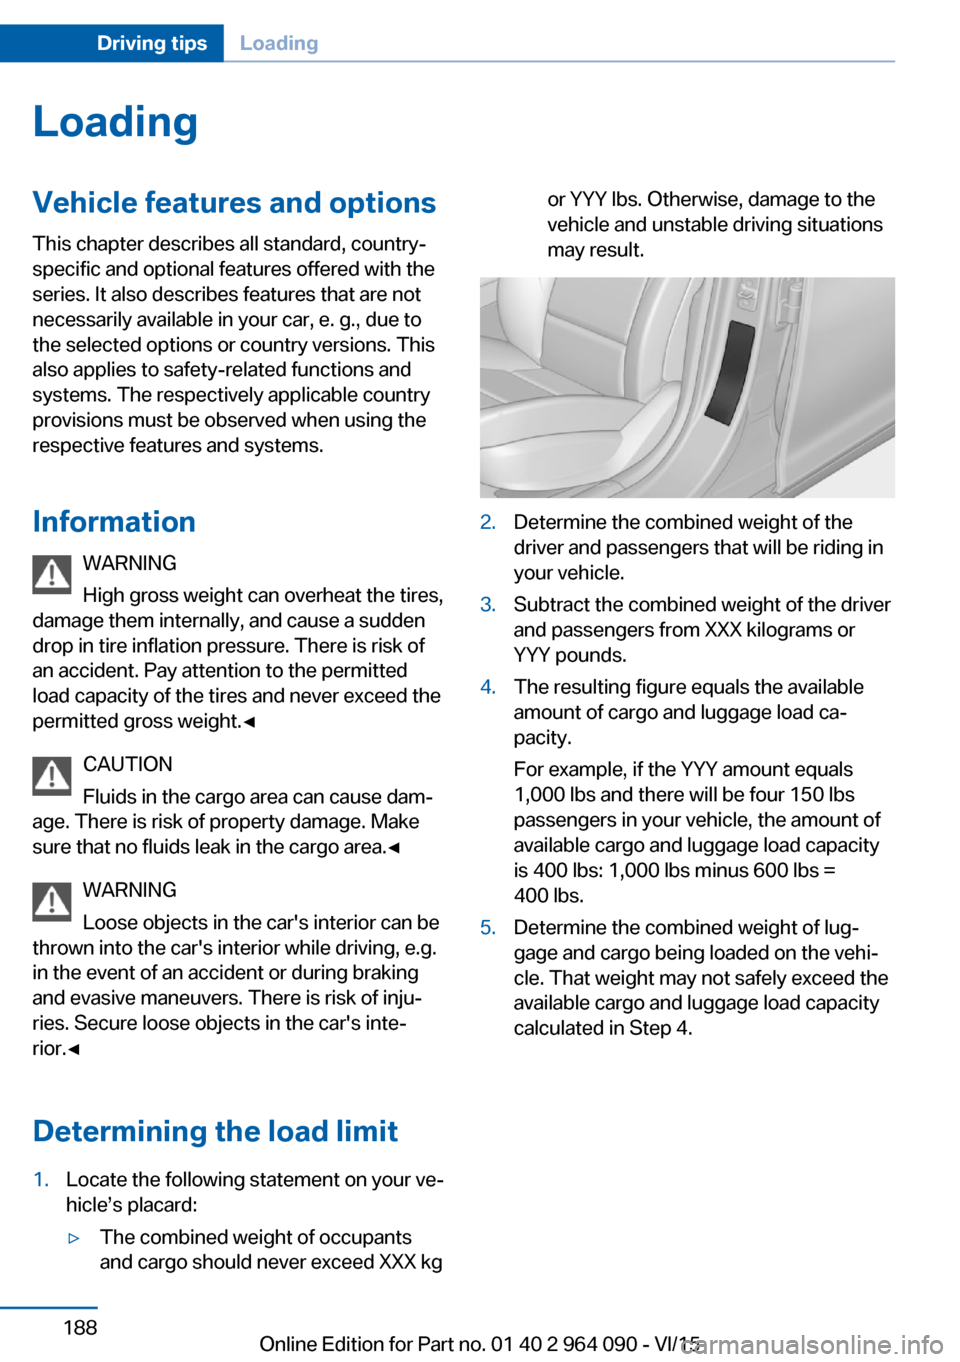
Determining the load limit1.Locate the following statement on your ve‐
hicle’s placard:▷The combined weight of occupants
and cargo should never exceed XXX kgor YYY lbs. Otherwise, damage to the
vehicle and unstable driving situations
may result.2.Determine the combined weight of the
driver and passengers that will be riding in
your vehicle.3.Subtract the combined weight of the driver
and passengers from XXX kilograms or
YYY pounds.4.The resulting figure equals the available
amount of cargo and luggage load ca‐
pacity.
For example, if the YYY amount equals
1,000 lbs and there will be four 150 lbs
passengers in your vehicle, the amount of
available cargo and luggage load capacity
is 400 lbs: 1,000 lbs minus 600 lbs =
400 lbs.5.Determine the combined weight of lug‐
gage and cargo being loaded on the vehi‐
cle. That weight may not safely exceed the
available cargo and luggage load capacity
calculated in Step 4.Seite 188Driving tipsLoading188
Online Edition for Part no. 01 40 2 964 090 - VI/15
Page 189 of 255
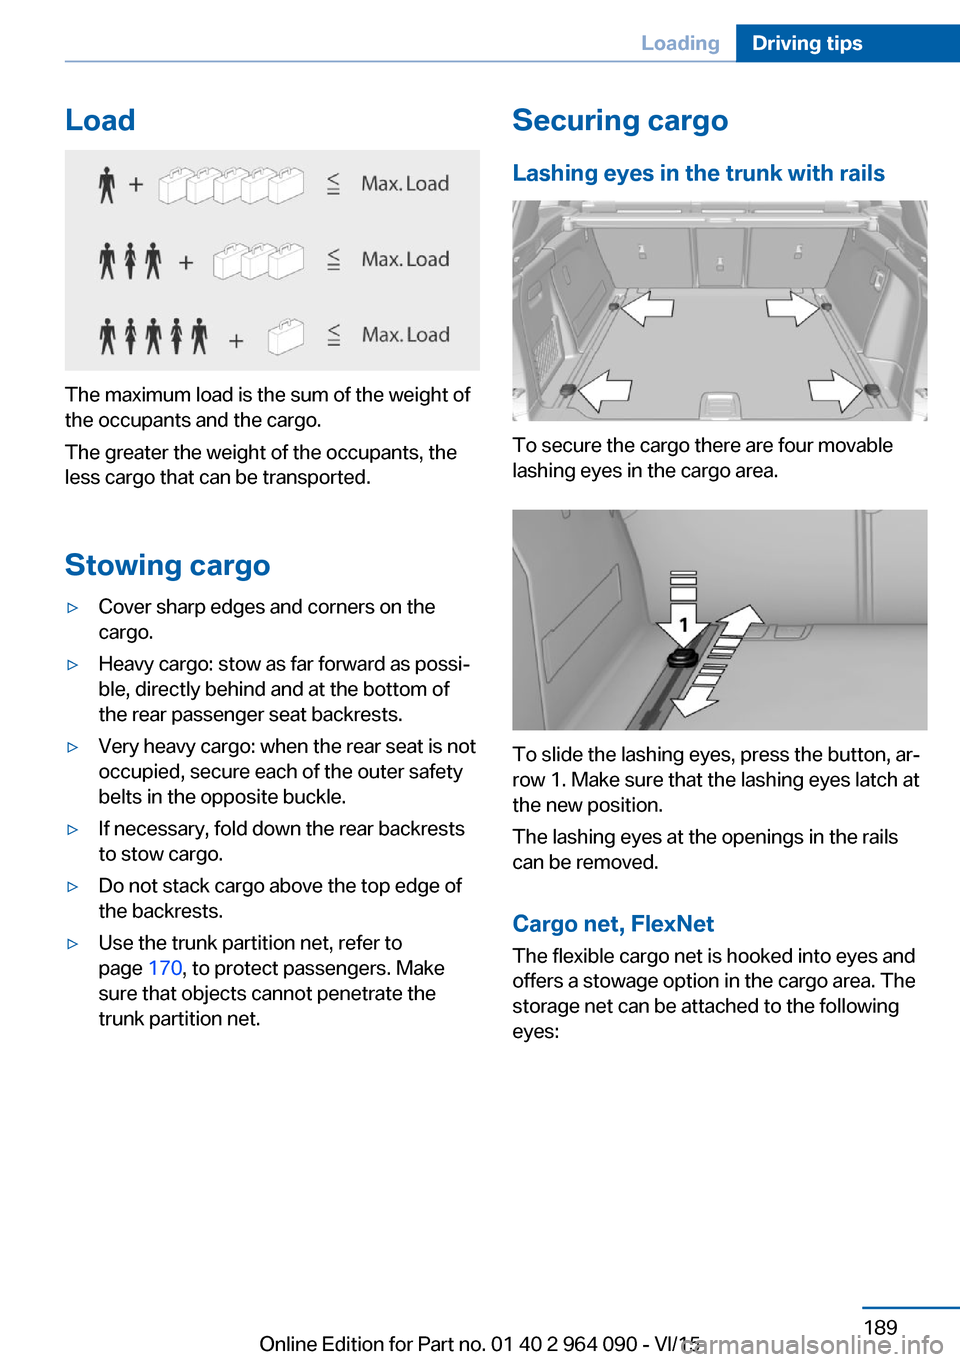
Load
The maximum load is the sum of the weight of
the occupants and the cargo.
The greater the weight of the occupants, the
less cargo that can be transported.
Stowing cargo
▷Cover sharp edges and corners on the
cargo.▷Heavy cargo: stow as far forward as possi‐
ble, directly behind and at the bottom of
the rear passenger seat backrests.▷Very heavy cargo: when the rear seat is not
occupied, secure each of the outer safety
belts in the opposite buckle.▷If necessary, fold down the rear backrests
to stow cargo.▷Do not stack cargo above the top edge of
the backrests.▷Use the trunk partition net, refer to
page 170, to protect passengers. Make
sure that objects cannot penetrate the
trunk partition net.Securing cargo
Lashing eyes in the trunk with rails
To secure the cargo there are four movable
lashing eyes in the cargo area.
To slide the lashing eyes, press the button, ar‐
row 1. Make sure that the lashing eyes latch at
the new position.
The lashing eyes at the openings in the rails
can be removed.
Cargo net, FlexNet The flexible cargo net is hooked into eyes and
offers a stowage option in the cargo area. The
storage net can be attached to the following
eyes:
Seite 189LoadingDriving tips189
Online Edition for Part no. 01 40 2 964 090 - VI/15
Page 190 of 255
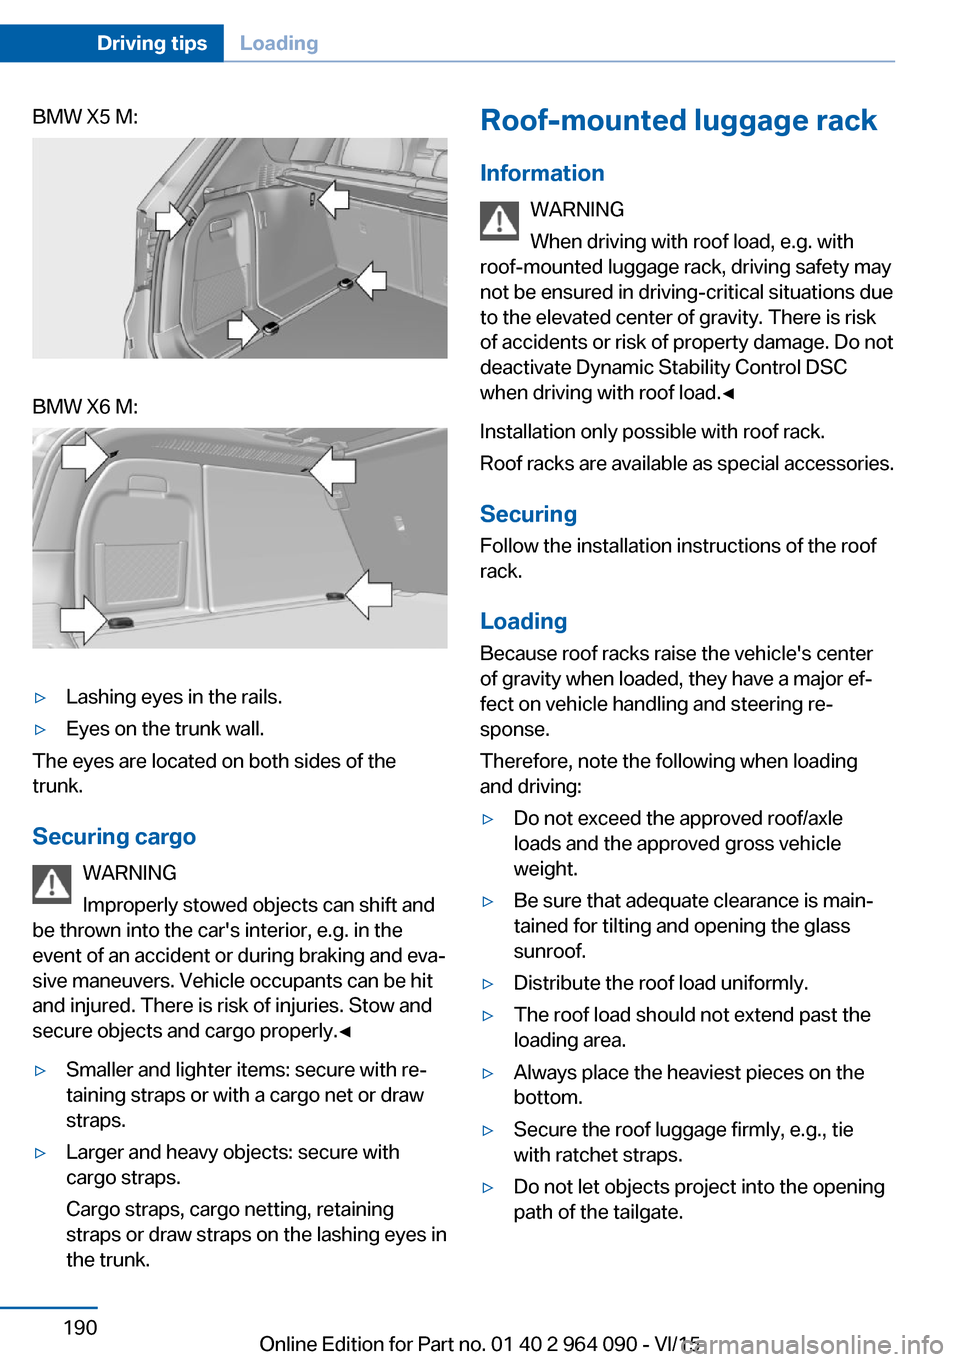
BMW X5 M:BMW X6 M:▷Lashing eyes in the rails.▷Eyes on the trunk wall.
The eyes are located on both sides of the
trunk.
Securing cargo WARNING
Improperly stowed objects can shift and
be thrown into the car's interior, e.g. in the
event of an accident or during braking and eva‐
sive maneuvers. Vehicle occupants can be hit
and injured. There is risk of injuries. Stow and
secure objects and cargo properly.◀
▷Smaller and lighter items: secure with re‐
taining straps or with a cargo net or draw
straps.▷Larger and heavy objects: secure with
cargo straps.
Cargo straps, cargo netting, retaining
straps or draw straps on the lashing eyes in
the trunk.Roof-mounted luggage rack
Information WARNING
When driving with roof load, e.g. with
roof-mounted luggage rack, driving safety may
not be ensured in driving-critical situations due to the elevated center of gravity. There is risk
of accidents or risk of property damage. Do not
deactivate Dynamic Stability Control DSC
when driving with roof load.◀
Installation only possible with roof rack.
Roof racks are available as special accessories.
Securing
Follow the installation instructions of the roof
rack.
Loading Because roof racks raise the vehicle's center
of gravity when loaded, they have a major ef‐
fect on vehicle handling and steering re‐
sponse.
Therefore, note the following when loading
and driving:▷Do not exceed the approved roof/axle
loads and the approved gross vehicle
weight.▷Be sure that adequate clearance is main‐
tained for tilting and opening the glass
sunroof.▷Distribute the roof load uniformly.▷The roof load should not extend past the
loading area.▷Always place the heaviest pieces on the
bottom.▷Secure the roof luggage firmly, e.g., tie
with ratchet straps.▷Do not let objects project into the opening
path of the tailgate.Seite 190Driving tipsLoading190
Online Edition for Part no. 01 40 2 964 090 - VI/15
Page 206 of 255

Repairing a flat tire
Safety measures▷Park the vehicle as far away as possible
from passing traffic and on solid ground.▷Switch on the hazard warning system.▷Secure the vehicle against rolling away by
setting the parking brake.▷Have all vehicle occupants get out of the
vehicle and ensure that they remain out‐
side the immediate area in a safe place,
such as behind a guardrail.▷If necessary, set up a warning triangle at an
appropriate distance.
Mobility System
The concept
With the Mobility System, minor tire damage
can be sealed quickly to enable continued
travel. To accomplish this, sealant is pumped
into the tires, which seals the damage from the
inside.
The compressor can be used to check the tire
inflation pressure.
Information
▷Follow the instructions on using the Mobi‐
lity System found on the compressor and
sealant container.▷Use of the Mobility System may be ineffec‐
tive if the tire puncture measures approx.
1/8 in/4 mm or more.▷Contact a dealer’s service center or an‐
other qualified service center or repair
shop if the tire cannot be made drivable.▷If possible, do not remove foreign bodies
that have penetrated the tire.▷Pull the speed limit sticker off the sealant
container and apply it to the steering
wheel.▷The use of a sealant can damage the TPM
wheel electronics. In this case, have the
electronics checked at the next opportu‐
nity and have them replaced if needed.
DANGER
If the exhaust pipe is blocked or ventila‐
tion is insufficient, harmful exhaust gases can
enter into the vehicle. The exhaust gases con‐
tain carbon monoxide, an odorless and color‐
less but highly toxic gas. In enclosed areas, ex‐
haust gases can also accumulate outside of
the vehicle. There is danger to life. Keep the
exhaust pipe free and ensure sufficient ventila‐
tion.◀
Storage
The Mobility System is located behind the left side trim in the trunk.
Sealant container
▷Sealant container, arrow 1.▷Filling hose, arrow 2.
Observe use-by date on the sealant container.
Seite 206MobilityWheels and tires206
Online Edition for Part no. 01 40 2 964 090 - VI/15
Page 211 of 255
Hood
Information WARNING
Improperly executed work in the engine
compartment can damage components and
lead to a safety risk. There is risk of accidents
or risk of property damage.◀
WARNING
The engine compartment accommo‐
dates moving components. Certain compo‐
nents can move in the engine compartment
with the vehicle switched off, e.g. the cooler
fan. There is risk of injuries. Do not reach into
the area of moving parts. Keep articles of
clothing and hair away from moving parts.◀
CAUTION
Folded-away wipers can be jammed
when the hood is opened. There is risk of
property damage. Make sure that the wipers
with the wiper blades mounted are folded
down onto the windshield before opening the
hood.◀
WARNING
There are protruding parts, e.g. lock
hook, on the inside of the hood. There is risk of
injuries. If the hood is open, pay attention to
protruding parts and keep these areas clear.◀
WARNING
An incorrectly locked hood can open
while driving and restrict visibility. There is risk
of an accident. Stop immediately and correctly
close the hood.◀
WARNING
Body parts can be jammed on opening
and closing the hood. There is risk of injuries.
Make sure that the area of movement of the
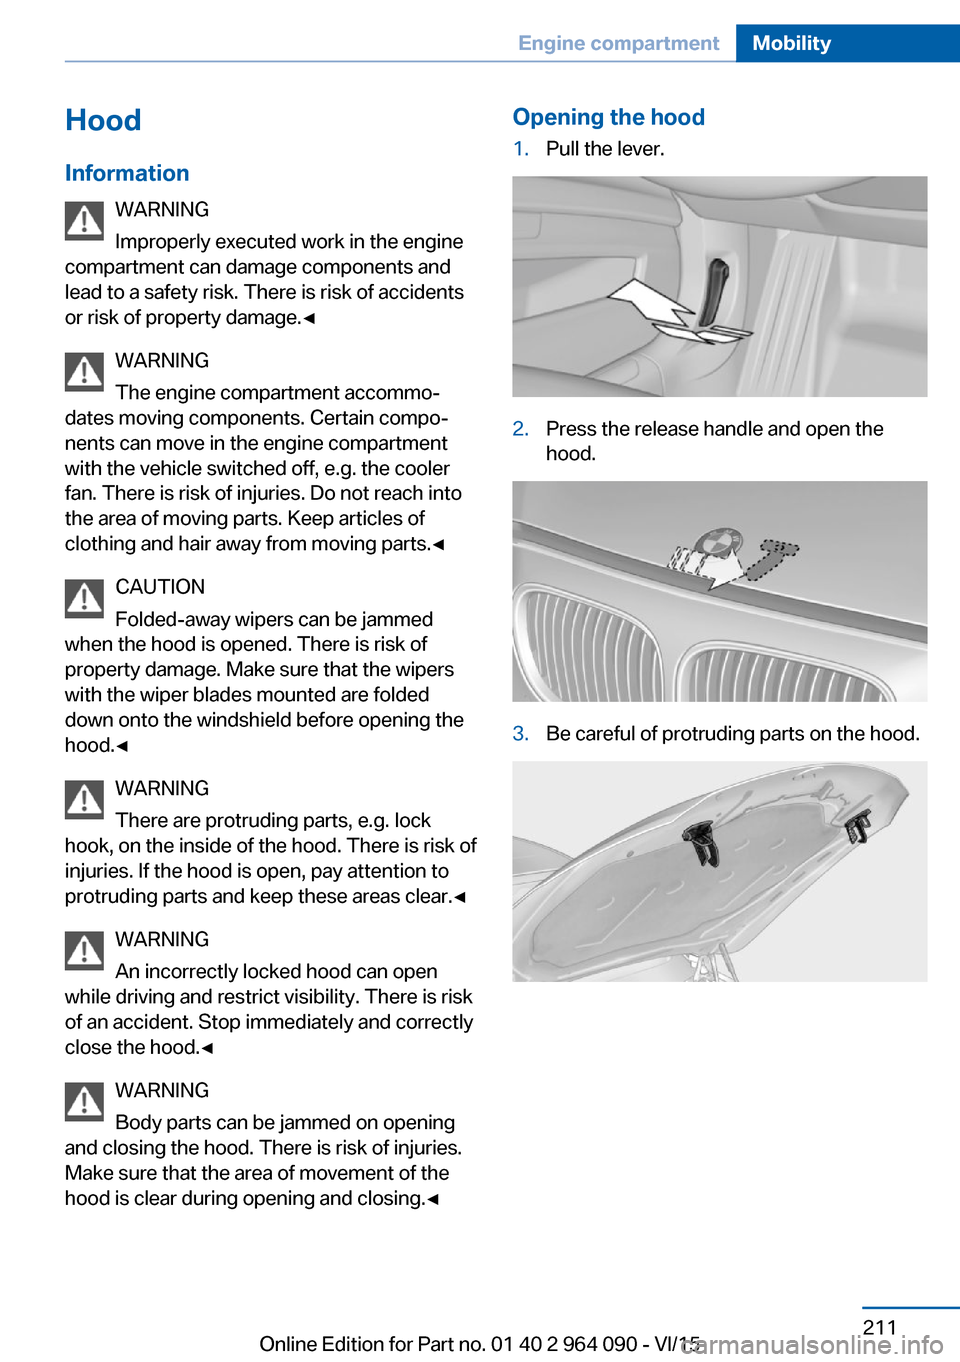
hood is clear during opening and closing.◀Opening the hood1.Pull the lever.2.Press the release handle and open the
hood.3.Be careful of protruding parts on the hood.Seite 211Engine compartmentMobility211
Online Edition for Part no. 01 40 2 964 090 - VI/15
Page 220 of 255
Replacing componentsVehicle features and optionsThis chapter describes all standard, country-
specific and optional features offered with the
series. It also describes features that are not
necessarily available in your car, e. g., due to
the selected options or country versions. This
also applies to safety-related functions and
systems. The respectively applicable country
provisions must be observed when using the
respective features and systems.
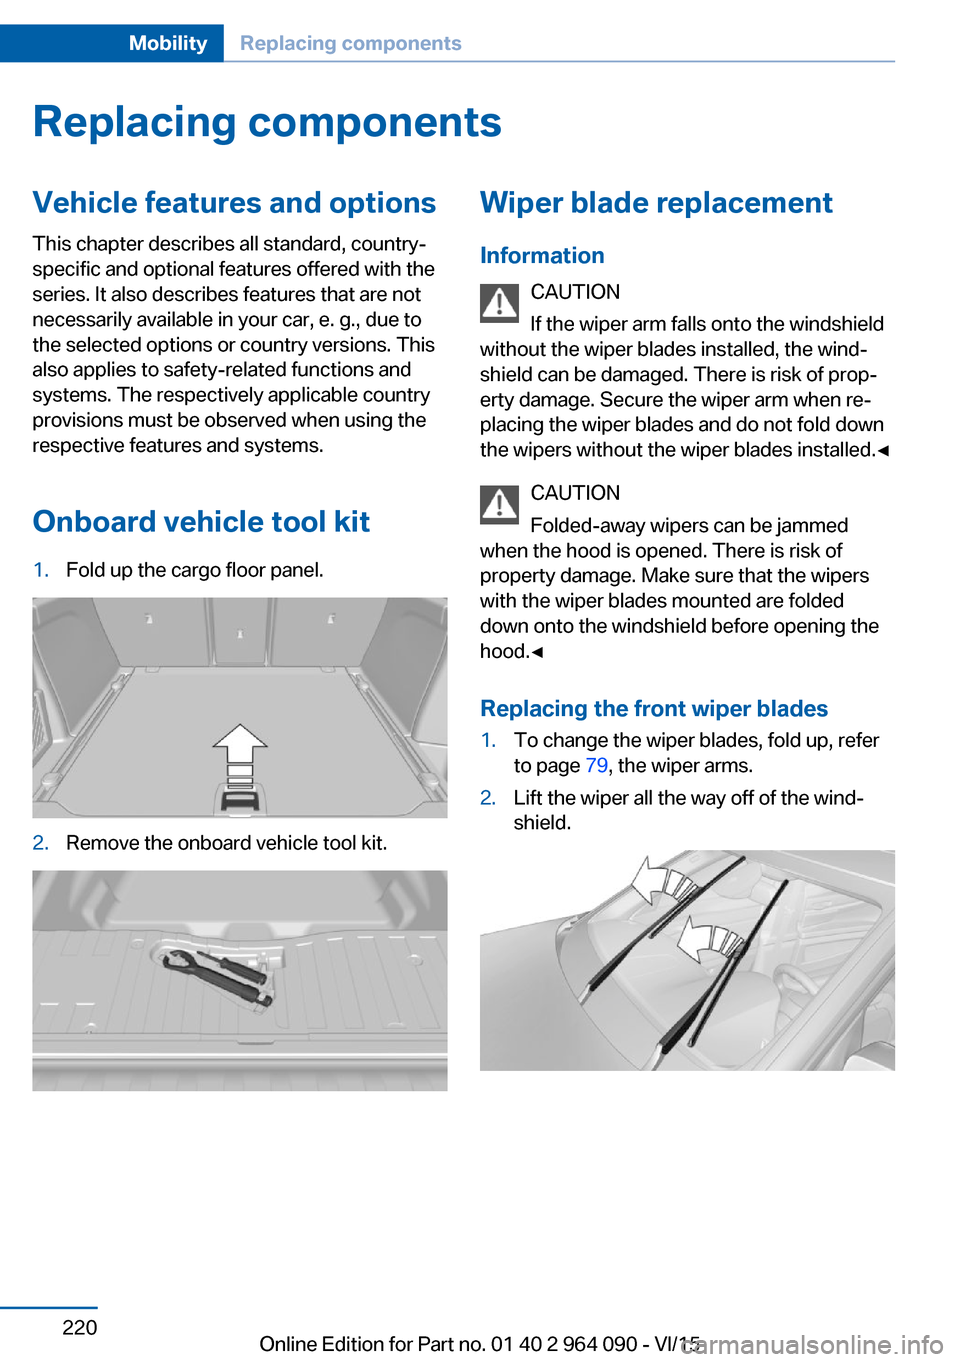
Onboard vehicle tool kit1.Fold up the cargo floor panel.2.Remove the onboard vehicle tool kit.Wiper blade replacement Information CAUTION
If the wiper arm falls onto the windshield
without the wiper blades installed, the wind‐
shield can be damaged. There is risk of prop‐
erty damage. Secure the wiper arm when re‐
placing the wiper blades and do not fold down
the wipers without the wiper blades installed.◀
CAUTION
Folded-away wipers can be jammed
when the hood is opened. There is risk of
property damage. Make sure that the wipers
with the wiper blades mounted are folded
down onto the windshield before opening the
hood.◀
Replacing the front wiper blades1.To change the wiper blades, fold up, refer
to page 79, the wiper arms.2.Lift the wiper all the way off of the wind‐
shield.Seite 220MobilityReplacing components220
Online Edition for Part no. 01 40 2 964 090 - VI/15
Page 226 of 255

Battery replacementCAUTION
Vehicle batteries that are not compatible
can damage vehicle systems and impair vehi‐
cle functions.There is risk of property damage.
Information on the compatible vehicle batteries
is available at your dealer's service center.◀
After a battery replacement, the manufacturer
of your vehicle recommends that the vehicle
battery be registered on the vehicle by a
dealer’s service center or another qualified
service center or repair shop to ensure that all
comfort features are fully available and that any
Check Control messages of these comfort fea‐
tures are no longer displayed.
Charging the battery
General information
Make sure that the battery is always suffi‐
ciently charged to guarantee that the battery
remains usable for its full service life.
The battery may need to be charged in the fol‐
lowing cases:▷When making frequent short-distance
drives.▷If the vehicle is not used for prolonged pe‐
riods, longer than a month.
Information
CAUTION
Battery chargers for the vehicle battery
can work with high voltages and currents,
which means that the 12V on-board network
can be overloaded or damaged. There is risk of
property damage. Only connect battery charg‐
ers for the vehicle battery to the starting aid
terminals in the engine compartment.◀
Starting aid terminals
In the vehicle, only charge the battery via the
starting aid terminals, refer to page 230, in the
engine compartment with the engine off.
Power failure
After a temporary power loss, some equipment
needs to be newly initialized or individual set‐
tings updated, e. g.:▷Seat, mirror, and steering wheel memory:
store the positions again.▷Time: update.▷Date: update.▷Glass sunroof: initialize the system, refer to
page 52.
Disposing of old batteries
Have old batteries disposed of by a
dealer’s service center or another
qualified service center or repair shop
or take them to a collection point.
Maintain the battery in an upright position for
transport and storage. Secure the battery so
that it does not tip over during transport.
Fuses Information WARNING
Incorrect and repaired fuses can overload
electrical lines and components. There is risk
of fire. Never attempt to repair a blown fuse
and do not replace a nonworking fuse with a
substitute of another color or amperage rat‐
ing.◀
Plastic tweezers and information on the fuse
types and locations are stored in the fuse box
in the trunk.
Seite 226MobilityReplacing components226
Online Edition for Part no. 01 40 2 964 090 - VI/15
Page 232 of 255
Tow barThe tow fittings used should be on the same
side on both vehicles.
Should it prove impossible to avoid mounting
the tow bar at an offset angle, please observe
the following:▷Maneuvering capability is limited going
around corners.▷The tow bar will generate lateral forces if it
is secured with an offset.
Tow rope
When starting to tow the vehicle, make sure
that the tow rope is taut.
To avoid jerking and the associated stresses
on the vehicle components when towing, al‐
ways use nylon ropes or nylon straps.
Tow fitting
General information
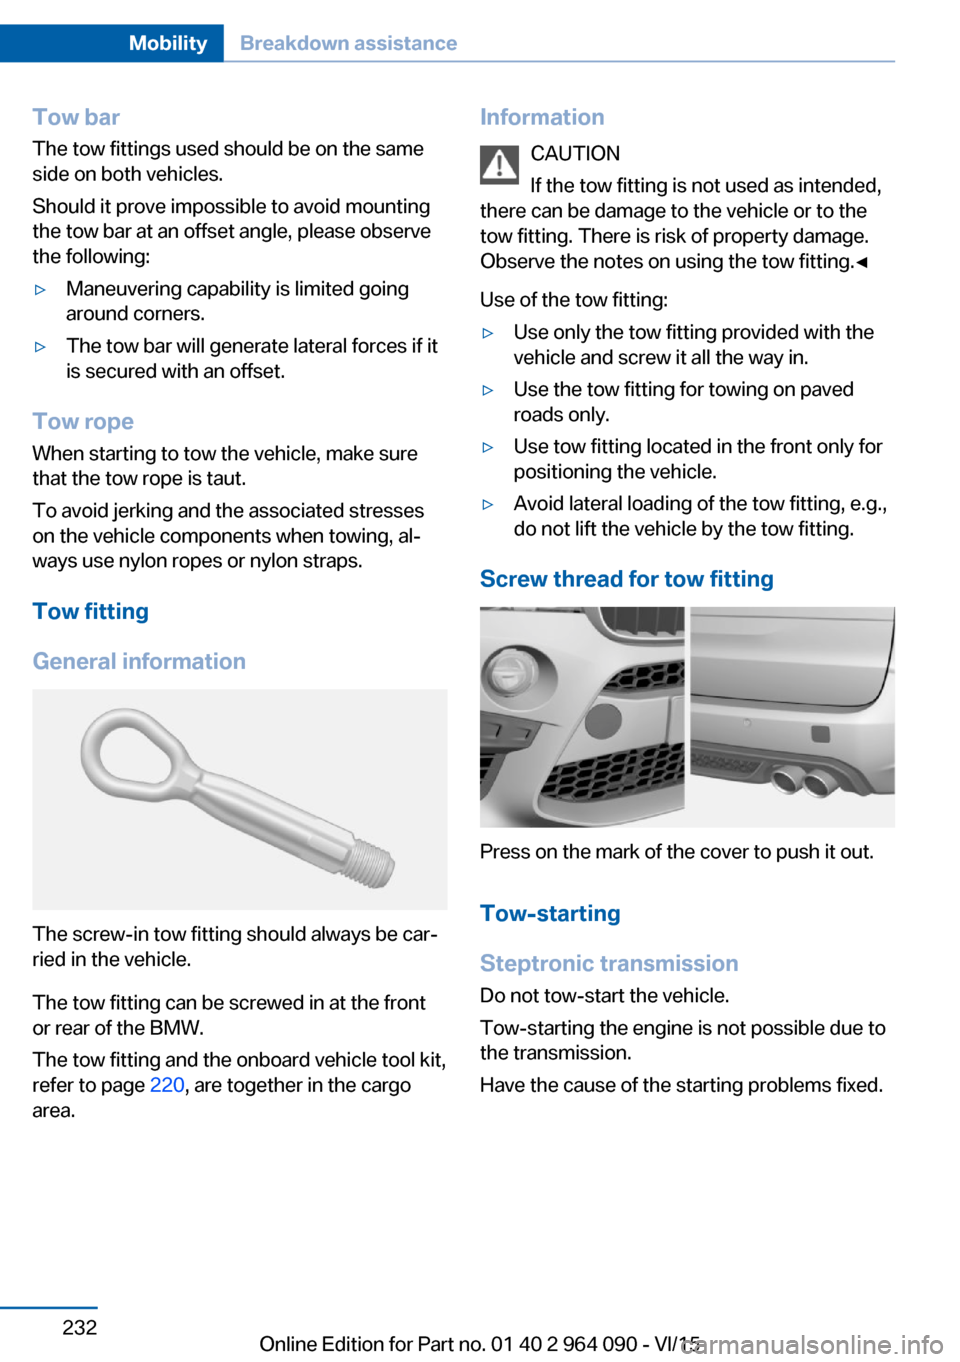
The screw-in tow fitting should always be car‐
ried in the vehicle.
The tow fitting can be screwed in at the front
or rear of the BMW.
The tow fitting and the onboard vehicle tool kit,
refer to page 220, are together in the cargo
area.
Information
CAUTION
If the tow fitting is not used as intended,
there can be damage to the vehicle or to the
tow fitting. There is risk of property damage.
Observe the notes on using the tow fitting.◀
Use of the tow fitting:▷Use only the tow fitting provided with the
vehicle and screw it all the way in.▷Use the tow fitting for towing on paved
roads only.▷Use tow fitting located in the front only for
positioning the vehicle.▷Avoid lateral loading of the tow fitting, e.g.,
do not lift the vehicle by the tow fitting.
Screw thread for tow fitting
Press on the mark of the cover to push it out.
Tow-starting
Steptronic transmission
Do not tow-start the vehicle.
Tow-starting the engine is not possible due to
the transmission.
Have the cause of the starting problems fixed.
Seite 232MobilityBreakdown assistance232
Online Edition for Part no. 01 40 2 964 090 - VI/15