2015 BMW 750I SEDAN seats
[x] Cancel search: seatsPage 87 of 314
Steering wheel
Information WARNING
Steering wheel adjustments while driving
can lead to unexpected steering wheel move‐
ments. Vehicle control could be lost. There is
risk of an accident. Adjust the steering wheel
while the vehicle is stationary only.◀
Power steering wheel adjustment
Adjusting
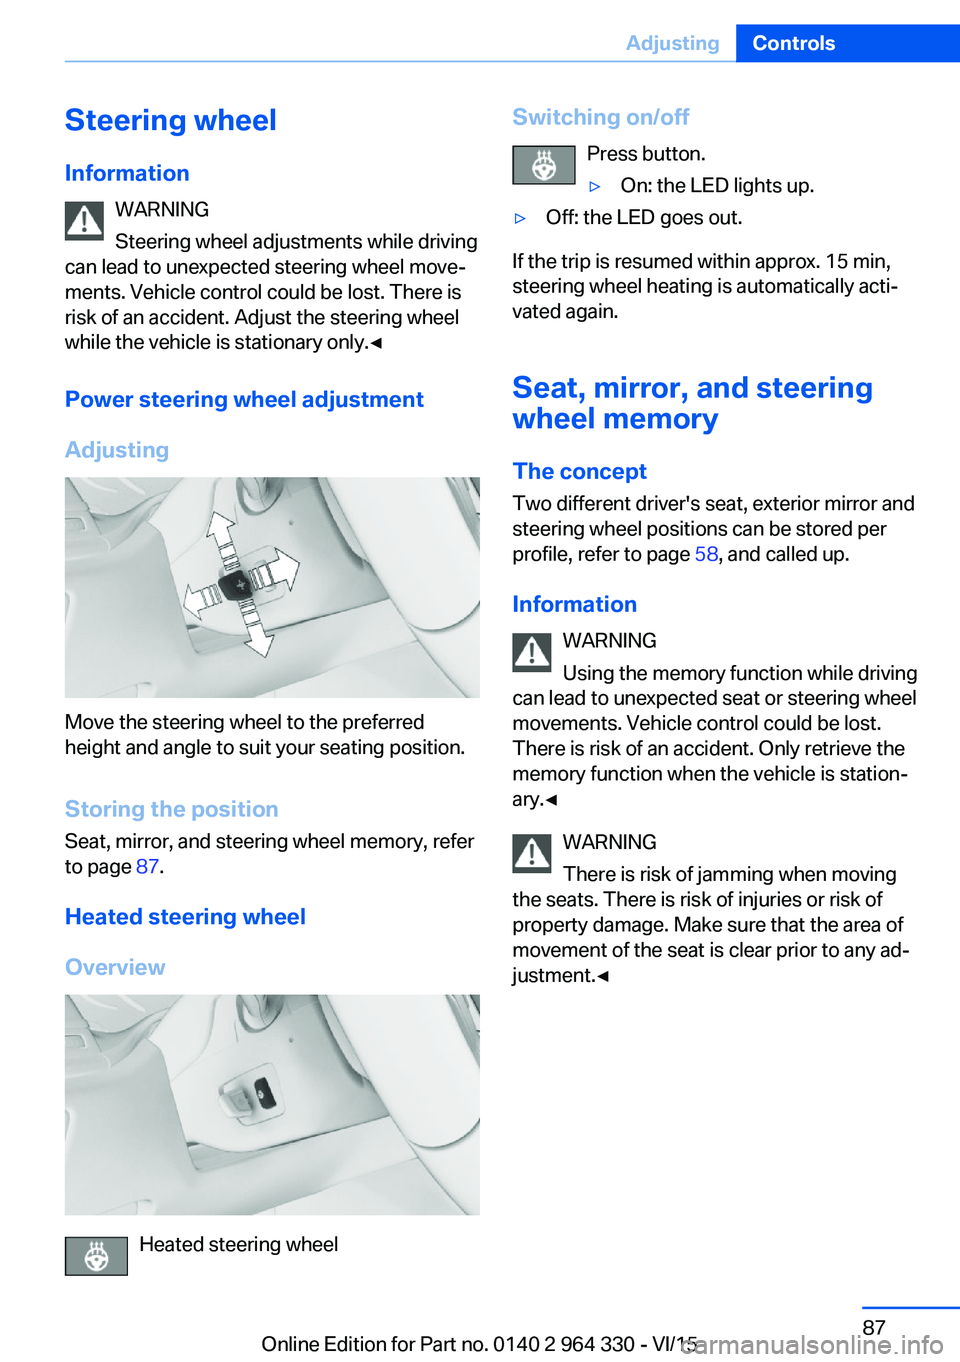
Move the steering wheel to the preferred
height and angle to suit your seating position.
Storing the position Seat, mirror, and steering wheel memory, refer
to page 87.
Heated steering wheel
Overview
Heated steering wheel
Switching on/off Press button.▷On: the LED lights up.▷Off: the LED goes out.
If the trip is resumed within approx. 15 min,
steering wheel heating is automatically acti‐
vated again.
Seat, mirror, and steering
wheel memory
The concept Two different driver's seat, exterior mirror and
steering wheel positions can be stored per
profile, refer to page 58, and called up.
Information WARNING
Using the memory function while driving
can lead to unexpected seat or steering wheel
movements. Vehicle control could be lost.
There is risk of an accident. Only retrieve the
memory function when the vehicle is station‐
ary.◀
WARNING
There is risk of jamming when moving
the seats. There is risk of injuries or risk of
property damage. Make sure that the area of
movement of the seat is clear prior to any ad‐
justment.◀
Seite 87AdjustingControls87
Online Edition for Part no. 0140 2 964 330 - VI/15
Page 91 of 314
Switching onOn the screens in the rear:1."My Vehicle"2."Seat comfort"3."BMW Vitality Program"
Switch off
On the screens in the rear:
1.Press left arrow button on the remote con‐
trol in the rear.2."Stop"
BMW Touch Command
The vitality program can also be operated us‐
ing BMW Touch Command.
Seat and armrest heating
General information The system heats seats and armrests as
needed. Seat heating can also be used without
armrest heating.
Overview
Front
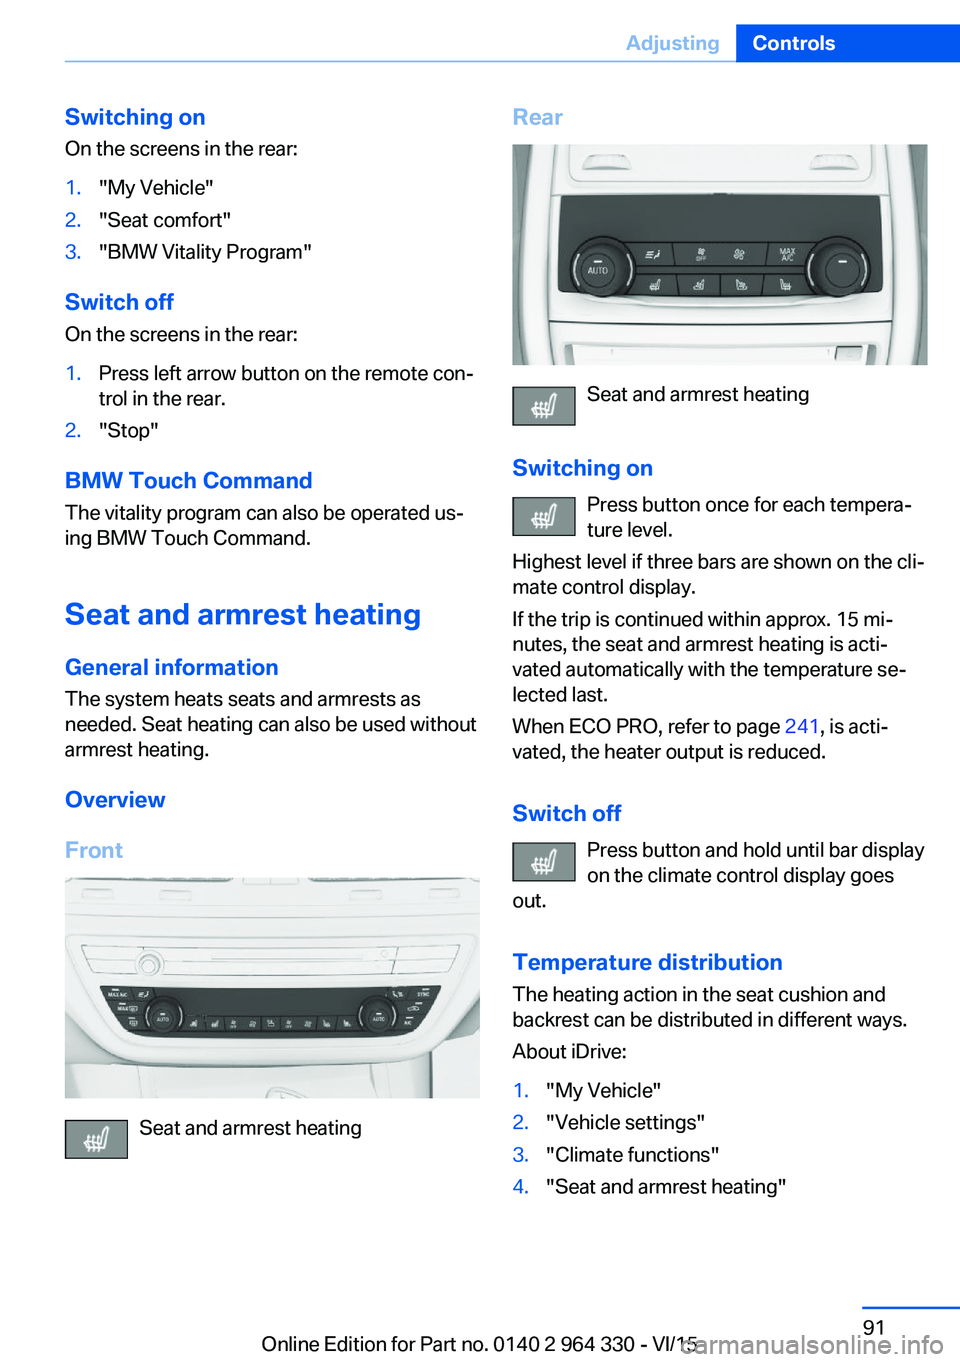
Seat and armrest heating
Rear
Seat and armrest heating
Switching on Press button once for each tempera‐
ture level.
Highest level if three bars are shown on the cli‐
mate control display.
If the trip is continued within approx. 15 mi‐
nutes, the seat and armrest heating is acti‐
vated automatically with the temperature se‐
lected last.
When ECO PRO, refer to page 241, is acti‐
vated, the heater output is reduced.
Switch off Press button and hold until bar display
on the climate control display goes
out.
Temperature distribution The heating action in the seat cushion and
backrest can be distributed in different ways.
About iDrive:
1."My Vehicle"2."Vehicle settings"3."Climate functions"4."Seat and armrest heating"Seite 91AdjustingControls91
Online Edition for Part no. 0140 2 964 330 - VI/15
Page 94 of 314
Installing child restraint
systems
Information
Pay attention to the specifications of the child
restraint system manufacturer when selecting,
installing, and using child restraint systems.
WARNING
The stability of the child restraint system
is limited or compromised with incorrect seat
adjustment or improper installation of the child
seat. There is risk of injuries or danger to life.
Make sure that the child restraint system fits
securely against the backrest. If possible, ad‐
just the backrest tilt for all affected backrests
and correctly adjust the seats. Make sure that
seats and backrests are securely engaged. If
possible, adjust the height of the head re‐
straints or remove them.◀
On the front passenger seat
Deactivating airbags WARNING
Active front-seat passenger airbags can
injure a child in a child restraint system when
the airbags are activated. There is risk of inju‐
ries. Make sure that the front-seat passenger
airbags are deactivated and that the PASSEN‐
GER AIRBAG OFF indicator lamp lights up.◀
After installing a child restraint system in the
front passenger seat, make sure that the front,
knee and side airbags on the front passenger
side are deactivated.
Deactivate the front-seat passenger airbags
automatically, refer to page 138.
Seat position and height Before installing a child restraint system, move
the front passenger seat as far back as possi‐
ble and bring it up to medium height to obtain
the best possible position for the belt and tooffer optimal protection in the event of an acci‐
dent.
If the upper anchorage of the safety belt is lo‐
cated in front of the belt guide of the child seat,
move the passenger seat carefully forward un‐
til the best possible belt guide position is
reached.
Backrest width Adjustable backrest width: before installing a
child restraint system in the front passenger
seat, open the backrest width completely. Do
not change the backrest width again and do
not call up a memory position.
Child seat security
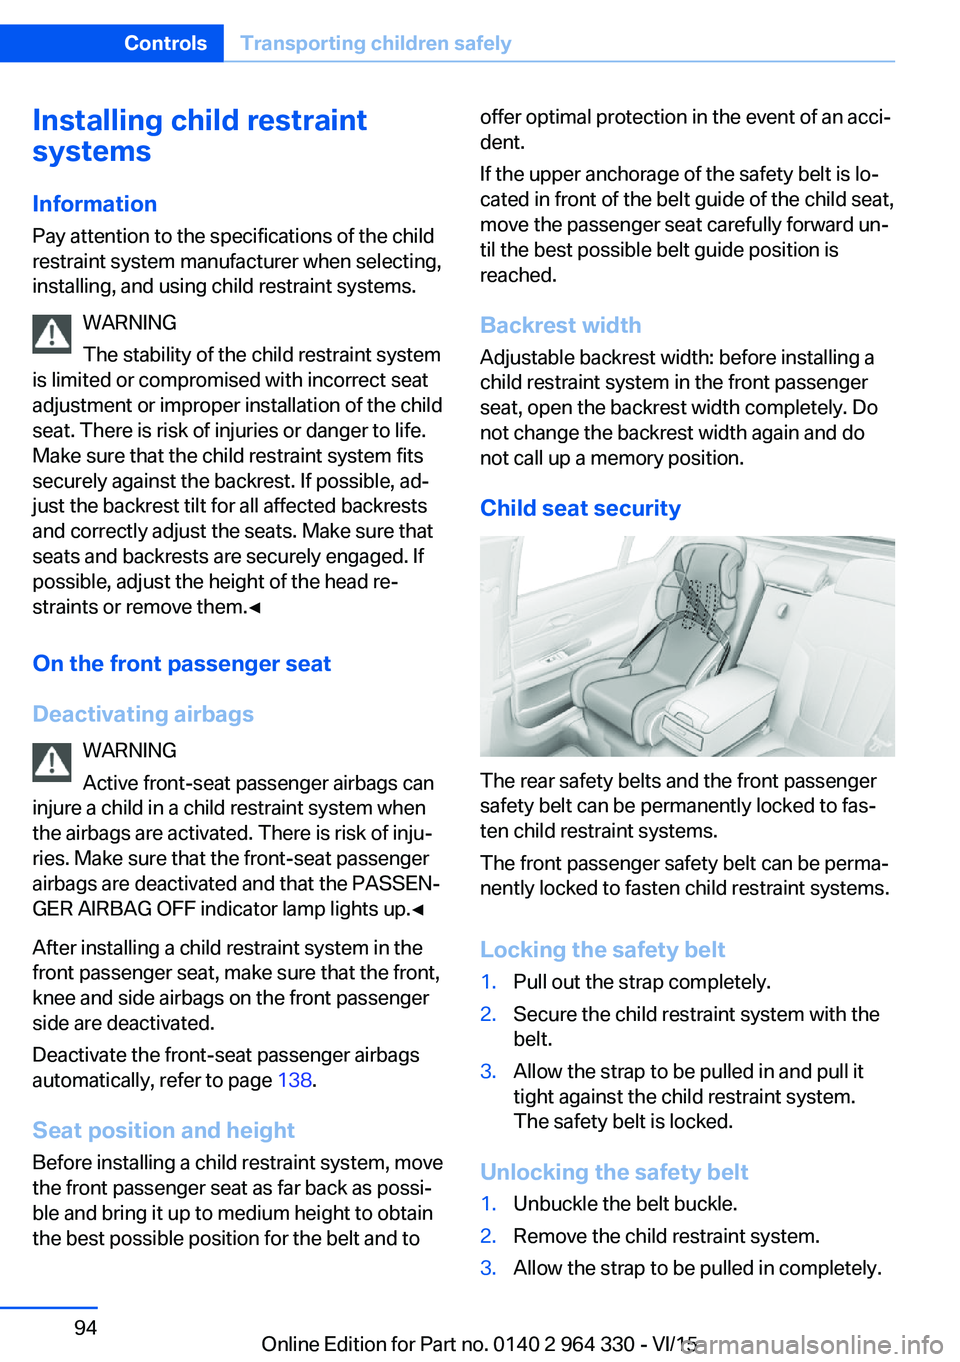
The rear safety belts and the front passenger
safety belt can be permanently locked to fas‐
ten child restraint systems.
The front passenger safety belt can be perma‐
nently locked to fasten child restraint systems.
Locking the safety belt
1.Pull out the strap completely.2.Secure the child restraint system with the
belt.3.Allow the strap to be pulled in and pull it
tight against the child restraint system.
The safety belt is locked.
Unlocking the safety belt
1.Unbuckle the belt buckle.2.Remove the child restraint system.3.Allow the strap to be pulled in completely.Seite 94ControlsTransporting children safely94
Online Edition for Part no. 0140 2 964 330 - VI/15
Page 95 of 314
LATCH child restraint systemLATCH: Lower Anchors and Tether for Chil‐
dren.
Information
Pay attention to the operating and safety infor‐
mation of the child restraint system manufac‐
turer when installing and using LATCH child
restraint fixing system.
Mounts for the lower LATCH anchors
General information
The lower anchors may be used to attach the
CRS to the vehicle seat up to a combined child
and CRS weight of 65 lb/30 kg when the child
is restrained by the internal harnesses.
Information WARNING
If the LATCH child restraint fixing sys‐
tems are not correctly engaged, the protective
effect of the LATCH child restraint fixing sys‐
tem can be limited. There is risk of injuries or
danger to life. Make sure that the lower an‐
chors are securely engaged and that the
LATCH child restraint fixing system fits se‐
curely against the backrest.◀
Position The corresponding symbol shows the
mounts for the lower LATCH anchors.
Seats equipped with lower anchors are
marked with a pair, 2, of LATCH sym‐
bols. It is not recommended to use the
inner lower anchors of standard outer
LATCH positions to fasten a child restraint system on the middle seat. Use the vehicle
seat belt instead for the middle seat.Before installing LATCH child
restraint systems
Pull the belt away from the area of the child re‐
straint system.
Without comfort seats in the rear:
Assembly of LATCH child restraint
systems1.Install child restraint system, see manufac‐
turer's information.2.Ensure that both LATCH anchors are prop‐
erly connected.
With comfort rear seats: Assembly of
LATCH child restraint fixing systems
1.Before mounting, adjust the seats to their
basic position, refer to page 80.2.For better accessibility, tilt the backrest
back slightly.3.Install child restraint system, see manufac‐
turer's information.4.Ensure that both LATCH anchors are prop‐
erly connected.5.After mounting, move the backrest back up
slightly so that the child restraint system
rests lightly against the backrest.
Child restraint fixing system with a
tether strap
Mounting points The respective symbol shows the an‐
chor for the upper retaining strap.
Seats with an upper Top Tether are
marked with this symbol. It can be found on
the rear seat backrest or the rear window shelf.
Seite 95Transporting children safelyControls95
Online Edition for Part no. 0140 2 964 330 - VI/15
Page 110 of 314
General information
The use of Launch Control causes premature
component wear since this function represents
a very heavy load for the vehicle.
Do not use Launch Control during the break-in,
refer to page 234, period.
To increase vehicle stability, activate DSC again as soon as possible.
An experienced driver may be able to achieve
better acceleration values in DSC OFF mode.
Requirements
Launch Control is available when the engine is
warmed up, that is, after uninterrupted driving
of at least 6 miles/10 km.
To start with Launch Control do not steer the
steering wheel.
Start with launch controlWhile the engine is running:1. Press button.
TRACTION is displayed in the instrument
cluster and the indicator lamp for DSC OFF
lights up.2.Engage selector lever position S.3.With the left foot, forcefully press down on
the brake.4.Press and hold down the accelerator pedal
beyond the resistance point at the full
throttle position, kickdown.
A flag symbol is displayed in the instru‐
ment cluster.5.The starting engine speed adjusts. Within
3 seconds, release the brake.
Before using Launch Control, allow the trans‐
mission to cool down for approx. 5 minutes.
Launch Control adjusts to the surrounding
conditions, e.g., wet pavement, when used
again.
Driving Dynamics Control
The conceptThe Driving Dynamics Control influences the
driving dynamics properties of the vehicle. The
vehicle can be adjusted depending on the sit‐
uation using various driving modes.
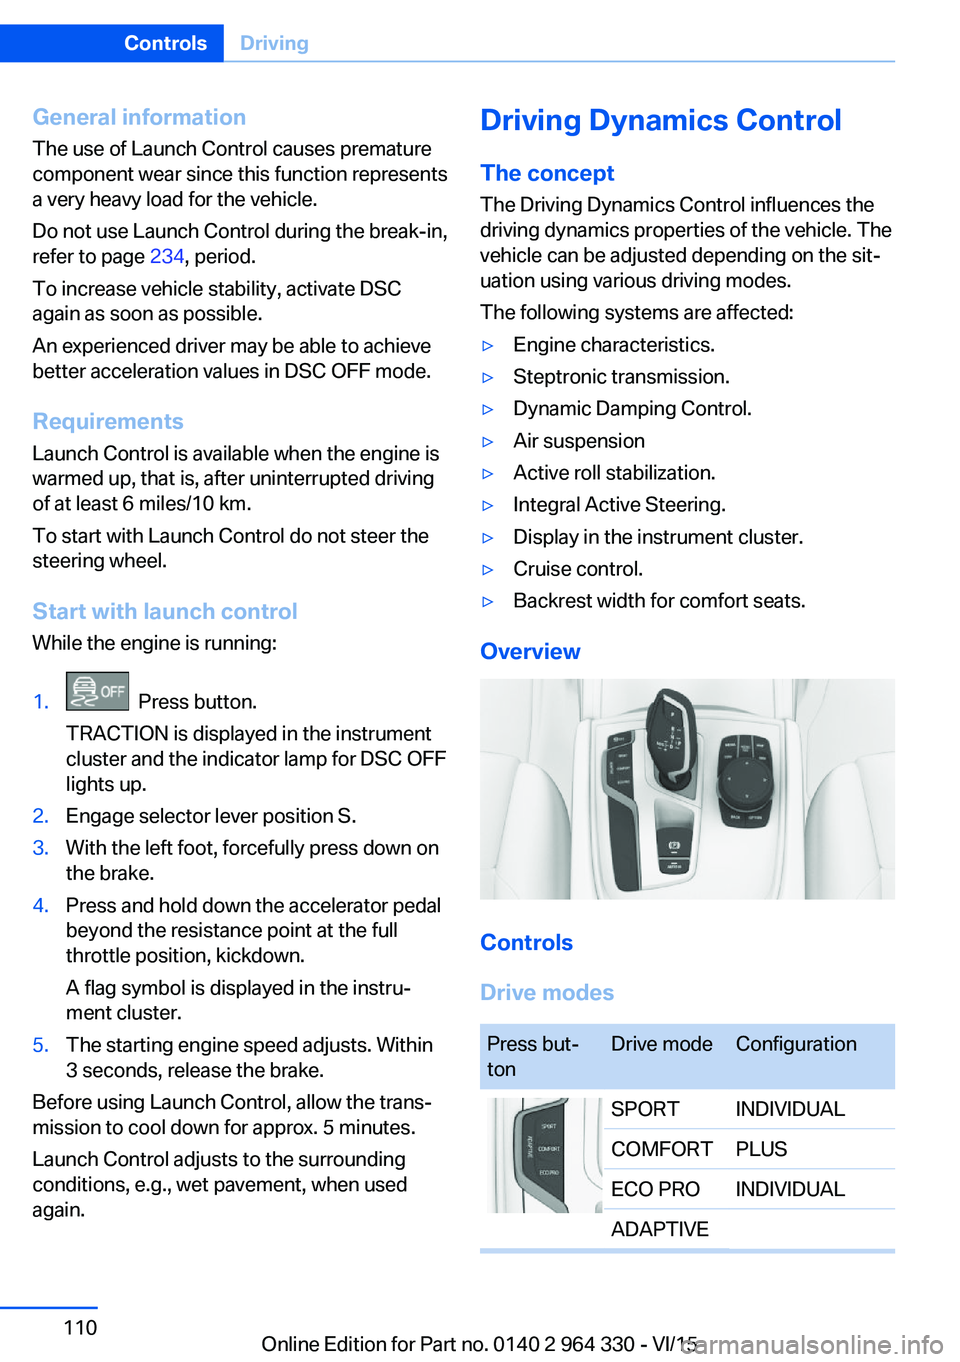
The following systems are affected:▷Engine characteristics.▷Steptronic transmission.▷Dynamic Damping Control.▷Air suspension▷Active roll stabilization.▷Integral Active Steering.▷Display in the instrument cluster.▷Cruise control.▷Backrest width for comfort seats.
Overview
Controls
Drive modes
Press but‐
tonDrive modeConfigurationSPORTINDIVIDUALCOMFORTPLUSECO PROINDIVIDUALADAPTIVESeite 110ControlsDriving110
Online Edition for Part no. 0140 2 964 330 - VI/15
Page 137 of 314
Ejection MitigationThe head airbag system is designed as an
ejection mitigation countermeasure to reduce
the likelihood of ejections of vehicle occupants
through side windows during rollovers or side
impact events.
Knee airbag The knee airbag supports the legs in a frontal
impact.
Protective action
Airbags are not triggered in every impact situa‐
tion, e.g., in less severe accidents or rear-end
collisions.
Information for optimum effect of the
airbags
WARNING
If the seat position is incorrect or the de‐
ployment area of the airbags is impacted, the
airbag system cannot protect as intended or
cause additional injuries due to triggering.
There is risk of injuries or danger to life. Ob‐
serve the Information for optimum protective
effect of the airbag system.◀▷Keep at a distance from the airbags.▷Always grasp the steering wheel on the
steering wheel rim. Hold your hands at the
3 o'clock and 9 o'clock positions, to keep
the risk of injury to your hands or arms as
low as possible when the airbag is trig‐
gered.▷Make sure that the front passenger is sit‐
ting correctly, i.e., keeps his or her feet and
legs in the floor area.▷Make sure that occupants keep their heads
away from the side airbag.▷There should be no persons, animals or
objects between an airbag and a person.▷Do not use the cover of the front airbag on
the front passenger side as a storage area.▷Dashboard and windshield on the front
passenger side must stay clear - do not at‐
tach adhesive labels or coverings and do
not attach brackets or cables, e. g., for GPS
devices or' mobile phones.▷Do not apply adhesive materials to the air‐
bag cover panels, do not cover them or
modify them in any way.▷Do not place slip covers, seat cushions or
other objects on the front passenger seat
that are not specifically suited for seats
with integrated side airbags.▷Do not hang pieces of clothing, such as
jackets, over the backrests.▷Never modify either the individual compo‐
nents or the wiring in the airbag system.
This also applies to steering wheel covers,
the dashboard, and the seats.▷Do not remove the airbag system.
Even when you follow all instructions very
closely, injury from contact with the airbags
cannot be ruled out in certain situations.
The ignition and inflation noise may lead to
short-term and, in most cases, temporary
hearing impairment in sensitive individuals.
Warnings and information on the airbags are
also found on the sun visors.
Functional readiness of the airbag
system
Information WARNING
Individual components can be hot after
triggering of the airbag system. There is risk of
injuries. Do not touch individual components.◀
WARNING
Improperly executed work can lead to
failure, malfunction or unintentional triggering
of the airbag system. In the case of a malfunc‐
tion, the airbag system could not trigger as in‐
tended in the event of an accident despite re‐
Seite 137SafetyControls137
Online Edition for Part no. 0140 2 964 330 - VI/15
Page 139 of 314
▷The indicator lamp does not light up when,
e.g., a correctly seated person of sufficient
size is detected on the seat. The airbags
on the front passenger side are activated.
Detected child seats
The system generally detects children seated
in a child seat, particularly in child seats re‐
quired by NHTSA when the vehicle was manu‐ factured. After installing a child seat, make
sure that the indicator lamp for the front-seat
passenger airbags lights up. This indicates
that the child seat has been detected and the
front-seat passenger airbags are not activated.
Strength of the driver's and front-seat
passenger airbag
The explosive power that activates driver's/
front passenger's airbags very much depends
on the positions of the driver's/front passeng‐ er's seat.
With a respective message appearing on Con‐
trol Display calibrate the front seats to keep the accuracy of this function over the long-
term.
Calibrating the front seats WARNING
There is risk of jamming when moving
the seats. There is risk of injuries or risk of
property damage. Make sure that the area of
movement of the seat is clear prior to any ad‐
justment.◀
A corresponding message appears on the
Control Display.
1.Press the switch and move the respective
seat all the way forward.2.Press the switch forward again. The seat
still moves forward slightly.3.Readjust the seat to the desired position.The calibration procedure is completed when
the message on the Control Display disap‐
pears.
If the message continues to be displayed, re‐
peat the calibration.
If the message does not disappear after a re‐
peat calibration, have the system checked as
soon as possible.
Intelligent Safety The conceptIntelligent Safety enables central operation of
the driver assistance system. Depending on
how the vehicle is equipped, Intelligent Safety
consists of one or more systems that can help
prevent a imminent collision.▷Front-end collision warning with braking
function, refer to page 140.▷Pedestrian warning with City Braking func‐
tion, refer to page 144.▷Night Vision with pedestrian and animal
detection, refer to page 147.▷Lane departure warning, refer to
page 150.▷Active Blind Spot Detection, refer to
page 153.▷Side collision warning, refer to page 156.
Information
WARNING
Indicators and warnings do not relieve
from the personal responsibility. Due to sys‐
tem limits, warnings or reactions of the system
may not be output or they may be output too
late or incorrectly. There is risk of an accident.
Adjust the driving style to the traffic condi‐
tions. Watch traffic closely and actively inter‐
fere in the respective situations.◀
Seite 139SafetyControls139
Online Edition for Part no. 0140 2 964 330 - VI/15
Page 161 of 314
▷Automatic closing of the glass sunroof, in‐
cluding sliding visor.▷For vehicles equipped with Comfort seats
in the front: automatic positioning of the
backrest for the front passenger seat.▷For vehicles equipped with Comfort seats
in the rear: automatic positioning of the
backrests for the rear passenger seats.
After a critical driving situation without an acci‐
dent, the front belts are loosened again. All
other systems can be restored to the desired
setting.
If the belt tension does not loosen automati‐
cally, stop the vehicle and unbuckle the belt
using the red button in the buckle. Fasten the
belt before continuing on your trip.
Post Crash — iBrake The conceptIn certain accident situations, e.g. collision, the
system can bring the vehicle to a halt automat‐
ically without driver intervention. This can re‐
duce the risk of a further collision and the con‐
sequences thereof.
At standstill After coming to a halt, the brake is released
automatically.
Harder vehicle braking
It can be necessary to bring the vehicle in cer‐
tain situations to a halt quicker.
Here, a higher braking pressure must be gen‐
erated for a short period when pressing the brake pedal than during automatic braking.
This interrupts automatic braking.
Interrupting automatic braking It can be necessary to interrupt automatic
braking in certain situations,e.g. for an evasive
maneuver.
Interrupt automatic braking:
▷By pressing the brake pedal.▷By pressing the accelerator pedal.
Attentiveness assistant
The concept The system can detect increasing lack of alert‐
ness or fatigue of the driver during long, mo‐
notonous journeys, e.g., on highways. In this
situation, it is recommended that the driver
takes a break.
Information WARNING
The system does not relieve from the
personal responsibility to correctly assess
one's physical state. An increasing lack of
alertness or fatigue may not be detected or not
be detected in time. There is risk of an acci‐
dent. Make sure that the driver is rested and
alert. Adjust the driving style to the traffic con‐
ditions.◀
Function
The system is switched on each time drive
readiness is switched on.
After travel has begun, the system is trained
about the driver, so that increasing lack of alertness or fatigue can be detected.
This procedure takes the following criteria into
account:
▷Personal driving style, e.g., steering behav‐
ior.▷Driving conditions, e.g., length of trip.
Starting at approximately 43 mph/70 km/h, the
system is active and can display a recommen‐
dation to take a break.
Seite 161SafetyControls161
Online Edition for Part no. 0140 2 964 330 - VI/15