2015 BMW 750I SEDAN seat memory
[x] Cancel search: seat memoryPage 94 of 314
Installing child restraint
systems
Information
Pay attention to the specifications of the child
restraint system manufacturer when selecting,
installing, and using child restraint systems.
WARNING
The stability of the child restraint system
is limited or compromised with incorrect seat
adjustment or improper installation of the child
seat. There is risk of injuries or danger to life.
Make sure that the child restraint system fits
securely against the backrest. If possible, ad‐
just the backrest tilt for all affected backrests
and correctly adjust the seats. Make sure that
seats and backrests are securely engaged. If
possible, adjust the height of the head re‐
straints or remove them.◀
On the front passenger seat
Deactivating airbags WARNING
Active front-seat passenger airbags can
injure a child in a child restraint system when
the airbags are activated. There is risk of inju‐
ries. Make sure that the front-seat passenger
airbags are deactivated and that the PASSEN‐
GER AIRBAG OFF indicator lamp lights up.◀
After installing a child restraint system in the
front passenger seat, make sure that the front,
knee and side airbags on the front passenger
side are deactivated.
Deactivate the front-seat passenger airbags
automatically, refer to page 138.
Seat position and height Before installing a child restraint system, move
the front passenger seat as far back as possi‐
ble and bring it up to medium height to obtain
the best possible position for the belt and tooffer optimal protection in the event of an acci‐
dent.
If the upper anchorage of the safety belt is lo‐
cated in front of the belt guide of the child seat,
move the passenger seat carefully forward un‐
til the best possible belt guide position is
reached.
Backrest width Adjustable backrest width: before installing a
child restraint system in the front passenger
seat, open the backrest width completely. Do
not change the backrest width again and do
not call up a memory position.
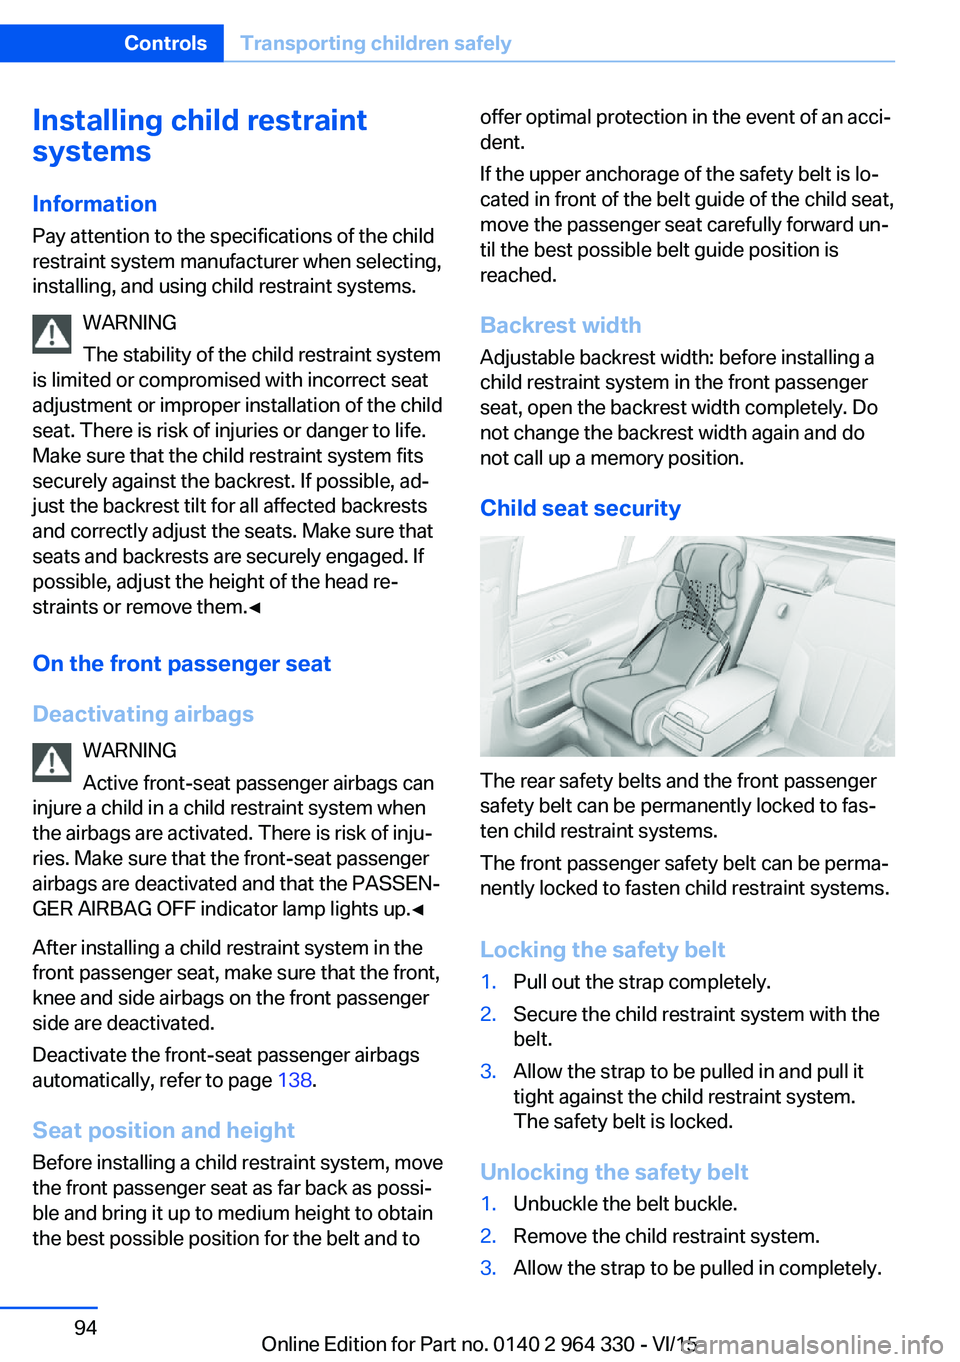
Child seat security
The rear safety belts and the front passenger
safety belt can be permanently locked to fas‐
ten child restraint systems.
The front passenger safety belt can be perma‐
nently locked to fasten child restraint systems.
Locking the safety belt
1.Pull out the strap completely.2.Secure the child restraint system with the
belt.3.Allow the strap to be pulled in and pull it
tight against the child restraint system.
The safety belt is locked.
Unlocking the safety belt
1.Unbuckle the belt buckle.2.Remove the child restraint system.3.Allow the strap to be pulled in completely.Seite 94ControlsTransporting children safely94
Online Edition for Part no. 0140 2 964 330 - VI/15
Page 222 of 314
▷USB hard drives.▷USB hubs.▷USB memory card readers with multiple in‐
serts.▷HFS-formatted USB devices.▷MTP devices.▷Devices such as fans or lights.
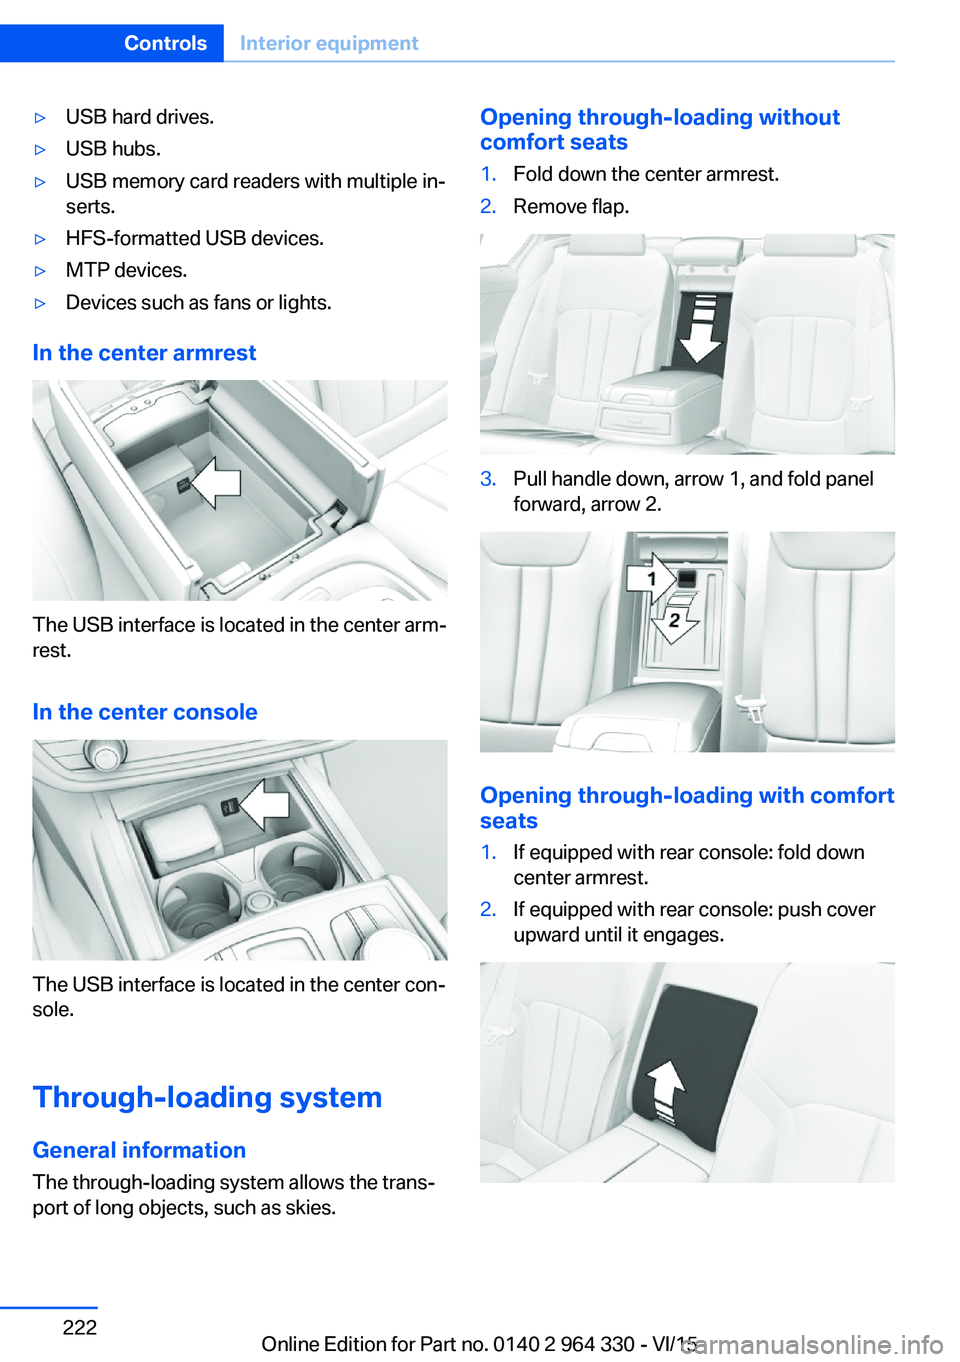
In the center armrest
The USB interface is located in the center arm‐
rest.
In the center console
The USB interface is located in the center con‐
sole.
Through-loading system General information The through-loading system allows the trans‐port of long objects, such as skies.
Opening through-loading without
comfort seats1.Fold down the center armrest.2.Remove flap.3.Pull handle down, arrow 1, and fold panel
forward, arrow 2.
Opening through-loading with comfort
seats
1.If equipped with rear console: fold down
center armrest.2.If equipped with rear console: push cover
upward until it engages.Seite 222ControlsInterior equipment222
Online Edition for Part no. 0140 2 964 330 - VI/15
Page 285 of 314
Check Control messages of these comfort fea‐
tures are no longer displayed.
Charging the battery
General information
Make sure that the battery is always suffi‐
ciently charged to guarantee that the battery
remains usable for its full service life.
The battery may need to be charged in the fol‐
lowing cases:▷When making frequent short-distance
drives.▷If the vehicle is not used for prolonged pe‐
riods, longer than a month.
Information
CAUTION
Battery chargers for the vehicle battery
can work with high voltages and currents,
which means that the 12V on-board network
can be overloaded or damaged. There is risk of
property damage. Only connect battery charg‐
ers for the vehicle battery to the starting aid
terminals in the engine compartment.◀
Starting aid terminals
In the vehicle, only charge the battery via the
starting aid terminals, refer to page 288, in the
engine compartment with the engine off.
Power failure
After a temporary power loss, some equipment
needs to be newly initialized or individual set‐
tings updated, e. g.:
▷Seat, mirror, and steering wheel memory:
store the positions again.▷Time: update.▷Date: update.▷Glass sunroof: initialize the system, refer to
page 75.Disposing of old batteries
Have old batteries disposed of by a
dealer’s service center or another
qualified service center or repair shop
or take them to a collection point.
Maintain the battery in an upright position for
transport and storage. Secure the battery so
that it does not tip over during transport.
Fuses Information WARNING
Incorrect and repaired fuses can overload
electrical lines and components. There is risk
of fire. Never attempt to repair a blown fuse
and do not replace a nonworking fuse with a
substitute of another color or amperage rat‐
ing.◀
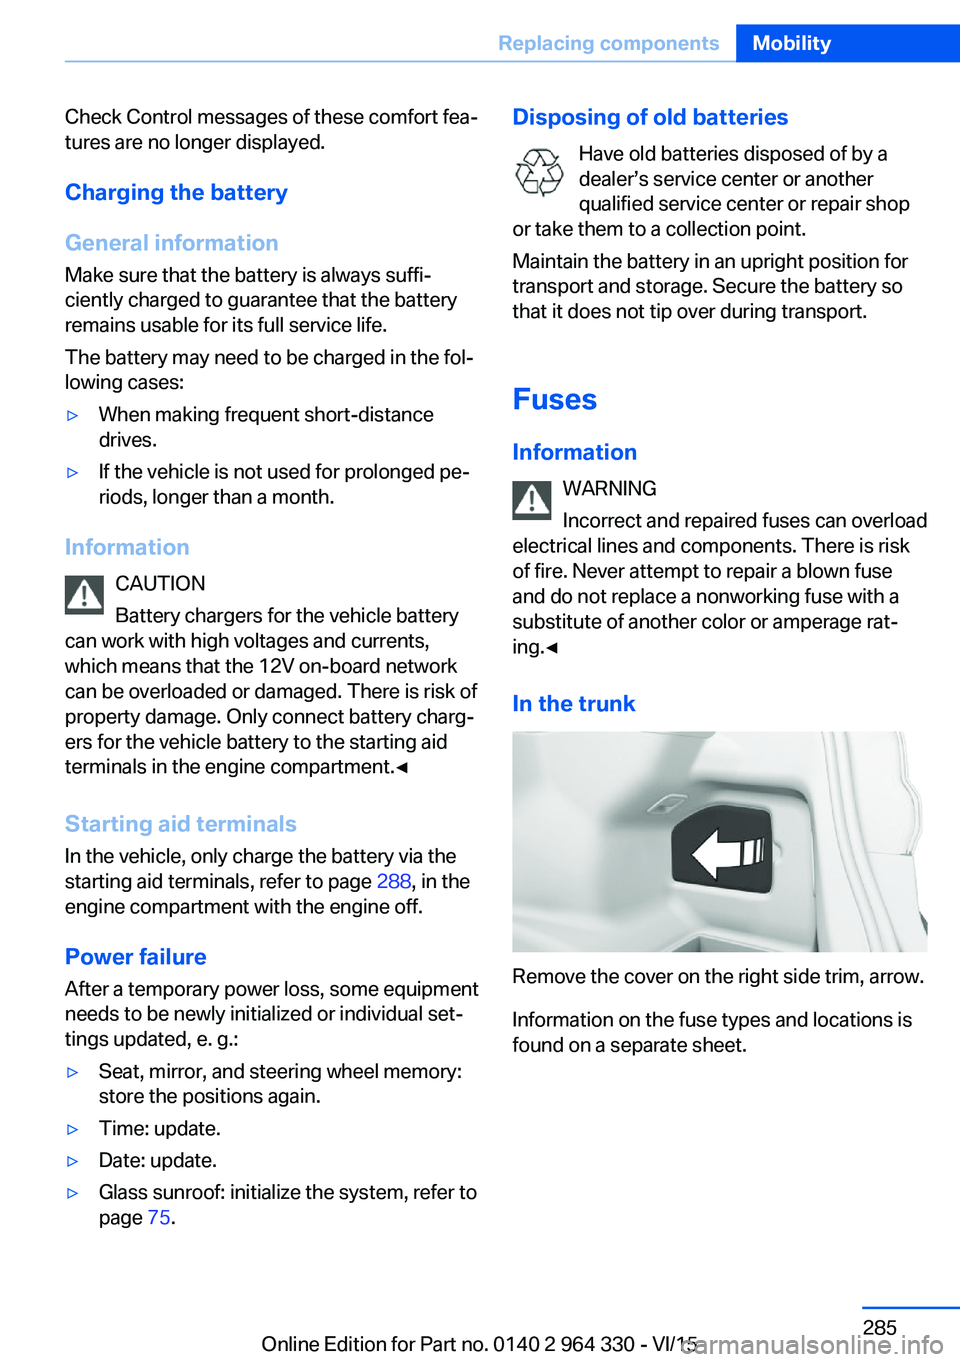
In the trunk
Remove the cover on the right side trim, arrow.
Information on the fuse types and locations is
found on a separate sheet.
Seite 285Replacing componentsMobility285
Online Edition for Part no. 0140 2 964 330 - VI/15
Page 307 of 314
Intensity, AUTO pro‐gram 204
Interior equipment 215
Interior lights 133
Interior lights during unlock‐ ing 60
Interior lights with the vehicle locked 61
Interior motion sensor 70
Interior rearview mirror, auto‐ matic dimming feature 86
Internet page 6
Interval display, service re‐ quirements 119
Ionization, see Ambient air package 211
J Jacking points for the vehicle jack 282
Joystick, Steptronic transmis‐ sion 106
Jump-starting 287
K Key/remote control 54
Keyless Go, see Comfort Ac‐ cess 65
Kickdown, Steptronic trans‐ mission 106
Knee airbag 137
L Label on recommended tires 259
Lamp in the exterior mirror, see Active Blind Spot De‐
tection 153
Lamp in the exterior mirror, see crossing traffic warn‐
ing 197
Lamp replacement 282
Lamp replacement, front 282 Lamp replacement, rear 282
Lane departure warning 150
Lane margin, warning 150
Language, on the Control Display 38
Lashing eyes, securing cargo 238
LATCH child restraint sys‐ tem 95
Launch Control 106
Leather, care 292
LEDs, replace light-emitting diodes 282
Light alloy wheels, care 293
Light control 131
Lighting 129
Lights 129
Lights and bulbs 282
Light switch 129
List of all messages 40
Load 238
Loading 237
Lock, door 62
Locking, automatic 68
Locking, settings 67
Locking via door lock 62
Locking with remote con‐ trol 60
Lock, power window 71
Locks, doors, and win‐ dows 96
Low beams 129
Low beams, automatic, see High-beam Assistant 132
Lower back support 77
Luggage rack, see Roof- mounted luggage rack 238
Lumbar support 77
M
Maintenance 279
Maintenance require‐ ments 279
Maintenance, service require‐ ments 119 Maintenance system,
BMW 279
Make-up mirror 217
Malfunction displays, see Check Control 114
Manual air distribution 205
Manual air flow 205
Manual brake, see Parking brake 100
Manual mode, Steptronic transmission 106
Manual operation, door lock 62
Manual operation, exterior mirrors 85
Manual operation, fuel filler flap 250
Marking, run-flat tires 260
Massage seat, front 88
Massage seat, rear 88
Master key, see Remote con‐ trol 54
Maximum cooling 204
Maximum speed, display 120
Maximum speed, winter tires 259
Measurement, units of 39
Medical kit 287
Memory for seat, mirrors, steering wheel 87
Menu in instrument clus‐ ter 121
Menus 22
Menus, operating, iDrive 21
Messages 40
Messages, see Check Con‐ trol 114
Microfilter 206
Minimum tread, tires 258
Mirror 85
Mirror memory 87
Mobile communication devi‐ ces in the vehicle 235
Mobility System 260
Modifications, technical, see Own Safety 7 Seite 307Everything from A to ZReference307
Online Edition for Part no. 0140 2 964 330 - VI/15
Page 309 of 314
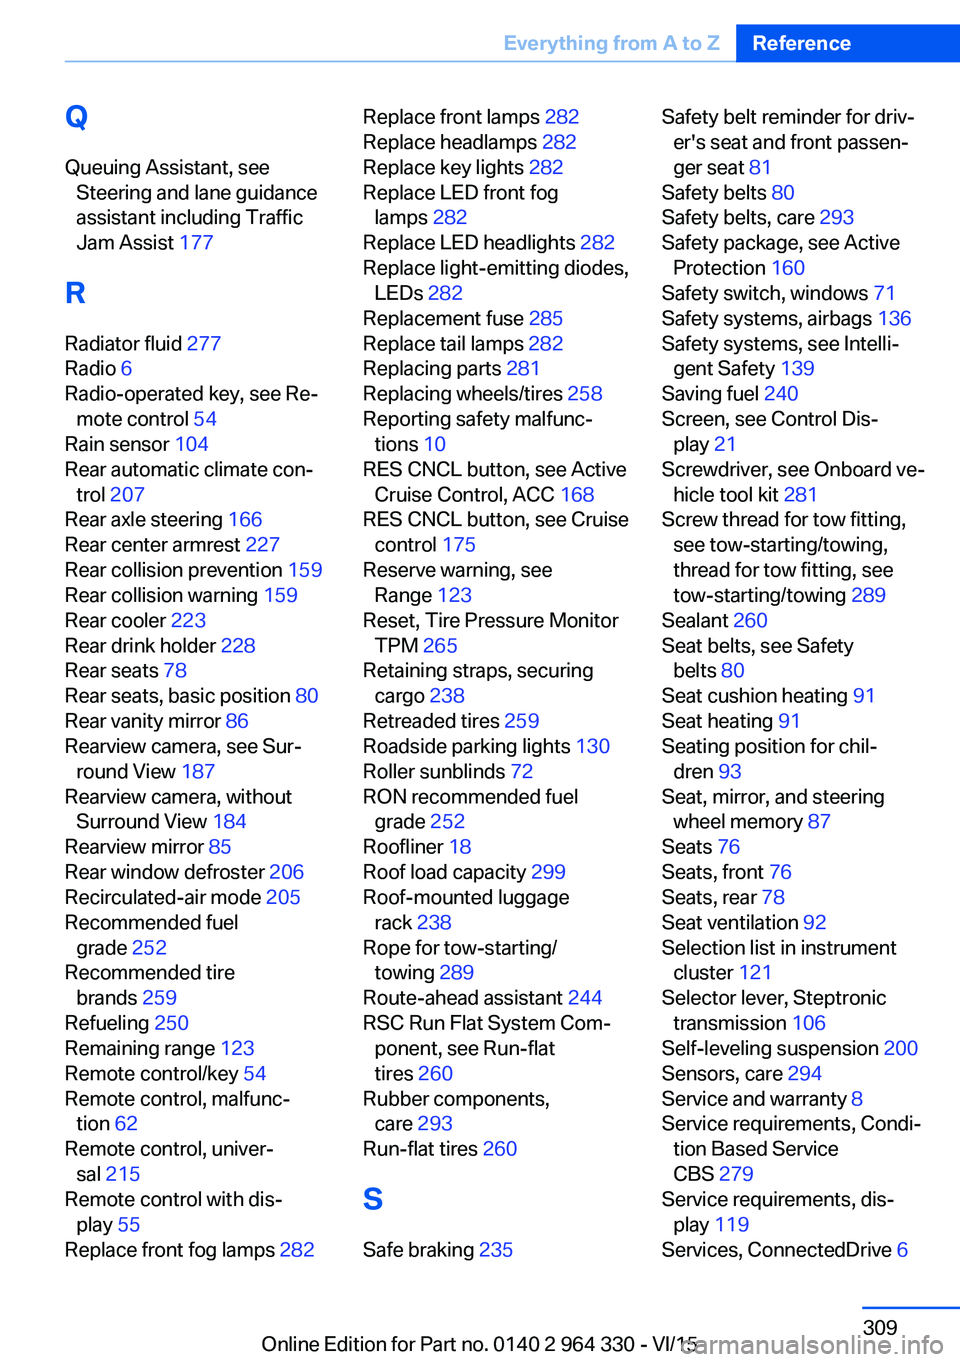
QQueuing Assistant, see Steering and lane guidance
assistant including Traffic
Jam Assist 177
R Radiator fluid 277
Radio 6
Radio-operated key, see Re‐ mote control 54
Rain sensor 104
Rear automatic climate con‐ trol 207
Rear axle steering 166
Rear center armrest 227
Rear collision prevention 159
Rear collision warning 159
Rear cooler 223
Rear drink holder 228
Rear seats 78
Rear seats, basic position 80
Rear vanity mirror 86
Rearview camera, see Sur‐ round View 187
Rearview camera, without Surround View 184
Rearview mirror 85
Rear window defroster 206
Recirculated-air mode 205
Recommended fuel grade 252
Recommended tire brands 259
Refueling 250
Remaining range 123
Remote control/key 54
Remote control, malfunc‐ tion 62
Remote control, univer‐ sal 215
Remote control with dis‐ play 55
Replace front fog lamps 282 Replace front lamps 282
Replace headlamps 282
Replace key lights 282
Replace LED front fog lamps 282
Replace LED headlights 282
Replace light-emitting diodes, LEDs 282
Replacement fuse 285
Replace tail lamps 282
Replacing parts 281
Replacing wheels/tires 258
Reporting safety malfunc‐ tions 10
RES CNCL button, see Active Cruise Control, ACC 168
RES CNCL button, see Cruise control 175
Reserve warning, see Range 123
Reset, Tire Pressure Monitor TPM 265
Retaining straps, securing cargo 238
Retreaded tires 259
Roadside parking lights 130
Roller sunblinds 72
RON recommended fuel grade 252
Roofliner 18
Roof load capacity 299
Roof-mounted luggage rack 238
Rope for tow-starting/ towing 289
Route-ahead assistant 244
RSC Run Flat System Com‐ ponent, see Run-flat
tires 260
Rubber components, care 293
Run-flat tires 260
S Safe braking 235 Safety belt reminder for driv‐
er's seat and front passen‐
ger seat 81
Safety belts 80
Safety belts, care 293
Safety package, see Active Protection 160
Safety switch, windows 71
Safety systems, airbags 136
Safety systems, see Intelli‐ gent Safety 139
Saving fuel 240
Screen, see Control Dis‐ play 21
Screwdriver, see Onboard ve‐ hicle tool kit 281
Screw thread for tow fitting, see tow-starting/towing,
thread for tow fitting, see
tow-starting/towing 289
Sealant 260
Seat belts, see Safety belts 80
Seat cushion heating 91
Seat heating 91
Seating position for chil‐ dren 93
Seat, mirror, and steering wheel memory 87
Seats 76
Seats, front 76
Seats, rear 78
Seat ventilation 92
Selection list in instrument cluster 121
Selector lever, Steptronic transmission 106
Self-leveling suspension 200
Sensors, care 294
Service and warranty 8
Service requirements, Condi‐ tion Based Service
CBS 279
Service requirements, dis‐ play 119
Services, ConnectedDrive 6 Seite 309Everything from A to ZReference309
Online Edition for Part no. 0140 2 964 330 - VI/15
Page 310 of 314
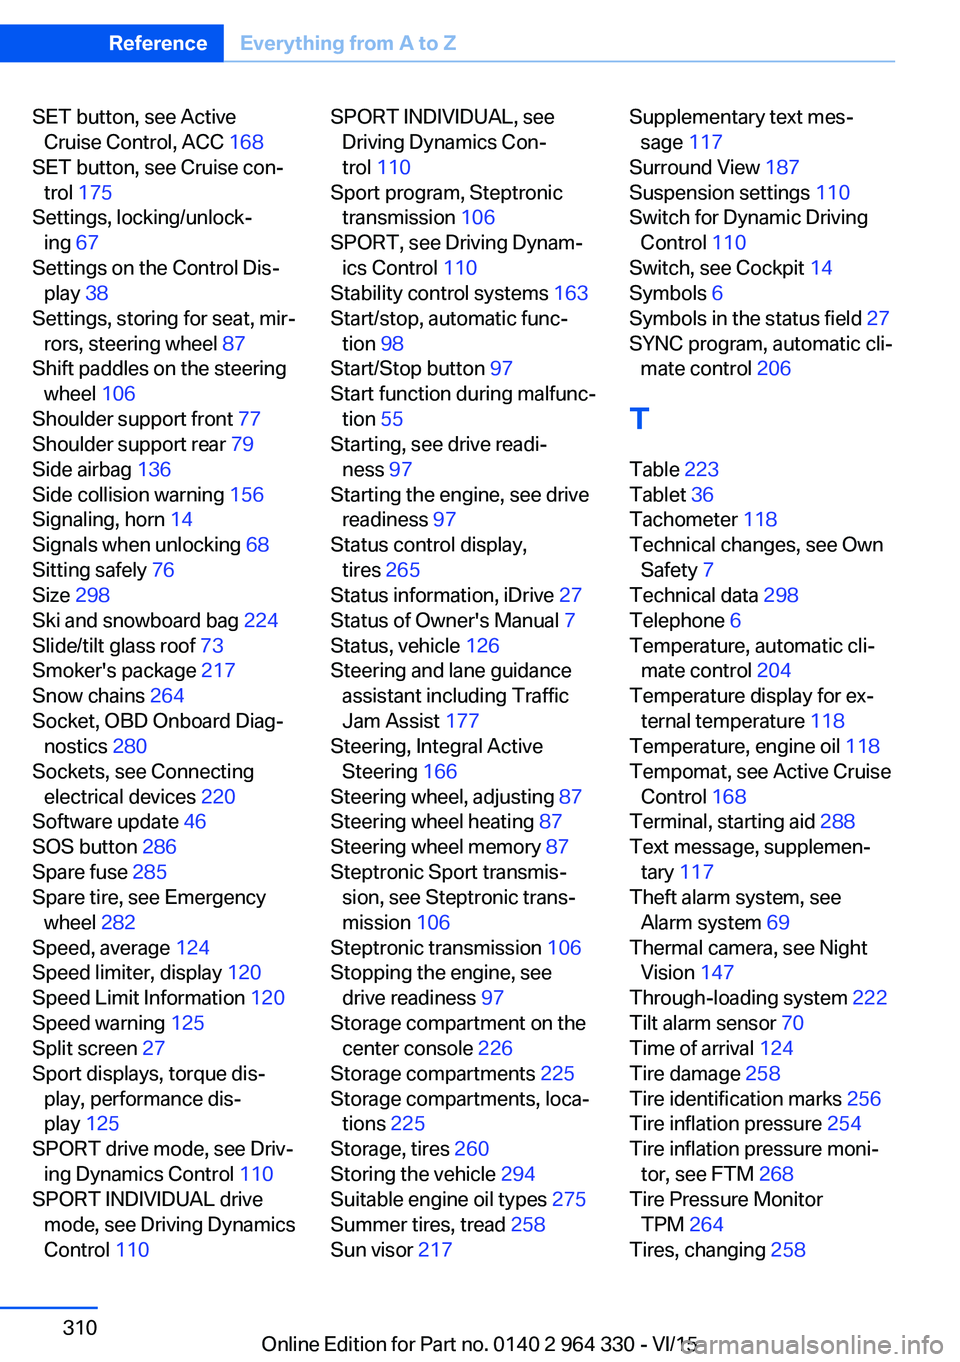
SET button, see ActiveCruise Control, ACC 168
SET button, see Cruise con‐ trol 175
Settings, locking/unlock‐ ing 67
Settings on the Control Dis‐ play 38
Settings, storing for seat, mir‐ rors, steering wheel 87
Shift paddles on the steering wheel 106
Shoulder support front 77
Shoulder support rear 79
Side airbag 136
Side collision warning 156
Signaling, horn 14
Signals when unlocking 68
Sitting safely 76
Size 298
Ski and snowboard bag 224
Slide/tilt glass roof 73
Smoker's package 217
Snow chains 264
Socket, OBD Onboard Diag‐ nostics 280
Sockets, see Connecting electrical devices 220
Software update 46
SOS button 286
Spare fuse 285
Spare tire, see Emergency wheel 282
Speed, average 124
Speed limiter, display 120
Speed Limit Information 120
Speed warning 125
Split screen 27
Sport displays, torque dis‐ play, performance dis‐
play 125
SPORT drive mode, see Driv‐ ing Dynamics Control 110
SPORT INDIVIDUAL drive mode, see Driving Dynamics
Control 110 SPORT INDIVIDUAL, see
Driving Dynamics Con‐
trol 110
Sport program, Steptronic transmission 106
SPORT, see Driving Dynam‐ ics Control 110
Stability control systems 163
Start/stop, automatic func‐ tion 98
Start/Stop button 97
Start function during malfunc‐ tion 55
Starting, see drive readi‐ ness 97
Starting the engine, see drive readiness 97
Status control display, tires 265
Status information, iDrive 27
Status of Owner's Manual 7
Status, vehicle 126
Steering and lane guidance assistant including Traffic
Jam Assist 177
Steering, Integral Active Steering 166
Steering wheel, adjusting 87
Steering wheel heating 87
Steering wheel memory 87
Steptronic Sport transmis‐ sion, see Steptronic trans‐
mission 106
Steptronic transmission 106
Stopping the engine, see drive readiness 97
Storage compartment on the center console 226
Storage compartments 225
Storage compartments, loca‐ tions 225
Storage, tires 260
Storing the vehicle 294
Suitable engine oil types 275
Summer tires, tread 258
Sun visor 217 Supplementary text mes‐
sage 117
Surround View 187
Suspension settings 110
Switch for Dynamic Driving Control 110
Switch, see Cockpit 14
Symbols 6
Symbols in the status field 27
SYNC program, automatic cli‐ mate control 206
T Table 223
Tablet 36
Tachometer 118
Technical changes, see Own Safety 7
Technical data 298
Telephone 6
Temperature, automatic cli‐ mate control 204
Temperature display for ex‐ ternal temperature 118
Temperature, engine oil 118
Tempomat, see Active Cruise Control 168
Terminal, starting aid 288
Text message, supplemen‐ tary 117
Theft alarm system, see Alarm system 69
Thermal camera, see Night Vision 147
Through-loading system 222
Tilt alarm sensor 70
Time of arrival 124
Tire damage 258
Tire identification marks 256
Tire inflation pressure 254
Tire inflation pressure moni‐ tor, see FTM 268
Tire Pressure Monitor TPM 264
Tires, changing 258 Seite 310ReferenceEverything from A to Z310
Online Edition for Part no. 0140 2 964 330 - VI/15