2015 BMW 740LI XDRIVE SEDAN battery
[x] Cancel search: batteryPage 98 of 314
3.Set the parking brake.
Before driving into a car wash
So that the vehicle can roll into a car wash ob‐
serve instructions for going into an automatic
car wash, refer to page 291.
Auto Start/Stop function
The concept The Auto Start/Stop function helps save fuel.
The system switches off the engine during a
stop, e.g., in traffic congestion or at traffic lights. Drive readiness remains switched on.
The engine starts again automatically for driv‐
ing off.
Information After every engine start via the Start/Stop but‐
ton, the Auto Start/Stop function is activated or
deactivated, according to the last setting, refer
to page 99. If the Auto Start/Stop function is
active, it is available as soon as a speed of ap‐
prox. 3 mph, approx. 5 km/h is exceeded.
Engine stop
The engine is switched off automatically dur‐
ing a stop under the following conditions:
▷The selector lever is in selector lever posi‐
tion D.▷The brake pedal remains pressed while the
vehicle is stationary or the vehicle is held
by Automatic Hold.▷The driver's safety belt is buckled or the
driver's door is closed.
The air flow from the air conditioner is reduced
when the engine is switched off.
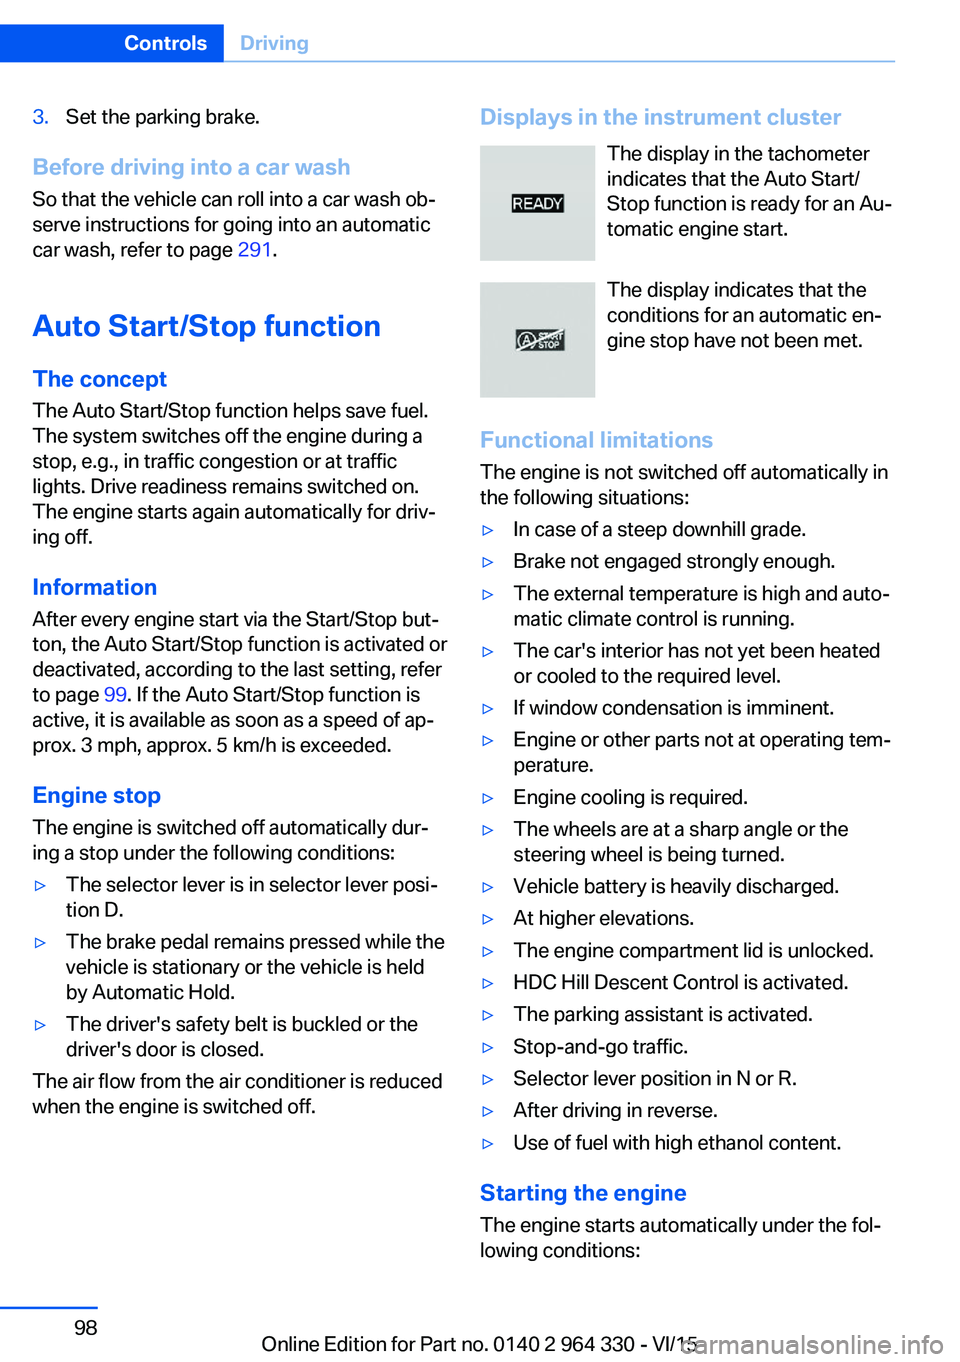
Displays in the instrument cluster
The display in the tachometer
indicates that the Auto Start/
Stop function is ready for an Au‐
tomatic engine start.
The display indicates that the
conditions for an automatic en‐
gine stop have not been met.
Functional limitations The engine is not switched off automatically in
the following situations:▷In case of a steep downhill grade.▷Brake not engaged strongly enough.▷The external temperature is high and auto‐
matic climate control is running.▷The car's interior has not yet been heated
or cooled to the required level.▷If window condensation is imminent.▷Engine or other parts not at operating tem‐
perature.▷Engine cooling is required.▷The wheels are at a sharp angle or the
steering wheel is being turned.▷Vehicle battery is heavily discharged.▷At higher elevations.▷The engine compartment lid is unlocked.▷HDC Hill Descent Control is activated.▷The parking assistant is activated.▷Stop-and-go traffic.▷Selector lever position in N or R.▷After driving in reverse.▷Use of fuel with high ethanol content.
Starting the engine
The engine starts automatically under the fol‐
lowing conditions:
Seite 98ControlsDriving98
Online Edition for Part no. 0140 2 964 330 - VI/15
Page 99 of 314
▷By releasing the brake pedal.▷When Automatic Hold is activated: press
the accelerator pedal.
After the engine starts, accelerate as usual.
Safety mode
After the engine switches off automatically, it
will not start again automatically if any one of
the following conditions are met:
▷The driver's safety belt is unbuckled and
the driver's door is open.▷The hood was unlocked.
Some indicator lights light up for a varied
length of time.
The engine can only be started via the Start/
Stop button.
Functional limitations
Even if driving off was not intended, the deacti‐
vated engine starts up automatically in the fol‐
lowing situations:
▷Excessive warming of the car's interior
when the cooling function is switched on.▷Excessive cooling of the car's interior when
the heating is switched on.▷If window condensation is imminent.▷The steering wheel is turned.▷Change from selector lever position D to N
or R.▷Change from selector lever position P to N,
D or R.▷Vehicle battery is heavily discharged.▷Start of an oil level measurement.Activating/deactivating the system
manually
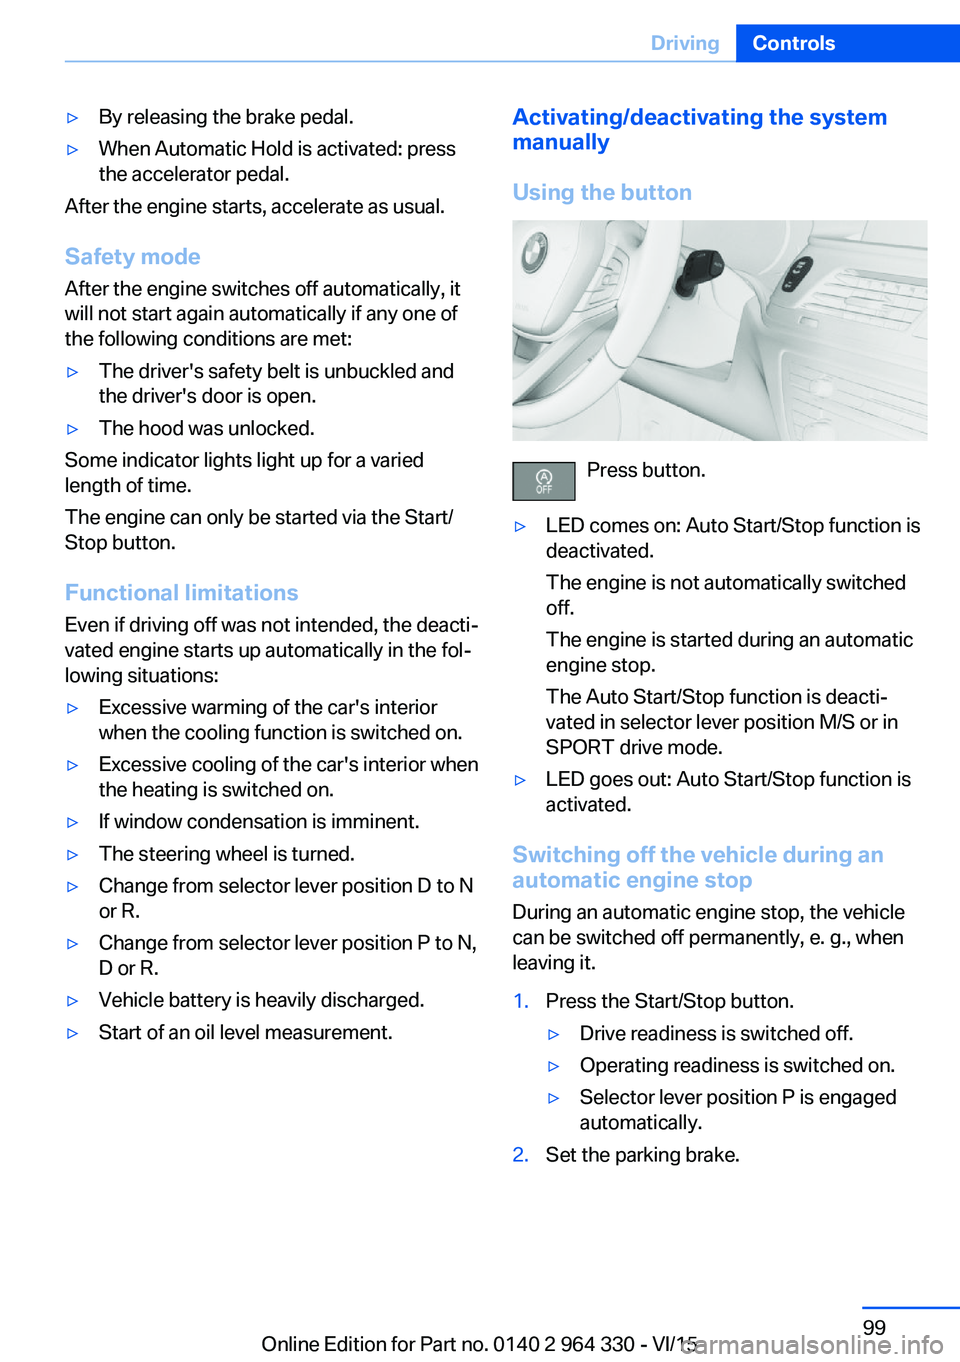
Using the button
Press button.
▷LED comes on: Auto Start/Stop function is
deactivated.
The engine is not automatically switched
off.
The engine is started during an automatic
engine stop.
The Auto Start/Stop function is deacti‐
vated in selector lever position M/S or in
SPORT drive mode.▷LED goes out: Auto Start/Stop function is
activated.
Switching off the vehicle during an
automatic engine stop
During an automatic engine stop, the vehicle
can be switched off permanently, e. g., when
leaving it.
1.Press the Start/Stop button.▷Drive readiness is switched off.▷Operating readiness is switched on.▷Selector lever position P is engaged
automatically.2.Set the parking brake.Seite 99DrivingControls99
Online Edition for Part no. 0140 2 964 330 - VI/15
Page 123 of 314
Information in detail
Odometer and trip odometer
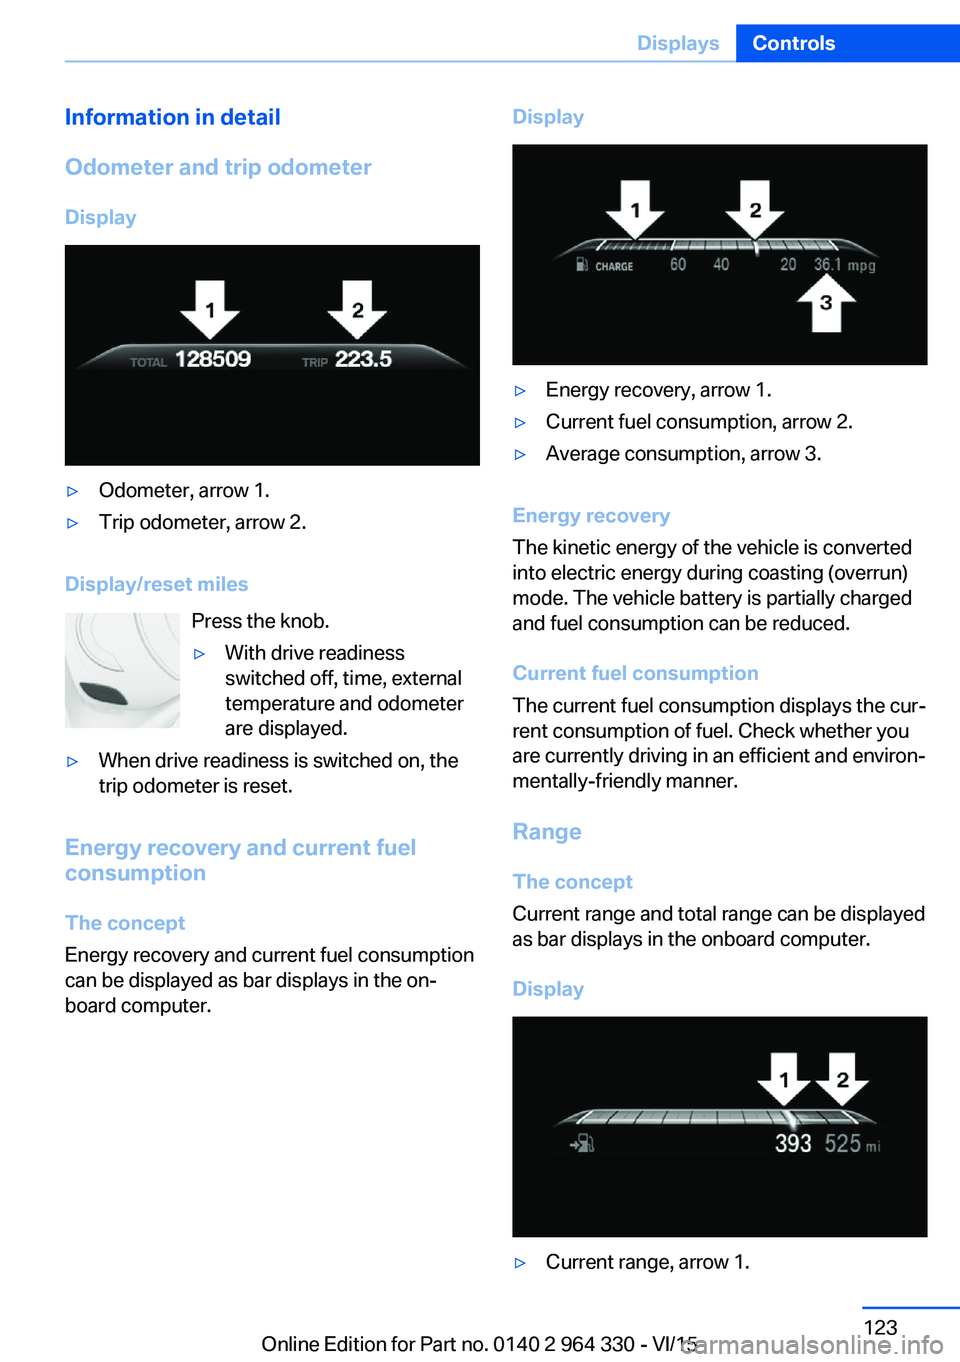
Display▷Odometer, arrow 1.▷Trip odometer, arrow 2.
Display/reset miles Press the knob.
▷With drive readiness
switched off, time, external
temperature and odometer
are displayed.▷When drive readiness is switched on, the
trip odometer is reset.
Energy recovery and current fuel
consumption
The concept
Energy recovery and current fuel consumption
can be displayed as bar displays in the on‐
board computer.
Display▷Energy recovery, arrow 1.▷Current fuel consumption, arrow 2.▷Average consumption, arrow 3.
Energy recovery
The kinetic energy of the vehicle is converted
into electric energy during coasting (overrun)
mode. The vehicle battery is partially charged
and fuel consumption can be reduced.
Current fuel consumption
The current fuel consumption displays the cur‐
rent consumption of fuel. Check whether you
are currently driving in an efficient and environ‐
mentally-friendly manner.
Range
The concept
Current range and total range can be displayed
as bar displays in the onboard computer.
Display
▷Current range, arrow 1.Seite 123DisplaysControls123
Online Edition for Part no. 0140 2 964 330 - VI/15
Page 129 of 314
LightsVehicle features and optionsThis chapter describes all standard, country-
specific and optional features offered with the
series. It also describes features that are not
necessarily available in your car, e. g., due to
the selected options or country versions. This
also applies to safety-related functions and
systems. The respectively applicable country
provisions must be observed when using the
respective features and systems.
Overview Switches in the vehicle
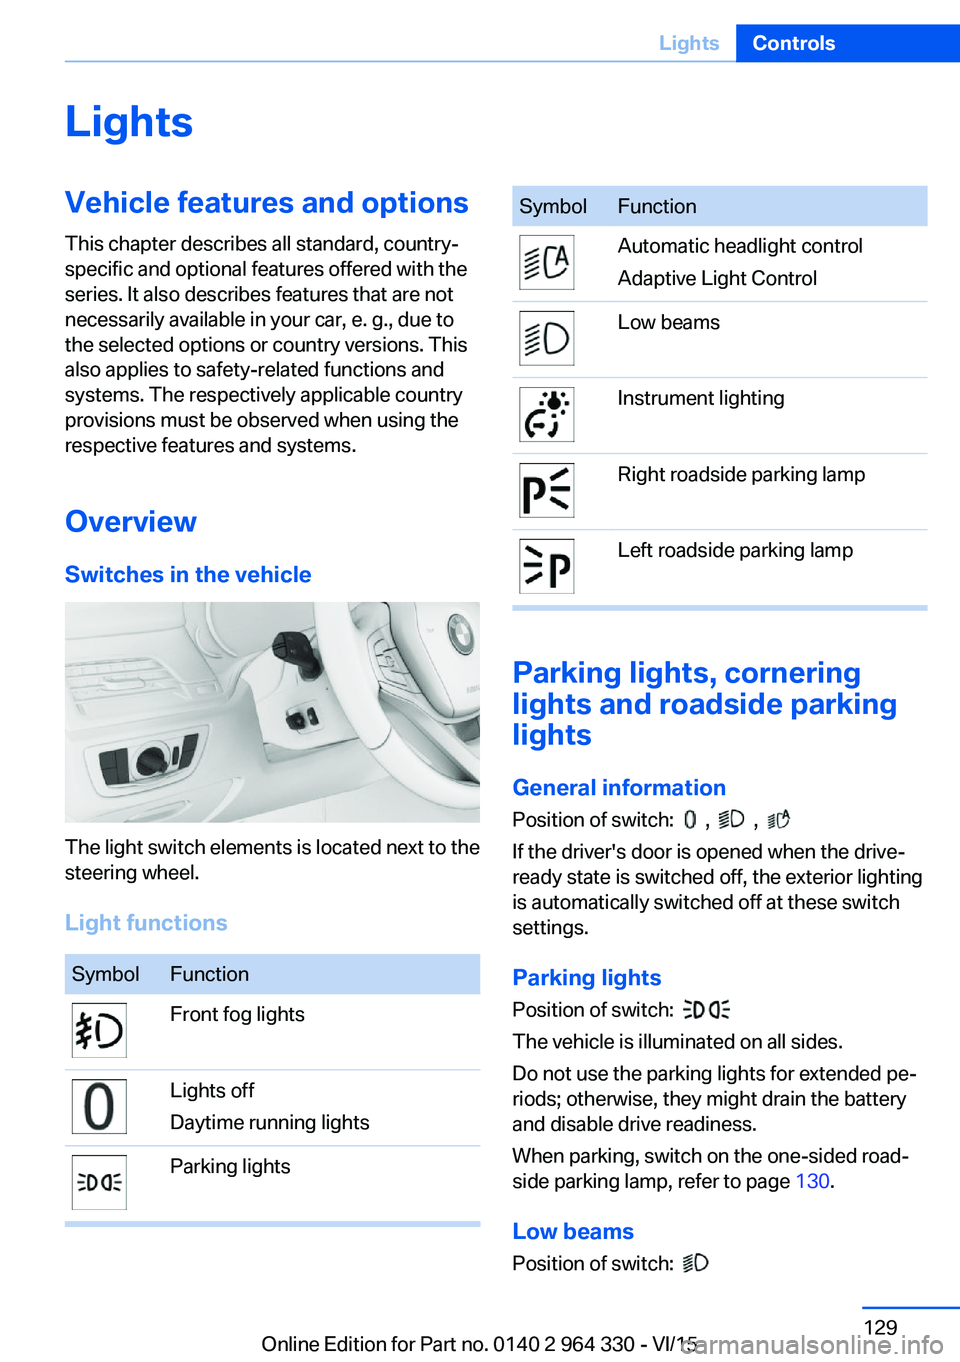
The light switch elements is located next to the
steering wheel.
Light functions
SymbolFunctionFront fog lightsLights off
Daytime running lightsParking lightsSymbolFunctionAutomatic headlight control
Adaptive Light ControlLow beamsInstrument lightingRight roadside parking lampLeft roadside parking lamp
Parking lights, cornering
lights and roadside parking
lights
General information Position of switch:
, ,
If the driver's door is opened when the drive-
ready state is switched off, the exterior lighting
is automatically switched off at these switch
settings.
Parking lights
Position of switch:
The vehicle is illuminated on all sides.
Do not use the parking lights for extended pe‐
riods; otherwise, they might drain the battery
and disable drive readiness.
When parking, switch on the one-sided road‐
side parking lamp, refer to page 130.
Low beams Position of switch:
Seite 129LightsControls129
Online Edition for Part no. 0140 2 964 330 - VI/15
Page 205 of 314
Automatic recirculated-air control
AUC
The concept
The automatic recirculated air control AUC au‐
tomatically recognizes odors or pollutants in
the outside air. The outside air supply is then
automatically shut off, the interior air is recircu‐
lated.
General information
If the system is activated, a sensor detects pol‐
lutants in the outside air and controls the shut-
off automatically.
If the system is deactivated, outside air contin‐ uously flows into the car's interior.
With constant recirculated-air mode, the air
quality in the car's interior deteriorates and the
fogging of the windows increases.
If there is window condensation,
switch off the recirculated-air mode
and press the button on the driver's side to uti‐ lize the condensation sensor. Make sure that
air can flow to the windshield.
Switching on/off
About iDrive:1."My Vehicle"2."Vehicle settings"3."Climate functions"4."Air quality"5."Automatic air recirculation"
Recirculated-air mode
The concept
You may respond to unpleasant odors or pollu‐
tants in the immediate environment by tempo‐
rarily suspending the supply of outside air. The
system then recirculates the air currently
within the vehicle.
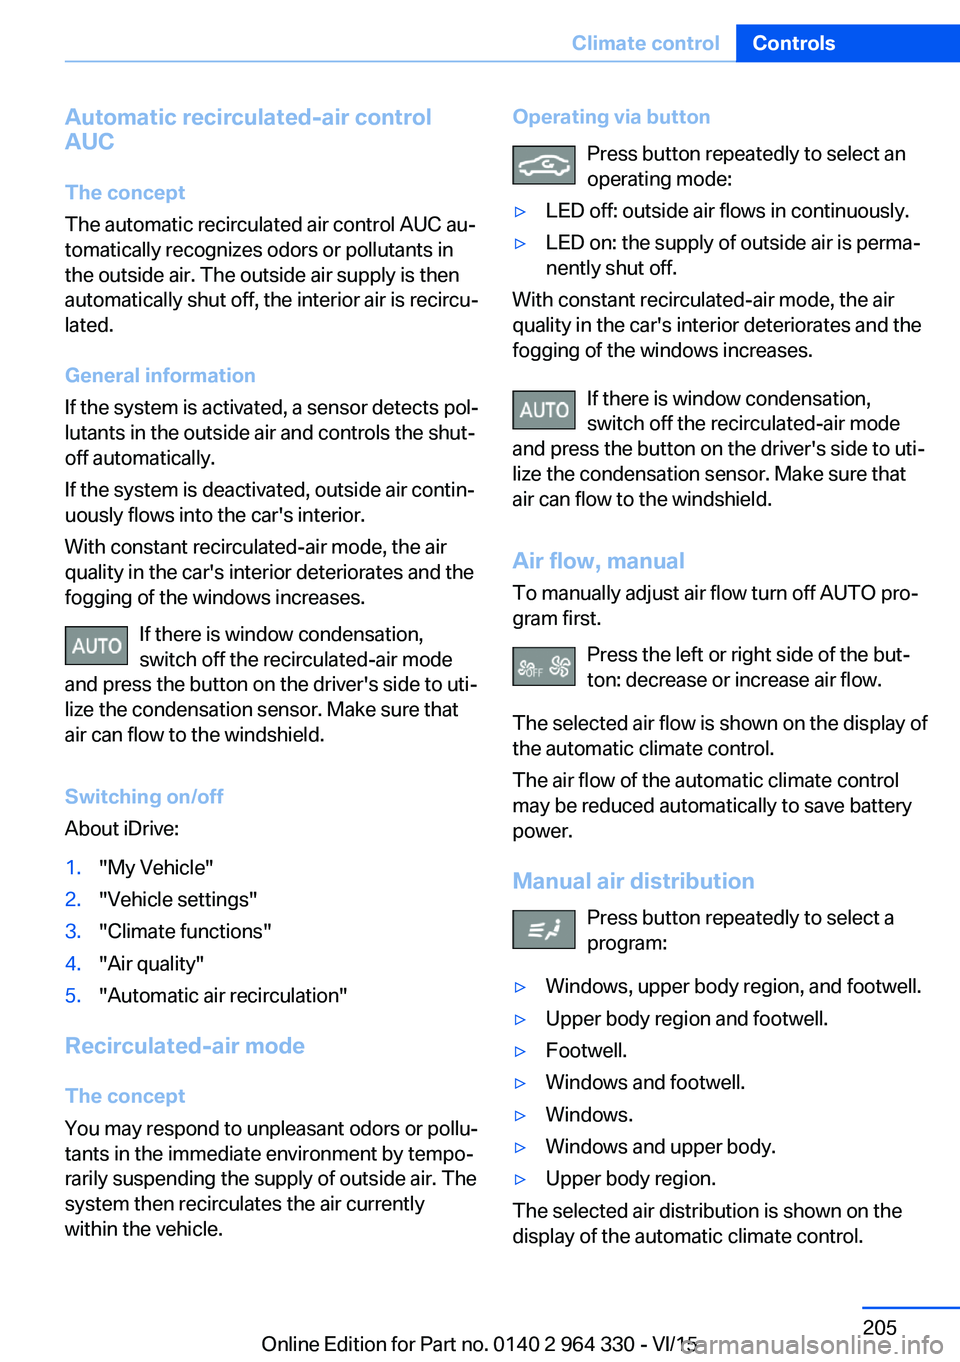
Operating via button
Press button repeatedly to select an
operating mode:▷LED off: outside air flows in continuously.▷LED on: the supply of outside air is perma‐
nently shut off.
With constant recirculated-air mode, the air
quality in the car's interior deteriorates and the
fogging of the windows increases.
If there is window condensation,
switch off the recirculated-air mode
and press the button on the driver's side to uti‐
lize the condensation sensor. Make sure that
air can flow to the windshield.
Air flow, manual
To manually adjust air flow turn off AUTO pro‐
gram first.
Press the left or right side of the but‐
ton: decrease or increase air flow.
The selected air flow is shown on the display of
the automatic climate control.
The air flow of the automatic climate control
may be reduced automatically to save battery
power.
Manual air distribution Press button repeatedly to select a
program:
▷Windows, upper body region, and footwell.▷Upper body region and footwell.▷Footwell.▷Windows and footwell.▷Windows.▷Windows and upper body.▷Upper body region.
The selected air distribution is shown on the
display of the automatic climate control.
Seite 205Climate controlControls205
Online Edition for Part no. 0140 2 964 330 - VI/15
Page 209 of 314
The selected air flow is shown on the display of
the automatic climate control.
The air flow can also be operated using BMW
Touch Command.
Maximum cooling Press button.
The system is set to the lowest tem‐
perature, maximum air flow and air circulation
mode.
Air flows out of the vents to the upper body re‐
gion. The vents need to be open for this.
Air is cooled as quickly as possible:▷At an external temperature of approx.
32 ℉/0 ℃.▷When the engine is running.
Operation is also possible using BMW Touch
Command.
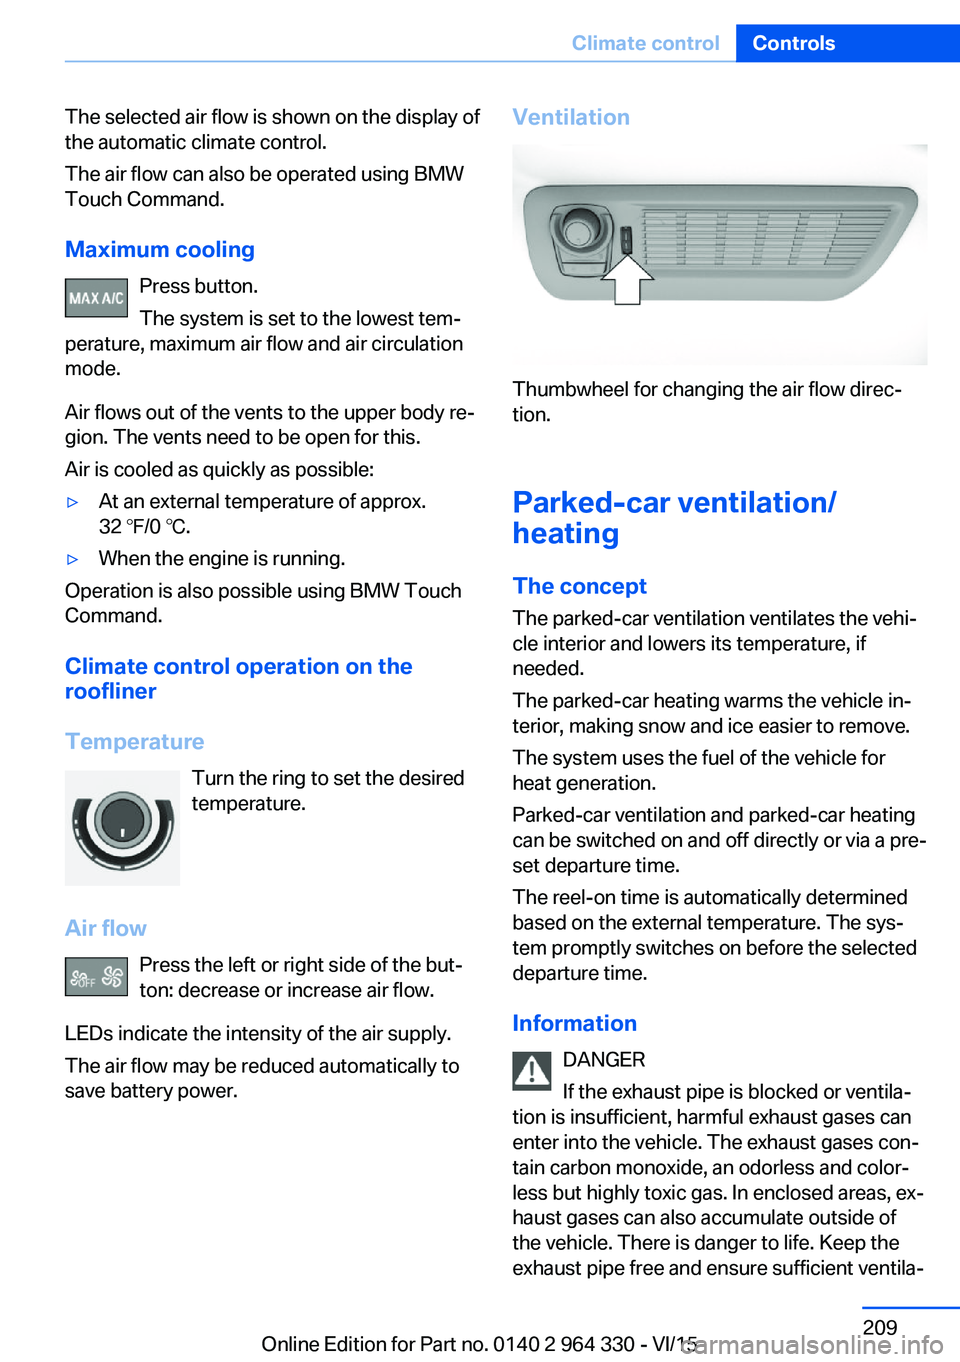
Climate control operation on the
roofliner
Temperature Turn the ring to set the desired
temperature.
Air flow Press the left or right side of the but‐
ton: decrease or increase air flow.
LEDs indicate the intensity of the air supply.
The air flow may be reduced automatically to
save battery power.
Ventilation
Thumbwheel for changing the air flow direc‐
tion.
Parked-car ventilation/
heating
The concept
The parked-car ventilation ventilates the vehi‐
cle interior and lowers its temperature, if
needed.
The parked-car heating warms the vehicle in‐
terior, making snow and ice easier to remove.
The system uses the fuel of the vehicle for
heat generation.
Parked-car ventilation and parked-car heating
can be switched on and off directly or via a pre-
set departure time.
The reel-on time is automatically determined
based on the external temperature. The sys‐
tem promptly switches on before the selected
departure time.
Information DANGER
If the exhaust pipe is blocked or ventila‐
tion is insufficient, harmful exhaust gases can
enter into the vehicle. The exhaust gases con‐
tain carbon monoxide, an odorless and color‐
less but highly toxic gas. In enclosed areas, ex‐
haust gases can also accumulate outside of
the vehicle. There is danger to life. Keep the
exhaust pipe free and ensure sufficient ventila‐
Seite 209Climate controlControls209
Online Edition for Part no. 0140 2 964 330 - VI/15
Page 210 of 314
tion. Do not switch on parked-car heating in
enclosed areas.◀
WARNING
During parked-car heating operation,
high temperatures can occur underneath the
body, e.g. caused by the exhaust gas system. If
combustible materials, such as leaves or grass,
come in contact with hot parts of the exhaust
gas system, these materials can ignite. There
is risk of fire. Make sure that no combustible
materials can come in contact with hot vehicle
parts during parked-car heating operation.◀
At external temperatures below 32 ℉/0 ℃, wa‐
ter vapor occurs that emerges from below the
vehicle.
Functional requirements▷The vehicle is in the idle or operating readi‐
ness state.▷Battery is sufficiently charged.▷Parked-car heating: the fuel tank is filled to
above the reserve range.
Open the vents to allow air to flow out.
Switching on/off directly
There are different ways to switch the system
on or off.
It switches of automatically after some time.
The system continues to run for some time af‐
ter being switched off.
Via the automatic climate controlbutton
When the vehicle is in standby state, parked-
car ventilation can be switched on or off via the
automatic climate control buttons.
Press any button except:
▷Rear window defroster.▷Left side of Air volume button.▷Seat heating.▷Seat ventilation.▷SYNC program.
Via the iDrive
Parked-car ventilation can be switched on or
off via iDrive.
1."My Vehicle"2."Vehicle settings"3."Climate functions"4."Comfort ventilation" or "Comfort heating/
ventilation"5."Activate now"
symbol on the automatic climate control
signals to switched on system.
Via BMW display key Parked-car ventilation and parked-car heating
can be switched on or off via the BMW display
key.
Switching on directly
1.Switch on the display of the BMW display
key.2."Climate control setting"3. , Tap symbol.4."Activate now"5."Start"
Switching off directly
1.Switch on the display of the BMW display
key.2."Climate control setting"3. , Tap symbol.4."Stop"
Departure time
Different departure times can be adjusted to
ensure a comfortable interior temperature in
the vehicle at the time of departure.
▷One-time departure time: the time can be
set.Seite 210ControlsClimate control210
Online Edition for Part no. 0140 2 964 330 - VI/15
Page 219 of 314
CAUTION
If metal objects fall into the socket, they
can cause a short circuit. There is risk of prop‐
erty damage. Replace the cigarette lighter or
socket cover again after using the socket.◀
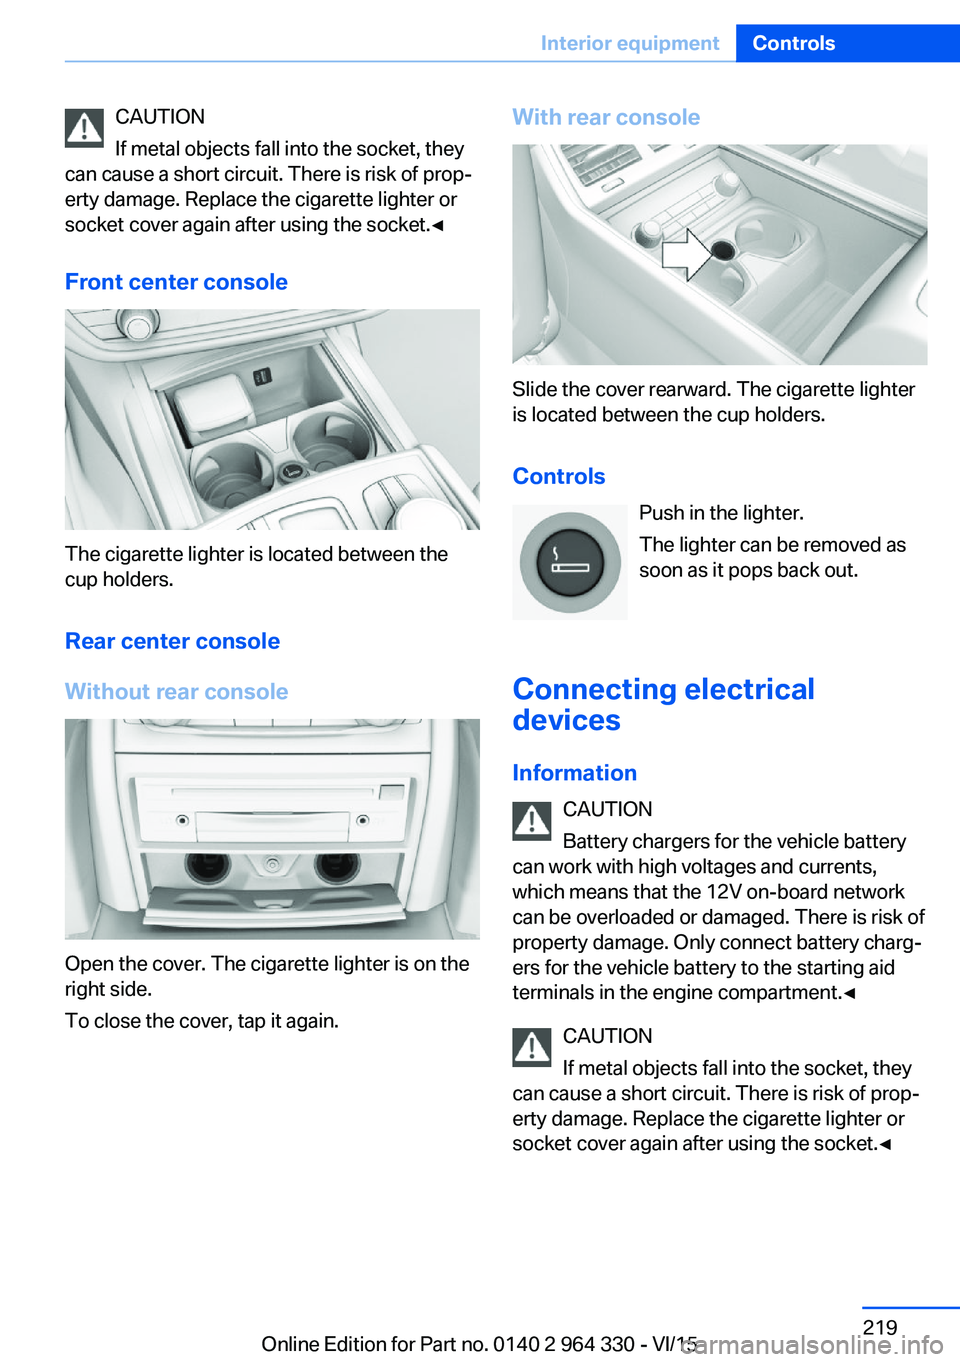
Front center console
The cigarette lighter is located between the
cup holders.
Rear center console
Without rear console
Open the cover. The cigarette lighter is on the
right side.
To close the cover, tap it again.
With rear console
Slide the cover rearward. The cigarette lighter
is located between the cup holders.
Controls Push in the lighter.
The lighter can be removed as
soon as it pops back out.
Connecting electrical devices
Information CAUTION
Battery chargers for the vehicle battery
can work with high voltages and currents,
which means that the 12V on-board network
can be overloaded or damaged. There is risk of
property damage. Only connect battery charg‐
ers for the vehicle battery to the starting aid
terminals in the engine compartment.◀
CAUTION
If metal objects fall into the socket, they
can cause a short circuit. There is risk of prop‐
erty damage. Replace the cigarette lighter or
socket cover again after using the socket.◀
Seite 219Interior equipmentControls219
Online Edition for Part no. 0140 2 964 330 - VI/15