2015 BMW 740LI SEDAN coolant level
[x] Cancel search: coolant levelPage 118 of 314
Fuel gauge
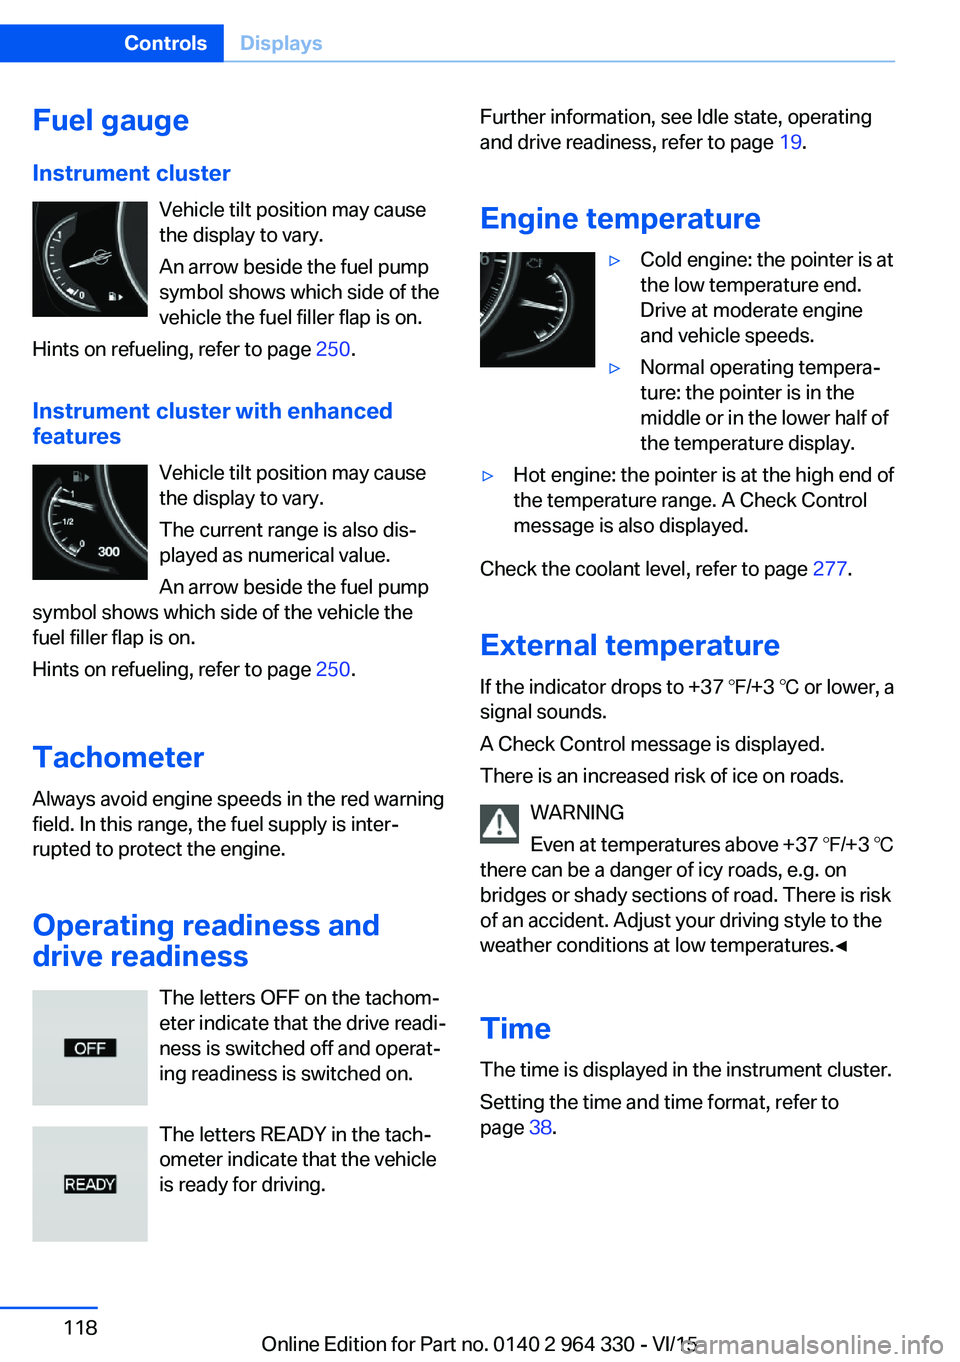
Instrument cluster Vehicle tilt position may cause
the display to vary.
An arrow beside the fuel pump
symbol shows which side of the
vehicle the fuel filler flap is on.
Hints on refueling, refer to page 250.
Instrument cluster with enhanced features
Vehicle tilt position may causethe display to vary.
The current range is also dis‐
played as numerical value.
An arrow beside the fuel pump
symbol shows which side of the vehicle the
fuel filler flap is on.
Hints on refueling, refer to page 250.
Tachometer
Always avoid engine speeds in the red warning
field. In this range, the fuel supply is inter‐
rupted to protect the engine.
Operating readiness and
drive readiness
The letters OFF on the tachom‐
eter indicate that the drive readi‐
ness is switched off and operat‐
ing readiness is switched on.
The letters READY in the tach‐
ometer indicate that the vehicle
is ready for driving.Further information, see Idle state, operating
and drive readiness, refer to page 19.
Engine temperature▷Cold engine: the pointer is at
the low temperature end.
Drive at moderate engine
and vehicle speeds.▷Normal operating tempera‐
ture: the pointer is in the
middle or in the lower half of
the temperature display.▷Hot engine: the pointer is at the high end of
the temperature range. A Check Control
message is also displayed.
Check the coolant level, refer to page 277.
External temperature
If the indicator drops to +37 ℉/+3 ℃ or lower, a
signal sounds.
A Check Control message is displayed.
There is an increased risk of ice on roads.
WARNING
Even at temperatures above +37 ℉/+3 ℃
there can be a danger of icy roads, e.g. on
bridges or shady sections of road. There is risk
of an accident. Adjust your driving style to the
weather conditions at low temperatures.◀
Time The time is displayed in the instrument cluster.
Setting the time and time format, refer to
page 38.
Seite 118ControlsDisplays118
Online Edition for Part no. 0140 2 964 330 - VI/15
Page 274 of 314
Take care not to add too much engine oil.CAUTION
Too much engine oil can damage the en‐
gine or the catalytic converter. There is risk of
property damage. Do not add too much engine
oil. Have too much engine oil siphoned off by a
dealer’s service center or another qualified
service center or repair shop.◀
Detailed measurement
The concept In the detailed measurement the engine oil
level is checked and displayed via a scale.
Gasoline engine:
If the engine oil level reaches the minimum
level, a check control message is displayed.
Diesel engine:
During the measurement, the idle speed is in‐
creased somewhat.
General information
A detailed measurement is only possible with
certain engines.
Requirements▷Vehicle is on level road.▷Selector lever in selector lever position N
or P and accelerator pedal not depressed.▷Engine is running and is at operating tem‐
perature.
Performing a detailed measurement
About iDrive:
1."My Vehicle"2."Vehicle status"3. "Measure engine oil level"4."Start measurement"
The engine oil level is checked and displayed
via a scale.
Time: approx. 1 minute.
Adding engine oil
Information CAUTION
A too low engine oil level causes engine
damage. There is risk of property damage.
Add engine oil within the next
125 miles/200 km.◀
CAUTION
Too much engine oil can damage the en‐
gine or the catalytic converter. There is risk of
property damage. Do not add too much engine
oil. Have too much engine oil siphoned off by a
dealer’s service center or another qualified
service center or repair shop.◀
WARNING
Operating materials, e.g. oils, greases,
coolants, fuels, can contain harmful ingredi‐
ents. There is risk of injuries or danger to life.
Observe the instructions on the containers.
Avoid the contact of articles of clothing, skin or
eyes with operating materials. Do not refill op‐
erating materials into different bottles. Store
operating materials out of reach of children.◀
General information
Establish idle state and safely park the vehicle
before engine oil is added.
Overview The oil filler neck is located in the engine com‐
partment, refer to page 271.
Opening the oil filler neck Only add engine oil when the message is dis‐
played in the instrument cluster. The quantity
to be added is indicated in the message dis‐
played in the instrument cluster.1.Opening the hood, refer to page 272Seite 274MobilityEngine oil274
Online Edition for Part no. 0140 2 964 330 - VI/15
Page 277 of 314
CoolantVehicle features and optionsThis chapter describes all standard, country-
specific and optional features offered with the
series. It also describes features that are not
necessarily available in your car, e. g., due to
the selected options or country versions. This
also applies to safety-related functions and
systems. The respectively applicable country
provisions must be observed when using the
respective features and systems.
Information WARNING
With the engine hot and the cooling sys‐
tem open, coolant can escape and lead to
burns. There is risk of injuries. Only open the
cooling system with the engine cooled down.◀
WARNING
Additives are harmful and incorrect addi‐
tives can damage the engine. There is risk of
injuries and risk of property damage. Avoid the
contact of articles of clothing, skin or eyes with
additives. Do not swallow any additives. Use
suitable additives only.◀
Coolant consists of water and additives.
Not all commercially available additives are
suitable for the vehicle. Information about suit‐
able additives is available from a dealer’s serv‐
ice center or another qualified service center or
repair shop.
Coolant level
General information
Vehicles with gasoline engine feature two
cooling circuits. Always check the coolant lev‐els of both coolant reservoirs and refill as
needed.
The coolant level is indicted using minimum
and maximum markings. Depending on the
coolant reservoir, the minimum and maximum
markings are located at different locations.
Overview
Opening the hood, refer to page 272
Depending on the engine installation, the cool‐
ant reservoir is located on the right side or the
left side of the engine compartment, refer to
page 271.
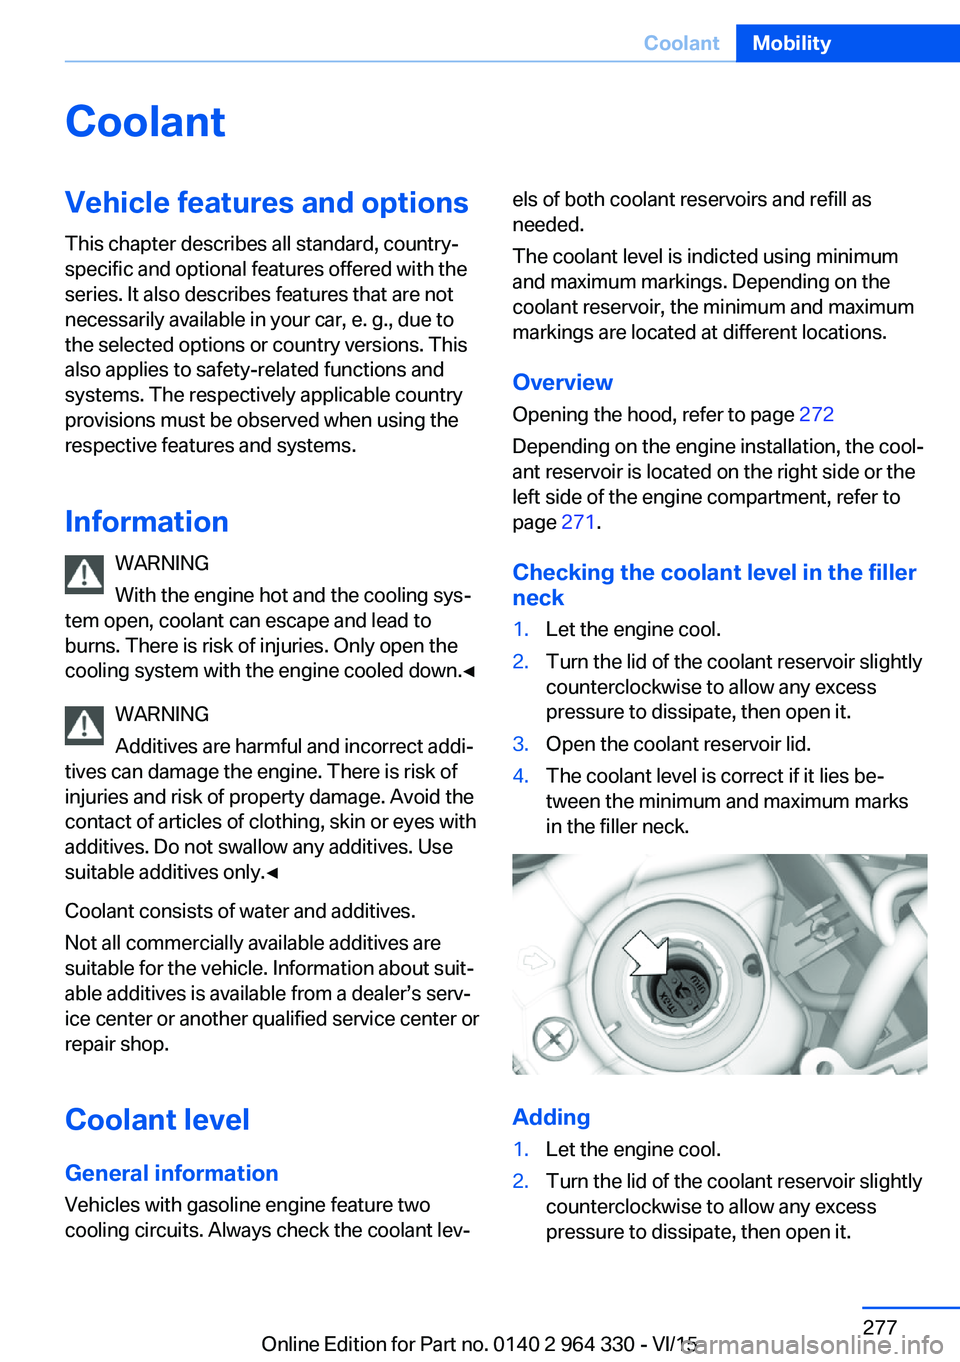
Checking the coolant level in the filler
neck1.Let the engine cool.2.Turn the lid of the coolant reservoir slightly
counterclockwise to allow any excess
pressure to dissipate, then open it.3.Open the coolant reservoir lid.4.The coolant level is correct if it lies be‐
tween the minimum and maximum marks
in the filler neck.
Adding
1.Let the engine cool.2.Turn the lid of the coolant reservoir slightly
counterclockwise to allow any excess
pressure to dissipate, then open it.Seite 277CoolantMobility277
Online Edition for Part no. 0140 2 964 330 - VI/15
Page 278 of 314
3.If the coolant is low, slowly add coolant up
to the specified level; do not overfill.4.Turn the lid until there is an audible click.
The arrows on the coolant reservoir and
the lid must point towards one another.5.Have the cause of the coolant loss elimi‐
nated as soon as possible.
Disposal
Comply with the relevant environmen‐
tal protection regulations when dispos‐
ing of coolant and coolant additives.
Seite 278MobilityCoolant278
Online Edition for Part no. 0140 2 964 330 - VI/15
Page 304 of 314
Closing via door lock 62
Closing without remote con‐ trol 62
Clothes hooks 229
Coasting 245
Coasting with engine decou‐ pled, coasting 245
Coasting with idling en‐ gine 245
Collision warning with braking function 140
Collision warning with City braking function 140
Combination switch, see Turn signals 103
Combination switch, see Wiper system 103
Comfort Access 65
COMFORT drive mode, see Driving Dynamics Con‐
trol 110
COMFORT PLUS drive mode, see Driving Dynamics
Control 110
COMFORT PLUS, see Driv‐ ing Dynamics Control 110
COMFORT, see Driving Dy‐ namics Control 110
Communication 6
Compact wheel, see Emer‐ gency wheel 282
Compartments in the doors 226
Compatible devices 42
Compatible mobile phones 42
Compressor 260
Computer, see on-board computer 122
Condensation on win‐ dows 206
Condensation under the vehi‐ cle 236
Condition Based Service CBS 279
Confirmation signal 68 ConnectedDrive 6
ConnectedDrive Services 6
Connecting device 41
Connecting electrical devi‐ ces 219
Connecting mobile phone 41
Connecting smartphone 41
Connecting telephone 41
Connections 41
Continued driving with a flat tire 267 , 270
Control Display 21
Control Display, settings 38
Controller 22
Control systems, driving sta‐ bility 163
Convenient opening with the remote control 61
Coolant 277
Coolant level 277
Coolant temperature 118
Cooler 223
Cooling function 204
Cooling, maximum 204
Cooling system 277
Corrosion on brake discs 236
Cosmetic mirror 217
Courtesy lamps with the vehi‐ cle locked 61
Cross traffic warning 197
Cruise control 175
Cruise control, active with Stop & Go 168
Cruising range 123
Cupholder 228
Current fuel consump‐ tion 123
D
Damage, tires 258
Damping control, dy‐ namic 201
Data, technical 298
Daytime running lights 131 Defrosting, see Windows, de‐
frosting 206
Dehumidifying, air 204
Deleting personal data 40
Deletion of personal data 40
Departure time, parked-car heating 211
Departure time, parked-car ventilation 211
Destination distance 124
Device list 41
Digital clock 118
Dimensions 298
Dimmable exterior mirrors 86
Dimmable interior rearview mirror 86
Direction indicator, see Turn signals 103
Display in windshield 126
Display lighting, see Instru‐ ment lighting 133
Displays 113
Displays, cleaning 294
Disposal, coolant 278
Disposal, vehicle battery 285
Distance control, see PDC 180
Distance to destination 124
Divided screen view, split screen 27
Door handle lighting, see wel‐ come lights 130
Door lock 62
Door lock, see Remote con‐ trol 54
Doors, Automatic Soft Clos‐ ing 63
Downhill control 165
Drive mode 110
Drive-off assistant 163
Drive-off assistant, see DSC 163
Drive readiness, see starting the engine 97
Driving Dynamics Con‐ trol 110 Seite 304ReferenceEverything from A to Z304
Online Edition for Part no. 0140 2 964 330 - VI/15