2015 BMW 740I SEDAN change time
[x] Cancel search: change timePage 206 of 314
If there is window condensation, press
the button on the driver's side to uti‐
lize the condensation sensor.
SYNC program Press button.
The current settings on the driver's
side for temperature, air flow, air distribution,
and AUTO program are transferred to the front
passenger side and to the left and right rear.
To switch off, press the button again.
The program is switched off if the settings on
the front passenger side or in the rear are
changed.
Defrosts windows and removes
condensation
Press button.
Ice and condensation are quickly re‐
moved from the windshield and the front side
windows.
For this purpose, point the side vents onto the
side windows as needed.
Adjust air flow with the program active. If there is window condensation, you
can also switch on the air conditioning
or press the button to utilize the condensation
sensor.
Rear window defroster Press button.
The rear window defroster switches
off automatically after a certain period of time.
Microfilter/activated-charcoal filter
The microfilter removes dust and pollen from
the incoming air.
The activated-charcoal filter removes gaseous
pollutants from the outside air that enters the
vehicle.This combined filter should be replaced during
scheduled maintenance, refer to page 279, of
your vehicle.
Ventilation
Setting The air flow directions can be individually ad‐
justed:▷Direct ventilation:
The air flow is directly pointed onto the
person. The air flow heats or cools noticea‐
bly, depending on the adjusted tempera‐
ture.▷Indirect ventilation:
If the vents are fully or partly closed, the air
is directly routed into the car's interior.
Indirect ventilation can also be adjusted on
the Control Display.
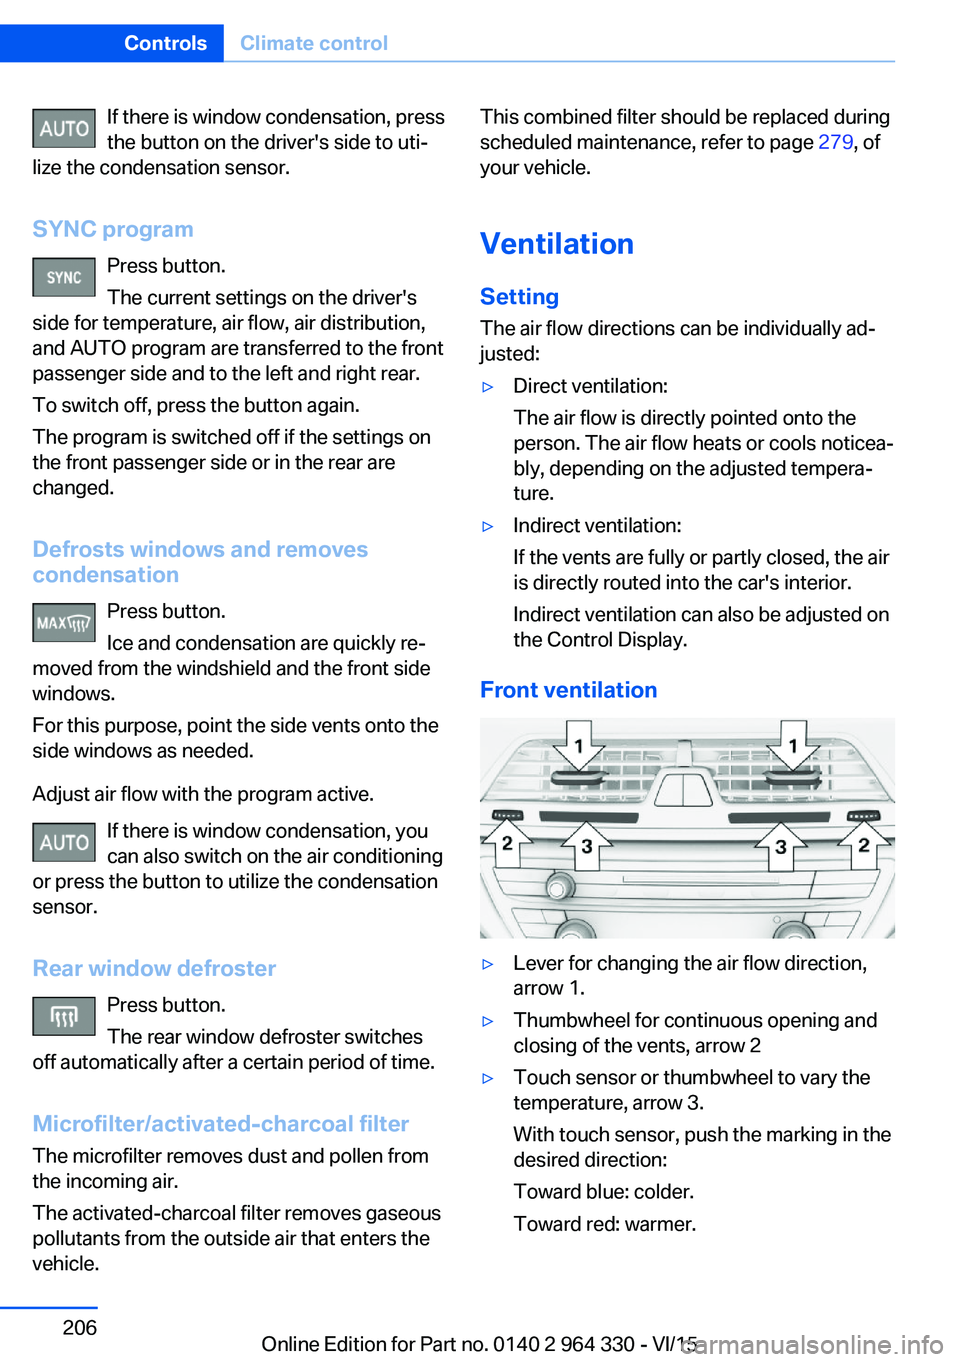
Front ventilation
▷Lever for changing the air flow direction,
arrow 1.▷Thumbwheel for continuous opening and
closing of the vents, arrow 2▷Touch sensor or thumbwheel to vary the
temperature, arrow 3.
With touch sensor, push the marking in the
desired direction:
Toward blue: colder.
Toward red: warmer.Seite 206ControlsClimate control206
Online Edition for Part no. 0140 2 964 330 - VI/15
Page 208 of 314
Switch on/off: via iDrive1."My Vehicle"2."Vehicle settings"3."Climate functions"4."Rear climate"
The rear automatic climate control is not ready
for operation if the automatic climate control is
switched off or if the function for defrosting or
defogging the windows is active: defrost win‐
dows and remove condensation.
Switch on/off: via button
Switching on Press any button except:
▷Left side of Air volume button.▷Seat heating.▷Seat ventilation.
Switch off
Press and hold the left button.
AUTO program Press button.
Air flow, air distribution, and tempera‐
ture are controlled automatically:
Depending on the selected temperature, the
AUTO intensity, and outside influences, the air
is directed to the upper body and into the foot‐
well.
The cooling function is switched on automati‐
cally with the AUTO program.
Intensity of the AUTO programWith the AUTO program activated, the auto‐
matic intensity control can be changed:
Press the left or right side of the but‐
ton: decrease or increase the inten‐
sity.
The selected intensity is shown on the display
of the automatic climate control.
Temperature Turn the ring to set the desired
temperature.
The automatic climate control achieves this
temperature as quickly as possible, if needed
by using the maximum cooling or heating ca‐
pacity, and then keeps it constant.
Do not rapidly switch between different tem‐
perature settings. The automatic climate con‐
trol will not have sufficient time to adjust the
set temperature.
The temperature can also be operated using
BMW Touch Command.
Information
Symbol is displayed permanently on the
display of the automatic climate control.
Manual air distribution
The air distribution can be adjusted to individ‐
ual needs.
Press button repeatedly to select a
program:
▷Upper body region.▷Upper body region and footwell.▷Footwell.
The air distribution can also be operated using
BMW Touch Command.
Air flow, manual To manually adjust air flow turn off AUTO pro‐
gram first.
Press the left or right side of the but‐
ton: decrease or increase air flow.
Seite 208ControlsClimate control208
Online Edition for Part no. 0140 2 964 330 - VI/15
Page 216 of 314
gramming of the buttons on the interior
rearview mirror.3.Press the interior mirror button to be pro‐
grammed. The LED flashes orange.4.Hold the hand-held transmitter for the sys‐
tem to be controlled approx. 1 to 3 in/2.5 to
8 cm away from the buttons of the interior
mirror. The required distance depends on
the manual transmitter.5.Press and hold the button of the desired
function on the hand-held transmitter. The
LED on the interior mirror will begin flash‐
ing slowly orange.6.As soon as the LED flashes green more
rapidly or lights up continuously, release
the button. Green light indicates that the
button on the interior mirror was program‐
med. Faster green flashing indicates that it
is a change-code wireless system.
If the LED does not flash faster after at
least 60 seconds, change the distance be‐
tween the interior rearview mirror and the
hand-held transmitter and repeat the step.
Several more attempts at different distan‐
ces may be necessary. Wait at least
15 seconds between attempts.
Canada: if programming with the hand-
held transmitter was interrupted, hold
down the interior rearview mirror button
and repeatedly press and release the
hand-held transmitter button for 2 sec‐
onds.7.To program other functions on other but‐
tons, repeat steps 3 to 5.
The systems can be controlled using the inte‐
rior rearview mirror buttons.
Special feature of the alternating-
code wireless system
If you are unable to operate the system after
repeated programming, please check if the
system to be controlled features an alternat‐
ing-code system.
Read the system's operating manual, or press
the programmed button on the interior rear‐
view mirror longer. If the LED on the interior
rearview mirror starts flashing rapidly and then
stays lit constantly for 2 seconds, the system
features an alternating-code system. Flashing
and continuous illumination of the LED will re‐
peat for approximately 20 seconds.
For systems with an alternating-code system,
the universal garage door opener and the sys‐
tem also have to be synchronized.
Please read the operating manual to find out how to synchronize the system.
Synchronizing is easier with the aid of a sec‐
ond person.
To synchronize:1.Park the vehicle within range of the re‐
mote-controlled system.2.Program the relevant button on the interior
rearview mirror as described.3.Locate and press the synchronizing button
on the system being programmed. You
have approx. 30 seconds for the next step.4.Hold down the programmed button on the
interior rearview mirror for approximately
3 seconds and then release it. If necessary,
repeat this step up to three times in order
to finish synchronization. Once synchroni‐
zation is complete, the programmed func‐
tion will be carried out.
Reprogramming individual buttons
1.Turn on operations.2.Press the interior mirror button to be pro‐
grammed.3.As soon as the interior mirror LED starts
flashing slowly, hold the hand-held trans‐
mitter for the system to be controlled ap‐
prox. 1 to 3 in/2.5 to 8 cm away from the
buttons of the interior mirror. The required
distance depends on the manual transmit‐
ter.Seite 216ControlsInterior equipment216
Online Edition for Part no. 0140 2 964 330 - VI/15
Page 244 of 314
Displaying fuel consumption history
The average consumption on the route
coasted as well as the duration for which the
auto start/stop function switched off the en‐
gine can be displayed.1."My Vehicle"2."Technology in action"3. "EfficientDynamics"
Vertical bars show consumption for the se‐
lected route.
Selecting route length
1. Press button.2.Select desired route length or scaling.
Resetting fuel consumption history
1. Press button.2."Reset consumption history"
Route-ahead assistant
The concept The system helps to conserve fuel and pro‐
motes a proactively driving style. It can detect
certain upcoming sections of the journey
based on the navigation data and alert the
driver to them in good time.
The detected route sections, such as built-up areas or changes of road require the driver to
reduce speed.
General information
This alert is issued even if the upcoming route
section cannot yet be detected while driving.
The alert is displayed until the route section is
reached.
If an alert is received, the vehicle's speed and
its fuel consumption can be reduced by back‐
ing off the accelerator and coasting until the
route section is reached.
Depending on the situation, the system also
uses the engine brake automatically with a
pausing of the coast, refer to page 245, func‐
tion.
Functional requirements
This function is available in ECO PRO mode.
The system depends on the timeliness and
quality of the navigation data.
The navigation data can be updated.
Display
Display in the instrument cluster The note about a route section ahead
is made as recommendation to let the
vehicle coast to a halt.
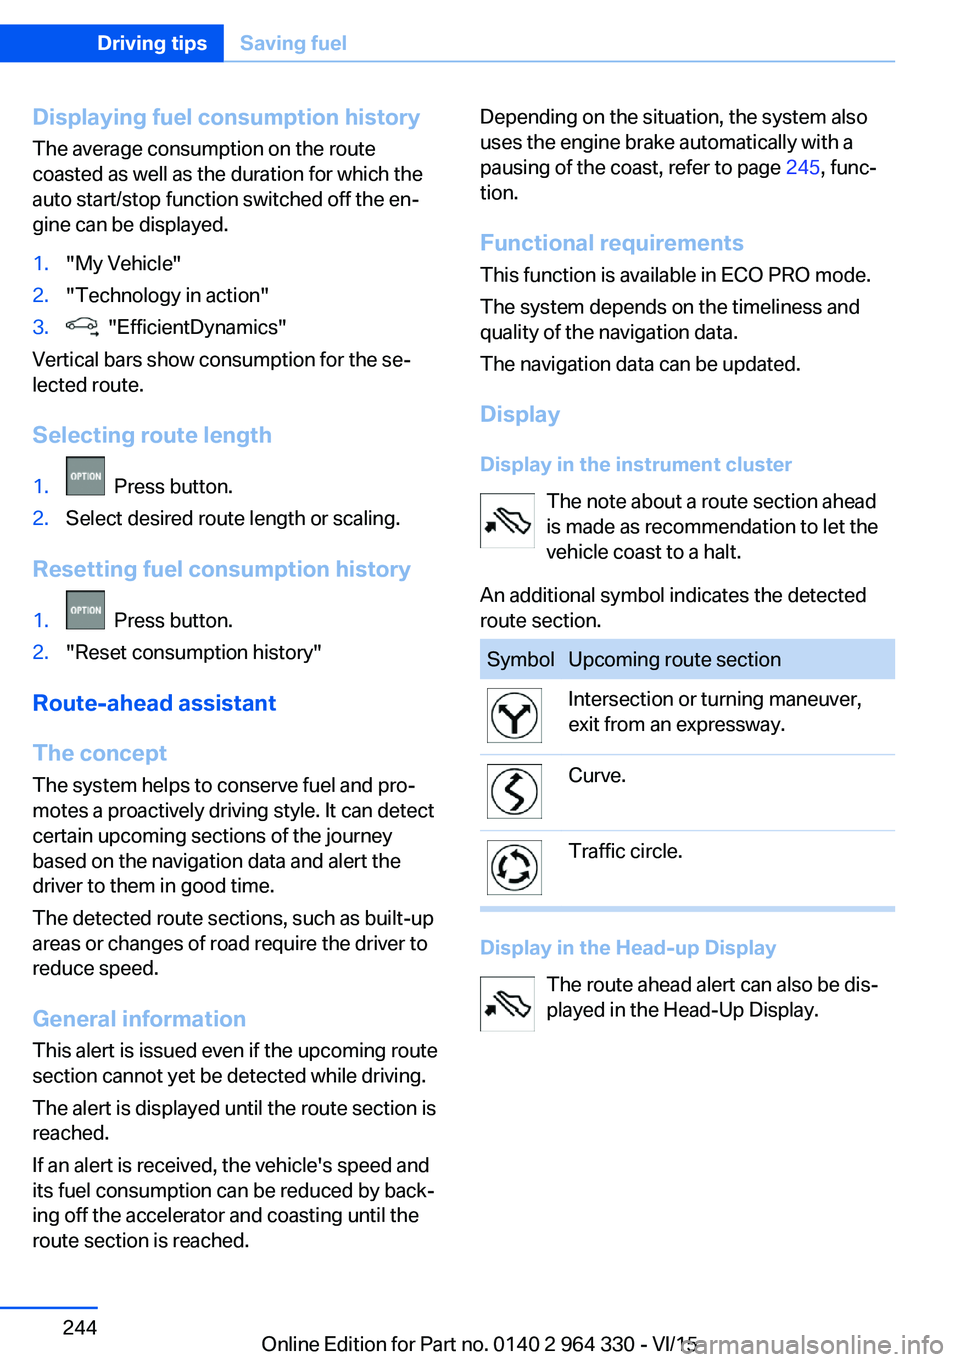
An additional symbol indicates the detected
route section.SymbolUpcoming route sectionIntersection or turning maneuver,
exit from an expressway.Curve.Traffic circle.
Display in the Head-up Display
The route ahead alert can also be dis‐
played in the Head-Up Display.
Seite 244Driving tipsSaving fuel244
Online Edition for Part no. 0140 2 964 330 - VI/15
Page 265 of 314
Functional requirements
The system must have been reset with the
correct tire inflation pressure; otherwise, relia‐
ble signaling of tire inflation pressure loss is
not assured.
Reset the system after each adjustment of the
tire inflation pressure and after every tire or
wheel change.
Always use wheels with TPM electronics to
ensure that the system will operate properly.
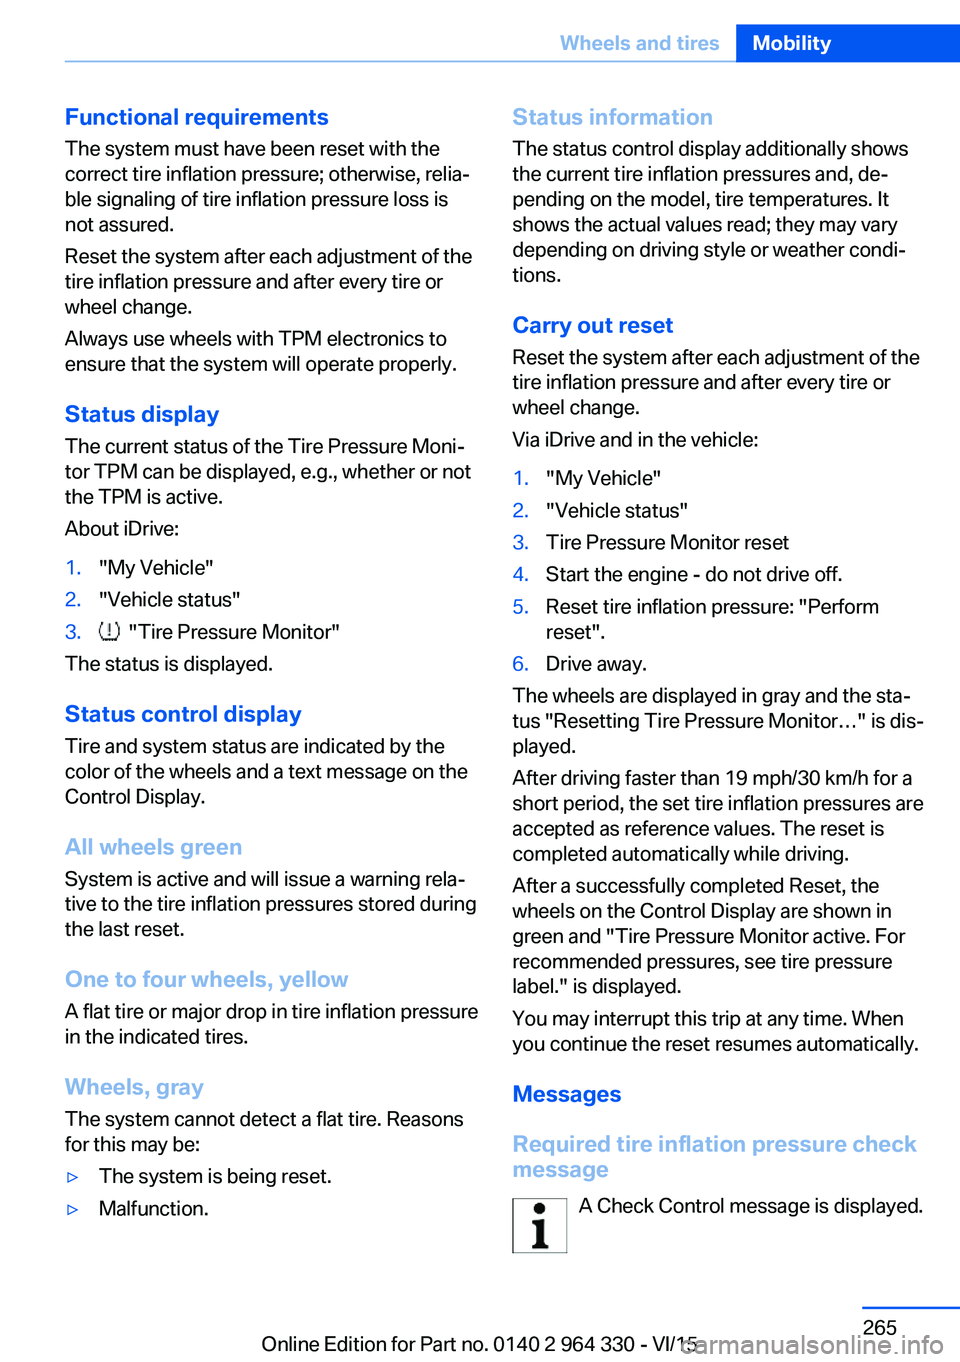
Status display
The current status of the Tire Pressure Moni‐
tor TPM can be displayed, e.g., whether or not
the TPM is active.
About iDrive:1."My Vehicle"2."Vehicle status"3. "Tire Pressure Monitor"
The status is displayed.
Status control display Tire and system status are indicated by the
color of the wheels and a text message on the
Control Display.
All wheels green System is active and will issue a warning rela‐
tive to the tire inflation pressures stored during
the last reset.
One to four wheels, yellow
A flat tire or major drop in tire inflation pressure
in the indicated tires.
Wheels, gray
The system cannot detect a flat tire. Reasons
for this may be:
▷The system is being reset.▷Malfunction.Status information
The status control display additionally shows
the current tire inflation pressures and, de‐
pending on the model, tire temperatures. It
shows the actual values read; they may vary depending on driving style or weather condi‐
tions.
Carry out reset Reset the system after each adjustment of the
tire inflation pressure and after every tire or
wheel change.
Via iDrive and in the vehicle:1."My Vehicle"2."Vehicle status"3.Tire Pressure Monitor reset4.Start the engine - do not drive off.5.Reset tire inflation pressure: "Perform
reset".6.Drive away.
The wheels are displayed in gray and the sta‐
tus "Resetting Tire Pressure Monitor…" is dis‐
played.
After driving faster than 19 mph/30 km/h for a
short period, the set tire inflation pressures are
accepted as reference values. The reset is
completed automatically while driving.
After a successfully completed Reset, the
wheels on the Control Display are shown in
green and "Tire Pressure Monitor active. For
recommended pressures, see tire pressure
label." is displayed.
You may interrupt this trip at any time. When
you continue the reset resumes automatically.
Messages
Required tire inflation pressure check
message
A Check Control message is displayed.
Seite 265Wheels and tiresMobility265
Online Edition for Part no. 0140 2 964 330 - VI/15
Page 275 of 314
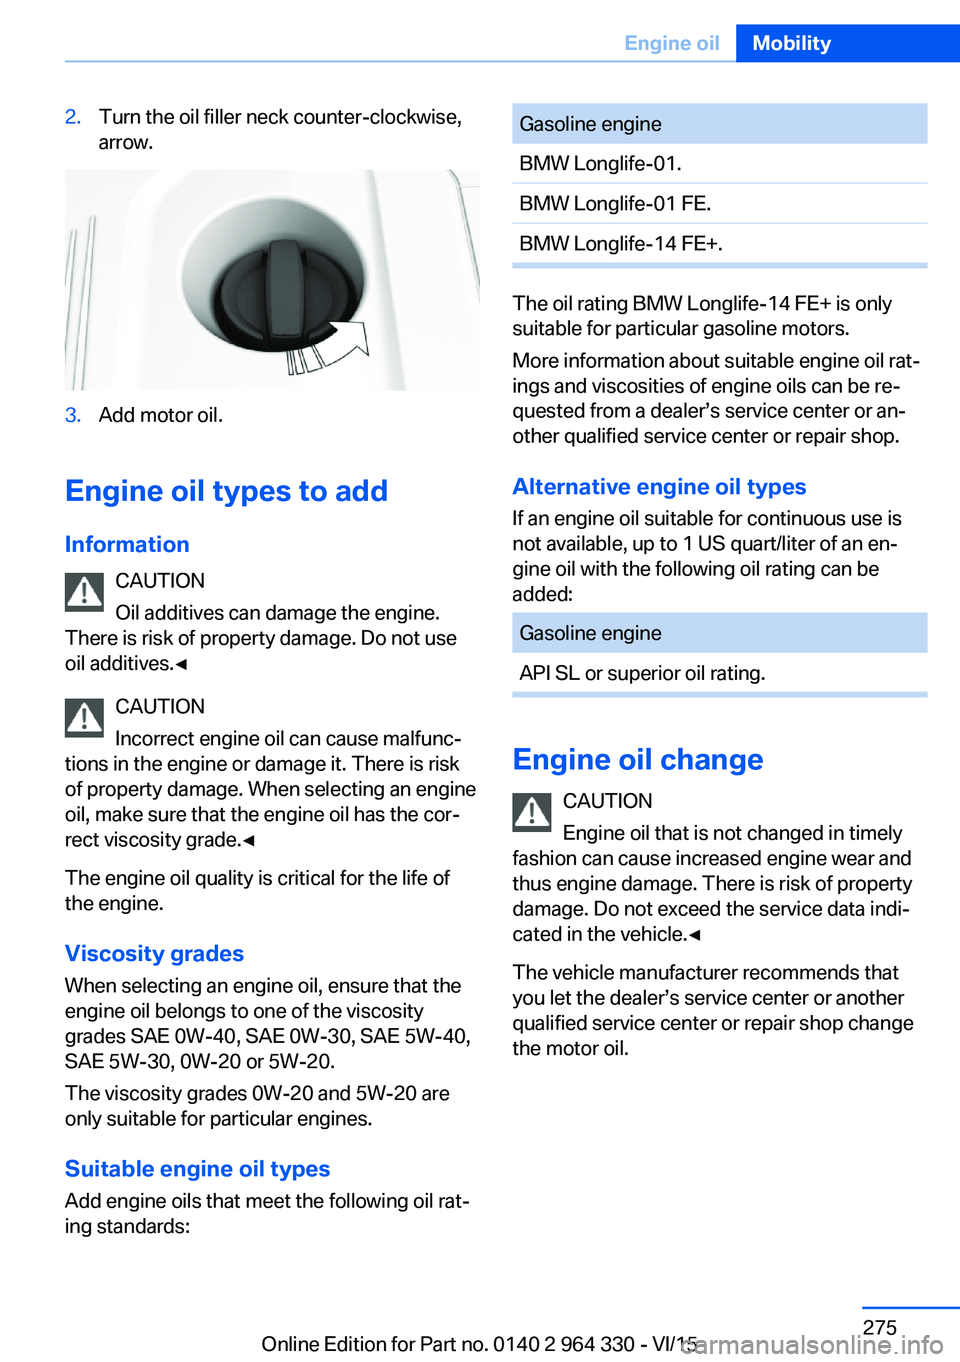
2.Turn the oil filler neck counter-clockwise,
arrow.3.Add motor oil.
Engine oil types to add
Information CAUTION
Oil additives can damage the engine.
There is risk of property damage. Do not use
oil additives.◀
CAUTION
Incorrect engine oil can cause malfunc‐
tions in the engine or damage it. There is risk
of property damage. When selecting an engine oil, make sure that the engine oil has the cor‐
rect viscosity grade.◀
The engine oil quality is critical for the life of
the engine.
Viscosity gradesWhen selecting an engine oil, ensure that the
engine oil belongs to one of the viscosity
grades SAE 0W-40, SAE 0W-30, SAE 5W-40,
SAE 5W-30, 0W-20 or 5W-20.
The viscosity grades 0W-20 and 5W-20 are
only suitable for particular engines.
Suitable engine oil types Add engine oils that meet the following oil rat‐
ing standards:
Gasoline engineBMW Longlife-01.BMW Longlife-01 FE.BMW Longlife-14 FE+.
The oil rating BMW Longlife-14 FE+ is only
suitable for particular gasoline motors.
More information about suitable engine oil rat‐
ings and viscosities of engine oils can be re‐
quested from a dealer’s service center or an‐
other qualified service center or repair shop.
Alternative engine oil types If an engine oil suitable for continuous use is
not available, up to 1 US quart/liter of an en‐
gine oil with the following oil rating can be
added:
Gasoline engineAPI SL or superior oil rating.
Engine oil change
CAUTION
Engine oil that is not changed in timely
fashion can cause increased engine wear and
thus engine damage. There is risk of property
damage. Do not exceed the service data indi‐
cated in the vehicle.◀
The vehicle manufacturer recommends that
you let the dealer’s service center or another
qualified service center or repair shop change
the motor oil.
Seite 275Engine oilMobility275
Online Edition for Part no. 0140 2 964 330 - VI/15
Page 282 of 314
Lights and bulbs
General information
Lights and bulbs make an essential contribu‐
tion to vehicle safety.
All headlights and lights are made using LED
or laser technology.
The vehicle manufacturer recommends that
you let a dealer’s service center or another
qualified service center or repair shop perform
the work in case of a malfunction.
Information
Lights and bulbs DANGER
There can be high voltage in the lighting
system. There is danger to life. The manufac‐
turer of your vehicle recommends that the
work on the lighting system including bulb re‐
placement be performed by a dealer’s service
center or another qualified service center or re‐
pair shop.◀
Light-emitting diodes (LEDs)
Some items of equipment use light-emitting
diodes installed behind a cover as a light
source.
These light-emitting diodes, which are related
to conventional lasers, are officially designated
as Class 1 light-emitting diodes.
WARNING
Too intensive brightness can irritate or
damage the retina of the eye. There is risk of
injuries. Do not look directly into the headlights
or other light sources for an extended period of
time. Do not remove the LED covers.◀
Headlight glass
Condensation can form on the inside of the ex‐
ternal lights in cool or humid weather. When
driving with the lights switched on, the con‐densation evaporates after a short time. The
headlight glass does not need to be changed.
If despite driving with the lights switched on,
increasing humidity forms, e. g. water droplets
in the lamp, the manufacturer of your vehicle
recommends having it checked by a dealer’s
service center or another qualified service cen‐
ter or repair shop.
Changing wheels
Information When using run-flat tires or sealants, a tire
does not need to be changed immediately in
the event of pressure loss due to a flat tire.
The tools for changing wheels are available as
accessories from your dealer’s service center
or another qualified service center or repair
shop.
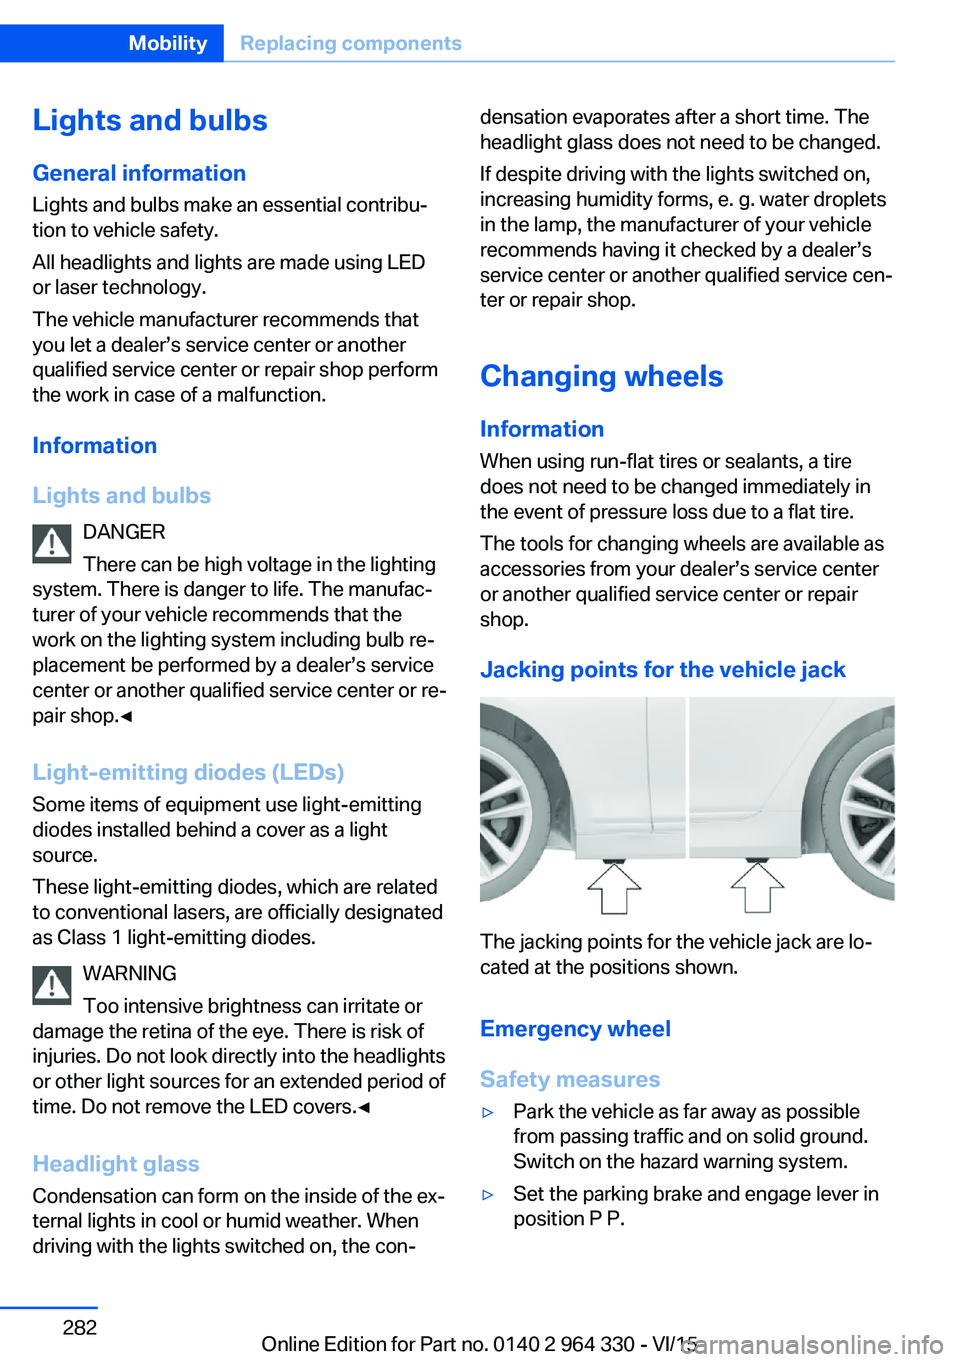
Jacking points for the vehicle jack
The jacking points for the vehicle jack are lo‐
cated at the positions shown.
Emergency wheel
Safety measures
▷Park the vehicle as far away as possible
from passing traffic and on solid ground.
Switch on the hazard warning system.▷Set the parking brake and engage lever in
position P P.Seite 282MobilityReplacing components282
Online Edition for Part no. 0140 2 964 330 - VI/15
Page 308 of 314
Moisture in headlight 282
Monitor, see Control Dis‐ play 21
Mounting of child restraint systems 94
Moving sun visor 217
Multifunction steering wheel, buttons 14
Multimedia 6
N
Navigation 6
Near-field communication 42
Neck restraints, front, see Head restraints 82
Neck restraints, rear, see Head restraints 83
Neutral cleaner, see wheel cleaner 293
New wheels and tires 258
NFC, see near-field commu‐ nication 42
Night Vision 147
Night Vision device, see Night Vision 147
Nylon rope for tow-starting/ towing 289
O OBD Onboard Diagnosis 280
OBD, see OBD Onboard Di‐ agnosis 280
Object detection, see Night Vision 147
Octane rating, see Recom‐ mended fuel grade 252
Odometer 123
Oil 273
Oil, adding 274
Oil additives 275
Oil change 275
Oil change interval, service requirements 119
Oil filler neck 274 Oil types, alternative 275
Oil types, suitable 275
Old batteries, disposal 285
Onboard computer, Control Display 125
On-board computer, instru‐ ment cluster 122
Onboard monitor, see Control Display 21
Onboard vehicle tool kit 281
Opening and closing 54
Opening the trunk lid with no- touch activation 66
Opening via door lock 62
Opening without remote con‐ trol 62
Opening with remote control, closing with remote control,
unlocking with remote con‐
trol 60
Operating concept, iDrive 21
Operating readiness 19
Operating via iDrive 22
Operating with the control‐ ler 22
Operation via touchscreen 25
Optional equipment, standard equipment 7
Outside air, see AUC 205
Overheating of engine, see Coolant temperature 118
Own Safety 7
P Paint, vehicle 292
Pairing device 41
Pairing mobile phone 41
Pairing smartphone 41
Pairing telephone 41
Panorama View, see Sur‐ round View 187
Panoramic glass sunroof 73
Parallel parking assistant 193
Park Distance Control PDC 180 Parked vehicle, condensa‐
tion 236
Parking aid, see PDC 180
Parking assistant 193
Parking brake 100
Parking lights 129
Parking with Automatic Hold 100
Parts and accessories 7
Passenger side mirror, tilting downward 85
PDC Park Distance Con‐ trol 180
Pedestrian detection, see Night Vision 147
Pedestrian warning with City braking function 144
Personal profile, see pro‐ files 58
Pillows 84
Pinch protection system, glass sunroof 75
Pinch protection system, win‐ dows 71
Plastic, care 293
Post Crash — iBrake 161
Power failure 285
Power sunroof, glass 73
Power windows 70
Prescribed engine oil types 275
Pressure, tire air pres‐ sure 254
Pressure warning FTM, tires 268
Profiles 58
Profiles, see profiles 58
Programmable memory but‐ tons, iDrive 28
Protective function, glass sunroof 75
Protective function, win‐ dows 71
Push-and-turn switch, see Controller 22 Seite 308ReferenceEverything from A to Z308
Online Edition for Part no. 0140 2 964 330 - VI/15