Page 184 of 263
Folding down
Pull on the opener and fold the armrest for‐
ward.
Opening
Storage compartment in the rear center arm‐
rest.
Push the button and fold open the cover.
Storage compartment in the
center console
To open: press the button.
Cupholders
Hints Shatter-proof containers and no hot
drinks
Use light and shatter-proof containers and do
not transport hot drinks. Otherwise, there is the increased danger of injury in an accident.◀
Unsuitable containers
Do not forcefully push unsuitable con‐
tainers into the cupholders. This may result in
damage.◀
Front
To open: press on the cover.
Rear In the front center armrest.
To open: press the button.
Seite 180ControlsStorage compartments180
Online Edition for Part no. 01 40 2 954 285 - II/15
Page 185 of 263

Clothes hooks
The clothes hooks are located next to the grab
handles in the rear and on the door pillar in the
rear.
Do not obstruct view
When suspending clothing from the
hooks, ensure that it will not obstruct the driv‐
er's view.◀
No heavy objects
Do not hang heavy objects from the
hooks; otherwise, they may present a danger
to passengers during braking and evasive ma‐
neuvers.◀
Storage compartments in the
cargo area
Retaining straps
Retaining straps on the left and right side trim
for fastening small objects.
Multi-function hook
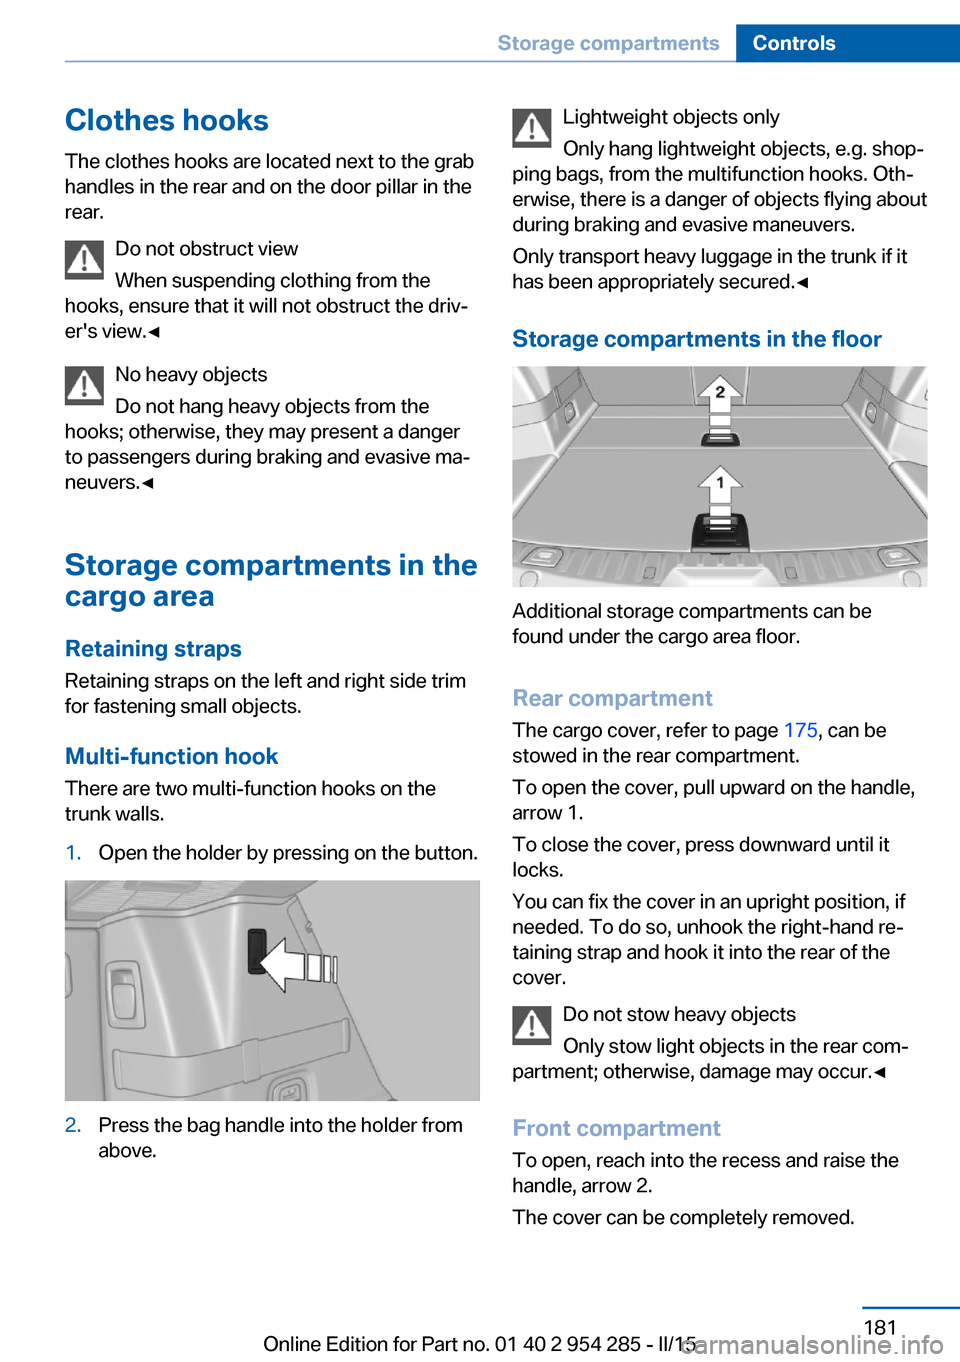
There are two multi-function hooks on the
trunk walls.1.Open the holder by pressing on the button.2.Press the bag handle into the holder from
above.Lightweight objects only
Only hang lightweight objects, e.g. shop‐
ping bags, from the multifunction hooks. Oth‐
erwise, there is a danger of objects flying about
during braking and evasive maneuvers.
Only transport heavy luggage in the trunk if it
has been appropriately secured.◀
Storage compartments in the floor
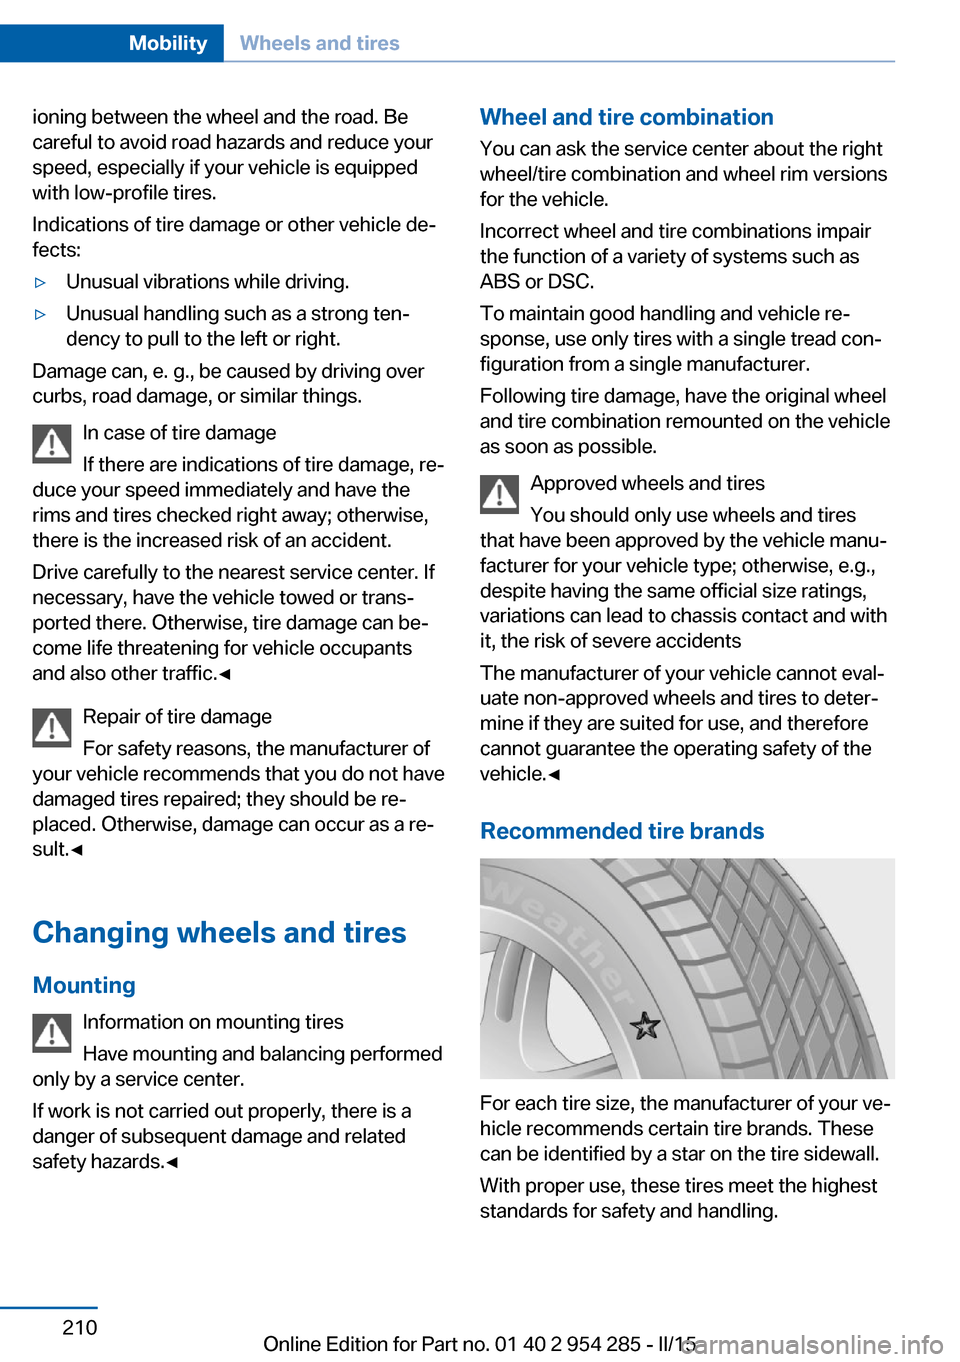
Additional storage compartments can be
found under the cargo area floor.
Rear compartment
The cargo cover, refer to page 175, can be
stowed in the rear compartment.
To open the cover, pull upward on the handle,
arrow 1.
To close the cover, press downward until it
locks.
You can fix the cover in an upright position, if
needed. To do so, unhook the right-hand re‐
taining strap and hook it into the rear of the
cover.
Do not stow heavy objects
Only stow light objects in the rear com‐
partment; otherwise, damage may occur.◀
Front compartment To open, reach into the recess and raise the
handle, arrow 2.
The cover can be completely removed.
Seite 181Storage compartmentsControls181
Online Edition for Part no. 01 40 2 954 285 - II/15
Page 205 of 263
1.Open the cover on the right side trim.2.Pull the green knob with the fuel pump
symbol. This releases the fuel filler flap.
Observe the following when
refueling
The fuel tank is full when the filler nozzle clicks
off the first time.
Do not overfill the fuel tank
Do not overfill the fuel tank; otherwise
fuel may eslide, causing harm to the environ‐
ment and damaging the vehicle.◀
Handling fuels
Observe safety regulations posted at the
gas station.◀
Seite 201RefuelingMobility201
Online Edition for Part no. 01 40 2 954 285 - II/15
Page 214 of 263

ioning between the wheel and the road. Be
careful to avoid road hazards and reduce your
speed, especially if your vehicle is equipped
with low-profile tires.
Indications of tire damage or other vehicle de‐
fects:▷Unusual vibrations while driving.▷Unusual handling such as a strong ten‐
dency to pull to the left or right.
Damage can, e. g., be caused by driving over
curbs, road damage, or similar things.
In case of tire damage
If there are indications of tire damage, re‐
duce your speed immediately and have the
rims and tires checked right away; otherwise,
there is the increased risk of an accident.
Drive carefully to the nearest service center. If
necessary, have the vehicle towed or trans‐
ported there. Otherwise, tire damage can be‐
come life threatening for vehicle occupants
and also other traffic.◀
Repair of tire damage
For safety reasons, the manufacturer of
your vehicle recommends that you do not have
damaged tires repaired; they should be re‐
placed. Otherwise, damage can occur as a re‐
sult.◀
Changing wheels and tires
Mounting Information on mounting tires
Have mounting and balancing performed
only by a service center.
If work is not carried out properly, there is a
danger of subsequent damage and related
safety hazards.◀
Wheel and tire combination
You can ask the service center about the right
wheel/tire combination and wheel rim versions
for the vehicle.
Incorrect wheel and tire combinations impair
the function of a variety of systems such as
ABS or DSC.
To maintain good handling and vehicle re‐
sponse, use only tires with a single tread con‐
figuration from a single manufacturer.
Following tire damage, have the original wheel
and tire combination remounted on the vehicle
as soon as possible.
Approved wheels and tires
You should only use wheels and tires
that have been approved by the vehicle manu‐
facturer for your vehicle type; otherwise, e.g.,
despite having the same official size ratings,
variations can lead to chassis contact and with
it, the risk of severe accidents
The manufacturer of your vehicle cannot eval‐
uate non-approved wheels and tires to deter‐
mine if they are suited for use, and therefore
cannot guarantee the operating safety of the
vehicle.◀
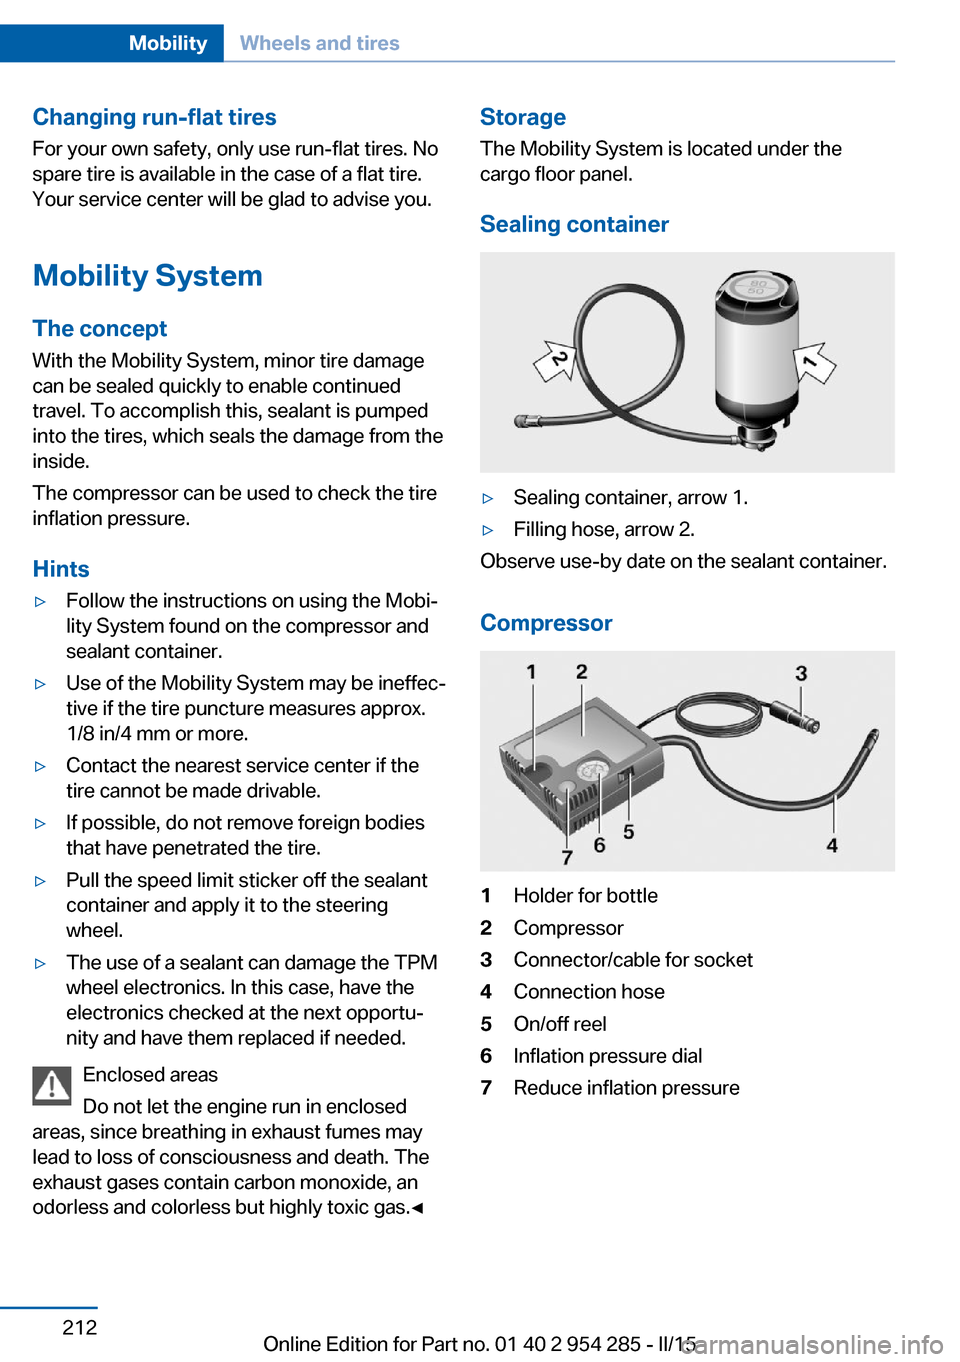
Recommended tire brands
For each tire size, the manufacturer of your ve‐
hicle recommends certain tire brands. These
can be identified by a star on the tire sidewall.
With proper use, these tires meet the highest
standards for safety and handling.
Seite 210MobilityWheels and tires210
Online Edition for Part no. 01 40 2 954 285 - II/15
Page 216 of 263

Changing run-flat tires
For your own safety, only use run-flat tires. No
spare tire is available in the case of a flat tire.
Your service center will be glad to advise you.
Mobility System
The concept With the Mobility System, minor tire damagecan be sealed quickly to enable continued
travel. To accomplish this, sealant is pumped
into the tires, which seals the damage from the
inside.
The compressor can be used to check the tire
inflation pressure.
Hints▷Follow the instructions on using the Mobi‐
lity System found on the compressor and
sealant container.▷Use of the Mobility System may be ineffec‐
tive if the tire puncture measures approx.
1/8 in/4 mm or more.▷Contact the nearest service center if the
tire cannot be made drivable.▷If possible, do not remove foreign bodies
that have penetrated the tire.▷Pull the speed limit sticker off the sealant
container and apply it to the steering
wheel.▷The use of a sealant can damage the TPM
wheel electronics. In this case, have the
electronics checked at the next opportu‐
nity and have them replaced if needed.
Enclosed areas
Do not let the engine run in enclosed
areas, since breathing in exhaust fumes may
lead to loss of consciousness and death. The
exhaust gases contain carbon monoxide, an
odorless and colorless but highly toxic gas.◀
Storage
The Mobility System is located under the
cargo floor panel.
Sealing container▷Sealing container, arrow 1.▷Filling hose, arrow 2.
Observe use-by date on the sealant container.
Compressor
1Holder for bottle2Compressor3Connector/cable for socket4Connection hose5On/off reel6Inflation pressure dial7Reduce inflation pressureSeite 212MobilityWheels and tires212
Online Edition for Part no. 01 40 2 954 285 - II/15
Page 217 of 263
Filling the tire with sealant1.Shake the sealing container.2.Pull the connection hose fully out of the
compressor housing. Do not kink the hose.3.Screw the connection hose onto the con‐
nector of the sealant container.4.Insert the sealant container on the com‐
pressor housing in an upright position.5.Screw the filling hose of the sealant con‐
tainer onto the tire valve of the defective
wheel.6.With the compressor switched off, insert
the plug into the power socket inside the
vehicle.Seite 213Wheels and tiresMobility213
Online Edition for Part no. 01 40 2 954 285 - II/15
Page 221 of 263
Never reach into the engine compart‐
ment
Never reach into spaces or gaps in the engine
compartment; otherwise, there is a risk of in‐
jury, e.g., from rotating or hot parts.◀
Danger of injury when the hood is open
There is a danger of injury from protrud‐
ing parts when the hood is open.◀1.Pull the lever.2.Press the release handle and open the
hood.3.Be careful of protruding parts on the hood.Closing the hood
Hood open when driving
If you see any signs that the hood is not
completely closed while driving, pull over im‐
mediately and close it securely.◀
Danger of jamming
Make sure that the closing path of the
hood is clear; otherwise, injuries may result.◀
Let the hood drop from a height of approx. 16
in/40 cm and push down on it to lock it fully.
The hood must audibly engage on both sides.
Seite 217Engine compartmentMobility217
Online Edition for Part no. 01 40 2 954 285 - II/15
Page 233 of 263
2.Pull down the cover with a firm tug.3.Pull off the connector toward the left.4.Replace the bulb.
Inside brake lamp
To change the brake lamp, contact your serv‐
ice center.
Reversing lamp
16-watt bulb, W16W.
Turn the bulb, pull it out, and replace it.
Changing wheels
Hints
When using run-flat tires or sealants, a tire
does not need to be changed immediately in
the event of pressure loss due to a flat tire.
Which is why no spare tire is available.
The tools for changing wheels are available as
accessories from your service center.
Jacking points for the vehicle jack
The jacking points for the vehicle jack are lo‐
cated at the positions shown.
Vehicle battery Maintenance
The battery is maintenance-free.
The added amount of acid is sufficient for the
service life of the battery.
Seite 229Replacing componentsMobility229
Online Edition for Part no. 01 40 2 954 285 - II/15