2015 BMW 428I XDRIVE GRAN COUPE change time
[x] Cancel search: change timePage 153 of 249
3AUTO program4Display5Maximum cooling6Temperature, right7Seat heating, right 548Cooling function9Automatic recirculated-air control/recircu‐
lated-air mode10Air distribution, right11Air flow, AUTO intensity12Air distribution, left13Rear window defroster14Interior temperature sensor — always keep
clear15Defrosts windows and removes condensa‐
tionHints
Sufficient ventilation
When remaining in the vehicle for an ex‐
tended period of time, ensure sufficient exter‐
nal ventilation. Do not continuously use recir‐
culated-air mode; otherwise the air quality in
the interior continuously deteriorates and win‐
dow condensation increases.◀
Climate control functions in detail
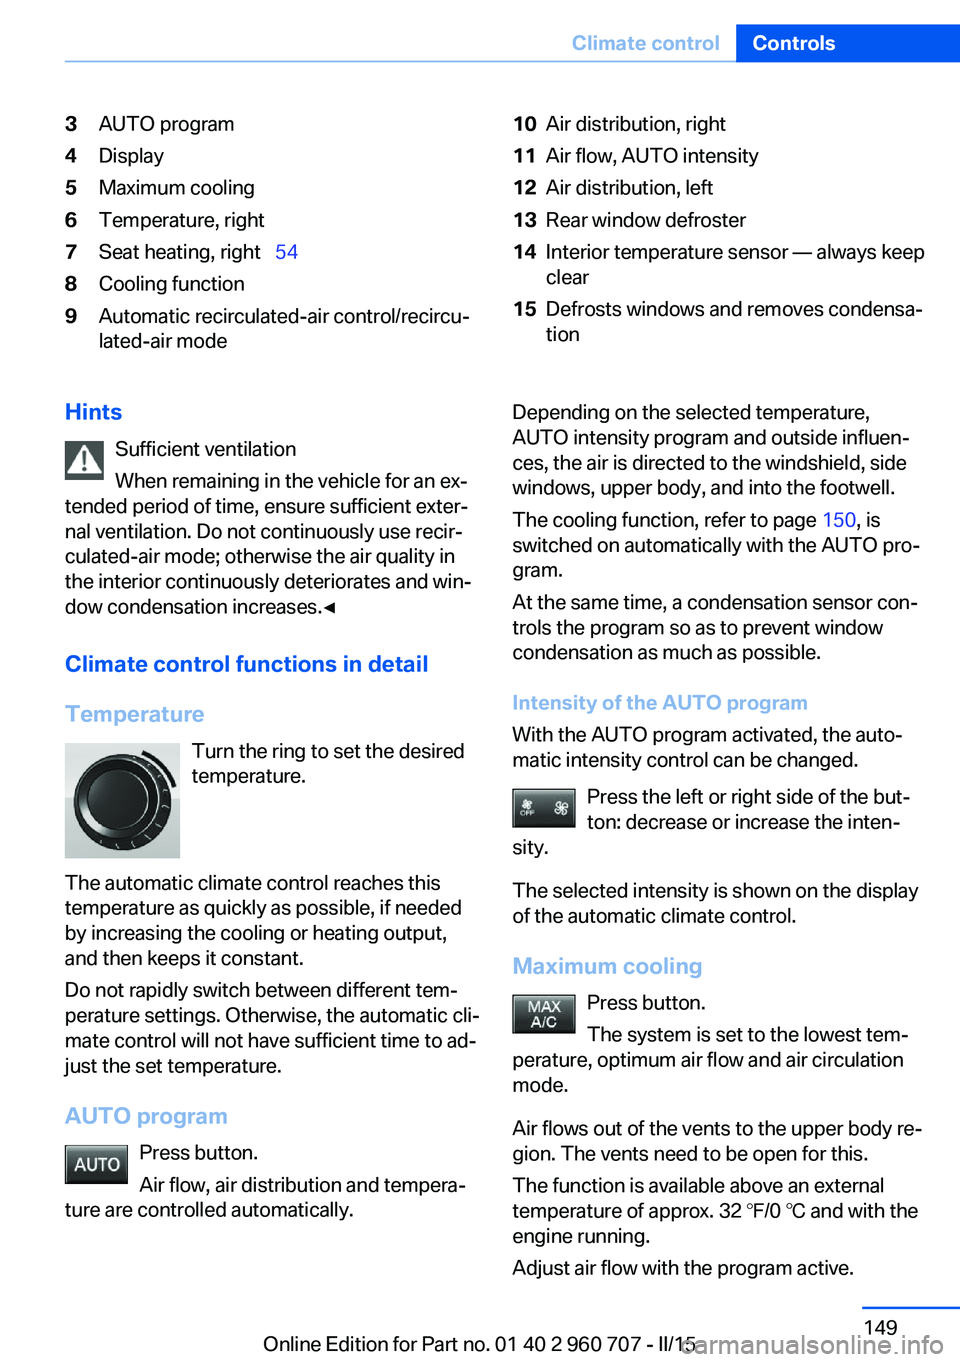
Temperature Turn the ring to set the desired
temperature.
The automatic climate control reaches this
temperature as quickly as possible, if needed
by increasing the cooling or heating output,
and then keeps it constant.
Do not rapidly switch between different tem‐
perature settings. Otherwise, the automatic cli‐
mate control will not have sufficient time to ad‐
just the set temperature.
AUTO program Press button.
Air flow, air distribution and tempera‐
ture are controlled automatically.Depending on the selected temperature,
AUTO intensity program and outside influen‐
ces, the air is directed to the windshield, side
windows, upper body, and into the footwell.
The cooling function, refer to page 150, is
switched on automatically with the AUTO pro‐
gram.
At the same time, a condensation sensor con‐
trols the program so as to prevent window
condensation as much as possible.
Intensity of the AUTO program
With the AUTO program activated, the auto‐
matic intensity control can be changed.
Press the left or right side of the but‐
ton: decrease or increase the inten‐
sity.
The selected intensity is shown on the display
of the automatic climate control.
Maximum cooling Press button.
The system is set to the lowest tem‐
perature, optimum air flow and air circulation
mode.
Air flows out of the vents to the upper body re‐
gion. The vents need to be open for this.
The function is available above an external
temperature of approx. 32 ℉/0 ℃ and with the
engine running.
Adjust air flow with the program active.Seite 149Climate controlControls149
Online Edition for Part no. 01 40 2 960 707 - II/15
Page 158 of 249
erases all programming of the buttons on
the interior rearview mirror.3.Hold the hand-held transmitter for the sys‐
tem to be controlled approx. 1 to 3 in/2.5 to
8 cm away from the buttons of the interior
rearview mirror. The required distance de‐
pends on the manual transmitter.4.Simultaneously press and hold the button
of the desired function on the hand-held
transmitter and the button to be program‐
med on the interior rearview mirror. The
LED on the interior rearview mirror will be‐
gin flashing slowly.5.Release both buttons as soon as the LED
flashes more rapidly. The LED flashing
faster indicates that the button on the inte‐
rior rearview mirror has been programmed.
If the LED does not flash faster after at
least 60 seconds, change the distance be‐
tween the interior rearview mirror and the
hand-held transmitter and repeat the step.
Several more attempts at different distan‐
ces may be necessary. Wait at least
15 seconds between attempts.
Canada: if programming with the hand-
held transmitter was interrupted, hold
down the interior rearview mirror button
and repeatedly press and release the
hand-held transmitter button for 2 sec‐
onds.6.To program other functions on other but‐
tons, repeat steps 3 to 5.
The systems can be controlled using the inte‐
rior rearview mirror buttons.
Special feature of the alternating-
code wireless system
If you are unable to operate the system after
repeated programming, please check if the
system to be controlled features an alternat‐
ing-code system.
Read the system's operating manual, or press
the programmed button on the interior rear‐
view mirror longer. If the LED on the interior
rearview mirror starts flashing rapidly and then
stays lit constantly for 2 seconds, the system
features an alternating-code system. Flashing
and continuous illumination of the LED will re‐
peat for approximately 20 seconds.
For systems with an alternating-code system,
the universal garage door opener and the sys‐
tem also have to be synchronized.
Please read the operating manual to find out how to synchronize the system.
Synchronizing is easier with the aid of a sec‐
ond person.
To synchronize:1.Park the vehicle within range of the re‐
mote-controlled system.2.Program the relevant button on the interior
rearview mirror as described.3.Locate and press the synchronizing button
on the system being programmed. You
have approx. 30 seconds for the next step.4.Hold down the programmed button on the
interior rearview mirror for approximately
3 seconds and then release it. If necessary,
repeat this step up to three times in order
to finish synchronization. Once synchroni‐
zation is complete, the programmed func‐
tion will be carried out.
Reprogramming individual buttons
1.Switch on the ignition.2.Press and hold the interior rearview mirror
button to be programmed.3.As soon as the interior rearview mirror LED
starts flashing slowly, hold the hand-held
transmitter for the system to be controlled
approx. 1 to 3 in/2.5 to 8 cm away from the
buttons of the interior rearview mirror. The
required distance depends on the manual
transmitter.Seite 154ControlsInterior equipment154
Online Edition for Part no. 01 40 2 960 707 - II/15
Page 180 of 249
The achieved extended range is displayed in
the instrument cluster as bonus range.
Overview
The system includes the following
EfficientDynamics functions and displays:▷ECO PRO bonus range, refer to page 176.▷ECO PRO tips driving instruction, refer to
page 177▷ECO PRO climate control, refer to
page 176.▷ECO PRO coasting driving status, refer to
page 178.▷ECO PRO driving style analysis, refer to
page 179.
Activate ECO PRO
Press button repeatedly until ECO
PRO is displayed in the instrument
cluster.
Configuring ECO PRO
Via the Driving Dynamics Control
1.Activate ECO PRO.2."Configure ECO PRO"3.Configure the program.
Via the iDrive
1."Settings"2."ECO PRO mode"
Or
1."Settings"2."Driving mode"3."Configure ECO PRO"
Configure the program.
ECO PRO Tip
▷"Tip at:":
Adjust the ECO PRO speed.▷"ECO PRO speed warning":
The output is reduced once the set ECO
PRO speed is reached.
Coasting
Fuel-efficiency can be optimized by disengag‐
ing the engine and Coasting, refer to
page 178, with the engine idling.
This function is only available in ECO PRO
mode.
ECO PRO climate control
"ECO PRO climate control"
Climate control is set to be fuel-efficient.
By making a slight change to the set tempera‐
ture, or slowly adjusting the rate of heating or
cooling of the car's interior, fuel consumption
can be economized.
The mirror heating is made available when out‐
side temperatures are very cold.
ECO PRO potential Shows potential savings with the current set‐
tings in percentages.
Display in the instrument cluster
ECO PRO bonus range An adjusted driving style helps
you extend your driving range.
This may be displayed as the
bonus range in the instrument
cluster.
The bonus range is shown in the range display.
The bonus range is automatically reset every
time the vehicle is refueled.
Seite 176Driving tipsSaving fuel176
Online Edition for Part no. 01 40 2 960 707 - II/15
Page 214 of 249
Danger of burns
Only change bulbs when they are cool;
otherwise, there is a danger of getting
burned.◀
Working on the lighting system
When working on the lighting system,
you should always reel off the lights affected to
prevent short circuits.
To avoid possible injury or equipment damage
when replacing bulbs, observe any instructions
provided by the bulb manufacturer.◀
Do not perform work/bulb replacement
on xenon headlights
Have any work on the xenon lighting system,
including bulb replacement, performed only by
a service center. Due to the high voltage
present in the system, there is a danger of fatal
injuries if work is carried out improperly.◀
Do not touch the bulbs
Do not touch the glass of new bulbs with
your bare hands, as even minute amounts of
contamination will burn into the bulb's surface
and reduce its service life.
Use a clean tissue, cloth or something similar,
or hold the bulb by its base.◀
Light-emitting diodes (LEDs)
Some items of equipment use light-emitting
diodes installed behind a cover as a light
source.
These light-emitting diodes, which are related
to conventional lasers, are officially designated as Class 1 light-emitting diodes.
Do not remove the covers
Do not remove the covers, and never
stare into the unfiltered light for several hours;
otherwise, irritation of the retina could result.◀Headlight glass
Condensation can form on the inside of the ex‐
ternal lights in cool or humid weather. When
driving with the light switched on, the conden‐
sation evaporates after a short time. The head‐
light glass does not need to be changed.
If the headlights do not dim despite driving
with the light switched on, increasing humidity
forms, e. g. water droplets in the light, have the service center check this.
Headlight setting The headlight adjustments can be affected by
changing lights and bulbs. Have the head‐
lights' settings checked and corrected by serv‐
ice after a replacement.
Front lights, bulb replacement
Xenon headlights
Xenon headlights
Because of the long life of these bulbs, the
likelihood of failure is very low. Switching the
lights on and off frequently shortens their life.
If a bulb fails, reel on the front fog lights and
continue the trip with great care. Comply with local regulations.
Do not perform work/bulb replacement
on xenon headlights
Have any work on the xenon lighting system,
including bulb replacement, performed only by
a service center. Due to the high voltage present in the system, there is a danger of fatal
injuries if work is carried out improperly.◀
For checking and adjusting headlamp aim,
please contact your BMW center.Seite 210MobilityReplacing components210
Online Edition for Part no. 01 40 2 960 707 - II/15
Page 239 of 249
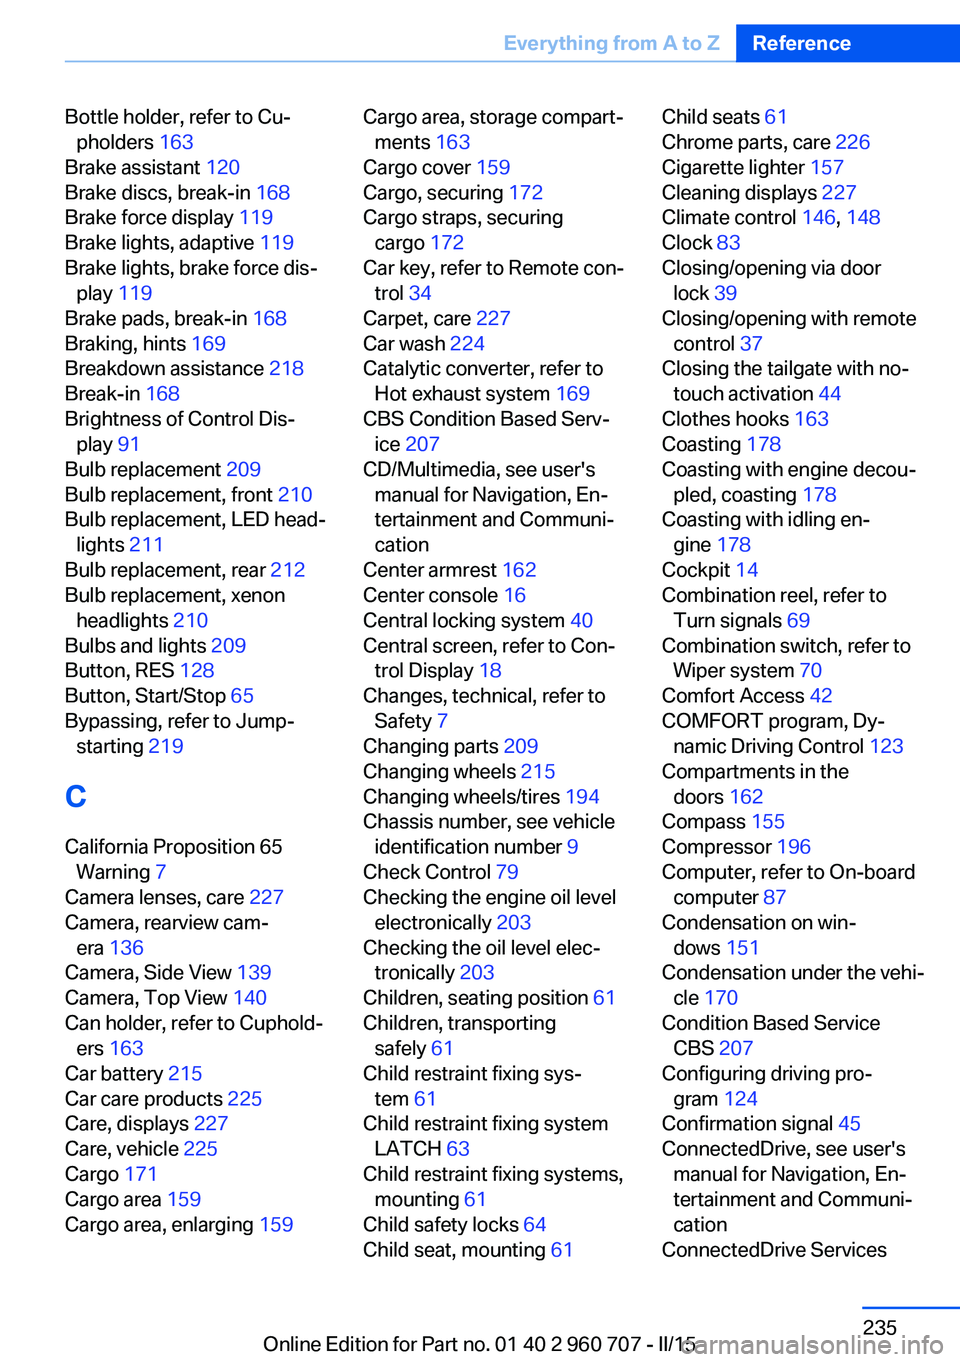
Bottle holder, refer to Cu‐pholders 163
Brake assistant 120
Brake discs, break-in 168
Brake force display 119
Brake lights, adaptive 119
Brake lights, brake force dis‐ play 119
Brake pads, break-in 168
Braking, hints 169
Breakdown assistance 218
Break-in 168
Brightness of Control Dis‐ play 91
Bulb replacement 209
Bulb replacement, front 210
Bulb replacement, LED head‐ lights 211
Bulb replacement, rear 212
Bulb replacement, xenon headlights 210
Bulbs and lights 209
Button, RES 128
Button, Start/Stop 65
Bypassing, refer to Jump- starting 219
C
California Proposition 65 Warning 7
Camera lenses, care 227
Camera, rearview cam‐ era 136
Camera, Side View 139
Camera, Top View 140
Can holder, refer to Cuphold‐ ers 163
Car battery 215
Car care products 225
Care, displays 227
Care, vehicle 225
Cargo 171
Cargo area 159
Cargo area, enlarging 159 Cargo area, storage compart‐
ments 163
Cargo cover 159
Cargo, securing 172
Cargo straps, securing cargo 172
Car key, refer to Remote con‐ trol 34
Carpet, care 227
Car wash 224
Catalytic converter, refer to Hot exhaust system 169
CBS Condition Based Serv‐ ice 207
CD/Multimedia, see user's manual for Navigation, En‐
tertainment and Communi‐
cation
Center armrest 162
Center console 16
Central locking system 40
Central screen, refer to Con‐ trol Display 18
Changes, technical, refer to Safety 7
Changing parts 209
Changing wheels 215
Changing wheels/tires 194
Chassis number, see vehicle identification number 9
Check Control 79
Checking the engine oil level electronically 203
Checking the oil level elec‐ tronically 203
Children, seating position 61
Children, transporting safely 61
Child restraint fixing sys‐ tem 61
Child restraint fixing system LATCH 63
Child restraint fixing systems, mounting 61
Child safety locks 64
Child seat, mounting 61 Child seats 61
Chrome parts, care 226
Cigarette lighter 157
Cleaning displays 227
Climate control 146, 148
Clock 83
Closing/opening via door lock 39
Closing/opening with remote control 37
Closing the tailgate with no- touch activation 44
Clothes hooks 163
Coasting 178
Coasting with engine decou‐ pled, coasting 178
Coasting with idling en‐ gine 178
Cockpit 14
Combination reel, refer to Turn signals 69
Combination switch, refer to Wiper system 70
Comfort Access 42
COMFORT program, Dy‐ namic Driving Control 123
Compartments in the doors 162
Compass 155
Compressor 196
Computer, refer to On-board computer 87
Condensation on win‐ dows 151
Condensation under the vehi‐ cle 170
Condition Based Service CBS 207
Configuring driving pro‐ gram 124
Confirmation signal 45
ConnectedDrive, see user's manual for Navigation, En‐
tertainment and Communi‐
cation
ConnectedDrive Services Seite 235Everything from A to ZReference235
Online Edition for Part no. 01 40 2 960 707 - II/15
Page 245 of 249
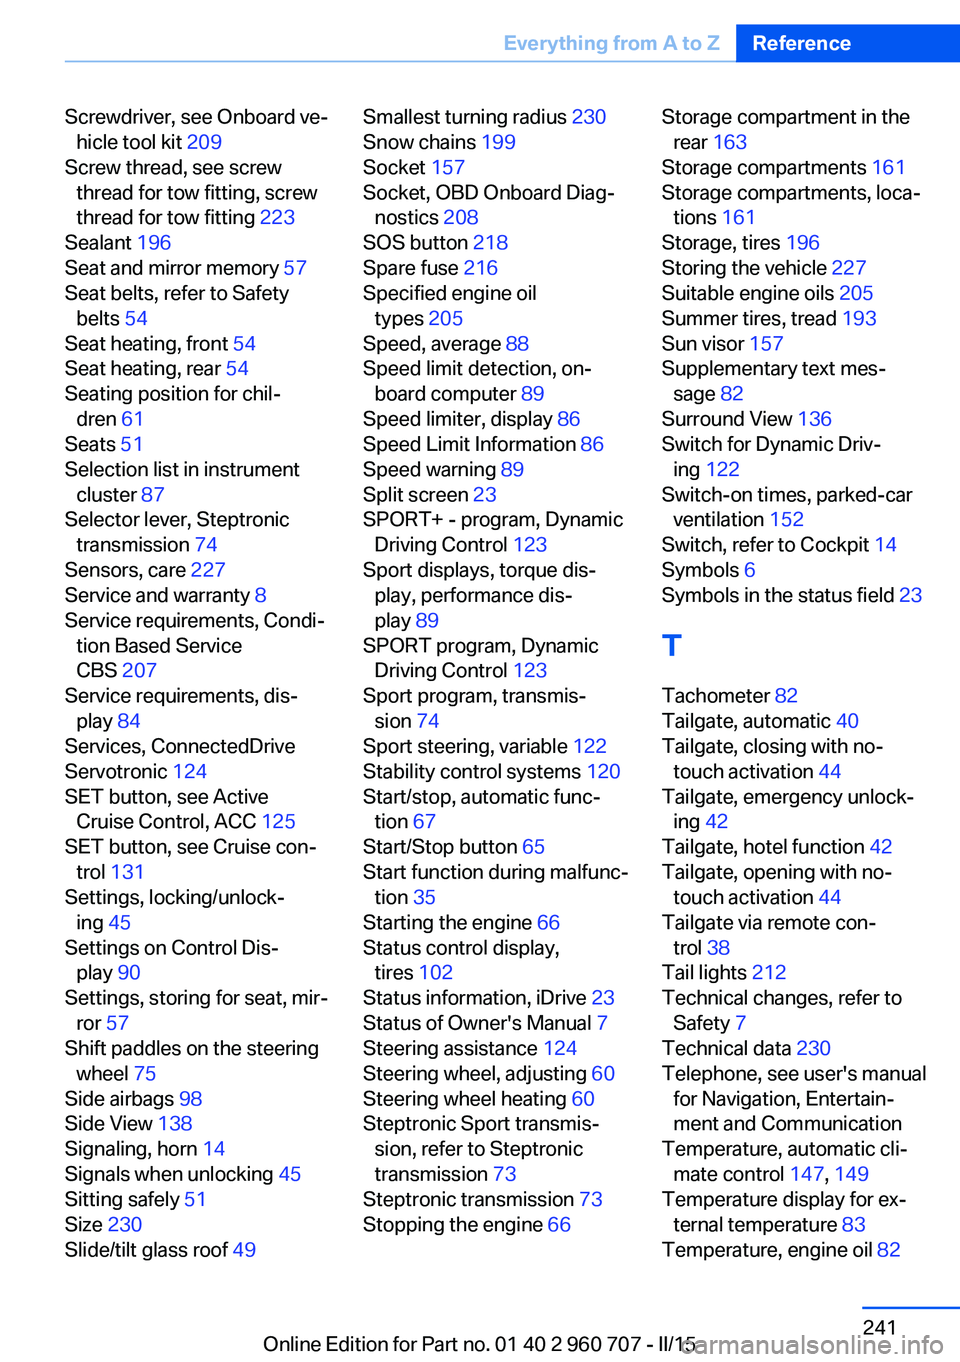
Screwdriver, see Onboard ve‐hicle tool kit 209
Screw thread, see screw thread for tow fitting, screw
thread for tow fitting 223
Sealant 196
Seat and mirror memory 57
Seat belts, refer to Safety belts 54
Seat heating, front 54
Seat heating, rear 54
Seating position for chil‐ dren 61
Seats 51
Selection list in instrument cluster 87
Selector lever, Steptronic transmission 74
Sensors, care 227
Service and warranty 8
Service requirements, Condi‐ tion Based Service
CBS 207
Service requirements, dis‐ play 84
Services, ConnectedDrive
Servotronic 124
SET button, see Active Cruise Control, ACC 125
SET button, see Cruise con‐ trol 131
Settings, locking/unlock‐ ing 45
Settings on Control Dis‐ play 90
Settings, storing for seat, mir‐ ror 57
Shift paddles on the steering wheel 75
Side airbags 98
Side View 138
Signaling, horn 14
Signals when unlocking 45
Sitting safely 51
Size 230
Slide/tilt glass roof 49 Smallest turning radius 230
Snow chains 199
Socket 157
Socket, OBD Onboard Diag‐ nostics 208
SOS button 218
Spare fuse 216
Specified engine oil types 205
Speed, average 88
Speed limit detection, on- board computer 89
Speed limiter, display 86
Speed Limit Information 86
Speed warning 89
Split screen 23
SPORT+ - program, Dynamic Driving Control 123
Sport displays, torque dis‐ play, performance dis‐
play 89
SPORT program, Dynamic Driving Control 123
Sport program, transmis‐ sion 74
Sport steering, variable 122
Stability control systems 120
Start/stop, automatic func‐ tion 67
Start/Stop button 65
Start function during malfunc‐ tion 35
Starting the engine 66
Status control display, tires 102
Status information, iDrive 23
Status of Owner's Manual 7
Steering assistance 124
Steering wheel, adjusting 60
Steering wheel heating 60
Steptronic Sport transmis‐ sion, refer to Steptronic
transmission 73
Steptronic transmission 73
Stopping the engine 66 Storage compartment in the
rear 163
Storage compartments 161
Storage compartments, loca‐ tions 161
Storage, tires 196
Storing the vehicle 227
Suitable engine oils 205
Summer tires, tread 193
Sun visor 157
Supplementary text mes‐ sage 82
Surround View 136
Switch for Dynamic Driv‐ ing 122
Switch-on times, parked-car ventilation 152
Switch, refer to Cockpit 14
Symbols 6
Symbols in the status field 23
T Tachometer 82
Tailgate, automatic 40
Tailgate, closing with no- touch activation 44
Tailgate, emergency unlock‐ ing 42
Tailgate, hotel function 42
Tailgate, opening with no- touch activation 44
Tailgate via remote con‐ trol 38
Tail lights 212
Technical changes, refer to Safety 7
Technical data 230
Telephone, see user's manual for Navigation, Entertain‐
ment and Communication
Temperature, automatic cli‐ mate control 147, 149
Temperature display for ex‐ ternal temperature 83
Temperature, engine oil 82 Seite 241Everything from A to ZReference241
Online Edition for Part no. 01 40 2 960 707 - II/15