2015 BMW 3 SERIES SEDAN Sport
[x] Cancel search: SportPage 135 of 257
Overview
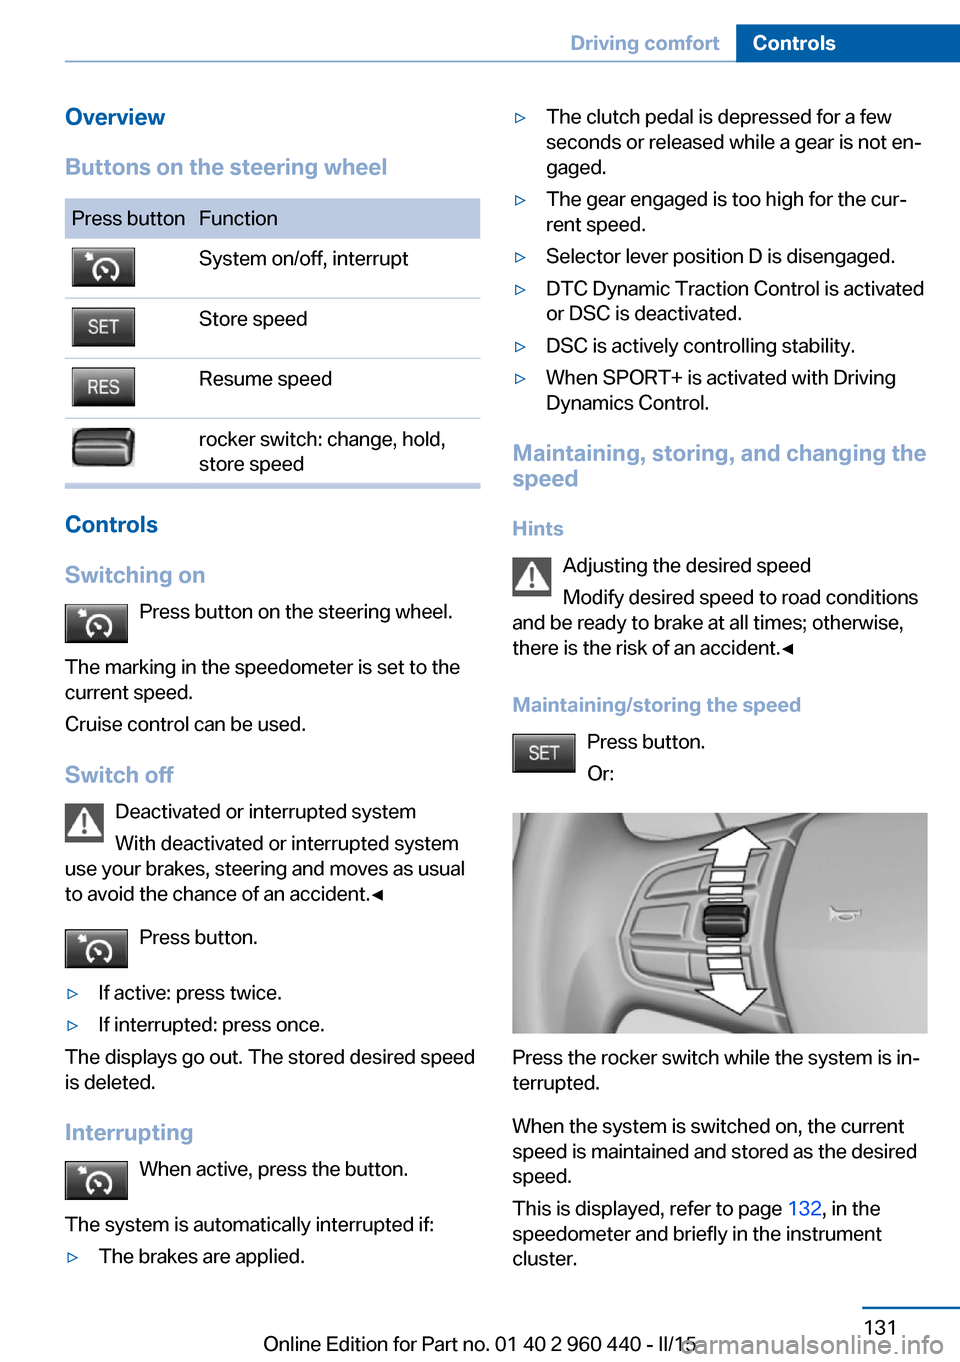
Buttons on the steering wheelPress buttonFunctionSystem on/off, interruptStore speedResume speedrocker switch: change, hold,
store speed
Controls
Switching on Press button on the steering wheel.
The marking in the speedometer is set to the
current speed.
Cruise control can be used.
Switch off Deactivated or interrupted system
With deactivated or interrupted system
use your brakes, steering and moves as usual
to avoid the chance of an accident.◀
Press button.
▷If active: press twice.▷If interrupted: press once.
The displays go out. The stored desired speed
is deleted.
Interrupting When active, press the button.
The system is automatically interrupted if:
▷The brakes are applied.▷The clutch pedal is depressed for a few
seconds or released while a gear is not en‐
gaged.▷The gear engaged is too high for the cur‐
rent speed.▷Selector lever position D is disengaged.▷DTC Dynamic Traction Control is activated
or DSC is deactivated.▷DSC is actively controlling stability.▷When SPORT+ is activated with Driving
Dynamics Control.
Maintaining, storing, and changing the
speed
Hints Adjusting the desired speed
Modify desired speed to road conditions
and be ready to brake at all times; otherwise,
there is the risk of an accident.◀
Maintaining/storing the speed Press button.
Or:
Press the rocker switch while the system is in‐
terrupted.
When the system is switched on, the current
speed is maintained and stored as the desired
speed.
This is displayed, refer to page 132, in the
speedometer and briefly in the instrument
cluster.
Seite 131Driving comfortControls131
Online Edition for Part no. 01 40 2 960 440 - II/15
Page 145 of 257

HintsPersonal responsibility
Even an active system does not relieve
the driver from personal responsibility while
driving.
Technically the system has its limits, it cannot
independently react to all traffic situations.
Monitor your driving, be on the alert, observe
the vehicle surroundings and other traffic and
react when needed - risk of accident.◀
Changes to the parking space
Changes to the parking space after it was
measured are not taken into account by the system.
Therefore, always be alert and ready to inter‐
vene; otherwise, there is the risk of an acci‐
dent.◀
Transporting cargo
Cargo that extends beyond the perimeter
of the vehicle is not taken into account by the
system during the parking procedure.
Therefore, always be alert and ready to inter‐
vene; otherwise, there is the risk of an acci‐
dent.◀
Curbs
The parking assistant may steer the vehi‐
cle over or onto curb if need be.
Therefore, always be alert and ready to inter‐
vene; otherwise, the wheels, tires, or the vehi‐
cle may become damaged.◀
An engine that has been switched off by the
Auto Start Stop function is restarted automati‐
cally when the parking assistant is activated.
Requirements
For measuring parking spaces▷Maximum speed while driving forward ap‐
prox. 22 mph/35 km/h.▷Maximum distance to row of parked vehi‐
cles: 5 ft/1.5 m.
Suitable parking space
▷Gap between two objects with a minimum
length of approx. 5 ft/1.5 m.▷Min. length of gap between two objects:
your vehicle's length plus approx.
4 ft/1.2 m.▷Minimum depth: approx. 5 ft/1.5 m.
Regarding the parking procedure
▷Doors and trunk lid closed.▷Parking brake released.▷When parking in parking spaces on the
driver's side, the corresponding turn signal
must be set where applicable.
Overview
Button in the vehicle
Parking assistant
Seite 141Driving comfortControls141
Online Edition for Part no. 01 40 2 960 440 - II/15
Page 163 of 257
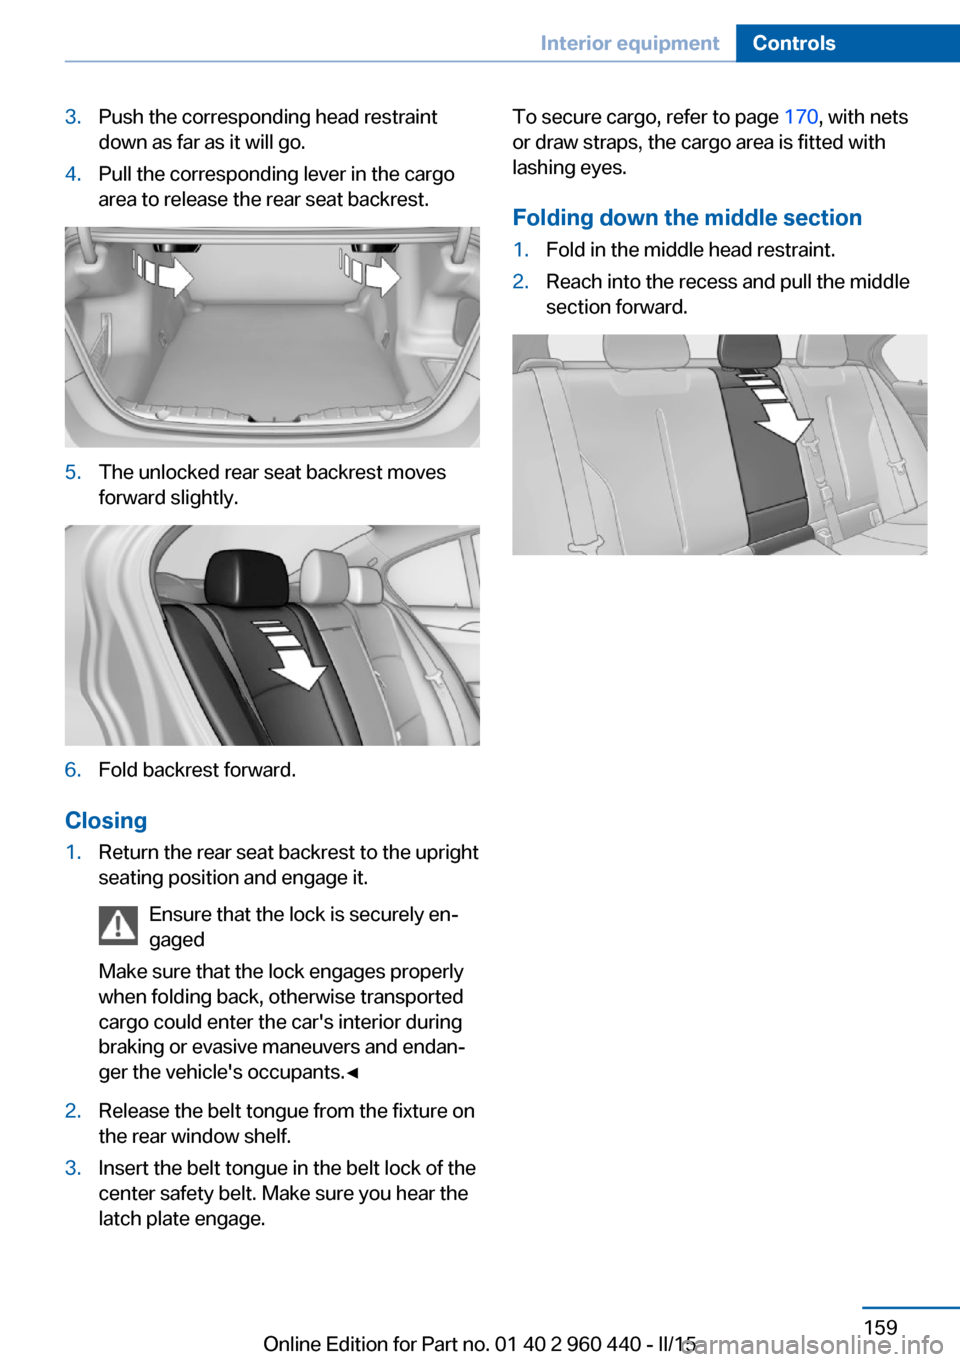
3.Push the corresponding head restraint
down as far as it will go.4.Pull the corresponding lever in the cargo
area to release the rear seat backrest.5.The unlocked rear seat backrest moves
forward slightly.6.Fold backrest forward.
Closing
1.Return the rear seat backrest to the upright
seating position and engage it.
Ensure that the lock is securely en‐
gaged
Make sure that the lock engages properly
when folding back, otherwise transported
cargo could enter the car's interior during
braking or evasive maneuvers and endan‐
ger the vehicle's occupants.◀2.Release the belt tongue from the fixture on
the rear window shelf.3.Insert the belt tongue in the belt lock of the
center safety belt. Make sure you hear the
latch plate engage.To secure cargo, refer to page 170, with nets
or draw straps, the cargo area is fitted with
lashing eyes.
Folding down the middle section1.Fold in the middle head restraint.2.Reach into the recess and pull the middle
section forward.Seite 159Interior equipmentControls159
Online Edition for Part no. 01 40 2 960 440 - II/15
Page 166 of 257
Storage compartment in the
rear
A storage compartment is located in the center
armrest.
Cupholders
Hints Shatter-proof containers and no hot
drinks
Use light and shatter-proof containers and do
not transport hot drinks. Otherwise, there is the increased danger of injury in an accident.◀
Unsuitable containers
Do not forcefully push unsuitable con‐
tainers into the cupholders. This may result in
damage.◀
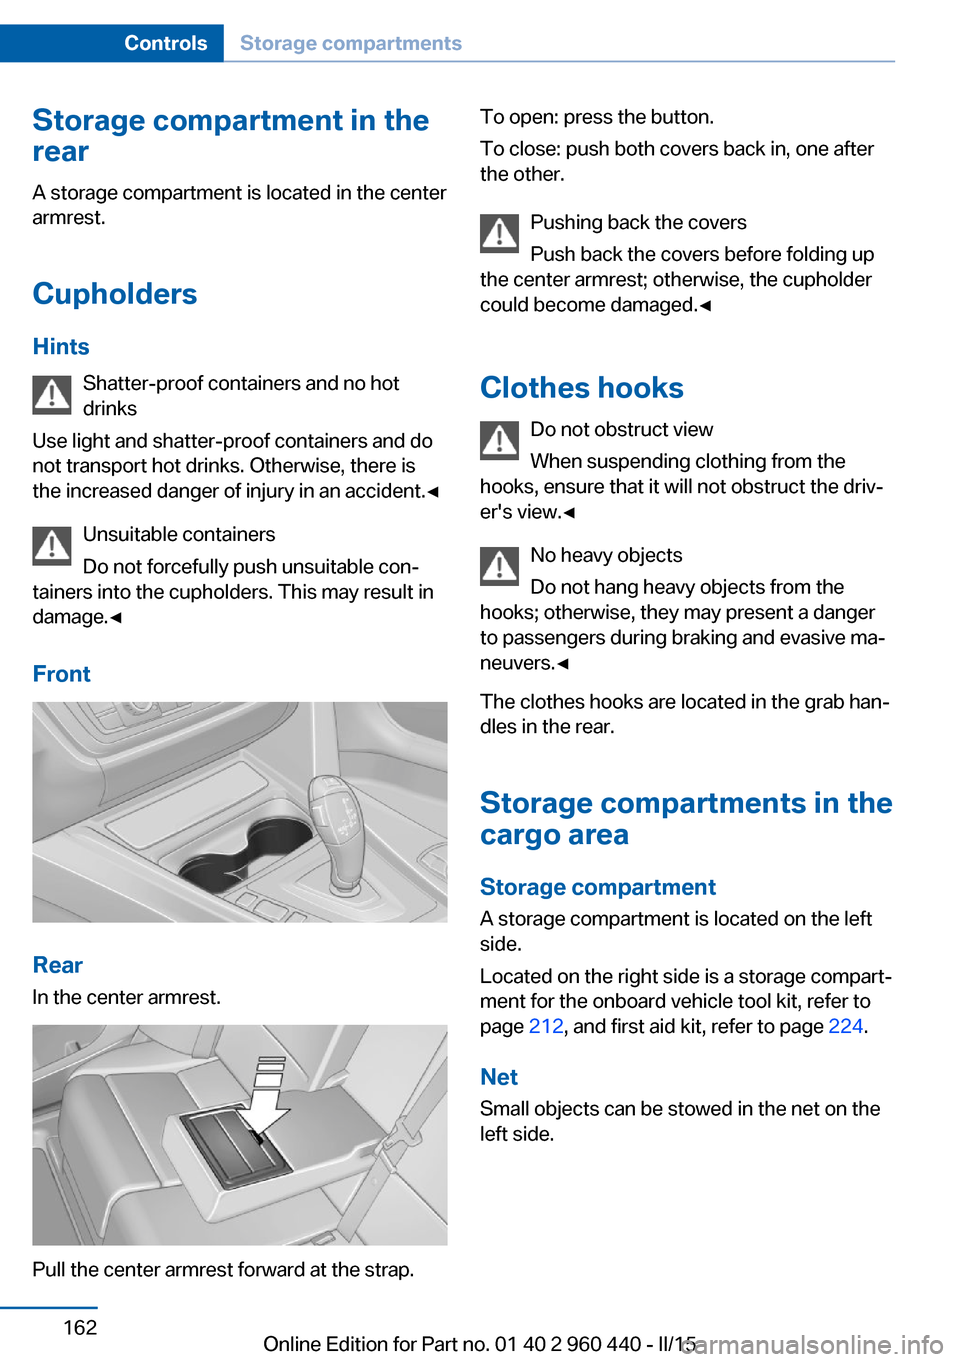
Front
Rear
In the center armrest.
Pull the center armrest forward at the strap.
To open: press the button.
To close: push both covers back in, one after
the other.
Pushing back the covers
Push back the covers before folding up
the center armrest; otherwise, the cupholder
could become damaged.◀
Clothes hooks Do not obstruct view
When suspending clothing from the
hooks, ensure that it will not obstruct the driv‐
er's view.◀
No heavy objects
Do not hang heavy objects from the
hooks; otherwise, they may present a danger
to passengers during braking and evasive ma‐
neuvers.◀
The clothes hooks are located in the grab han‐
dles in the rear.
Storage compartments in the
cargo area
Storage compartment A storage compartment is located on the left
side.
Located on the right side is a storage compart‐
ment for the onboard vehicle tool kit, refer to
page 212, and first aid kit, refer to page 224.
Net
Small objects can be stowed in the net on the
left side.Seite 162ControlsStorage compartments162
Online Edition for Part no. 01 40 2 960 440 - II/15
Page 167 of 257
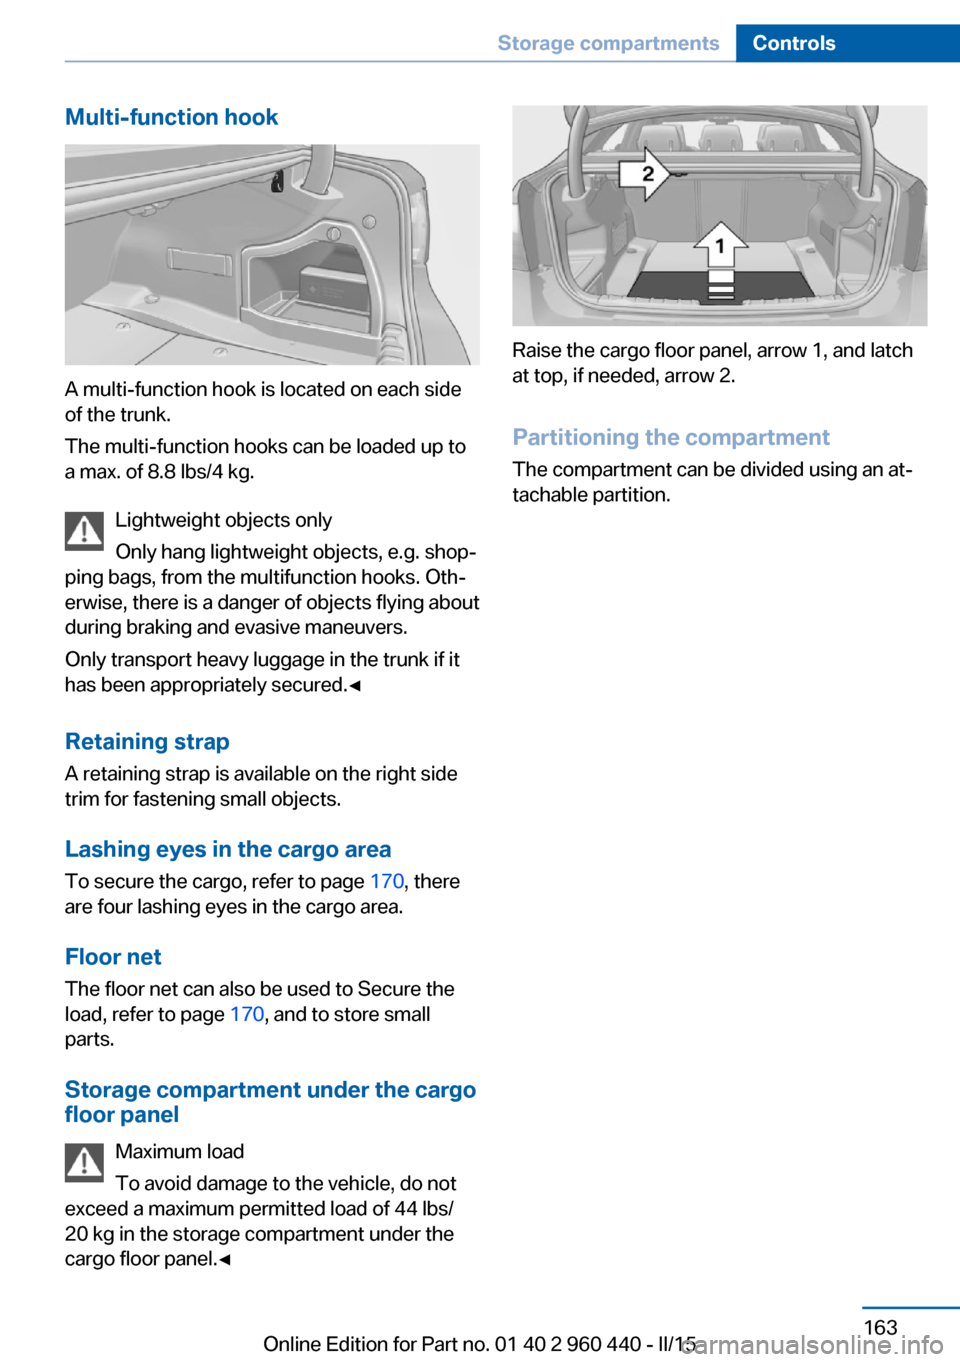
Multi-function hook
A multi-function hook is located on each side
of the trunk.
The multi-function hooks can be loaded up to
a max. of 8.8 lbs/4 kg.
Lightweight objects only
Only hang lightweight objects, e.g. shop‐
ping bags, from the multifunction hooks. Oth‐
erwise, there is a danger of objects flying about
during braking and evasive maneuvers.
Only transport heavy luggage in the trunk if it
has been appropriately secured.◀
Retaining strap A retaining strap is available on the right side
trim for fastening small objects.
Lashing eyes in the cargo area
To secure the cargo, refer to page 170, there
are four lashing eyes in the cargo area.
Floor net
The floor net can also be used to Secure the
load, refer to page 170, and to store small
parts.
Storage compartment under the cargo
floor panel
Maximum load
To avoid damage to the vehicle, do not
exceed a maximum permitted load of 44 lbs/
20 kg in the storage compartment under the
cargo floor panel.◀
Raise the cargo floor panel, arrow 1, and latch
at top, if needed, arrow 2.
Partitioning the compartment The compartment can be divided using an at‐
tachable partition.
Seite 163Storage compartmentsControls163
Online Edition for Part no. 01 40 2 960 440 - II/15
Page 174 of 257
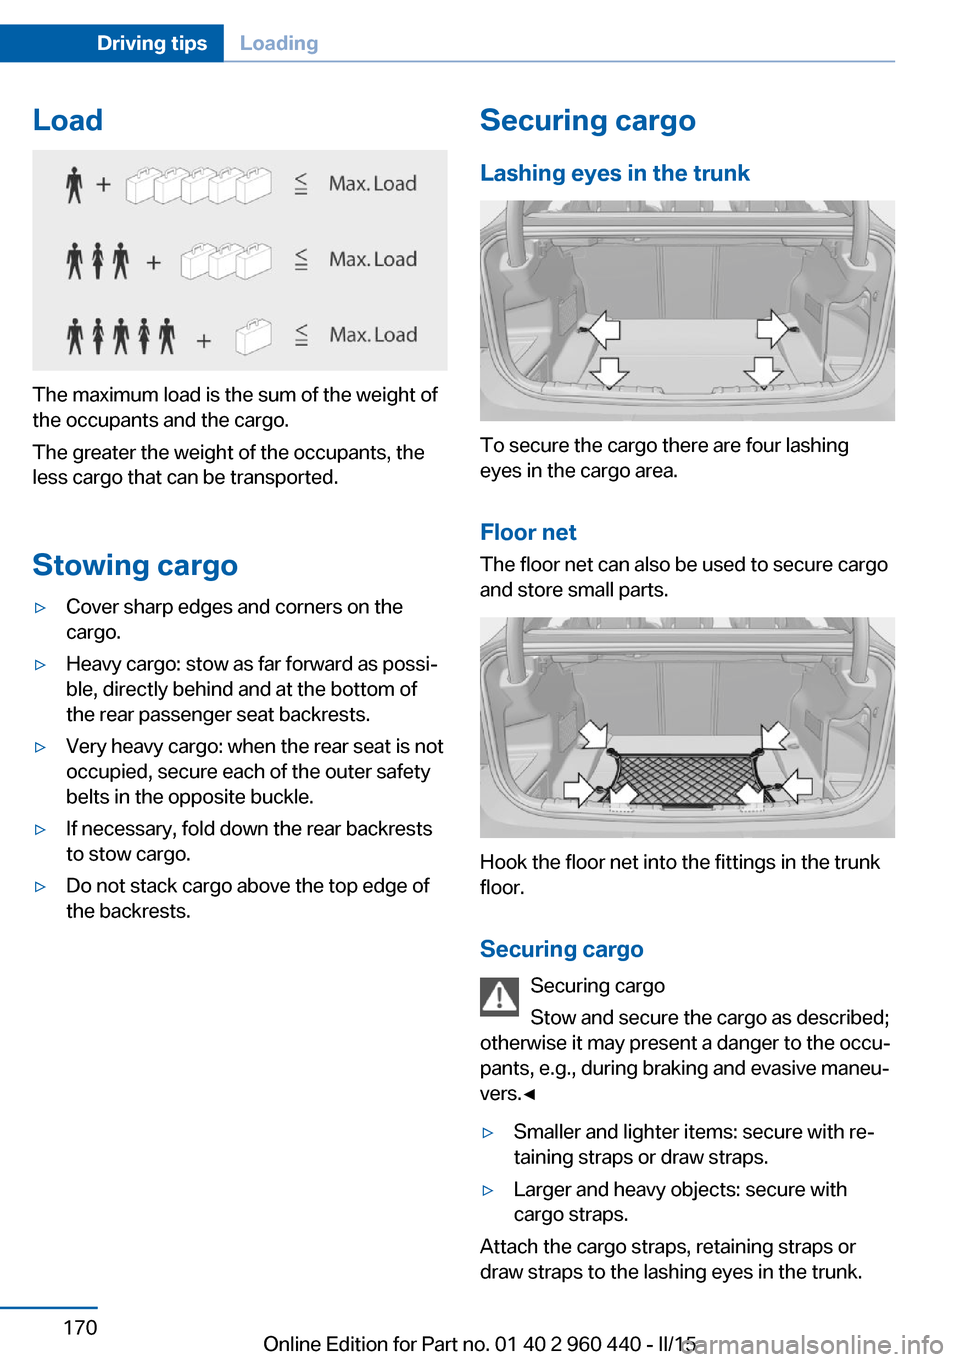
Load
The maximum load is the sum of the weight of
the occupants and the cargo.
The greater the weight of the occupants, the
less cargo that can be transported.
Stowing cargo
▷Cover sharp edges and corners on the
cargo.▷Heavy cargo: stow as far forward as possi‐
ble, directly behind and at the bottom of
the rear passenger seat backrests.▷Very heavy cargo: when the rear seat is not
occupied, secure each of the outer safety
belts in the opposite buckle.▷If necessary, fold down the rear backrests
to stow cargo.▷Do not stack cargo above the top edge of
the backrests.Securing cargo
Lashing eyes in the trunk
To secure the cargo there are four lashing
eyes in the cargo area.
Floor net
The floor net can also be used to secure cargo
and store small parts.
Hook the floor net into the fittings in the trunk
floor.
Securing cargo Securing cargo
Stow and secure the cargo as described;
otherwise it may present a danger to the occu‐
pants, e.g., during braking and evasive maneu‐
vers.◀
▷Smaller and lighter items: secure with re‐
taining straps or draw straps.▷Larger and heavy objects: secure with
cargo straps.
Attach the cargo straps, retaining straps or
draw straps to the lashing eyes in the trunk.
Seite 170Driving tipsLoading170
Online Edition for Part no. 01 40 2 960 440 - II/15
Page 190 of 257
Diesel exhaust fluid on minimum▷The remaining range is dis‐
played in the instrument
cluster: refill with reduction
agent. The engine will con‐
tinue to run as long as it is
not switched off and all
other operating conditions
are satisfied; sufficient fuel,
e.g.
Engine does not start
Do not continue driving to the limit of the
remaining travel distance. Otherwise, you will
not be able to restart the engine after switch‐
ing it off. In certain cases, this could cause
safety to be impaired.◀
Filling with an incorrect fluid A Check Control message is displayed when
an incorrect fluid is added.
After adding the incorrect fluid, contact your
service center.
System defect A Check Control message is displayed when
there is a system defect.
Have the diesel exhaust fluid
replenished
The reducing agent is added by the service
center within the context of regular mainte‐
nance.
It may be necessary to have the fluid replen‐
ished several times under particular circum‐
stances, e.g., if the vehicle is driven in a partic‐
ularly sporty style or if it is driven at high
altitudes.
The reducing agent must be replenished as
soon as the reserve display appears in the in‐
strument cluster to avoid not being able to re‐
start the engine.
Diesel exhaust fluid at low
temperatures
Due to its physical properties, it is possible
that the reducing agent may also need to be
replenished between regular maintenance ap‐
pointments if it is exposed to temperatures un‐
der + 23 ℉/- 5 ℃. In this case, add reducing
agent only immediately before driving off.
The need to replenish it is indicated by the Re‐
serve display in the instrument cluster.
At temperatures below + 12 ℉/- 11 ℃, the fill‐
ing level cannot be measured in some cases.
After adding reducing agent, the Reserve Dis‐
play is displayed only until the fill level can be
measured again.
Replenishing Diesel exhaust fluid
yourself in exceptional cases
You can replenish reducing agent yourself in
exceptional cases, e.g., to get to the service
center.
Avoid contact with Diesel exhaust fluid
Do not come into contact with the reduc‐
ing agent. Otherwise, skin or eye irritations
may result.◀
Handling Diesel exhaust fluid
When working with reducing agent in
closed spaces, ensure good ventilation. When
the bottle or container is opened, acrid smell‐
ing fumes may eslide.◀
Keeping Diesel exhaust fluid out of reach
of children
Keep reducing agent out of reach of children.◀
Avoid contact with surfaces
Avoid contact of reduction agent with
surfaces of the vehicle; otherwise, damage
could occur.◀
Suitable Diesel exhaust fluid▷Preferred: BMW Diesel Exhaust Fluid. With
this bottle and its special adapter, DieselSeite 186MobilityFuel186
Online Edition for Part no. 01 40 2 960 440 - II/15
Page 200 of 257

Tires with DOT codes meet the guidelines of
the U.S. Department of Transportation.
Tire age DOT … 0115: the tire was manufactured in the
1st week of 2015.
Recommendation
Regardless of wear and tear, replace tires at
least every 6 years.
Uniform Tire Quality Grading Quality grades can be found where applicable
on the tire sidewall between tread shoulder
and maximum section width.
For example: Treadwear 200; Traction AA;
Temperature A
DOT Quality Grades
Treadwear
Traction AA A B C
Temperature A B C
All passenger car tires must conform to Fed‐
eral Safety Requirements in addition to these
grades.
TreadwearThe treadwear grade is a comparative rating
based on the wear rate of the tire when tested
under controlled conditions on a specified gov‐
ernment test course. For example, a tire graded 150 would wear one and one-half, 1 g,
times as well on the government course as a
tire graded 100. The relative performance of
tires depends upon the actual conditions of
their use, however, and may depart signifi‐
cantly from the norm due to variations in driv‐
ing habits, service practices and differences in
road characteristics and climate.
Traction
The traction grades, from highest to lowest,
are AA, A, B, and C.Those grades represent the tire's ability to
stop on wet pavement as measured under
controlled conditions on specified government
test surfaces of asphalt and concrete. A tire
marked C may have poor traction performance.
The traction grade assigned to this tire is
based on straight-ahead braking traction tests,
and does not include acceleration, cornering,
hydroplaning, or peak traction characteristics.
Temperature
The temperature grades are A, the highest, B, and C, representing the tire's resistance to the
generation of heat and its ability to dissipate
heat when tested under controlled conditions
on a specified indoor laboratory test wheel.
Sustained high temperature can cause the ma‐
terial of the tire to degenerate and reduce tire
life, and excessive temperature can lead to
sudden tire failure. The grade C corresponds
to a level of performance which all passenger
car tires must meet under the Federal Motor
Vehicle Safety Standard No. 109. Grades Band
A represent higher levels of performance on
the laboratory test wheel than the minimum re‐
quired by law.
Temperature grade for this tire
The temperature grade for this tire is es‐
tablished for a tire that is properly inflated and
not overloaded. Excessive speed, underinfla‐
tion, or excessive loading, either separately or
in combination, can cause heat buildup and
possible tire failure.
If necessary, have the vehicle towed.◀
RSC – Run-flat tires
Run-flat tires, refer to page 199, are labeled
with a circular symbol containing the letters RSC marked on the sidewall.
M+S Winter and all-season tires with better cold
weather performance than summer tires.Seite 196MobilityWheels and tires196
Online Edition for Part no. 01 40 2 960 440 - II/15